VRChat Not Loading? Here’s How to Fix It
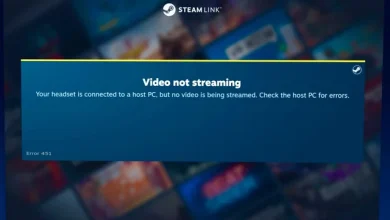
VRChat is undoubtedly a famous 3D virtual platform for Avatars users worldwide but recently many reports are seen that the VRChat not loading or responding while launching the game. The VRChat gets unbearable stuck on the loading screen forever and the users are unable to do anything. And the error message appears on the screen: Cannot Connect to VRChat (Make sure your device has a working internet connection and restart VRChat)
This problem is related to internet connection problems like slow internet connection or some sort of network glitches and is therefore known as a connection error. Unfortunately, this VRChat connection error appears a lot and players get irritated with the infinite log-in loop problem in the VRChat app.
Therefore we investigated the problem thoroughly and find out that there are many different reasons why VRChat is not loading or not responding or can’t connect to VRChat. So first have a look at the common culprits responsible for the error and then follow the potential solutions to fix the error.
- Temp Files: The VRChat itself is a very tiny application and using it regularly makes the temp gets extremely huge and might get corrupted and conflict with the VRChat when running. So, removing the temporary files may work for you.
- VRChat’s Steam Settings: If you changed some of the settings then this might be conflicting with the program and stuck in the infinite loop while loading. So, tweaking some settings in Steam can solve this VRchat not loading issue.
- Outdated Graphics: Graphics cards are very important to run the program or games properly and if your computer is running old or outdated graphics drivers, this issue can happen. Try updating the driver may work for you.
- IPV6 issues: If the ISP or your router or your system is having poor support for the IPV6 then this may cause problems in the proper functioning of the VRChat application. Therefore, disabling it may work for you.
- Antiviruses conflict: The security program installed on your system might be conflicting with the VRChat app and stop it from running properly considering it a malicious program so, try whitelisting VRChat from the antiviruses as they can block the operations of VRChat or disable the antivirus program.
- Corrupted System Files: Corrupted Windows system files can also cause issues with the proper functioning of the VRChat app and stop it from functioning properly or loading so try repairing the system files as this may work for you.
As you are now well aware of the common culprits responsible for VRChat not loading or not responding problem. It’s time to try the solutions given to solve the problem in question.
Check for the server problem
It is very important to check if the server is under maintenance or currently down. As if the VRChat server is down or facing some sort of glitches the application won’t run the same way, so check for server outage by heading to the official Twitter page or downdetector website and see if there is any update related to server maintenance or other issues.
Clean VRChat Temp Files
The installation files of VRChat are very tiny but after using it for some days, the file size of the game gets huge and this is stored temp files get corrupted after some time. To make sure that VRchat loads properly and runs smoothly, you need to delete the temp files occasionally.
To clear the temp files, follow the steps mentioned below:
- Press the Win+E key to open File Explorer and in the search bar type %Username%AppDataLocalTempVRChat.
- Now select all the files and delete them.
- Now try to launch the game and check if the issue is resolved or not.
- If the issue still exists, restart your computer and then try launching VRChat.
Change Steam Settings for VRChat
Some players reported on the game forum site that tweaking some launch settings in Steam helped them to solve this issue. So, it is worth giving it a try and checking if it helps us to resolve not loading or responding problems with VRChat. To change the launch setting of VRChat in steam follows the steps mentioned below:
- Launch Steam and go to the game library.
- Right-click on VRChat and click on the Properties option.
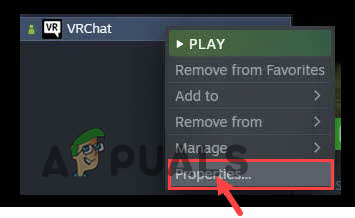
Click on Properties - Then in the General tab click on the Set Launch Options.
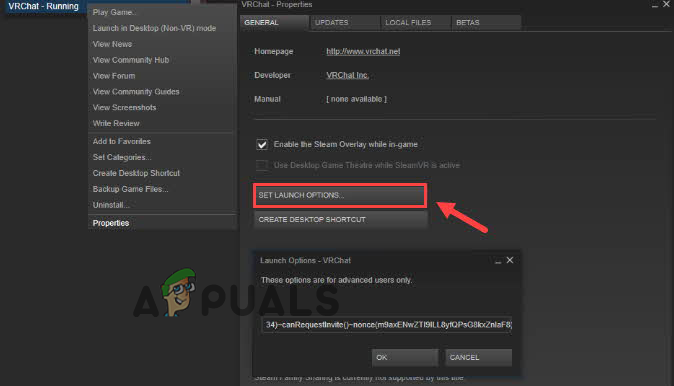
Click on set launch option - Now add one of the following lines there:
(For Zarniwoop’s Avatar Dungeon: vrchat) //launch?id=wrld_1a6f881b-fdd0-4551-af2c-6ef8e16577f6
(For Hyperdimension of Ozicom: vrchat) //launch?id=wrld_d0b62423-fd59-48f7-9e4b-e6fece81b7ed
(For X1 Seisoken City) vrchat://launch?id=wrld_69ab9cdf-5436-46bd-98b5-714837a53b4f
Now launch the game and check if the issue is resolved or not.
Update Graphics Drivers
Graphics card drivers are very important for the proper functioning of the games and applications in the Windows system and can cause a lot of problems if you do not keep them updated. So, it is equally important to update the graphics card drivers from time to time. To update your graphics card drivers, follow the steps mentioned below:
- Click on the Start menu and search for Control Panel.
- In Control Panel, click on the View devices and printers
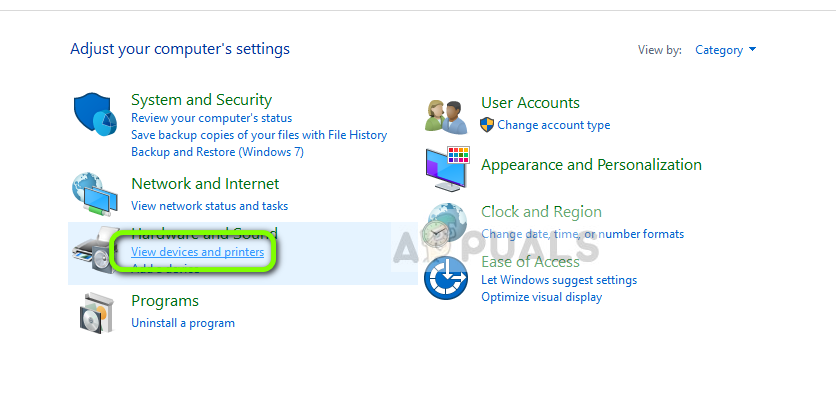
View Devices and Printers – Control Panel - Now click on your device name and click on the Hardware tab.
- In the Hardware tab, search for your graphics card name.
- Now go to the Driver tab and click on the update driver option.
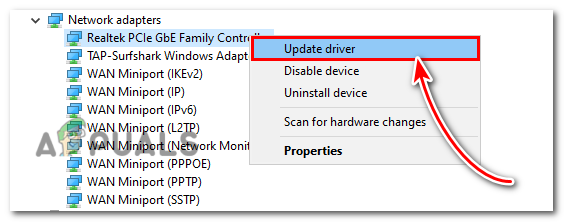
Click on Update driver - And click on the option to search automatically for updated drivers
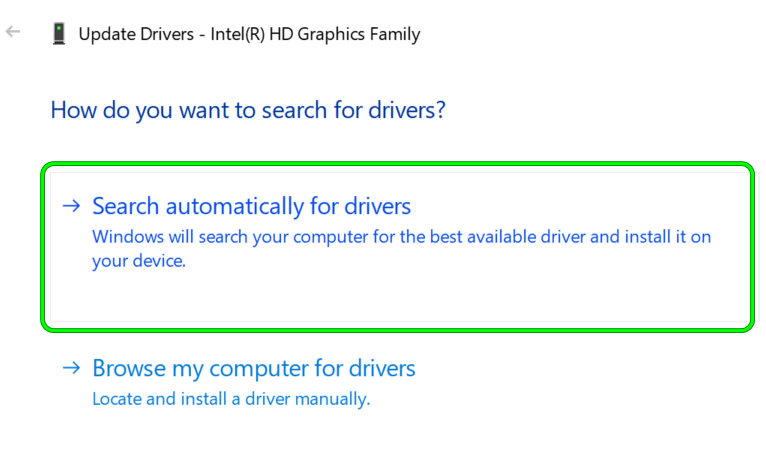
Search Automatically for Updated Graphics Driver - Wait for the scanning process to complete and install them if available.
Restart your computer and launch VRChat and check if the issue is resolved or not.
Disable IPV6
Disabling IPV6 can also solve the issue as a lot of devices cannot handle IPV6, if the internet is poor or your internet service provider or the internet rooter is having poor support it causes plenty of issues. So, try disabling the IPV6 options and see if the problem is resolved. To disable IPV6 follow the steps mentioned below:
- Click on the Start menu and search for Network and Internet settings in the taskbar.
- Now click on the change adapter settings
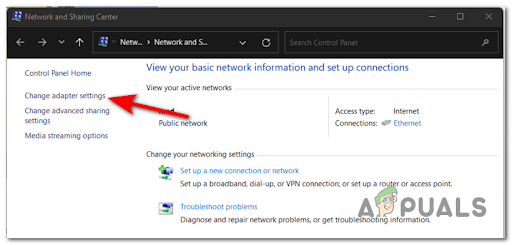
Changing the adapter settings - Right-click on the internet service you are using and click on the Properties
- Now uncheck the (IPV6) Internet Protocol Version 6 option available under the Networking Tab.
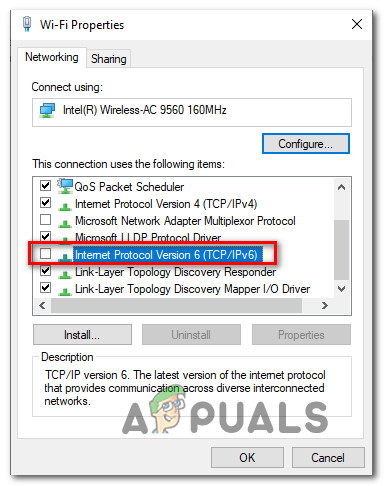
Disable IPv6 - Then click on the OK button to save the changes.
Now restart your computer and launch VRChat and check if the VRChat not loading issue is resolved or not.
Repair Corrupted System Files
VRChat shares some DLL files with Windows, and if there are any corrupted files in the Windows system it can cause this issue, so we recommend you repair the system files using the inbuilt system file checker command or the DISM (Deployment Image Servicing and Management). This is an inbuilt tool that scans your system for the corrupted system files and repairs them.
To run the command, follow the steps mentioned below:
- Click Windows + R and type cmd in the Run box and press OK.
- Then press CTRL + SHIFT +Enter keys to launch Command Prompt as admin
- Once it is launched type the command sfc/scannow and hit Enter
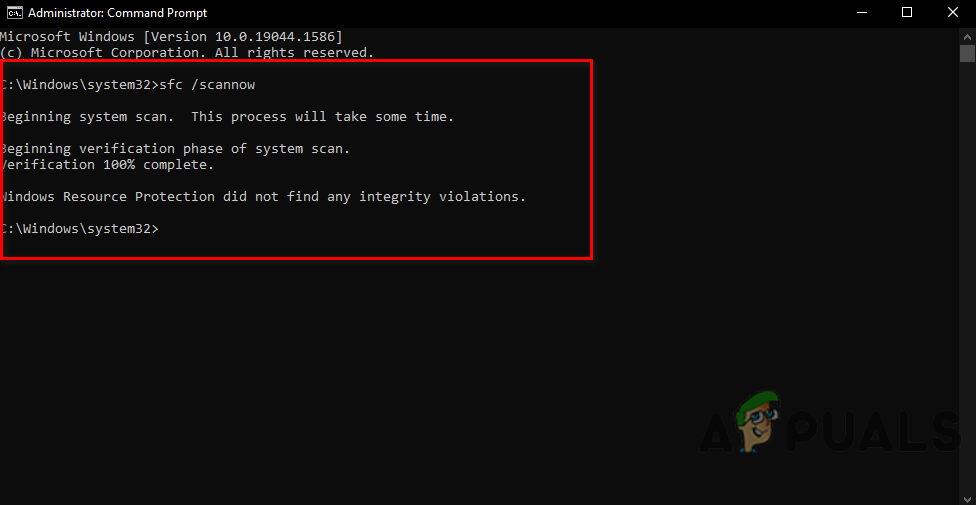
Run sfc/scannow in cmd - System file check will now check for corrupted files the scanning process takes 3 to 5 minutes.
Once it is complete reboot your PC and try to launch VRChat to see if the problem is resolved or not. If facing the problem then run the dism.exe command.
- Launch command prompt as shown in steps 1-2
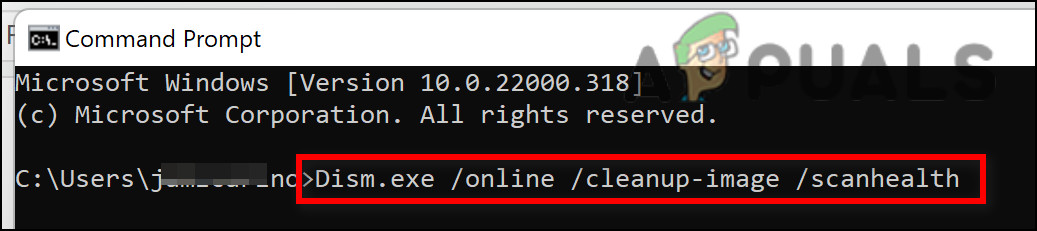
- Then type dism.exe/online/cleanup-image/scanhealth in the command prompt and hit Enter (this will scan the health of your PC)
Dism scan health cmd - Now type dism.exe/online/cleanup-image/restorehealth and hit Enter
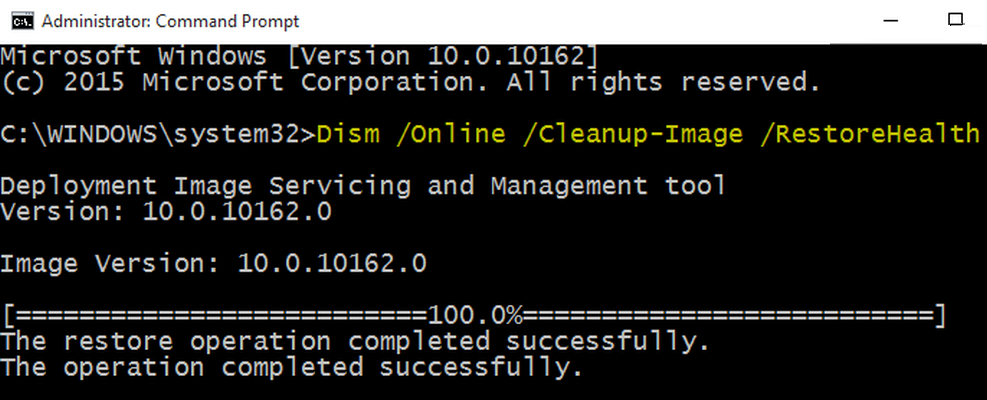
Use the DISM Command to RestoreHealth - Wait for the scanning process to get completed (takes approx. 30 minutes)
After this restart your computer and launch VRChat and check if the VRChat not loading issue is resolved or not.
Delete VRChat in the Windows Registry Directory
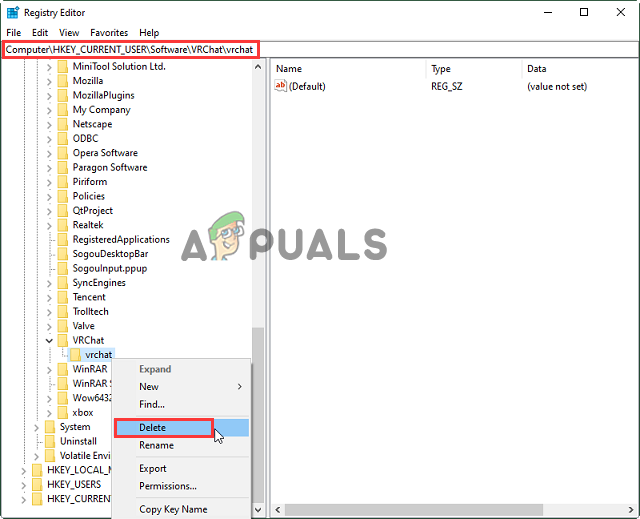
If still unable to solve the problem try to delete the VRChat in the Registry Directory of Windows, this works for various players. Well, this is quite a tricky step as a small mistake may damage your system and your laptop won’t turn on. So, make sure to follow the steps given carefully and try deleting the VRChat files from the Windows VRChat directory. To do so follow the steps mentioned below:
- Click Windows + R to open the run dialogue box.
- Now type Regedit in the input box and press Ok.
- Now search for HKEY_CURRENT_USERSoftwareVRChatvrchat and delete all the files available in the folder.
Launch VRChat and check if the issue is resolved or not.
Use a VPN service
If all the methods mentioned above didn’t work, try using a VPN service as a ton of players reported that using a VPN service helped them to resolve the VRChat not loading issue.
As said above this is a connection problem so, connecting via VPN provides you unrestricted access and solves the problem in your case.
You can find a lot of VPN applications on the internet, just download a safe one and you are good to go.
Disable Antivirus or Whitelist VRChat
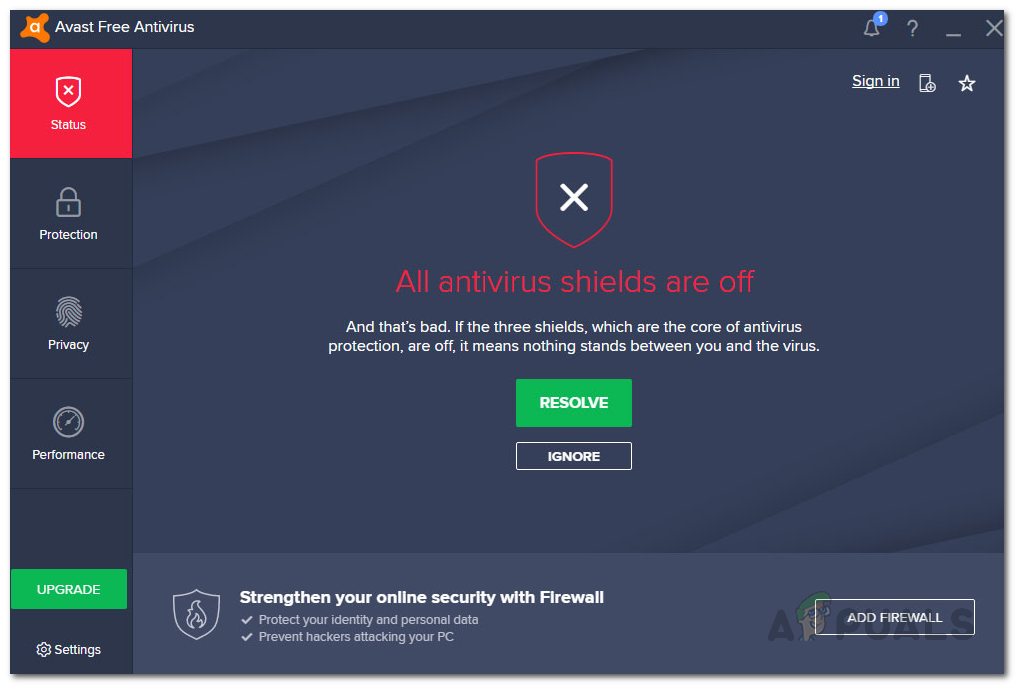
Antiviruses are known for blocking the operations of games and applications, so if you have any third-party antivirus installed on your system, we recommend you disable it or whitelist VRChat from the antivirus settings. To disable the antivirus, follow the steps mentioned below:
- Click on the antivirus icon avail in the taskbar.
- Now go to the antivirus settings.
- Then click on the disable antivirus option.
Third-Party Antivirus Disabled - And choose the time span you want to disable the antivirus.
- Now click Ok for saving the changes.
And launch VRChat and check if the issue is resolved or not. If yes then whitelist VRChat by following the steps mentioned below:
- Launch the antivirus and click on the Settings option.
- In settings click on the General tab and click on the exceptions option.
- Now click on the add exception option.
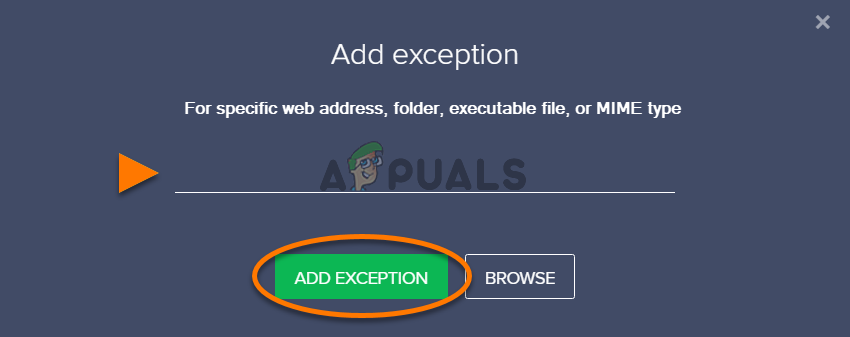
Adding exceptions in Avast - Then search for VRChat in the list and click on the add button.
- Now click on OK to save the changes.
It is estimated the antivirus program is the culprit and this is what stops the VRChat from loading or running properly. That’s all for our how-to-fix VRChat not loading article.