How to Fix IPv4/IPv6 ‘No Internet Access’ Error
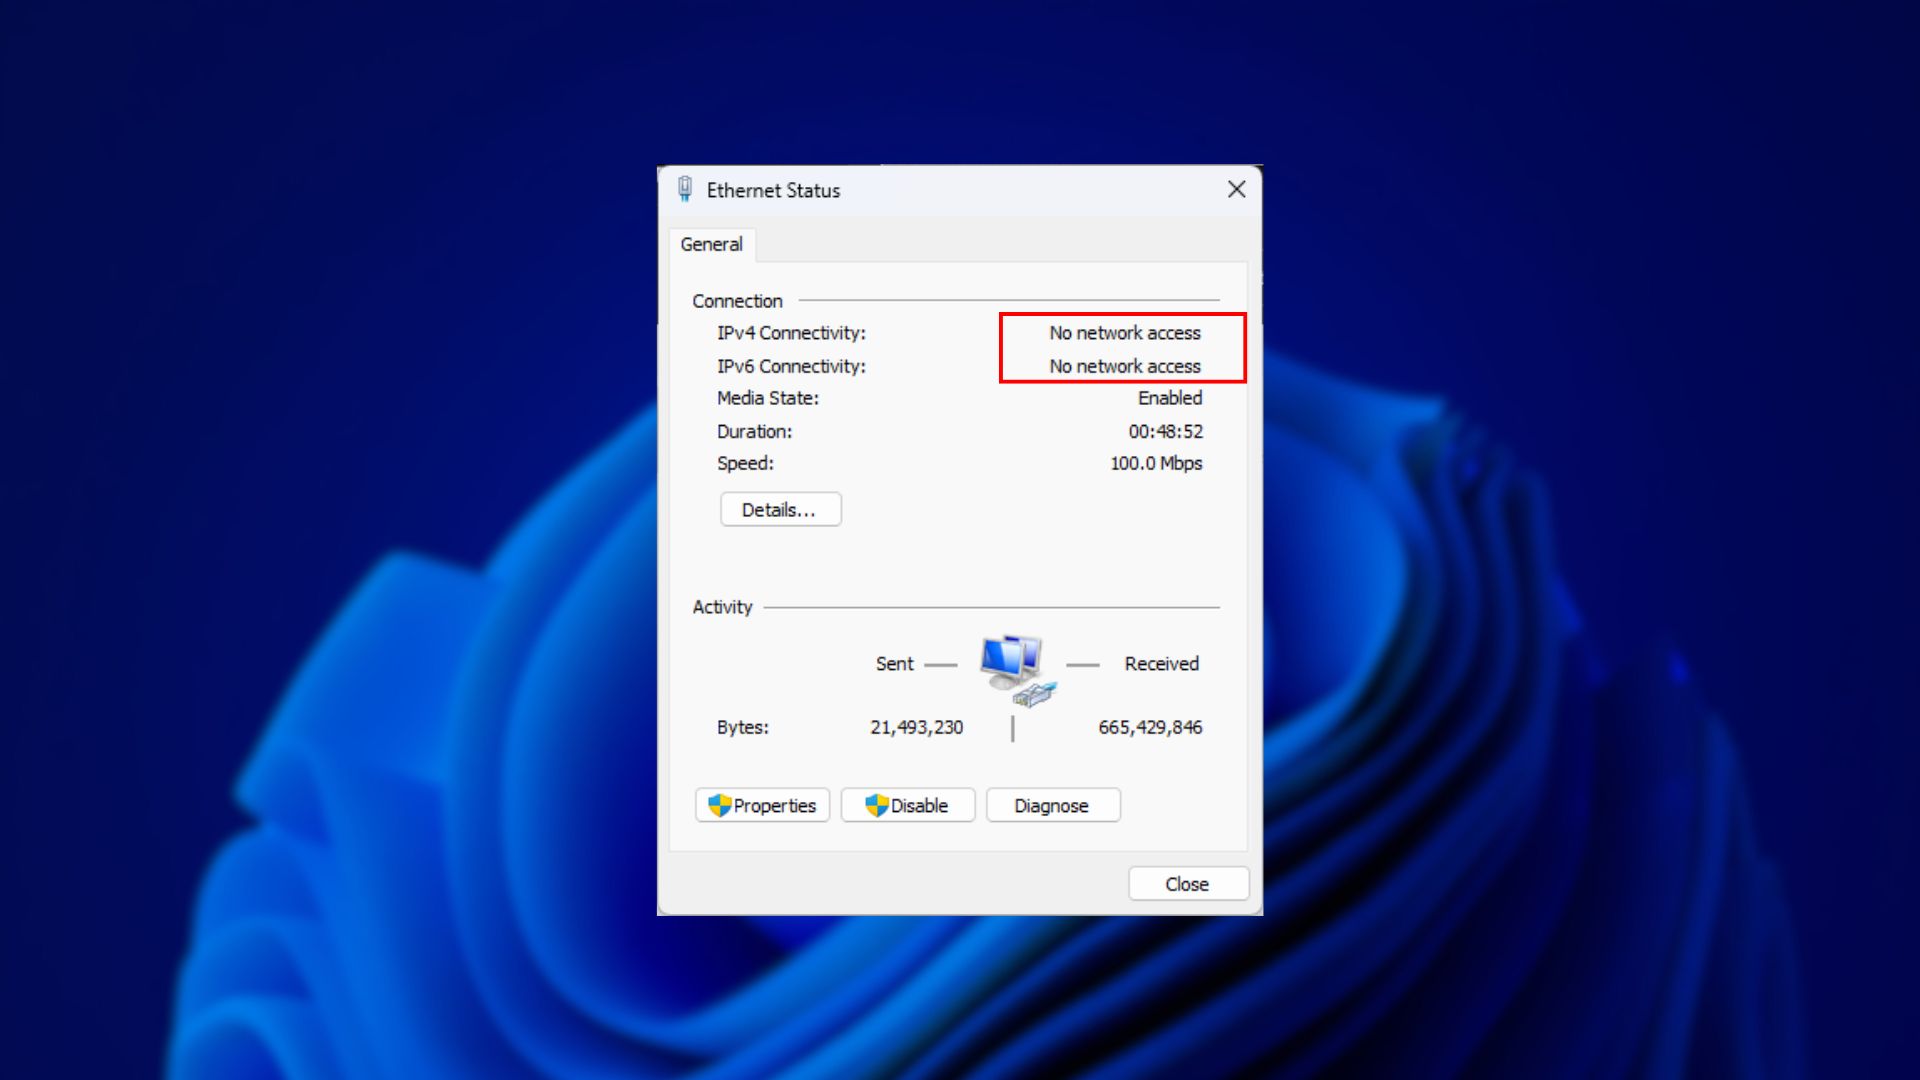
The IPv4/IPv6 No Internet Access issue indicates that you are connected to the local network but cannot access the internet. This problem often arises when the system fails to obtain the correct IP address due to a misconfiguration of DHCP or network adapter settings.
The most common cause of this issue is incorrect IPv4/IPv6 settings, which can occur due to a lack of awareness about these settings. Other causes may include ISP issues, outdated or corrupted network drivers, and problems with Winsock.
Before exploring the solutions to this issue, please ensure your internet is working properly on other devices. Otherwise, following the methods below may be a waste of time.
Now that we understand the causes, let’s have a look at the solutions.
1. Configure the IPv4/IPv6 Settings Manually
Although we recommend obtaining the IP address automatically for your device, manually configuring the IPv4/IPv6 settings might be necessary because DHCP is failing to assign the correct IP settings. By manually configuring the IP address, you ensure that your device communicates correctly with the router. This step bypasses potential network configuration errors and eliminates issues related to incorrect IP assignments or network communications.
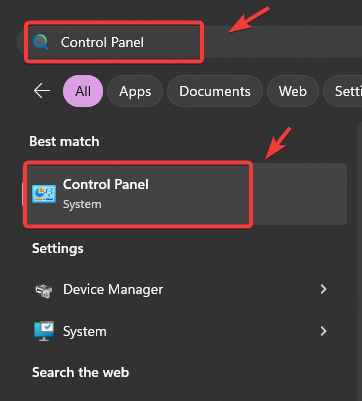
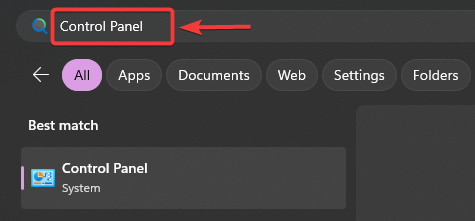
- Press the Win key and type Control Panel.
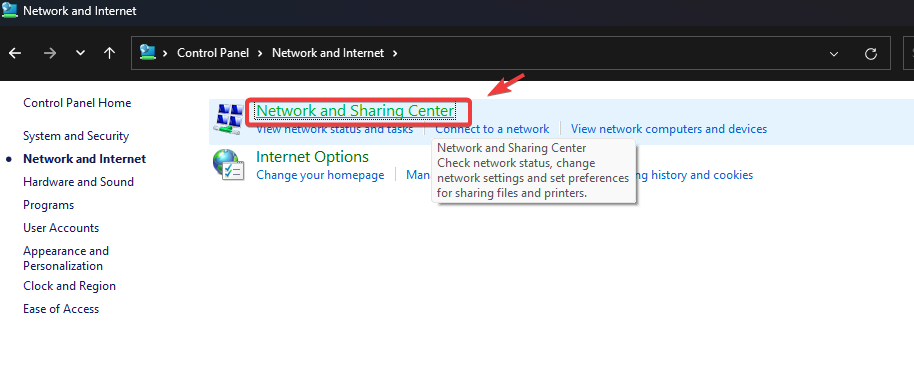
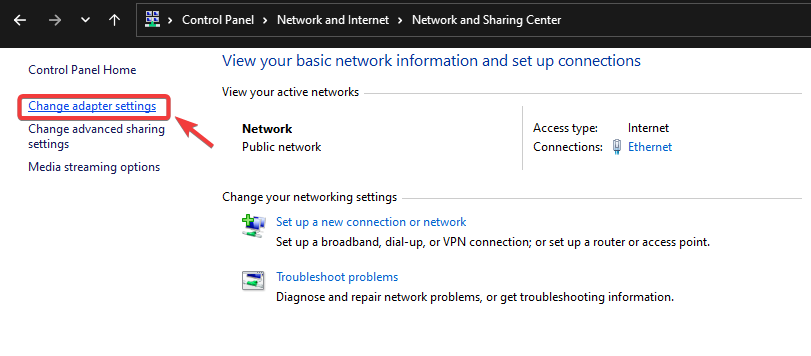
- Navigate to Network & Internet > Network and Sharing Center.
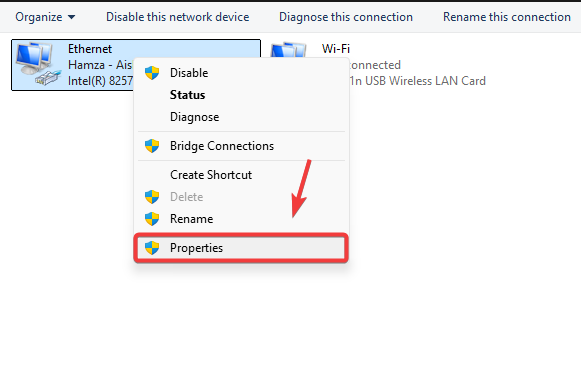
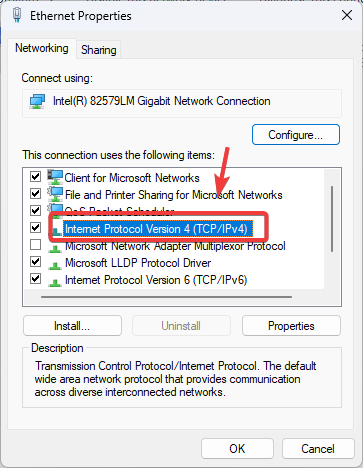
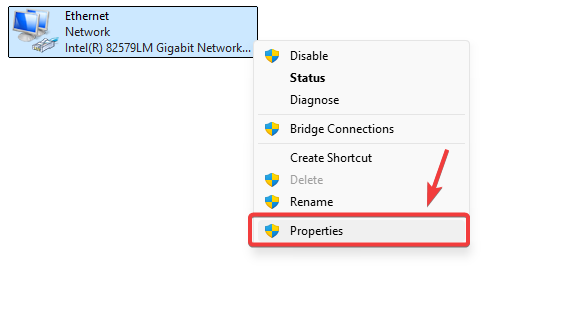
- Click Change Adapter Settings on the left, right-click on your network adapter, and select Properties.
- Double-click the network protocol named Internet Protocol Version 4 (TCP/IPv4) to open its properties.
- Select Use the following IP address and enter the necessary IP details.
- If you are unsure about your IP information, press the Win key and type Command Prompt.
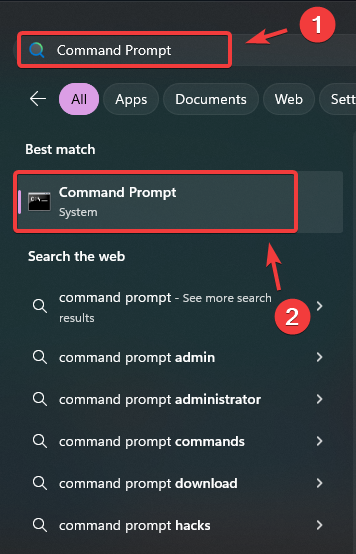
- Open the Command Prompt, type ipconfig, and hit Enter to execute the command.
- Note down the IP details, such as IPv4 Address, Subnet Mask, and Default Gateway.

- Enter the details in the TCP/IPv4 properties.
- Alternatively, if you don’t see any IP details in the Command Prompt, you can access your router’s admin panel by entering the default gateway address, which is typically 192.168.0.1 or 192.168.1.1 for IPv4. You can also ask your ISP if you cannot find it.
- Locate and navigate to the option related to DHCP, LAN, or Network.
- Note down the necessary IP details such as the subnet mask, default gateway, and IP address. Typically, the subnet mask is 255.255.255.0, and the default gateway of the router is 192.168.0.1.
- When manually configuring IPv4, you need to create the IP address for the device yourself. First, obtain the full IP address from the router’s control panel, then change the last digit. For example, if the IP address is 192.168.0.100, change it to 192.168.0.5. Ensure that you assign a unique address that has not already been assigned to any other device in your local network.
- Once done, go back to the control panel and enter the IP details.
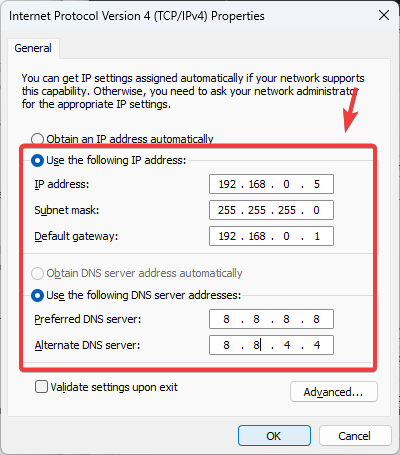
- Type 8.8.8.8 in the Preferred DNS Server and 8.8.4.4 in the Alternative DNS Server.
- Finally, click OK, and the issue should be resolved.
2. Reinstall the Network Adapter
Over time, network drivers can become corrupted or outdated, leading to communication failures between the router and the device. Reinstalling the network driver will refresh its functionality, restore default settings, and resolve any configuration issues that may be causing the problem. Therefore, try reinstalling the network adapter to see if this resolves the issue.
- Right-click the Start Menu and select Device Manager to open it.
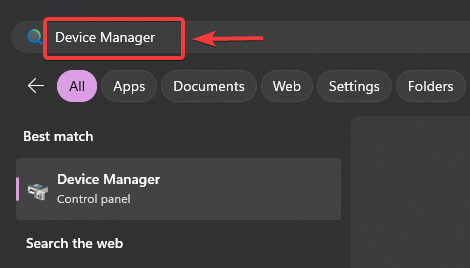
- Once you are in the Device Manager, expand the Network Adapters section.
- Right-click the network adapter and select Uninstall device.
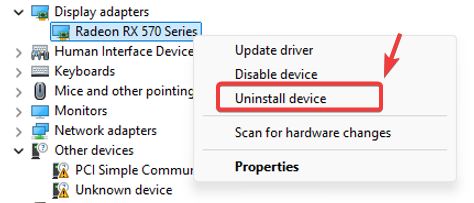
- Again, click Uninstall to confirm.
- If you don’t know which network adapter to reinstall, you may uninstall all the network adapters and restart your computer to reinstall them.
- Once done, see if this resolved the issue.
3. Disable IPv6
Disabling IPv6 can resolve the “No Internet Access” issue, especially if your router does not support it or if it is not properly configured. Since many devices rely on IPv4, disabling IPv6 can help prevent protocol conflicts, reducing the likelihood of encountering the issue. To do so, follow these steps:
- Click the Start Menu and type Control Panel.
- Hit Enter to open it.
- Go to Network & Internet > Network and Sharing Center.
- Click Change Adapter Settings from the left sidebar.
- Here, right-click the Network Adapter and select Properties.
- Find and disable the Internet Protocol Version 6 (TCP/IPv6) by unchecking it.
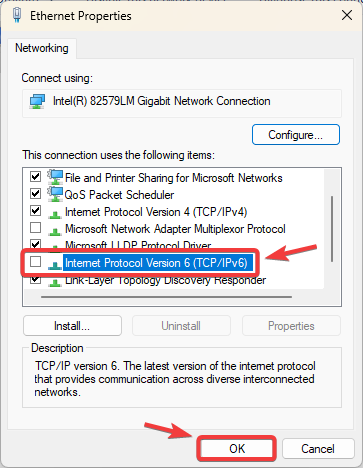
- Once done, click OK and see if the No Internet Access issue is resolved.
4. Reset Winsock
Winsock specifies how applications interact with the network. It serves as an interface between network-based applications, like browsers, and network protocols such as TCP/IP. Winsock primarily allows programs to send and receive data over the network.
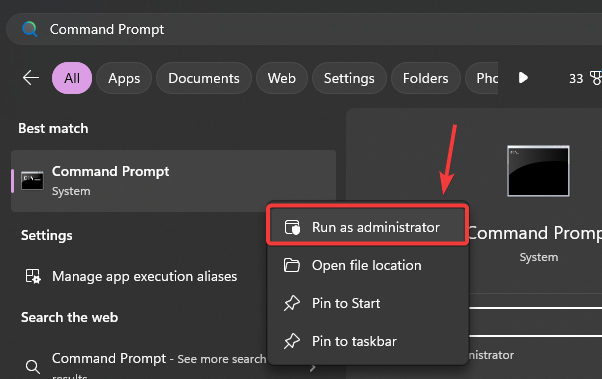
- Press the Win+S and type Command Prompt.
- Right-click on it and select Run as administrator.
- Once it is open, type the following commands to reset the Winsock:
int ipv6 reset reset.log
netsh winsock reset
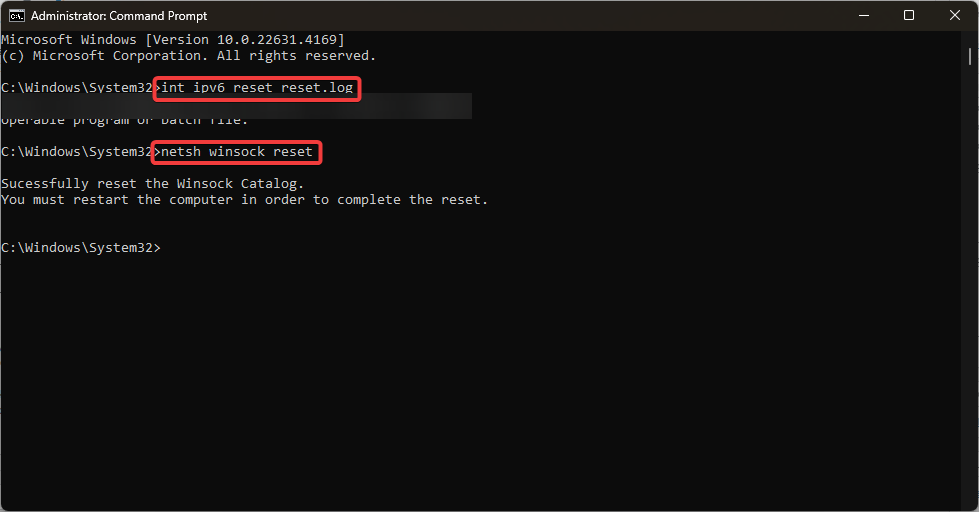
- Once done, restart your computer, and this should resolve the issue.
If Winsock becomes corrupted, it can disrupt the system’s ability to communicate with the network. Therefore, it is strongly recommended to reset Winsock, especially if the issue persists.
In the end, if the issue continues, you can try resetting the network settings, which could resolve the problem if there are any misconfigured network settings. To learn more about this, visit How to Reset Network Settings.
Hi, I have tried everything that applies to windows 10, my drivers are alright, and I’ve done a clean reset, i have no idea why my ipv6 isn’t working. It is resetrcting my work on youtube and on my search engines.
I would appreciate it if you emailed me at: Jdearbefear931@gmail.com