How to Connect & Cast Oculus Quest 2 to Roku TV
 Reviewed by Huzaifa Haroon
The Oculus Quest 2 has become a beloved VR headset, captivating enthusiasts worldwide with its immersive and thrilling experiences. However, the drawback of limited enjoyment for only one person at a time can be a downside. Fortunately, there is a solution: by connecting your Oculus Quest 2 to a larger screen, such as your Roku TV, you can elevate your VR adventures to new heights and immerse yourself in a visually stunning and captivating experience.
Although the Oculus Quest 2 offers a casting option to share the headset’s screen with others, Roku TVs can present a challenge due to their lack of SmartCast compatibility. You may notice that when attempting to cast from the Quest 2, the Roku TV doesn’t appear as an available option. However, a Quest 2 with firmware version 10 or above may display the Roku TV as an option.
Let’s dive into the details and discover different approaches to linking your Oculus Quest 2 with your Roku TV. This will allow you to enjoy VR on a larger screen and share the thrill with friends, family, or a broader audience.
Methods to Connect Meta Quest 2 to the Roku TV
The selection of a specific method relies entirely on the devices and requirements at hand. Below, we will outline steps for each method, and you can choose the one that best fits your needs. While we have discussed these methods in the context of the Quest 2 and Roku TV, they are also applicable to other TVs and Quest headsets.
1. For Quest 2 with Firmware 10 or Higher
- Power on the Roku TV and enable Casting under Settings > Share & Connect > Miracast. For some models, you may need to enable the Screen Mirroring option under Settings > System > Screen Mirroring.
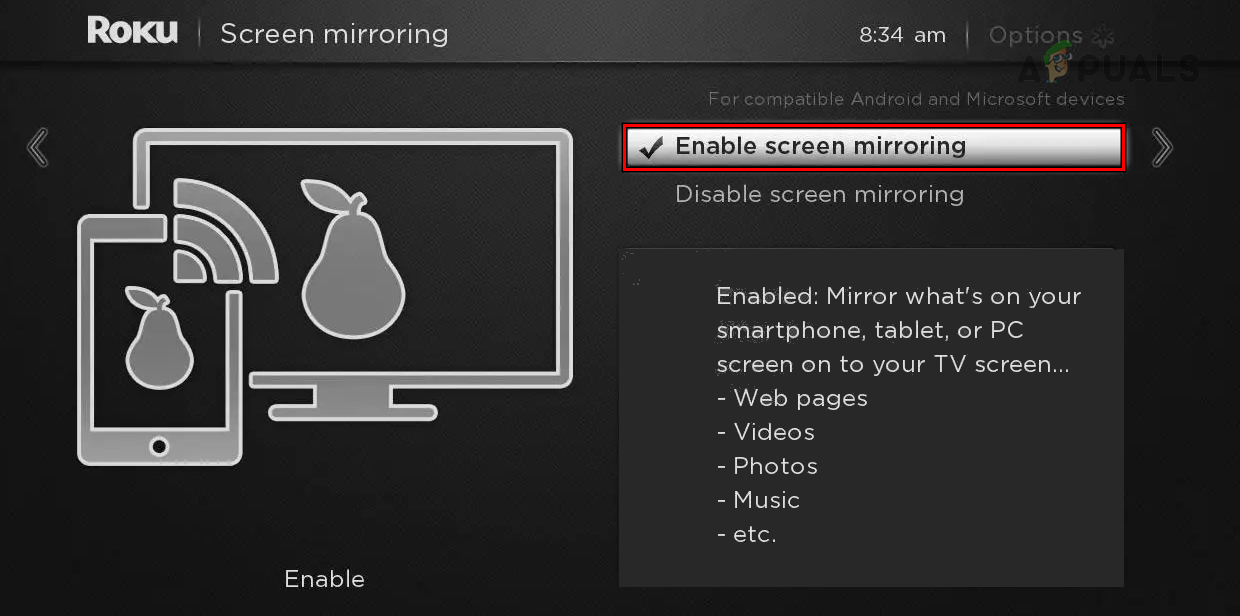
Enable Screen Mirroring on the Roku TV - Power on the Quest 2 headset and navigate to Utilities > Cast to.
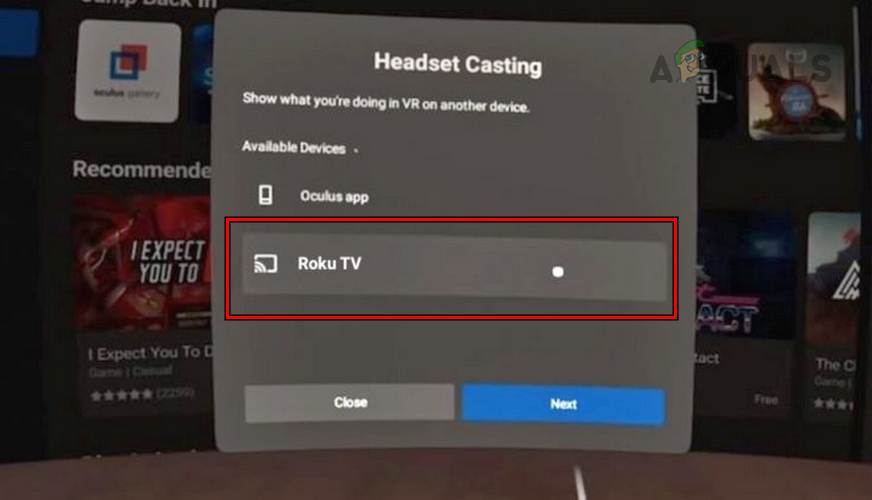
Cast the Screen of Oculus Quest 2 to the Roku TV - In the list of options available, select the Roku TV, and the Quest 2 screen will cast to your Roku TV.
2. Use a Chromecast Dongle
If your TV is equipped with built-in Chromecast technology, there is no need for an external dongle, otherwise, you may use a Chromecast dongle. If you do not own one, no need to fret, you can cast the screen of the Meta Quest 2 headset without Chromecast by using other methods discussed below.
- Arrange a Google Chromecast dongle.
- Plug it into the TV and a power source.
- Set it up and switch the TV’s input to the Chromecast device.
- Put on the Meta Quest 2 headset and power it on by pushing the power button.
- Open the Oculus Menu by pressing the Oculus button and select Share.
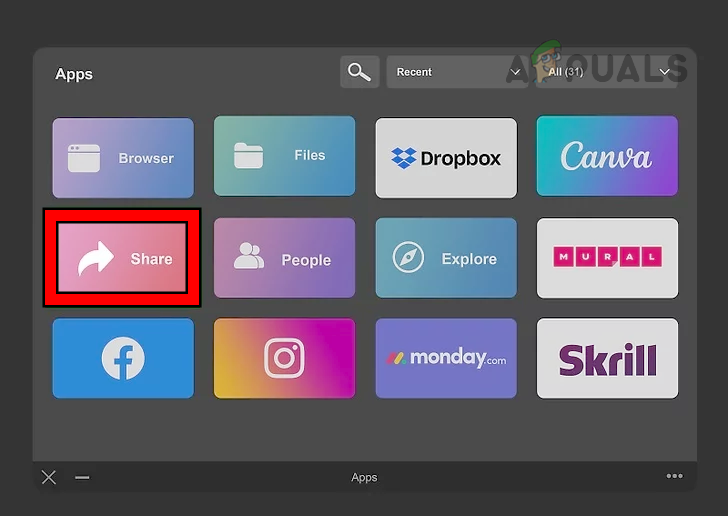
Open Share in the Oculus Apps - Click on Cast, and in the devices shown, select Google Chromecast.
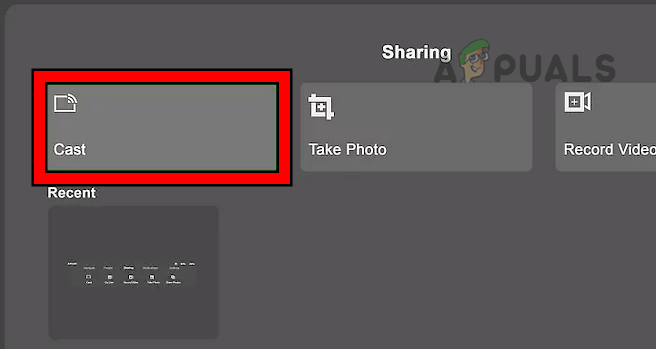
Open Cast in the Sharing Options of the Quest 2 Headset - Click on the Next button, and the Quest’s screen will be cast to the Roku TV through the Chromecast.
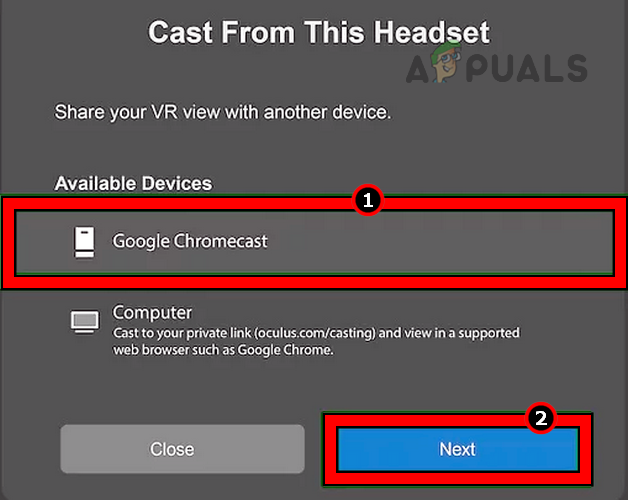
Select the Google Chromecast as the Casting Device for the Quest 2 Headset
3. Use the Meta Quest App
If you want to connect the Oculus Quest 2 without a Chromecast, you can use the Meta Quest app. You will cast the Quest’s screen to the app and then mirror the phone’s screen to the Roku TV. The mirroring options for iPhone, Samsung, Google Pixel, and stock Android phones will be different and we will cover them as well.
To stop notification bombardment on your TV, it will be better to enable DND on your phone. Also, you will need iOS 12.4+ or Android 5.0+ to install the Meta Quest app.
Cast to the Meta Quest App
- Install the Meta Quest app onto your smartphone from either the Apple App Store or Google Play Store.
- Once installed, open the Quest app and if asked, allow all the required permissions.
Launch the Meta Quest 2 App on the Phone - Log in using your Meta credentials. Make sure to use the same credentials as used on the Quest 2 headset. Ensure that your phone, TV, and Oculus Headset are connected to the same Wi-Fi network.
- Enable Bluetooth on your phone and put on your Quest 2 headset.
- Navigate to Camera > Cast or Share > Cast.
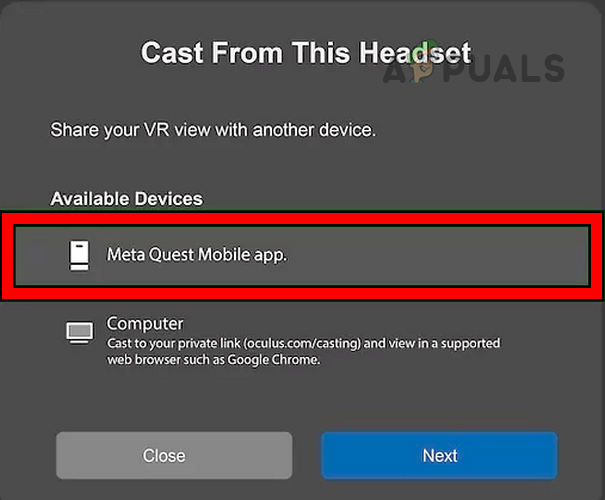
Cast to Meta Quest Mobile App - In the options, select the Meta Quest app and click on Next. The headset’s screen will be shown in the app.
- On the app, make sure the required headset is shown in the Cast From section, especially, if there are other headsets in the vicinity.
Enable Casting on the Roku TV
According to your phone, the Casting (for Android) or Airplay (for iOS) option must be enabled on the Roku TV.
For Android:
- Launch the Roku TV Settings and go to Share & Connect > Miracast or Settings > System > Screen Mirroring.

Enable Screen Mirroring on the Roku TV - Enable it. For some models, you may need to install and configure the Chromecast app.
For an iPhone:
- Go to the Roku TV Settings > Apple Airplay and Homekit.
- Enable Airplay.

Enable AirPlay on the Roku TV
Mirror an iPhone’s Screen
Once the Meta Quest app shows the headset’ screen (discussed earlier), mirroring your iPhone’s screen to the Roku TV will get the job done.
- Swipe down from the top right edge of the iPhone’s screen to open the Control Center and tap on the Screen Mirroring icon.
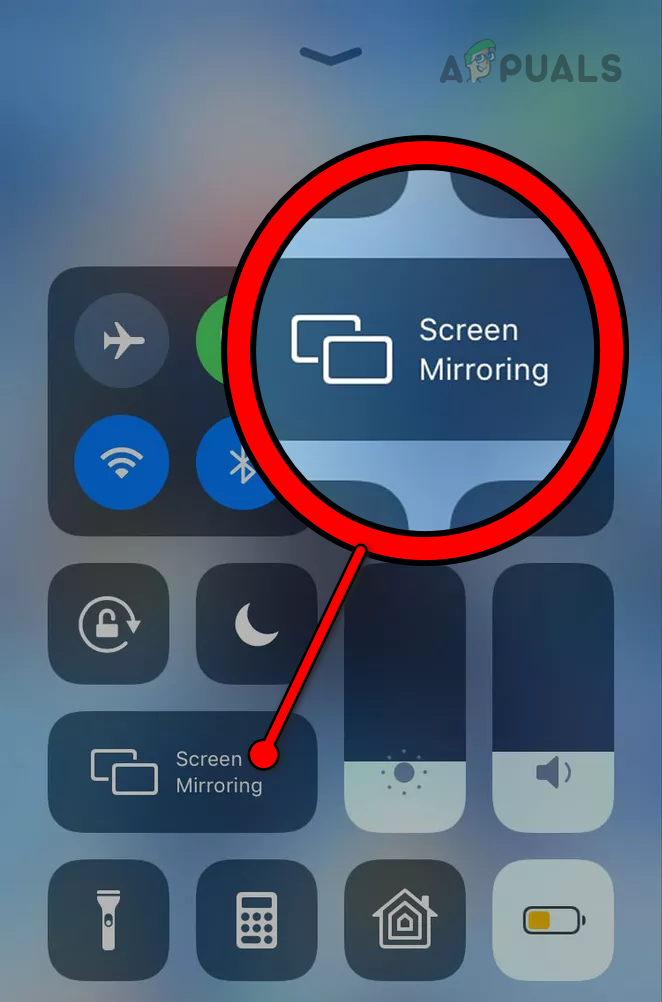
Enable Screen Mirroring on the iPhone - In the options, select the Roku TV, and the TV will start showing the iPhone’s screen. The TV may prompt to allow the screen casting from the iPhone to the TV.
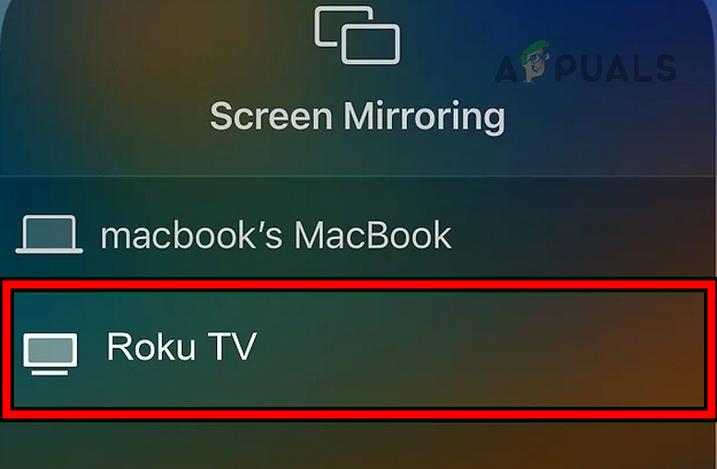
Mirror the iPhone’s Screen to the Roku TV - Switch to the Meta Quest app on the iPhone, and the screen of the Quest 2 will be shown on the Roku TV.
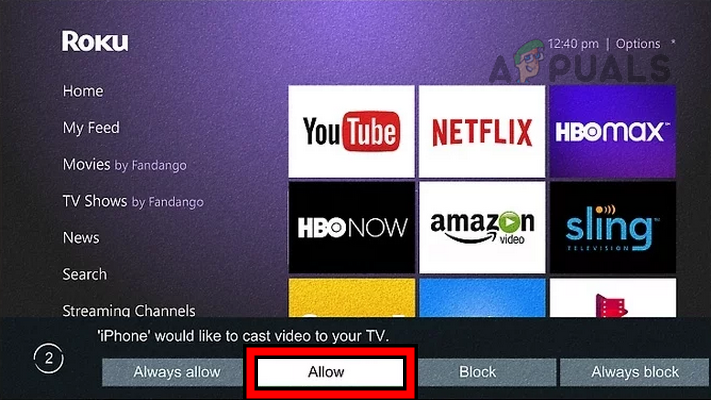
Click on Allow the Screen Casting Prompt of the Roku TV
Mirror a Samsung Phone’s Screen
Once the Quest 2 headset starts casting to the Meta Quest app, you can mirror the Samsung phone screen to the TV.
- Swipe down twice on the phone’s screen to open the Quick Access Panel.
- Swipe Left on the screen and tap on the Smart View icon.
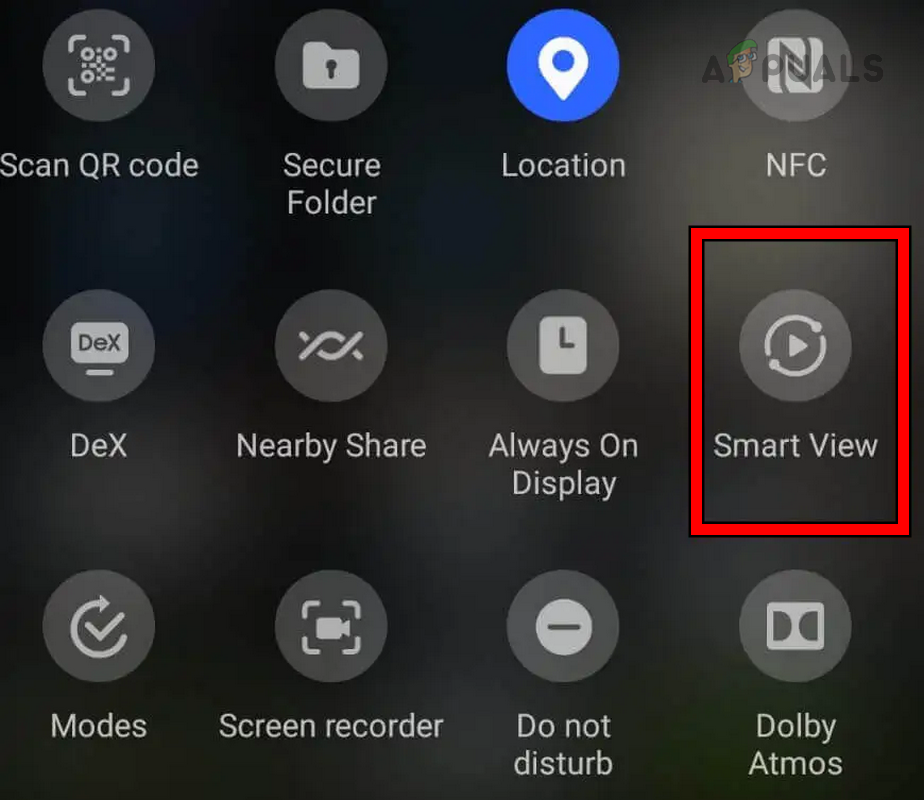
Enable Smart View on the Samsung Phone - In the list of devices, select the Roku TV and tap on Start Now.

Select Roku TV in the Samsung’s Smart View - Your TV will be mirroring your phone’s screen. If asked, select Allow on the TV to cast the phone’s screen to the Roku TV.
- Switch to the Meta Quest app on the phone and the headset’s screen will now be shown on the Roku TV.
Mirror a Google Pixel Screen
For a Google Pixel phone, the Roku TV must have Chromecast functionality built into it or you will require a Google Chromecast device.
- Launch the phone’s Settings and go to Connected Devices > Connection Preferences> Cast.
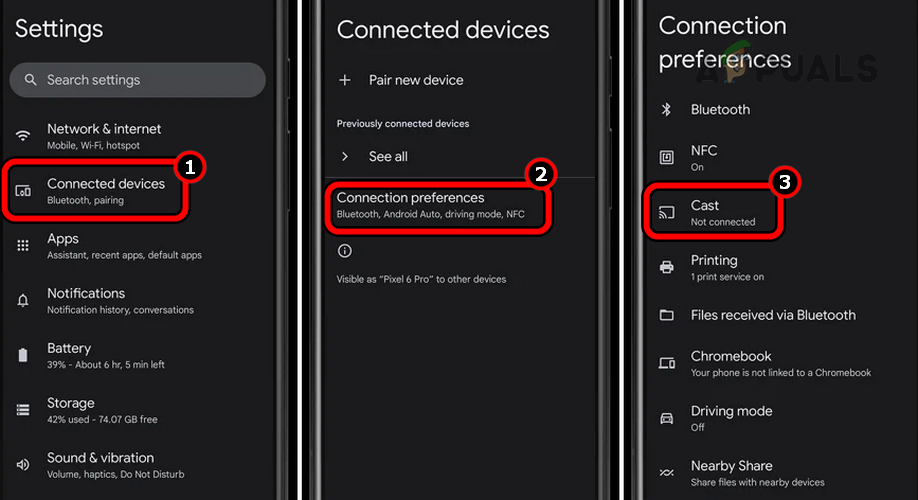
Open Cast in the Connection Preferences of the Google Pixel Phone - Select the Roku TV in the list of devices and the phone’s screen will be visible on the TV. If prompted by the TV, select Allow to display the phone’s screen on the TV.
- Open the Meta Quest app on the phone and you will see the headset screen on the TV.
Mirror a Stock Android Phone’s Screen
- Swipe up or down on the phone to open its Quick Settings panel.
- Tap on the Screen Mirroring or Cast icon and select Roku TV. For some models, you may have to edit the Quick Settings panel to show the Screen Mirroring icon.
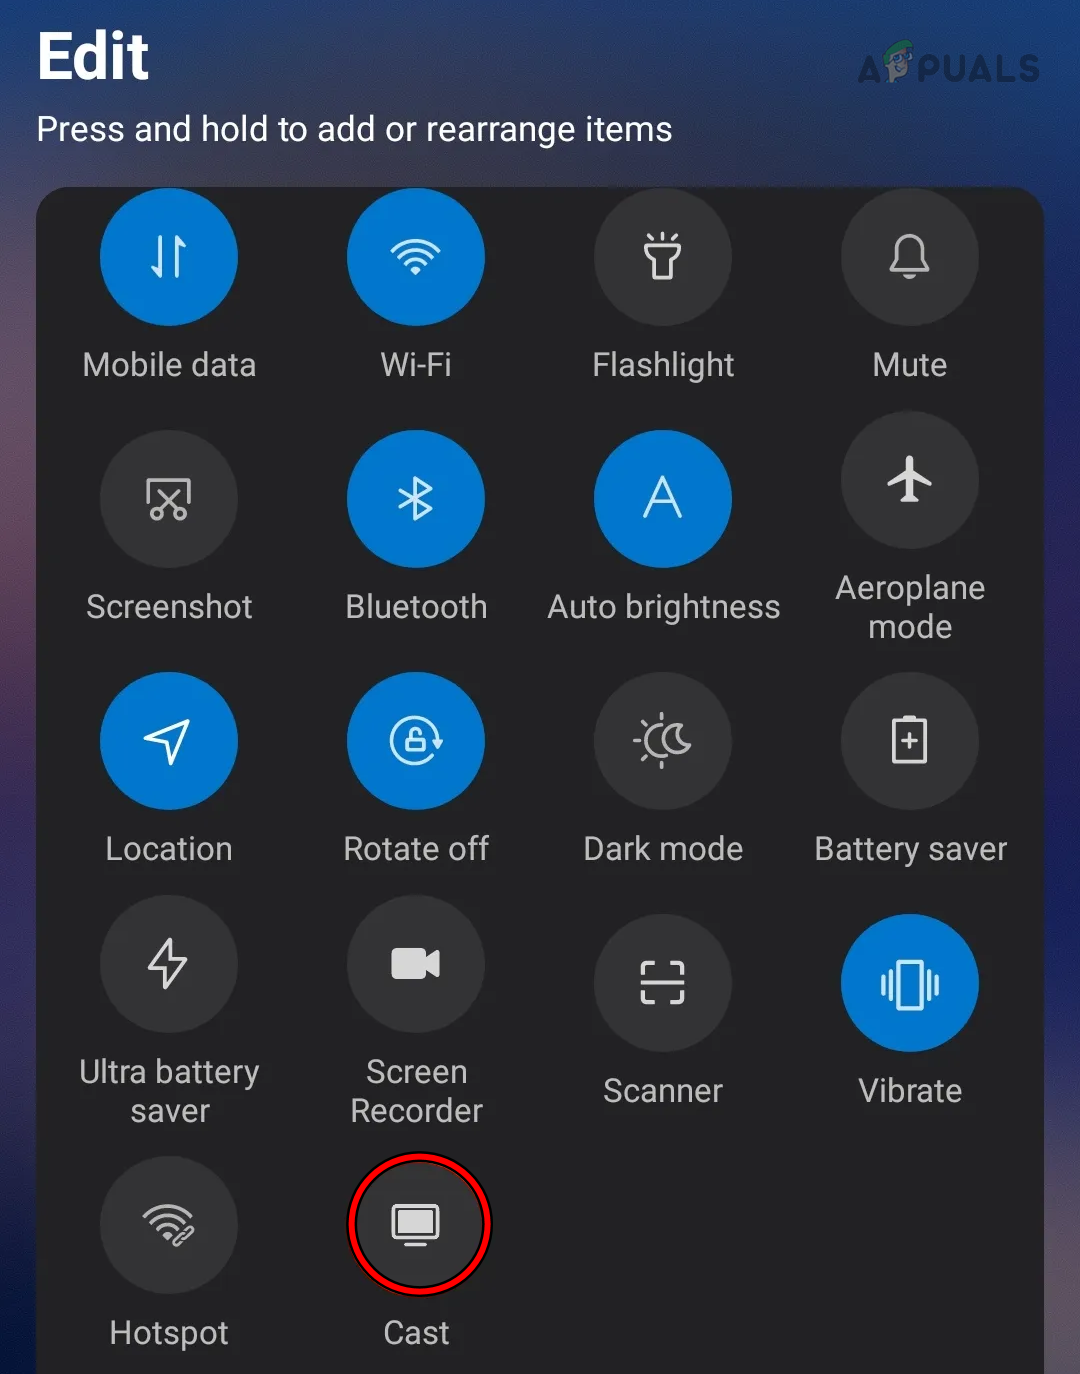
Cast the Android Phone Screen to the Roku TV - The phone’s screen will be displayed on the TV and once you switch to the Meta Quest app on the phone, the screen of the Oculus Quest 2 will be visible on the Roku TV. You may be required to select Allow on the TV to allow the screen casting.
4. Use An HDMI Cable
You can cast your phone’s screen to the Roku TV by using a USB to HDMI adapter. This reduces the lag you may experience in other approaches and will enhance the viewing experience.
- Connect the USB side of the adapter to the phone’s port and then connect the HDMI side to the TV’s port.
- Switch the TV’s input to the required HDMI port and make sure the phone’s screen is shown on the TV.
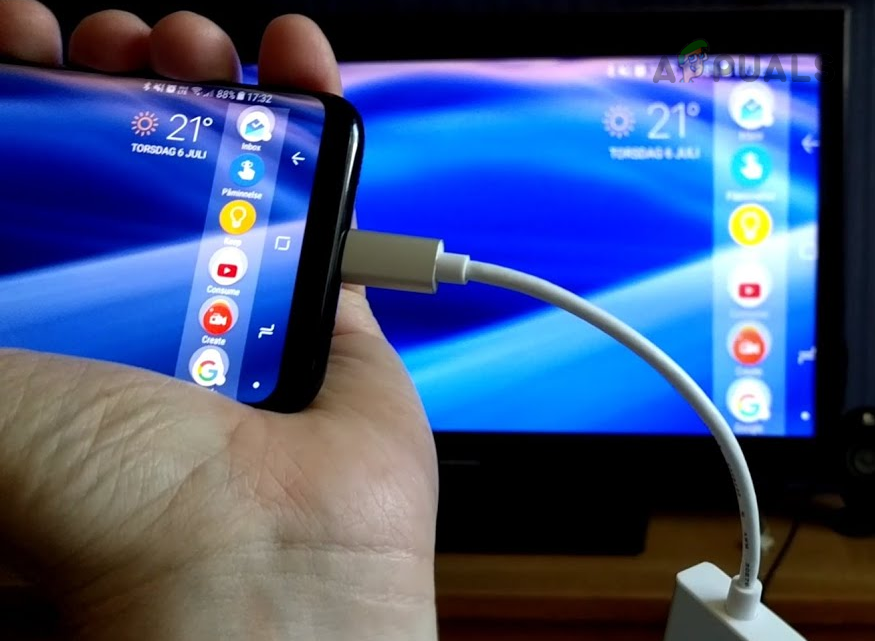
Connect the Phone to the TV by Using a USB to HDMI Adapter - Launch the Meta Quest app and cast the headset’s screen to the app (discussed earlier). Resultantly, you will see the headset screen on the TV.
5. Use a PC
- Use an HDMI cable to connect your PC to the TV or you can set up wireless projection between the both.
- Launch the Chrome browser or Edge browser on your PC and go to the Casting Page of the Meta Oculus website. You can also use another Chromium-based browser but non-Chromium-based browsers may not work.
- Log in using the same credentials as used on the Quest 2 headset.
- Put on the Oculus headset and power it on.
- Open the Oculus menu by pressing the Oculus button and go to Camera > Cast.
- In the devices shown, select the Computer and click on the Next button. If the computer is not shown as an option, ensure the system is connected to the same Wi-Fi as the headset, not connected through Ethernet.

Cast from the Oculus Quest 2 Headset to the Computer - Your Oculus Quest 2 will be shown on the PC which is being displayed (through HDMI or wirelessly) on the Roku TV.
How to Stop Casting
The process to stop casting will depend on the method used to cast.
- For the first method, on the headset, go to Utilities > Cast to. Click on Stop Casting.
- For the second method, go to the Oculus menu > Sharing > Stop Casting.

Stop Casting on the Oculus Quest 2 Headset - For the 3rd method, launch the Meta Quest app and tap on Stop Casting. Open the phone’s Quick Settings, Quick Access Panel, or Control Center. Tap on the mirroring icon or Smart View icon and this will disable the phone’s screen casting to the TV.
- For the 4th method, disconnect the HDMI cable from the phone.
- For the 5th method, disconnect the PC from the wireless display or unplug the HDMI cable from the PC. Close the browser. On the headset, go to Camera > Cast > click on Stop Casting and you will be done.
Common Issues
Here are some common issues you may face when connecting the Meta Quest 2 with the Roku TV.
- The Meta app does not show the Roku TV in the list of casting devices.
- The Phone does not detect the Roku TV.
- The casting button is greyed out in the Oculus Quest 2 menu.
- You may notice a lag on the Roku TV (not on the headset).
- Audio may not come out of the TV but from the phone.
- You may fail to cast some apps or games from the headset.
Steps to Address Common Issues
- Make sure your phone and Roku TV are connected to the same Wi-Fi.
- Restart the TV and phone.
- Make sure Bluetooth is enabled on the phone.
- Check if a router setting is causing the issue. You can connect all the devices (including your phone) to a hotspot from another phone and check.
- Update your TV, headset, phone, and app to their latest versions.
- If you are experiencing difficulties in casting a particular game or app, it is important to ensure that the app or game itself allows for casting functionality.
- To potentially reduce lag, try disconnecting devices other than the TV, phone, and headset from your network. By reducing the number of connected devices, you may alleviate network congestion and improve the overall performance of your casting experience.
- Pair the headset with an external audio device (such as Apple Airpods) with the headset and use that device to route the audio.
- To troubleshoot any issues you may be experiencing, reset your app, headset, TV, router, and phone one by one.
- Contact Meta Support.
Dear readers, this is the end here. Have a query or suggestion? we are available in the comments section. !
Reviewed by Huzaifa Haroon