How to Fix Oculus Quest 2 Controller Not Working Issue?
Oculus Quest 2 controller can stop working due to different reasons. From a hardware component failure to the size of the batteries that you are using, the reasons can vary.
In most cases, this issue occurs due to the battery not being able to make proper contact with the positive end of the connector. However, that might not be the case if you are using the original batteries. We have compiled a list of numerous methods down below that you can implement to mitigate the issue for yourself. Let us get started.
1. Restart Oculus Quest 2 Headset
The first thing that you should do when starting to troubleshoot the Oculus Quest 2 controller not working issue is to restart your Oculus Quest 2 headset. Restarting the headset can often fix various issues that might have been triggered due to bad bootup.
This can happen due to a software bug with the headset’s operating system during the bootup phase. Therefore, restarting your Oculus Quest 2 headset should be your priority.
To do this, follow the instructions given down below:
- First, press and hold down the Power button on the right side of your headset until the Power off screen is shown.
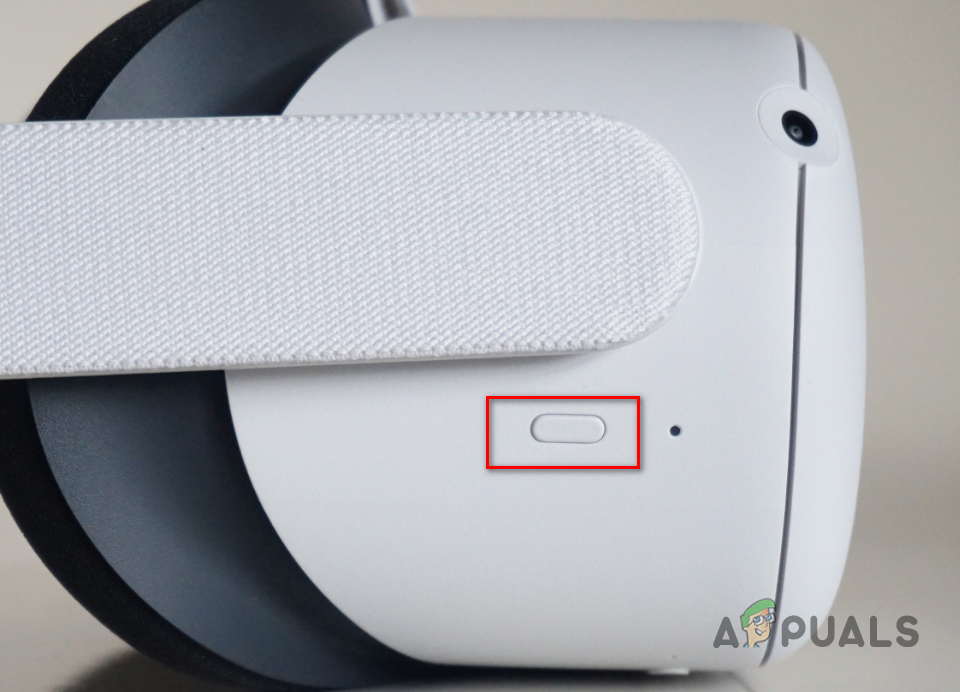
Oculus Quest 2 Power Button - Select the Restart option to perform a restart.
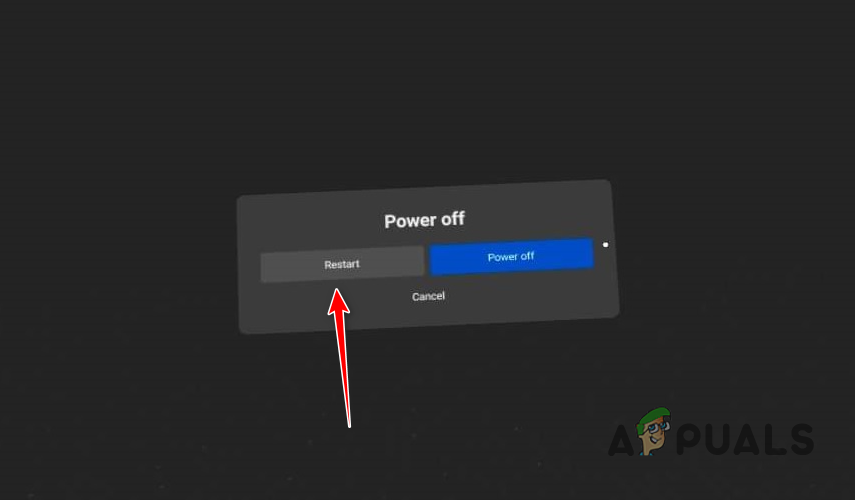
Restarting Oculus Quest 2 - After your Oculus Quest headset boots up, see if the issue still occurs.
2. Clean the Battery Connectors
Another potential cause of the problem can be the battery connectors on your controller. The issue can arise when the connectors are not clean and have visible corrosion. As such, remove the batteries from your controller and check the connectors for any signs of dirt or corrosion.
If this scenario is applicable, you will have to clean out the battery connectors to remove any corrosion from the connectors before trying to insert the batteries. There are various ways you can clean off the corrosion from the connectors. Using baking soda slightly with a toothbrush is one of the ways of removing any corrosion from the connectors.
Once the corrosion has been removed from the connectors, insert the batteries again to see if the issue has been resolved. If the problem persists, move to the following method down below.
3. Use a Small Aluminum Foil
If you are using new batteries in your controller, the issue can occur due to the size of the batteries that you are using. This is because the sizes of the batteries can vary from one to other.
As such, the battery that you might be using may not be able to make proper contact with the connector of the controller which prevents it from working. This is because the battery does not provide the required charge for the controller to function as it is not making any contact.
If this scenario is applicable, you can overcome the issue by inserting a small aluminium foil on the positive end of the controller.
To do this, take a small piece of aluminium foil and place it on the positive end of the controller so that there’s a bump to the connector. After that, insert your battery and make sure it makes contact with the aluminium foil.
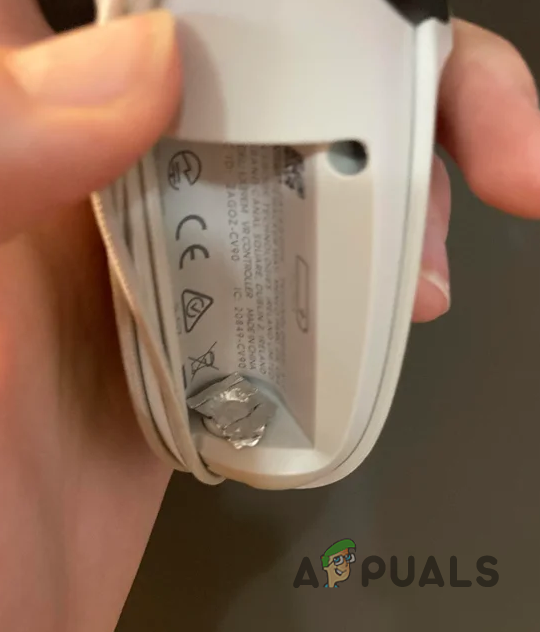
This should resolve any battery size issue which might be preventing the controller from working at all.
4. Replace Your Batteries
If inserting an aluminium foil on the positive end of the controller does not fix the issue for you, the issue may likely be due to bad batteries. If you are using new batteries, we would recommend trying out a different pair on your controllers to see if that resolves the issue.
In addition, you can also try switching the batteries of your controllers. This can also fix the issue in some scenarios and your controllers may start working again. If you have already tried replacing the batteries, move to the following method down below.
5. Factory Reset Oculus Quest 2
In some scenarios, your Oculus Quest controllers may stop working because of a software issue. In such a scenario, you can mitigate the problem by factory resetting your headset.
Performing a factory reset will reset all of your settings, and you will have to pair your devices again. In addition, all of the games will have to be downloaded again on your headset before you can play them since they are removed during the reset as well.
To factory reset your Oculus Quest 2 headset, follow the instructions down below:
- First, press and hold the Power and Volume down buttons on your Oculus Quest 2.
Oculus Quest 2 Power Button - On the USB Update Mode screen, use the Volume down button to navigate to the Factory reset option.
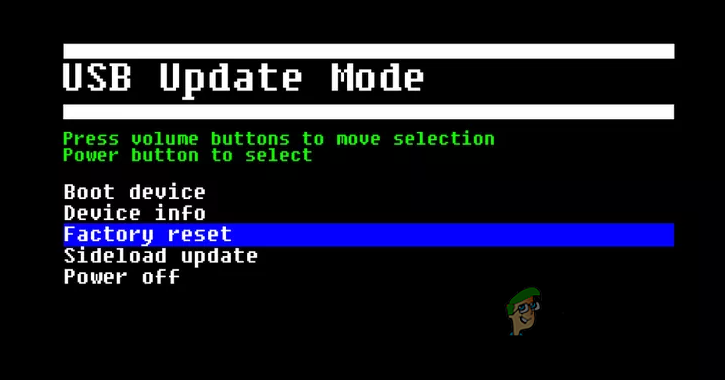
Factory Reset Oculus Quest 2 - Press the Power button to select the option.
- Follow it up by pressing the Power button again to confirm the action.
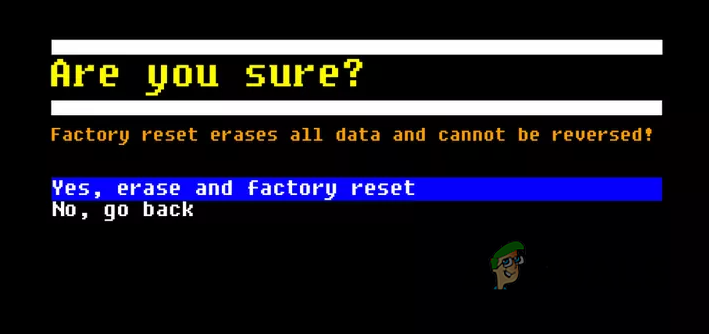
Confirming Factory Reset - Once you do that, Quest 2 will perform a factory reset. Wait for it to complete and check if the problem still occurs.
6. Check for Hardware Failure
Finally, if you have tried all of the methods mentioned above and the problem persists, the issue might be due to a hardware component failure. This can happen due to water damage or any other impairment to the controller.
You can verify this by checking the light on your controller. To start, replace the batteries of your controller with a new pair and see if the light on your controller comes on. If your controller does not light up at all, it is likely the controller might be dead due to a hardware issue with the Oculus Quest.
In such a scenario, you can reach out to Oculus customer support and fix the issue with them. You can often claim your warranty and get a new pair of controllers.