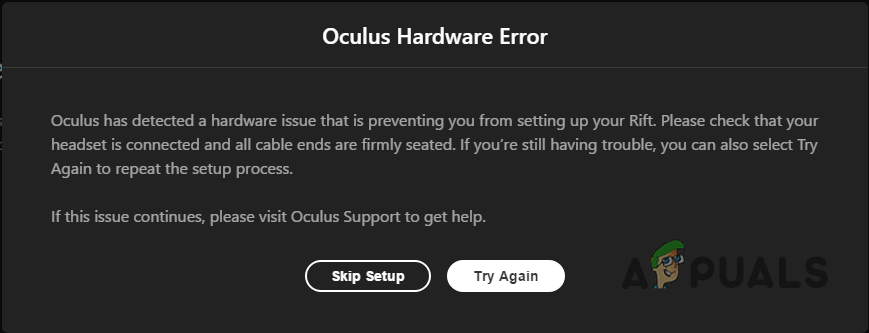
Oculus Hardware Error? Try these fixes
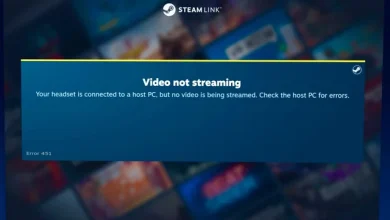
The Oculus hardware error comes up when you are trying to enter the VR world using your Oculus headset. The error message associated with the hardware error can be different depending upon your scenario, nonetheless, you’re not alone in facing this error message. As it turns out, the error message prevents you from playing any VR games on your PC since you are not able to connect your headset to the computer. This can be due to a number of reasons which include your BIOS settings, the graphics drivers that you are using, and more.
With that said, in this article, we will be walking you through a number of steps that you can implement on your system to fix the issue in question. Before we get started with the different methods that you can use to fix the issue, it is recommended that you go through a number of basic troubleshooting. You should start off by checking the connection of your Oculus VR headset.
In order to connect to your PC, you need to have Air Link enabled in both your PC settings and on the device itself. You can try toggling this option to see if that fixes the issue. In addition to that, we would also recommend powering off the device and then turning it back on to see if the error message has gone away. Once you have gone through these steps and they should still persist, you can move on to the methods provided down below.
1. Connect via Headset
As it turns out, as per some user reports, you can resolve the hardware in question by connecting to the PC via the device itself. In order to do this, you need to have the Oculus app installed on your PC so make sure you’re good to go there. With that said, follow the instructions down below to perform the Air Link connection via the device:
- First of all, go ahead and wear your VR headset.
- Then, on the right controller, press the Oculus button.
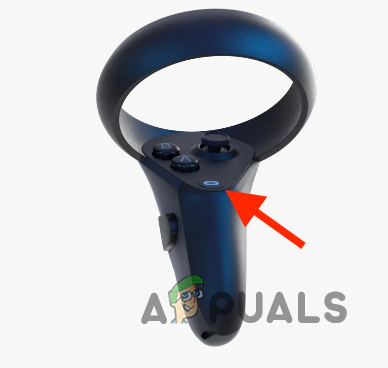
Pressing the Oculus Button on the Controller - Now from the menu shown, make your way to Settings.
- Locate the Oculus Link option provided and then go ahead and click on it.

Navigating to Oculus Air Link Settings - From there, proceed with establishing the connection with your PC.
- See if that fixes the issue.
2. Reset BIOS Settings
As we have mentioned, one of the reasons that the error message can occur is due to your bio settings. This can happen when you have overclocked some of your bio settings or when you have XMP turned on, which is a feature that overclocks your memory so that it can perform at higher speeds.
Some users have reported that these overclock settings have caused the issue for them and by resetting their BIOS settings to the defaults, they were able to fix the issue. In addition to that, if you have overclocked any other components on your PC, such as your graphics card, you would recommend undoing that as well Before seeing if the issue has been resolved.
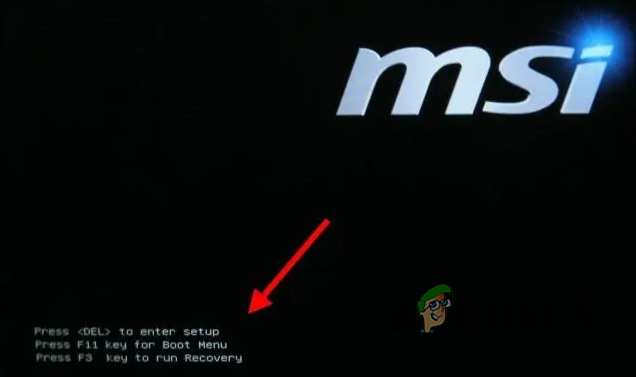
Resetting your BIOS settings is fairly simple. Start off by restarting your PC. As your PC is booting up, press the F9 or F10 key on your keyboard, depending on your motherboard manufacturer, to boot into the BIOS settings. Once you are in the bio settings, you can use the keyboard shortcuts provided to reset the BIOS settings back to their defaults. With that done, save the new settings and then restart your PC again. Once your PC boots up, try establishing the connection between your PC and the Oculus headset again to see if the issue has been resolved.
3. Update or Roll Back Graphics Driver
If the above two methods have not fixed the issue for you and the error message still persists, it is very likely that your graphics drivers are causing the issue for you. There have been several reports of certain versions of the NVIDIA graphics drivers that are causing connection issues with the Oculus VR headset.
As such, we would recommend first of all trying to update your graphics driver to the latest version available to see if that resolves the issue. In case you’re already using the latest graphics driver, we would recommend rolling back your graphics driver to an older version in hopes of resolving the error message. You can follow the instructions given down below to uninstall the graphics driver and then perform either a rollback or install the latest drivers available.
- First of all, open up the Device Manager by searching for it in the Start Menu.
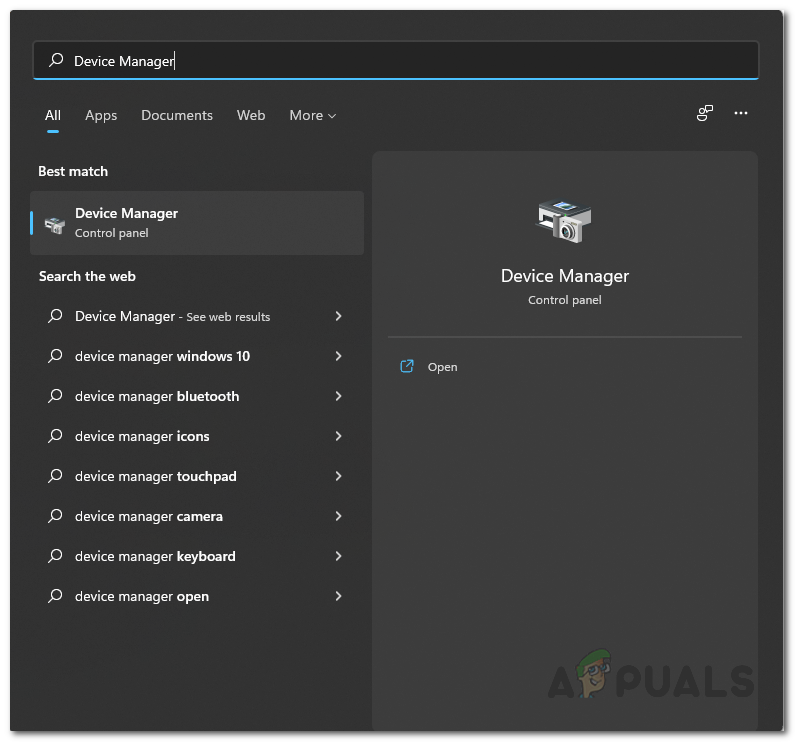
Opening up the Device Manager - With the Device Manager window open, expand the Display adapters list.
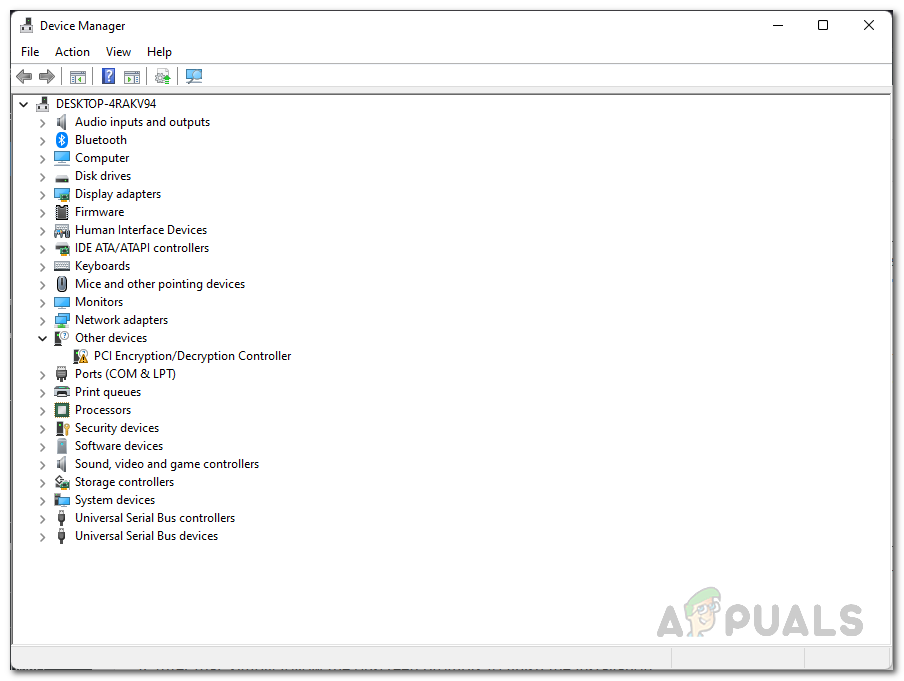
Device Manager - Right-click on your graphics driver and from the drop-down menu, click Uninstall device.
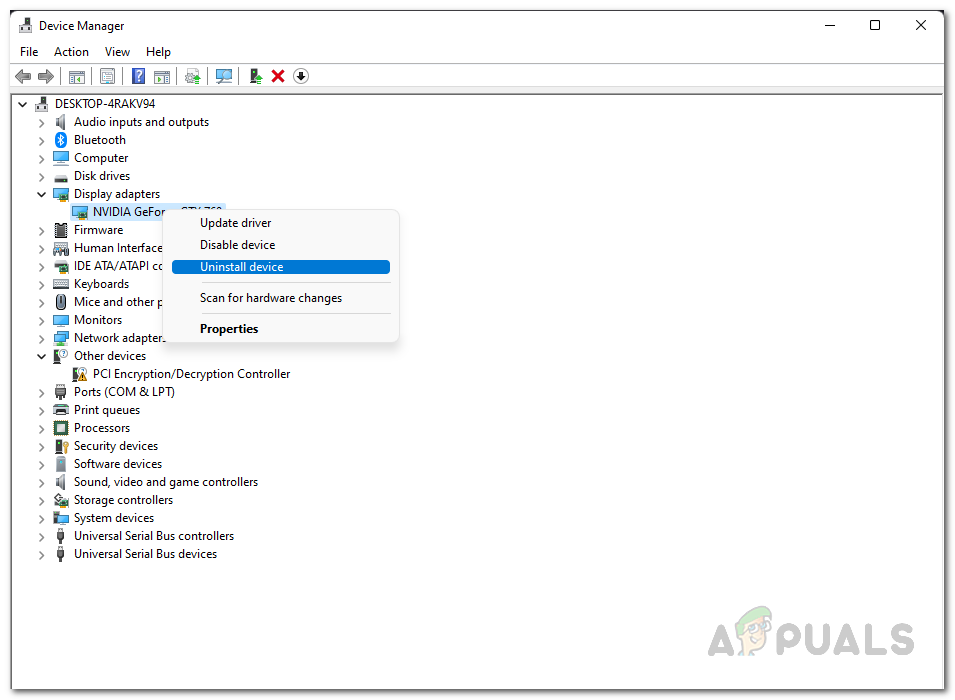
Uninstalling Graphics Drivers - Wait for your graphics driver to be uninstalled. Once that has been done, open up a browser and head to the official NVIDIA website.
- Download the latest drivers from the official website and then uninstall them on your PC. If you were older, using the latest drivers available, you should download an older version of the graphics driver available. We would recommend going two or three versions back in such a case, just to be safe.
- Once you have installed the new graphics drivers, go ahead and restart your system. When your PC boots up, open up the video game that you wish to play and see if the error message is still occurring.