How to Track your Domain’s Leaked Credentials using Identity Monitor?
Account takeovers or ATOs have drastically increased in recent times. If you are not taking the right prevention measures, then, you are just sailing close to the wind. It may not sound something substantial, but if you look at the amount of money that has been lost due to ATOs, you will come to realize that precautionary actions are needed. So what do you do in such a scenario? The solution here would be to start using a tool that offers you security by scanning the latest data dumps on the internet (even the dark web) so you can be notified whenever your corporation is included. A tool that monitors your information in real-time and scans for your specified domain or email addresses every time the database is updated.

Now, there is a long list of such tools out there that you can implement and you will be caught in a paradox should you start choosing without any reference. Fortunately, in this article, we will be discussing the best one out there. The Solarwinds Identity Monitor. How come it is the best? To start off, it is developed by Solarwinds which is a company that needs no introduction, especially to the system and network administrators. We will be showing you how you can use the Solarwinds Identity Monitor to track your domain’s leaked credentials.
Installation
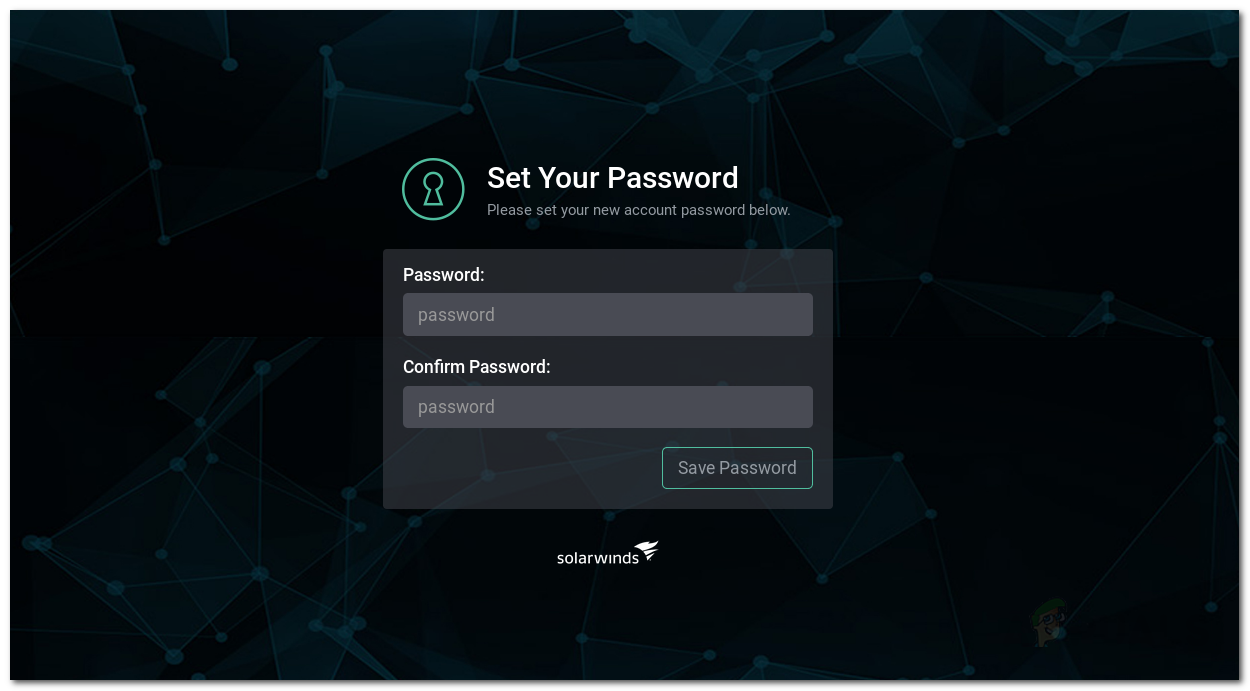
Solarwinds Identity Monitor is a web-based application, and therefore, requires no installation. Nonetheless, we will show you how you can get your hands on it. Head to this link and enter the email address that you would like to be monitored. After that, you will be asked to register an account, do so. You will receive an email with a link to the web-interface of the Solarwinds Identity Monitor. Once you open the link, create a password for your account and accept the terms of service and voila, you are good to go.
It is important to note here that you can only monitor one email address with the free version of the tool. If you wish to add a domain or additional email addresses to the watchlist of the tool, you will have to subscribe to a business plan of the tool. Now, we will get into the real stuff.
Adding Domains and Email Addresses to the Watchlist
To monitor your domain for any information leaks, you will have to add it to the watchlist of the tool. Everything in the watchlist will be monitored by the Solarwinds Identity Monitor for any information leaks. If you do not subscribe to a business plan, the added domains will appear as inactive until you buy one.
When you add a Domain, Solarwinds Identity Monitor and Spycloud (a data company that has collaborated with Solarwinds) will scan for any information leaks of the specified domain using intelligence systems or algorithms that are way better than the dark web scanners. Here’s how to add a domain:
- On the left-hand side, under Watchlist click on Domain Names.
- To add a new domain, click on the Add Domain button.
- Enter the domain that you wish to monitor and then click Add.
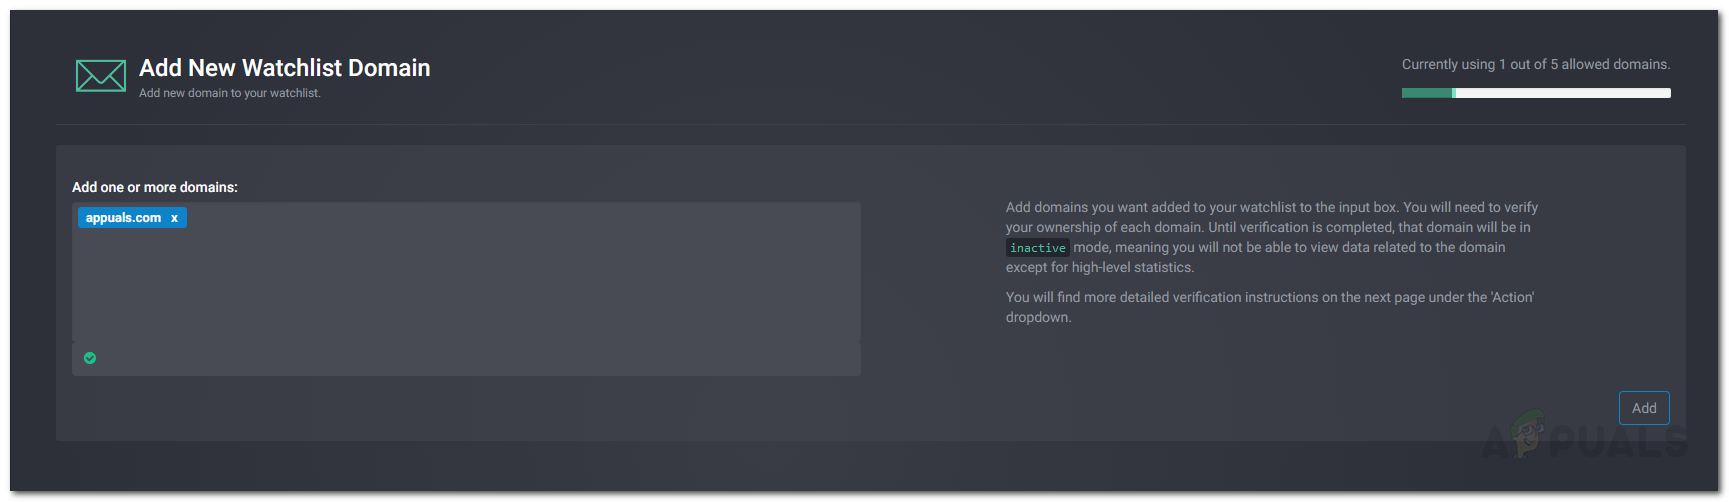
Adding Domain - That’s how simple it is. With that, you have successfully added your domain to the watchlist. The Identity Monitor will now search through billions of breach records over the past to see if you were a part of a data dump in the past. This might take a while and you will receive an email once done.
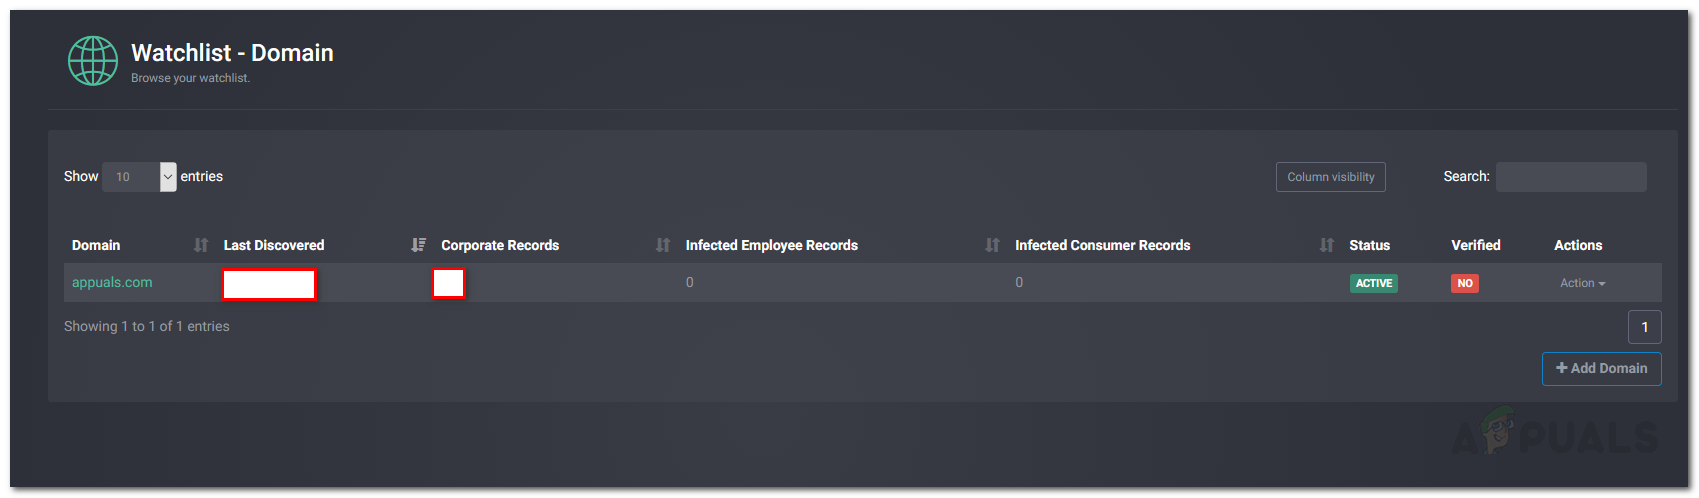
Domain Records
To add an email address, do the following:
- Under the Watchlist menu, click on the Email Addresses option.
- Now, click on the Add Email button to add a new email.
- Enter the email address you wish to monitor and then click Add.

Adding New Email - That’s it, that will add your email address to the watchlist.
If you wish to delete a domain or email address from the watchlist, you can do so by going to the respective tab and clicking Delete under the Action menu in front of the respective domain or email address.
Changing Notification Email Address
By default, the Identity Monitor tool sends the alert emails to the email address that you provided while registering an account. However, later down the lane, if you wish to change the email address, you can do so pretty easily. To change the email address where the notification emails are sent, do the following:
-
- Under Admin, on the left-hand side, click on the Notification Preferences option.
- There, click on the Add button.
- Enter the Name and then provide the email address where you wish to be notified.
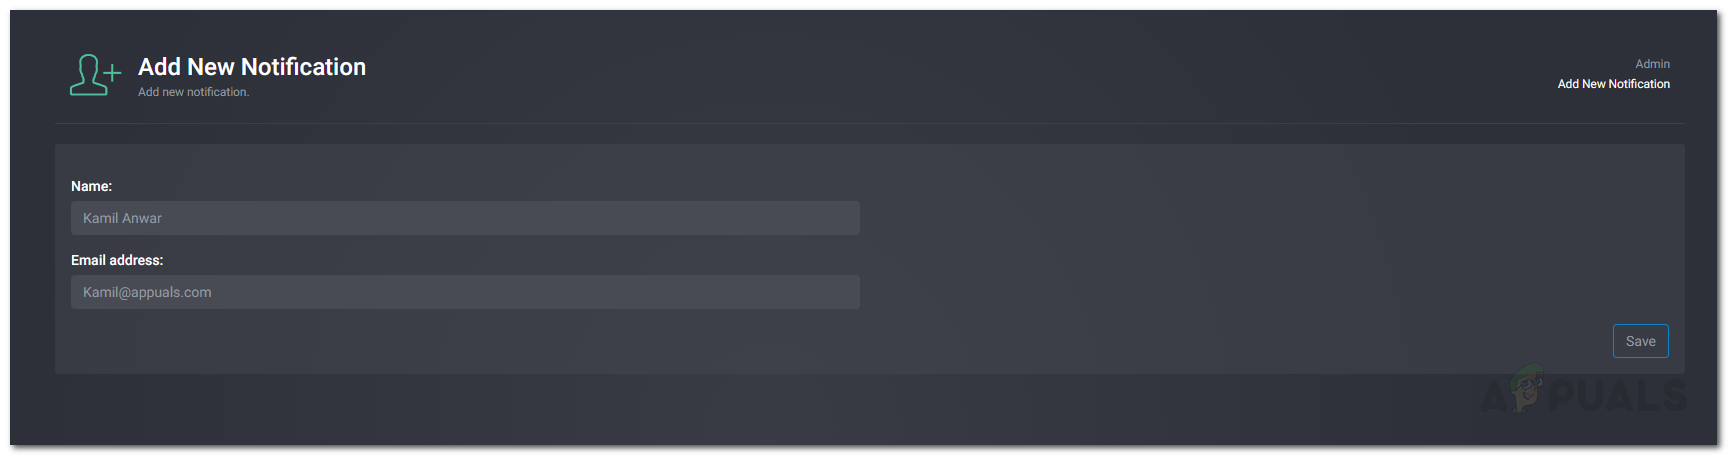
Adding New Notification Email - Finally, click the Save button. Afterwards, verify the email address and then you will be able to make it the Primary Contact Email Address.