How to Fix Taskbar Not loading on Startup Error in Windows 11?
The user interface problems like Taskbar not loading on startup, missing app icons, and malfunctioning auto-hides are common in Windows 11. This error occurs during the upgrade process from Windows 10 to Windows 11 because sometimes Windows does not support the new updates. That is why many of its features get disturbed and the screen starts to flash black and white and the taskbar gets disappeared.
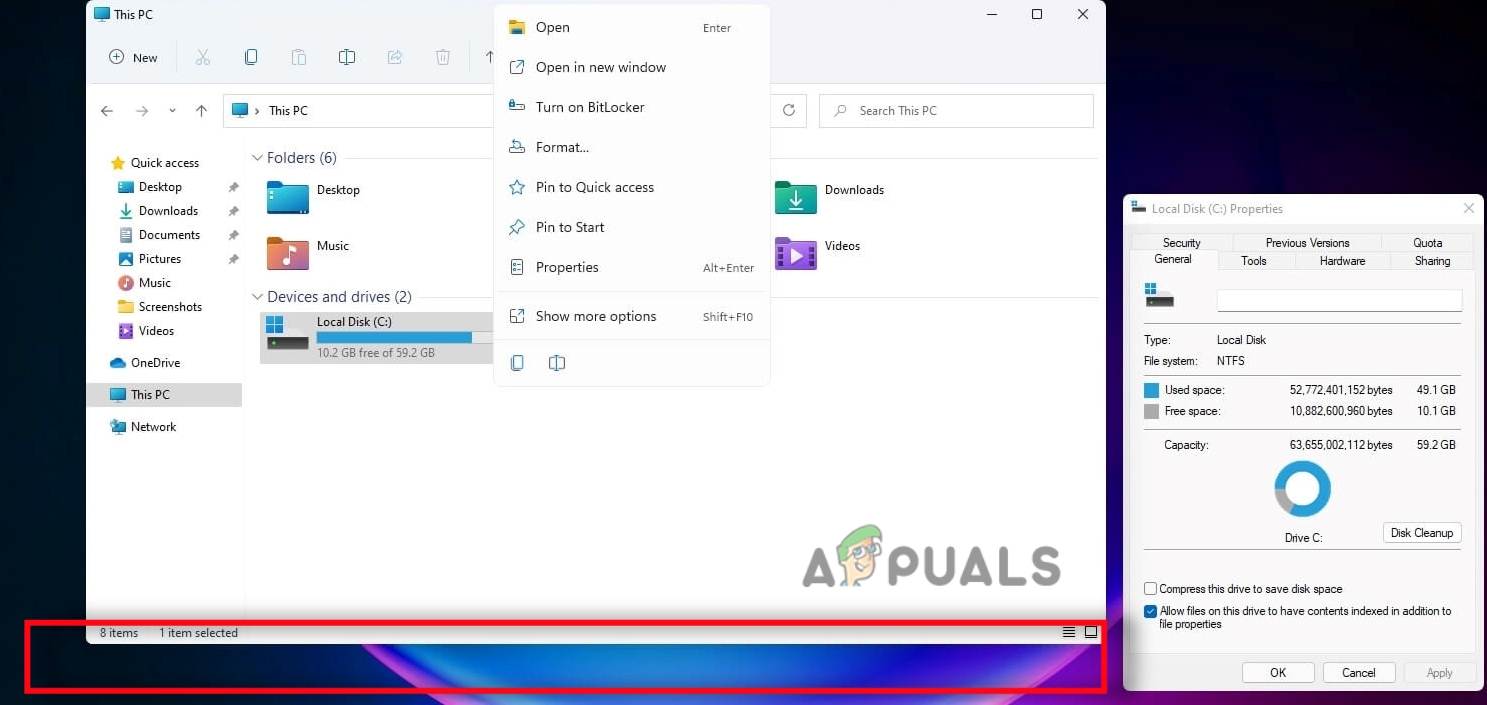
Taskbar not loading on startup Windows 11Here are some reasons why Taskbar is not showing in windows 11;
- Run various programs in the background: Sometimes various unnecessary files and programs run in the background. When the load increases it affects the functionality of the windows. Few features get disappeared. But you can fix this issue by closing all programs and ending all the unnecessary tasks.
- Corrupt system Files: Corrupt files can be a reason if Taskbar is not working in windows 11. To fix this issue you need to scan and repair these files. SFC and DISM Tools can resolve this issue.
- Presence of Virus threats: The malicious attacks and viruses cause several damage to your system. It corrupts the useful system files and also disables the features of windows like the taskbar. To avoid this issue, you can simply run the built-in Windows security tool or install any third-party software.
- Outdated Windows: If your window is in Beta Version or outdated, it does not support the new features like bug fixes, driver updates, etc. So, You can simply update the windows and check for the latest updates.
1. Restart the File Explorer
When we restart the File Explorer, it will reload all the functions and process that depends on it such as; Start Menu, Taskbar, Desktop, etc. It also fixes some small issues like explorer lagging, freezing, or restarting the above processes. So, if you restart the file explorer it might fix the taskbar appearing issue. Thus, follow these steps in sequence;
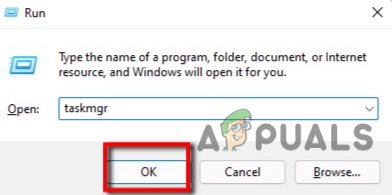
- Press the window key + R from the keyboard. The Run window will pop up.
- So, now type taskmgr and hit the Enter key from the keyboard.
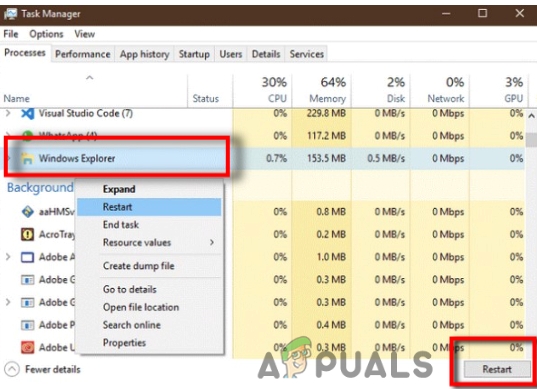
Opening the Task Manager to fix the taskbar is not loading on startup windows 11 - Scroll and search for Windows Explorer. (If it is not present in the task manager, you can simply open the file manager and again go to task manager and select Windows Explorer).
- So, select Windows Explorer by clicking once on it. Then click on the Restart The computer will reload the file explorer and refresh it again.
Restart the File Explorer - Once it is done go and check if this method fixes the problem.
2. Reinstall the Universal Windows Program (UWP)
This feature was introduced in Windows 10. This program helps in providing a common application platform to run windows. It will refresh the multiple features of the windows. As we know that our taskbar is not loading or appearing on the screen. So, we will use keys to give the commands to the computer.
- First, press the Window key + R to open the Run window. So, type CMD to open the Command Prompt.
- Type PowerShell on the command line and press Enter.
- Then type the following command to run PowerShell as an administrator;

Open PowerShell Using Command Prompt start-process PowerShell -verb runas
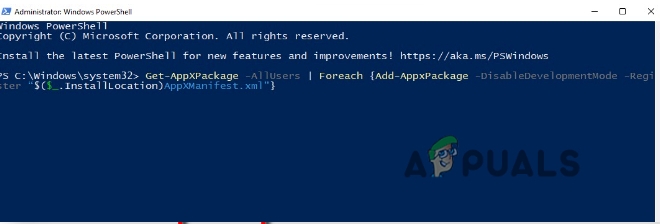
- PowerShell window will open. Type the following command on the PowerShell Command line and press Enter.
Get-AppXPackage -AllUsers | Foreach {Add-AppxPackage -DisableDevelopmentMode -Register “$($_.InstallLocation)AppXManifest.xml”} - So, it will start to register the Task manager application. Wait for a few minutes. So, once it gets done, close all the open programs.
Reinstall the Universal Windows Program (UWP) - Now you need to close a few files for the Task Manager. So, press the Window key + R from the keyboard.
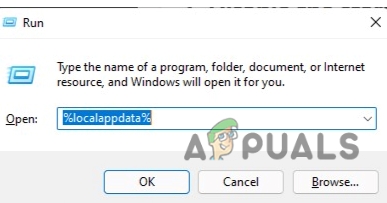
- Type %localappdata% and click on OK. The Local folder will open on the computer screen.
- So, search for TileData Layer and Delete this file by simply right-clicking on it.
Open the Local Folder to fix the taskbar is not loading on startup windows 11 - Restart your system and check if the problem is fixed or not.
3. Disable the startup programs
Sometimes, few applications run in the background of your system for no reason. They slow down the speed of the computer. They also ruin your window’s features like the taskbar is not loading on startup windows 11. So, you need to disable all these programs;
- Open the Run Program by pressing Window Key + R from the keyboard.
- Now type taskmgr on the search tab and press Enter Key.
Opening the Task Manager - So, select all those applications you do not need to run on your system. Press End Task.
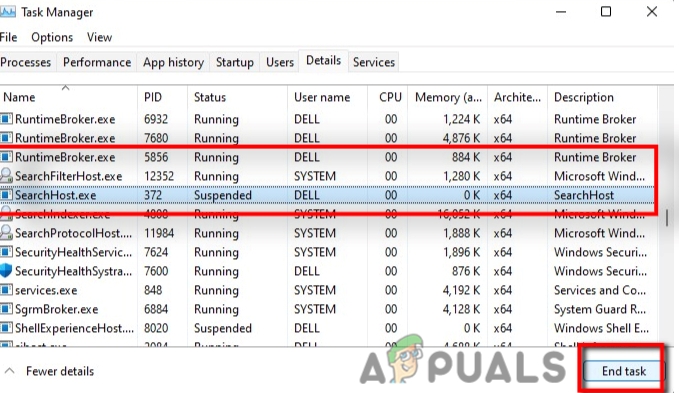
- Go to the details option from its Menu bar and select all these files in a sequence and press End Task;
- ShellExperienceHost.exe
- SearchIndexer.exe
- SearchHost.exe
- RuntimeBroker.exe
Disable the startup programs
- Now restart your system and again check if the problem fixes or not.
4. Update the Registry Editor
Before you try to make some changes in the Windows registry, try to create a registry backup before any modification. A small change can affect the system’s performance. So, here are the following steps that will help you in editing the Windows Registry;
- Open the Run window by pressing the Window key + R from the keyboard.
- So, type Regedit on the search tab and press Ok. Registry Editor will open.
- Now Navigate to the following location;
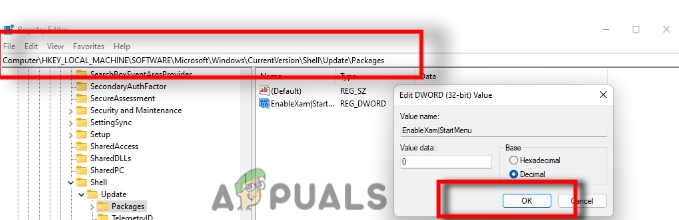
Computer\HKEY_LOCAL_MACHINE\SOFTWARE\Microsoft\Windows\CurrentVersion\Shell\Update\Packages.
- Now right-click on the blank area present on the right side of the Registry Editor. Press New.
- So, click on DWORD-32bit. Rename the file as EnableXamlStartMenu. Now double click on it and chose the Decimal option and Assign the value of 0.
Update the Registry Editor - So, close all tabs and restart your computer.
5. Repair the System Files using Scanning Tools
We can use scanning tools like SFC scan and DISM. We can use the commands that will help in repairing the damage and corrupt files from your device. So, here are the following steps that will help you in using scanning tools;
SFC SCAN
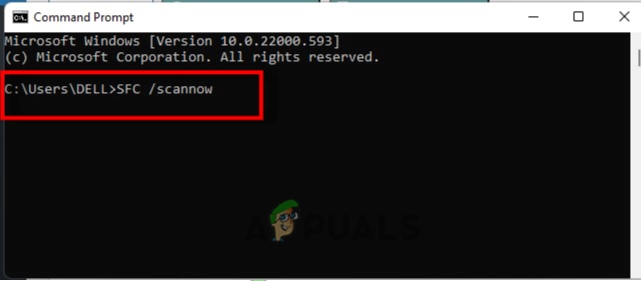
- Click the Window key + R and Type CMD on the search tab of the Run program.
- So, now type SFC / scannow and press Enter. It will take some time to scan all the files.
SFC /scannow
- So, wait for a while. Once it is done close the command prompt.
Repair the System Files using SFC Tools
DISM SCAN
- Again open the Command prompt by typing CMD on the Run window.
- Now type the following command on the command line and press Enter key.
Dism /Online /Cleanup-Image /Check health
Dism /Online /Cleanup-Image /restorehealth
- So, wait for a while and then close all windows and restart your system.
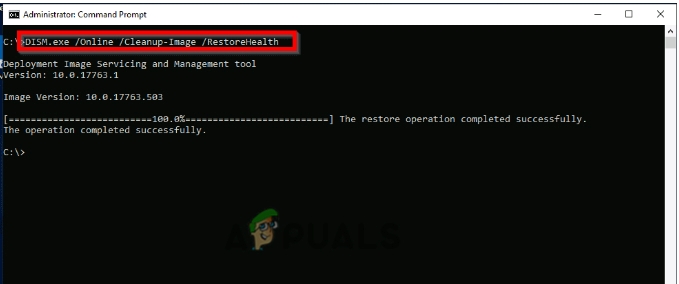
Repair the System Files using DISM Tool
6. Updating the Windows Operating System
The old version of windows can cause trouble with accessing Taskbar. So, you can update the windows and bring back the taskbar on your screen. Thus, follow these steps in sequence;
- Press Window Key + I from the keyboard. The window setting will open.
- Click on the Windows Updates from the left side of the setting screen.
- So, click on the Check Updates and download the updates if available.
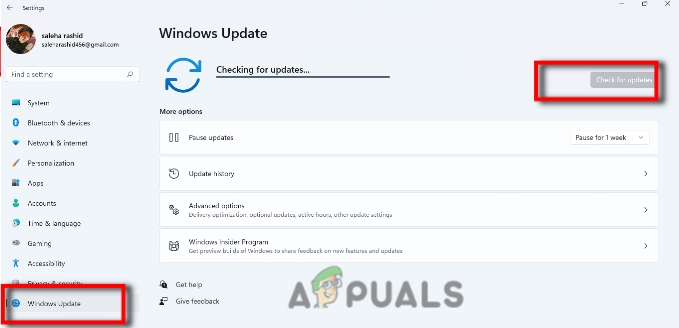
Updating the Windows Operating System
7. Run the Windows Security Scan
Sometimes the windows get infected by viruses and malicious attacks. These cause trouble in core windows functions such as Taskbar not loading on startup. So, here are a few steps that you can follow to run the built-in Windows Security Tool on your system;
- Go to the Windows Settings by pressing Window Key + I from the keyboard.
- Now click on the Privacy & Settings. Then press Windows Security.
- So, go to the option of Virus & Threat Protection. Click on the Quick Scan. It will take some time but will remove the virus threats from your system.
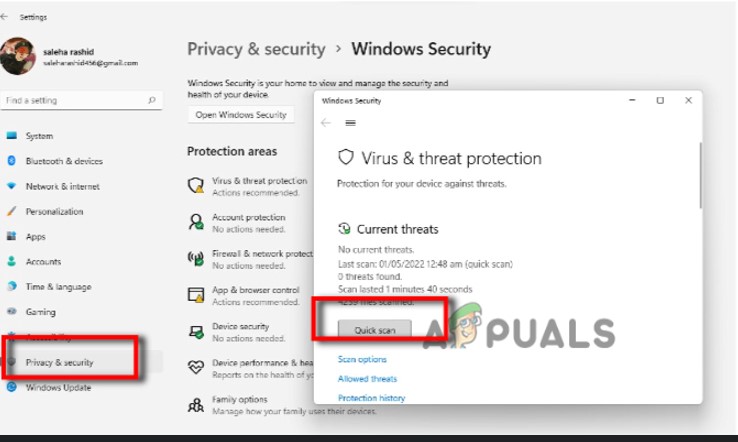
Windows Security Scan


