Windows 11 Lagging When Dragging Windows? Try these fixes
Windows 11 users have been experiencing an issue while trying to drag windows on their systems. Normally, when you drag a window, it snaps to where you take your cursor instantly. However, due to a bug, while trying to drag windows, users experience significant lag. Upon dragging a window, it does not move much and the cursor executes drag lag. The pointer continues the drag lag even after you let go of the mouse and it is quite apparent on the screen. In this article, we are going to show you how to resolve this said problem so just follow through.
As it turns out, the problem in question arises often when you have a File Explorer window open in the background. In some cases, the file explorer window must be full screen while in other cases, that doesn’t really matter. There are a few reasons why this problem can occur which includes reasons like any modifications applied to the taskbar which may sound weird but has been reported by several users. In addition to that, third-party software can also cause this issue in some cases. To understand this in more detail, let us first go through the possible causes of the issue before we get started with the various methods that you can use to resolve the problem. So, without further ado, let us get into it.
Now that we have gone through the possible list of causes, we can get started and show you how to circumvent the problem in question. So, with that said, let us dive right into it.
Remove Taskbar Mods
As it turns out, the first thing that you should do when you encounter the problem in question is make sure that you are not using any taskbar mods. As per multiple user reports, the issue seems to be caused when you have modified the default taskbar of Windows 11 using third-party utilities like TaskbarX or TransparentTB.
We are not exactly sure why, but this has been causing the drag lag issue. Therefore, if this case is applicable to you, you will need to remove these modifications from your taskbar in order to resolve the issue. If the problem persists even after you have undone the mods, move on to the next method down below.
Uninstall Wox
Wox is a popular application that essentially acts as a full-featured launcher. It allows the users to search and access programs that are installed on your system along with web contents. Such a launcher is pretty common in other operating systems like Ubuntu or MacOS and as such, alternatives have been developed for Windows since there is no such launcher other than the Start Menu.
As it turns out, if you are using Wox on your system, it has been reportedly causing the mouse lag problem. Therefore, in such a scenario, to resolve the problem, you will have to uninstall the application. As per some user reports, you can fix the issue by changing the theme from something blurry to a solid color. If that doesn’t work out for you, follow the instructions given down below to uninstall Wox:
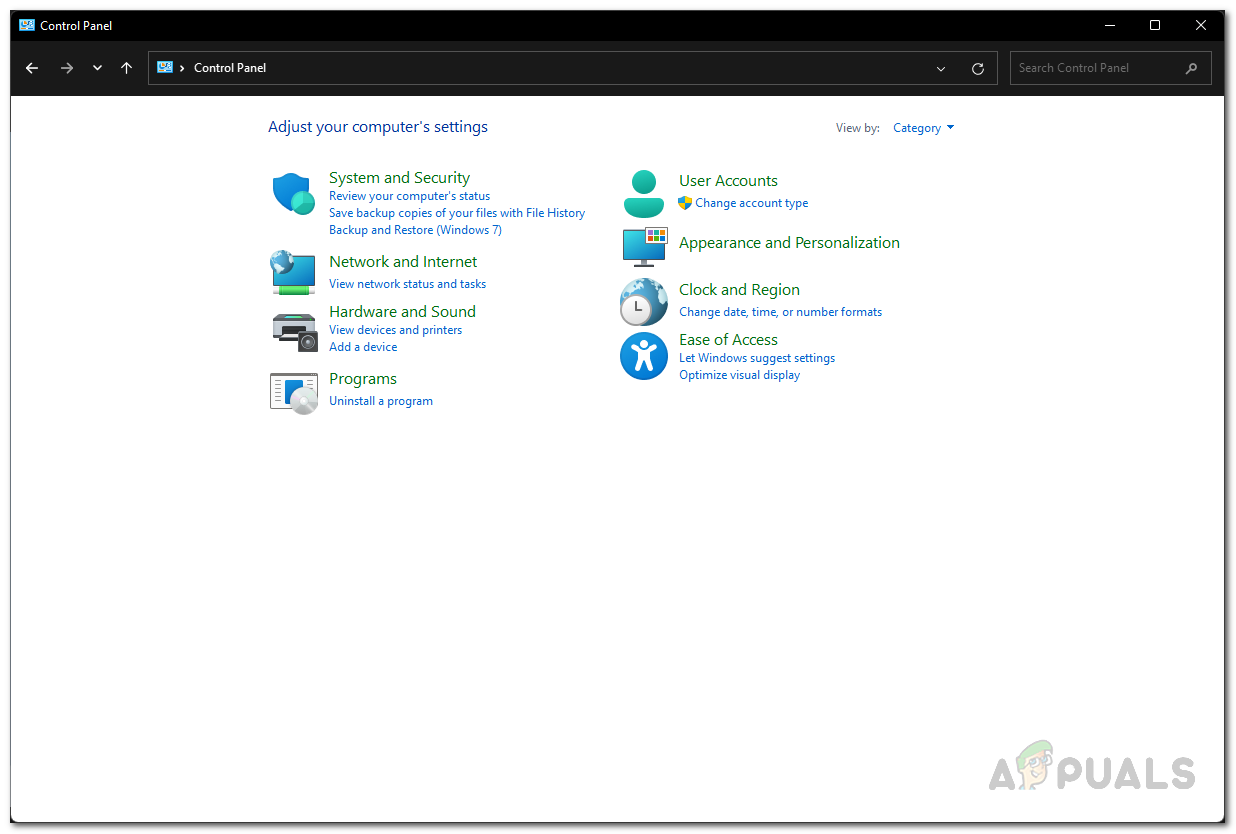
- First of all, open up the Control Panel by searching for it in the Start Menu.

Opening up Control Panel - On the Control Panel window, go to Uninstall a program under Programs.
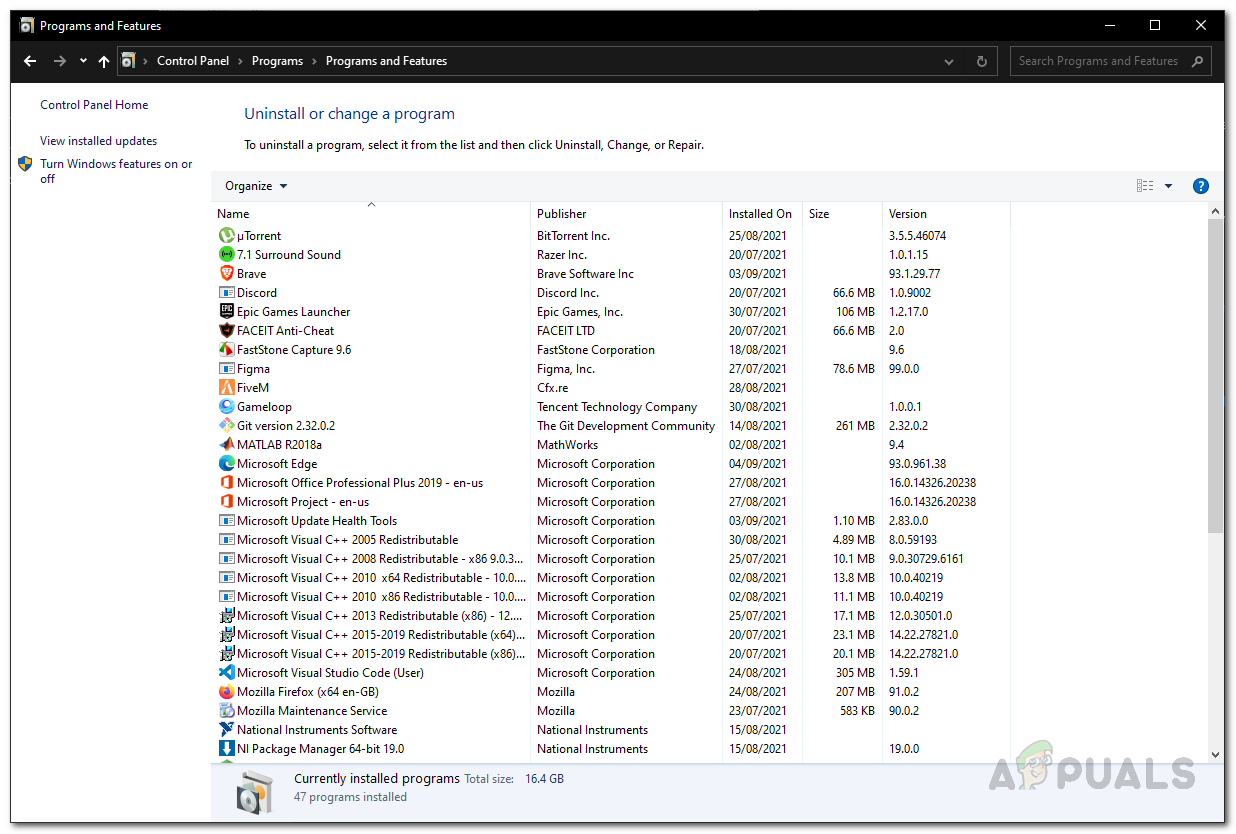
Control Panel - From the list of applications, look for Wox and then double-click on it to uninstall the application.
Installed Applications – Control Panel - Once the uninstallation is complete, restart your system.
- After your PC boots up, check if the problem is still there.
Turn off Game Mode
Windows has a feature that allows it to optimize the system for games by limiting the activity in the background. This feature is called Game Mode. As per some user reports, disabling game mode might fix the lag drag issue. To do this, follow the instructions given down below:
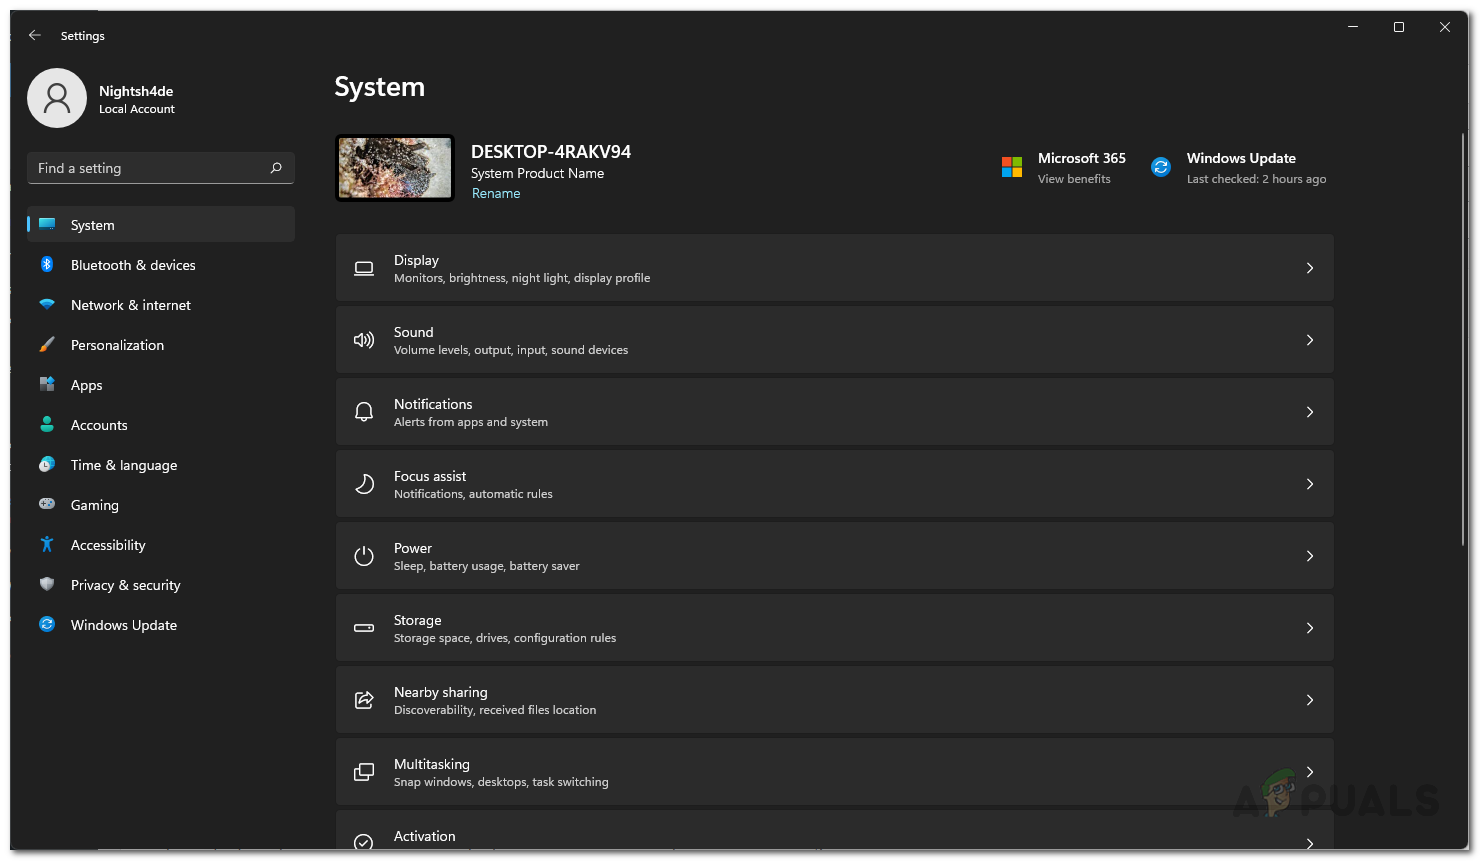
- To start off, open up the Windows Settings app by pressing Windows key + I on your keyboard.
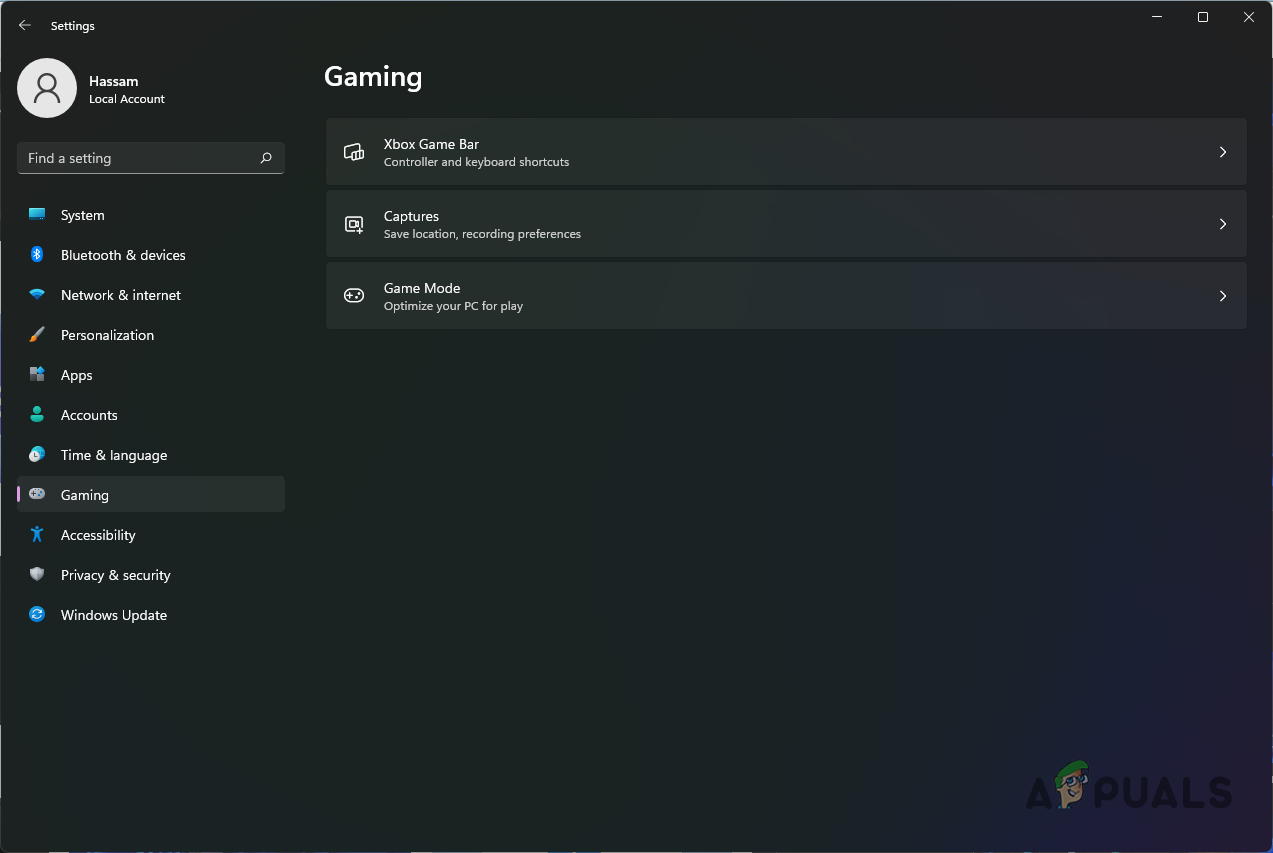
- On the Settings window, navigate to the Gaming tab on the left hand side.
Windows Settings - After that, on the Gaming tab, make your way to Game Mode.
Gaming Settings - Finally, on the Game Mode screen, click the slider provided in front of Game Mode to turn it off.
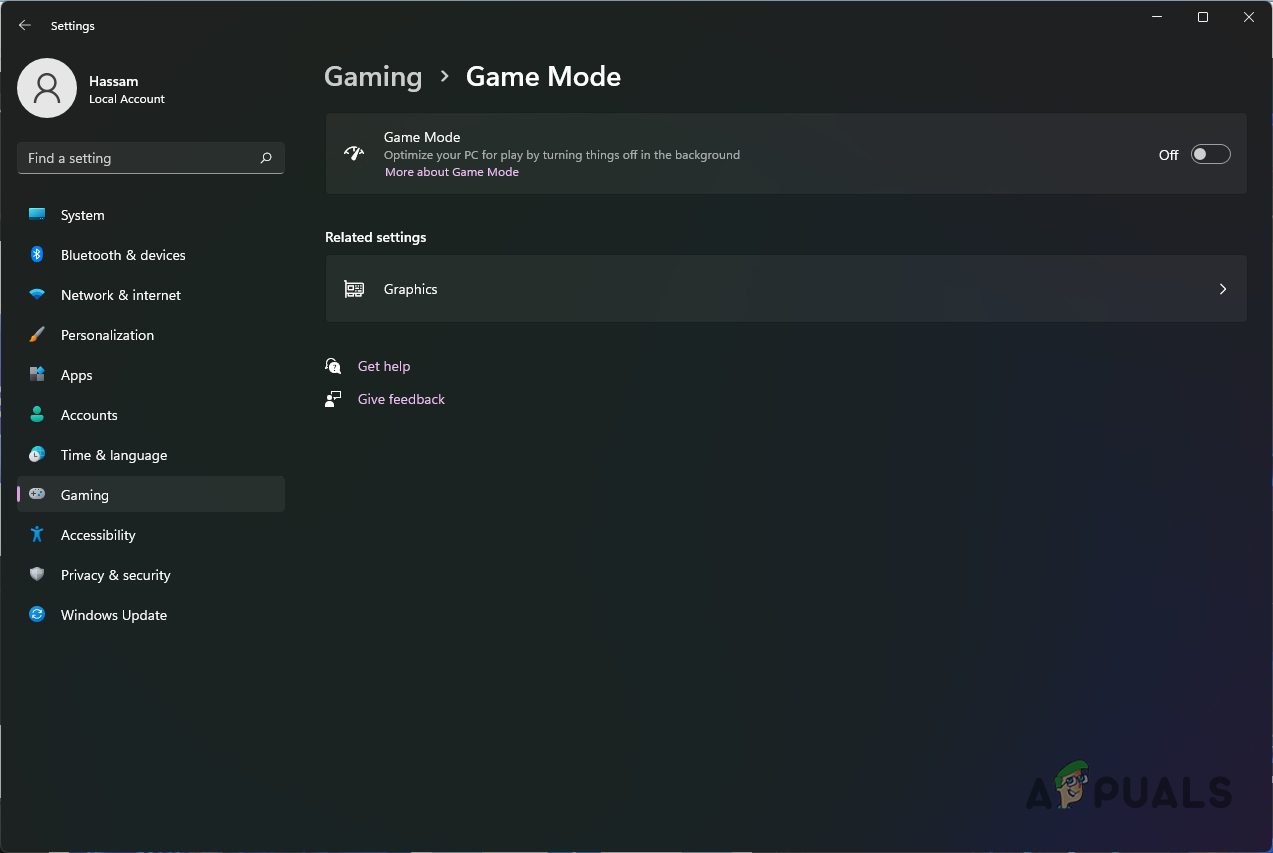
Disabling Game Mode - Once you have done that, try dragging windows again to see if the problem persists.
Change Mouse Polling Rate
Mouse polling rate is the speed at which your mouse communicates input to your PC. Some users have reported that they were able to resolve the problem in question by changing the polling rate or refresh rate of their mouse to 125 Hz. While this may not sound like a real fix, it can actually resolve your issue and can be useful if you want to get rid of it until it is resolved.
To change your mouse polling rate to 125 Hz, first, unplug your device from the computer. Once you have done that, go ahead and hold down the mouse button 4 and 5. While you are doing that, plug the mouse back into your computer. Once the mouse wheel lights up, the polling rate should now be changed to 125 Hz. After doing that, see if the problem is still there.
Enable Classic File Explorer Ribbon UI
Windows 11 has been mostly overhauled visually which has been taken as good and bad at the same time. While Microsoft tries to introduce a new design and theme with Windows 11, some of these decisions have been causing this issue. As it turns out, one way you can resolve the problem in question is by enabling the classic ribbon UI for file explorer.
For this purpose, we will be using a third-party application called Winaero Tweaker. To do this, follow the instructions that are given down below:
- First of all, download the Winaero Tweaker tool by clicking here.
- Once you have downloaded the utility, go ahead and extract it to a desired location.
- Run the .exe file provided and install the utility.
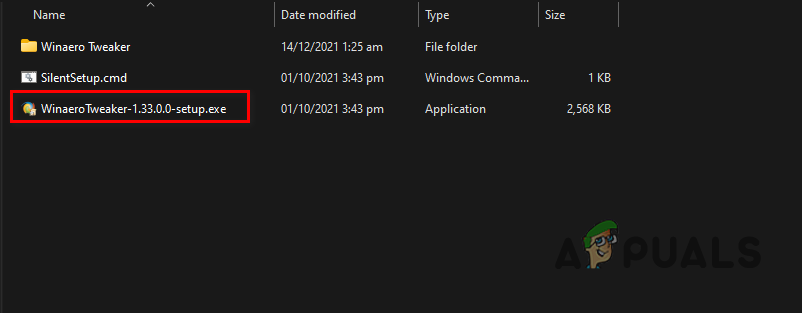
Running Winaero Tweaker Setup - After you have done that, go ahead and open it up.
- Once Winaero Tweaker is up and running, on the left hand side, under Windows 11, click the Enable Ribbon option.

Enabling Ribbon UI in File Explorer - Now, on the right hand side, tick the Enable the Ribbon UI in File Explorer option provided.
- After you have done that, go ahead and see if the problem still persists.
Perform a Clean Boot
Finally, if none of the above mentioned methods have fixed the problem for you, then it is very likely that the issue in your case is being caused by the interference of a third party application. In such a scenario, what you can do is perform a clean boot. Clean boot essentially starts the operating system with only the required services running in the background and all of the third party services and apps are disabled.
If the problem is no longer there after you perform a clean boot, it will be apparent that the issue is being caused by a third party app. In such a scenario, you can try turning on the services one by one to figure out which app is actually causing the issue. To do this, follow the instructions given down below:
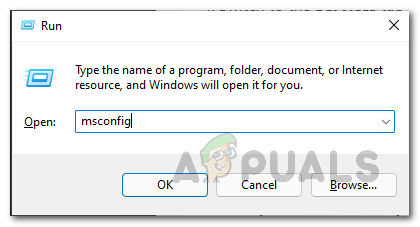
- First of all, open up the Run dialog box by pressing Windows key + R on your keyboard.
- In the Run dialog box, type in msconfig and then hit the Enter key.
Opening up System Configuration - This will bring up the System Configuration window. Switch to the Services tab to start off.
- On the Services tab, go ahead and tick the Hide all Microsoft services checkbox provided.
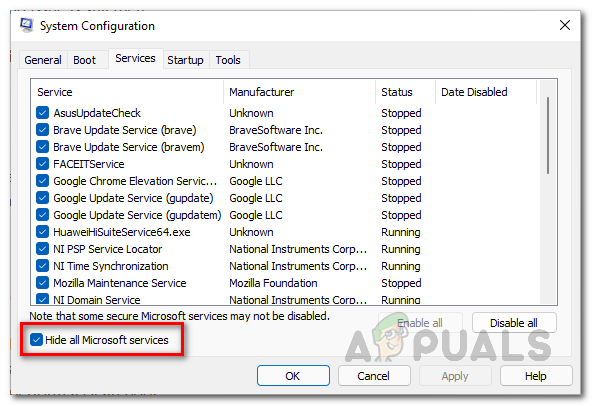
Hiding Microsoft Services - After you have done that, click the Disable all button and then click the Apply button.
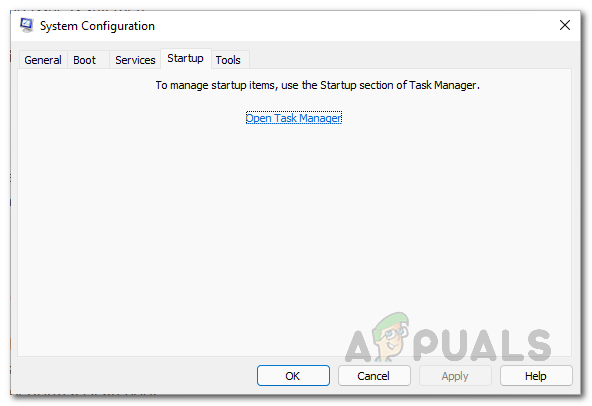
Disabling Third Party Services - Then, switch to the Startup tab and there click on the Open Task Manager option.
System Configuration Startup - On the Task Manager window, select every app shown and then click the Disable button provided.
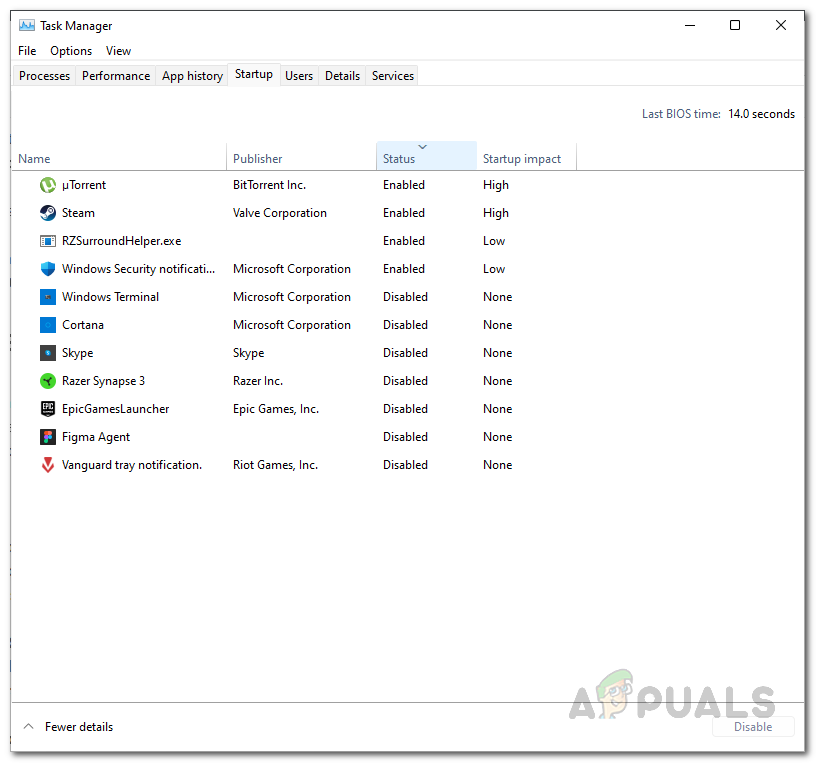
Disabling Third Party Apps on Startup - After you have done that, go ahead and restart your computer. Your computer should perform a clean boot.
- Once your PC boots up, check if the problem is still there.


That was driving me mad for the past 3 months. My system specs are very high for a normal user, like 128 GB RAM and Ryzen 5900X and 3060Ti on Windows 11, but the mouse movement was laggy and no amount of applications that I would close would fix the problem. The tip with disabling Game Mode works. Thank you!