Fix: StartUpCheckLibrary.dll Missing
Your system may show the StartUpCheckLibrary.dll missing notification if the said DLL file is quarantined by the security product of your system. Moreover, corrupt Windows System files or installation may also cause the error under discussion.
The user encounters the StartUpCheckLibrary.dll missing notification when he powers on the system, usually, after a Windows update.
Before proceeding with the troubleshooting process to fix StartUpCheckLibrary DLL, check if the issue persists in the safe mode. If not, then check your system for any malware.
Solution 1: Remove the StartUpCheckLibrary.dll File from the Antivirus Quarantine
Antivirus/antimalware applications do show false positives where a legitimate file is marked as a threat and thus moved to the quarantine section of the antivirus/antimalware. The same could be the case with the StartUpCheckLibrary.dll. In this context, restoring the said file from the quarantine section of antivirus may solve the problem (only take this step if you are 100% sure that the file is not infected). For elucidation, we will discuss the process for Windows Defender, you may follow the instructions pertinent to your antivirus/antimalware product.
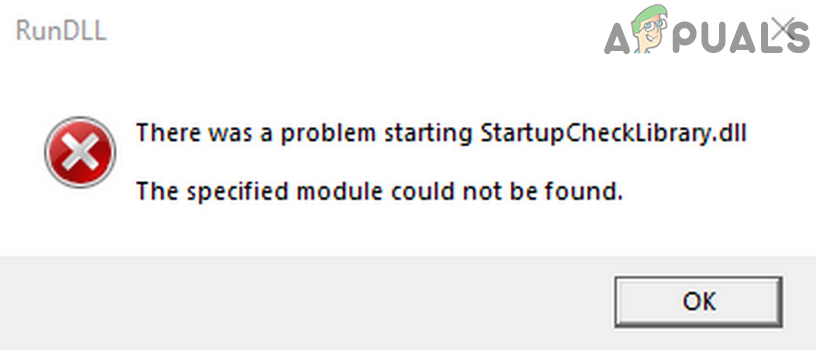
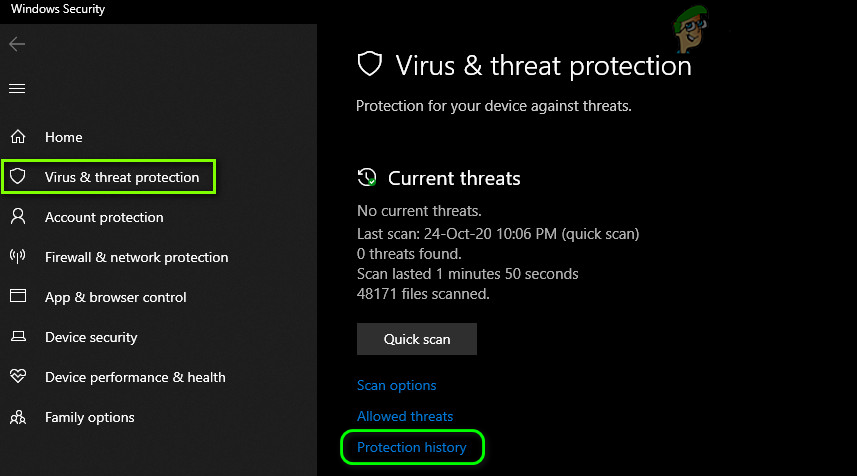
- Press the Windows key to bring out the Windows Menu and then search for Windows Security. Then, in the search results, choose Windows Security.
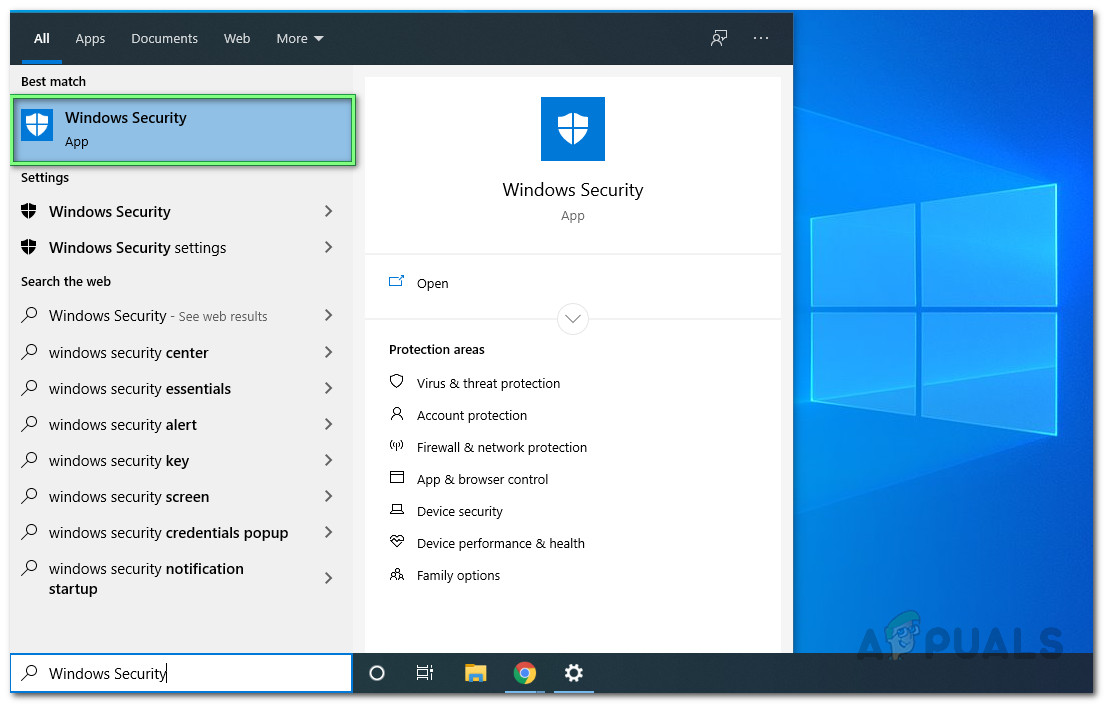
Opening Windows Security App - Now open Virus & Threat Protection and select Threat History.
Open Protection History of Windows Security - Then check in Quarantine Threats and check if StartUpCheckLibrary.dll is there.
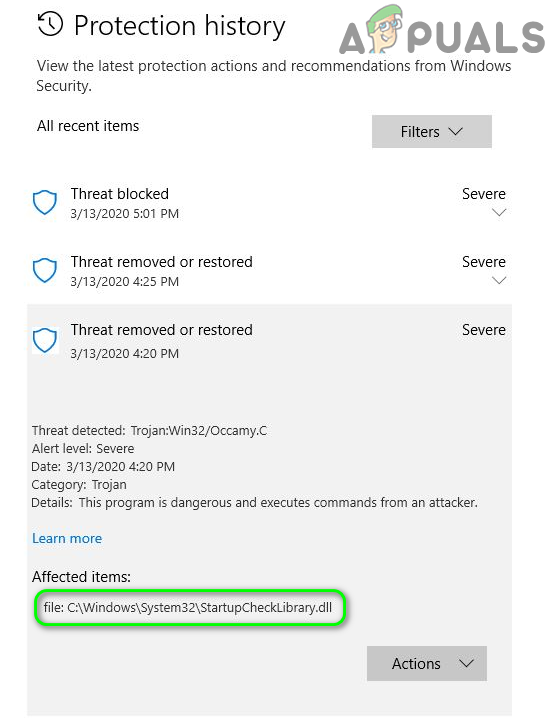
Restore StartUpCheckLibrary.dll From the Quarantine - If it is there, then restore the StartUpCheckLibrary.dll file and check if the system is clear of the DLL error. You may have to add an exception for the file in Windows Defender settings to avoid future issues with the file.
Solution 2: Remove the StartupCheckLibrary.dll from the System’s Task Scheduler
You may encounter the error under discussion if the StartupCheckLibrary.dll has been removed from the system but its traces are left in the system’s task scheduler. In this scenario, removing the argument pointing to the StartupCheckLibrary.dll file may solve the problem.
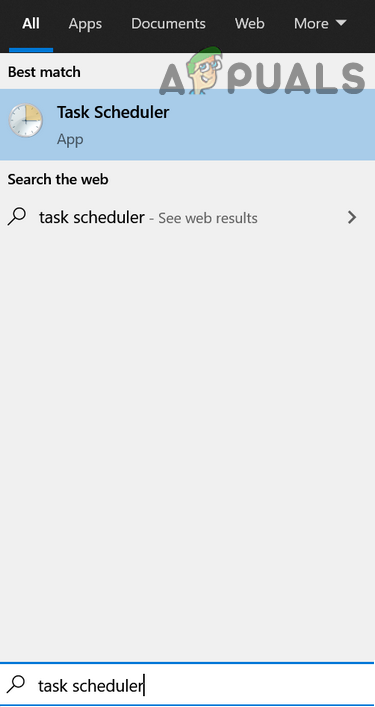
- Press the Windows key to launch Windows Menu and type Task Scheduler. Then, in the search results, choose Task Scheduler.
Open the Task Scheduler - Then, in the left pane of the window, expand Task Scheduler Library and then expand Microsoft and then expand Windows.
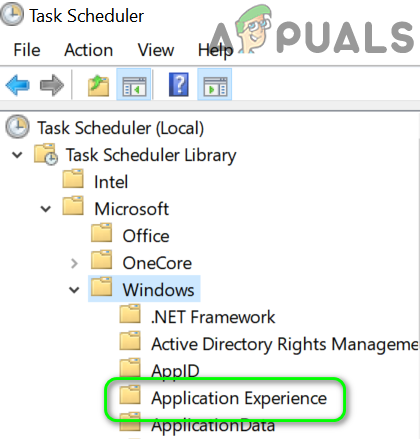
Select Application Experience in the Task Scheduler - Now select Application Experience and then, in the right pane of the window, find and double-click on StartupCheckLibrary. If you do not require it, you can delete the entry now and proceed to step 6.
- Then navigate to the Actions tab and select Start a Program and click on the Edit button (near the bottom of the window).
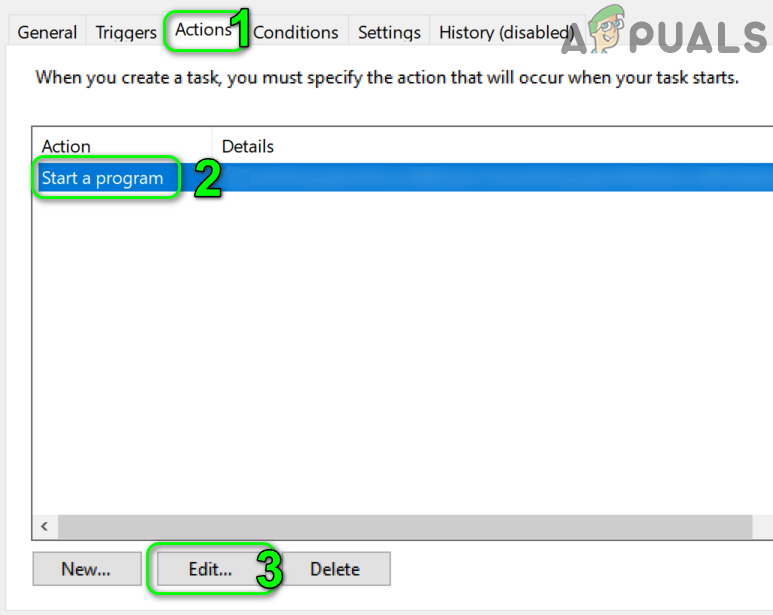
Edit the Properties of StartupCheckLibrary in the Task Scheduler - Now remove the StartupCheckLibrary.dll from the Argument box and click on the OK button.
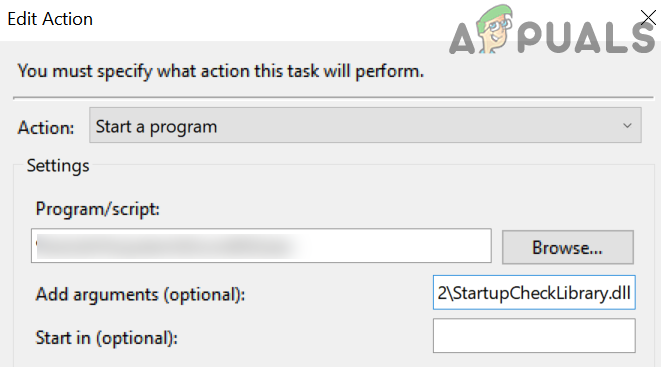
Remove the StartupCheckLibrary.dll from Arguments in the Task Scheduler - Then reboot your PC and upon reboot, check if your system is clear of the DLL error.
Solution 3: Use the Registry Editor to Remove the Traces of the StartUpCheckLibrary.dll File
The StartUpCheckLibrary.dll file may have been removed from the system (due to uninstallation of an application or by your security product) but its traces in the registry are causing the notification to appear. In this case, removing the traces from the system’s registry may solve the problem.
Warning: Proceed at your own risk as editing your system’s registry requires a certain level of knowledge/expertise and if done wrong, you may cause everlasting damage to your data and system.
- Create a backup of your system’s registry.
- Now click on the Windows button to launch Windows Menu and search for Registry Editor. Then, in the search’s results, right-click Registry Editor and choose Run as Administrator.
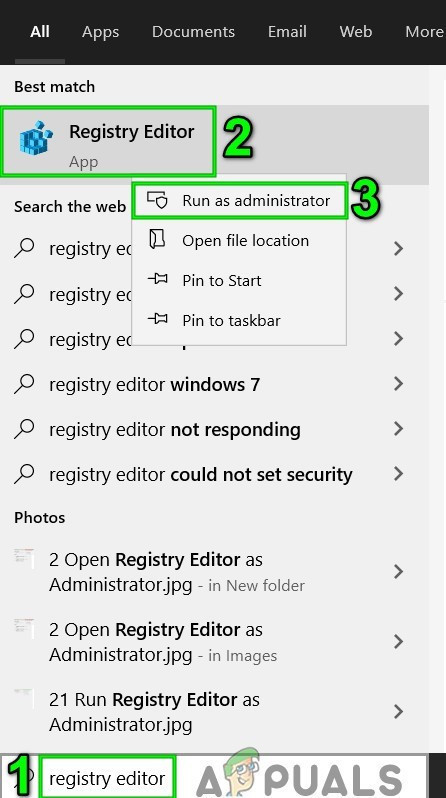
Open Registry Editor as Administrator - Then, navigate to the following:
Computer\HKEY_LOCAL_MACHINE\SOFTWARE\Microsoft\Windows NT\CurrentVersion\Schedule\TaskCache\Tasks\{391B74BA-C53C-4BDB-922C-B24E3ACFB09D} - Now, right-click on {391B74BA-C53C-4BDB-922C-B24E3ACFB09D} and then select Delete. You can also open the Edit menu and select Find. Now, search for startupchecklibrary and then remove the entry suspected to create the issue.

Find in Registry Editor - After removing the entry, exit the Registry Editor and reboot your PC.
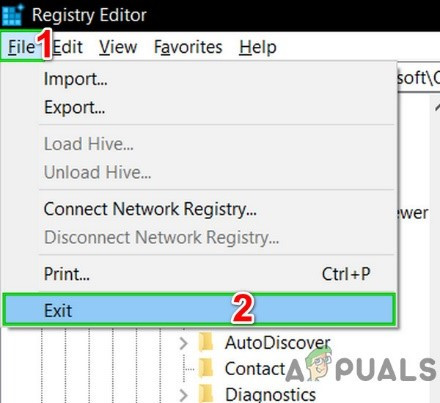
Exit Registry Editor - Upon reboot, check if the system is clear of the DLL error.
Solution 4: Use AutoRuns to Remove StartUpCheckLibrary.dll Traces
The StartUpCheckLibrary.dll notification could be pointing to remnants of the file which itself has been removed either by uninstalling an application or your security product. In this case, using the Microsoft Autoruns utility to remove the traces of the StartUpCheckLibrary.dll file may solve the problem.
- Create a system restore point to avoid any issue if things do not go well.
- Open a web browser and download the Microsoft Autoruns.
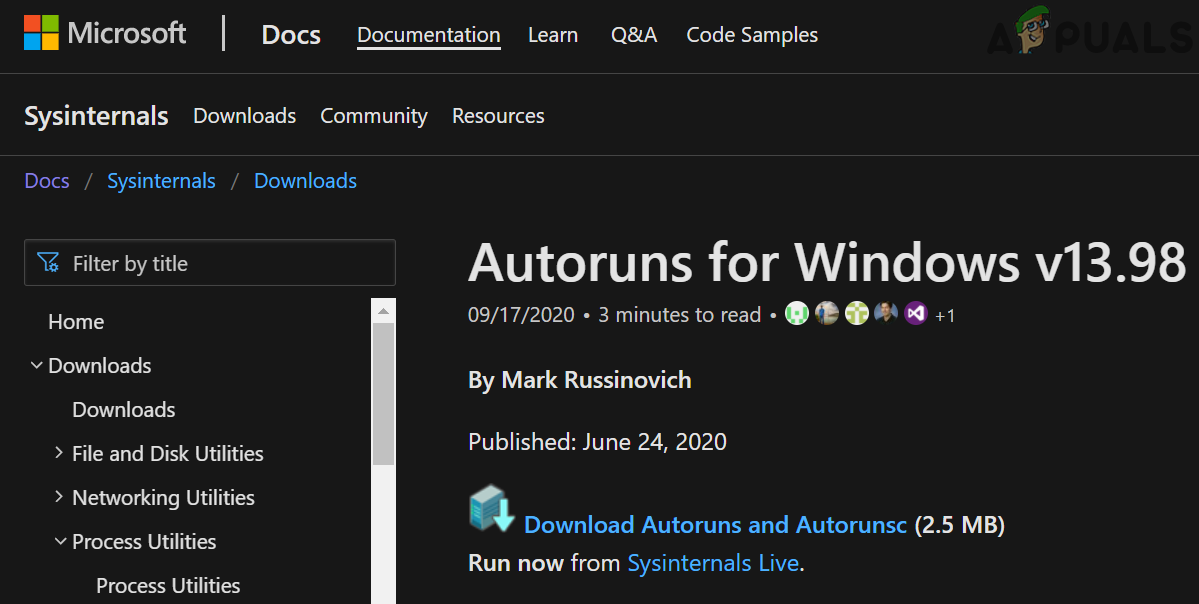
Download Autoruns from Microsoft Website - Now, extract the downloaded zip file and then open the extracted folder.
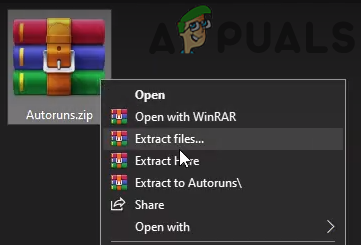
Extract Autoruns - Then right-click on Autoruns (or Autoruns64 if your system is 64-bit) and select Run as Administrator (if UAC prompts, click on Yes).
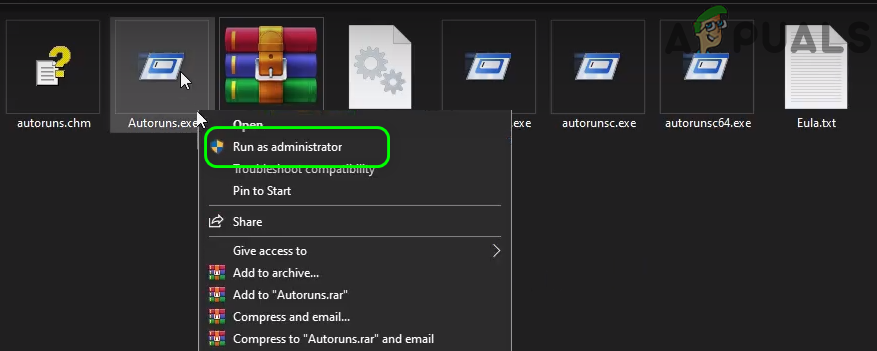
Launch Autoruns as Administrator - Now, in the search box of Autoruns, search for:
StartupCheckLibrary
- Then, uncheck (or right-click/delete) any entries pointing to the StartupCheckLibrary file and restart your PC. If there is no entry related to StartupCheckLibrary, then delete all the entries where the file could not be found in the Image Path column.
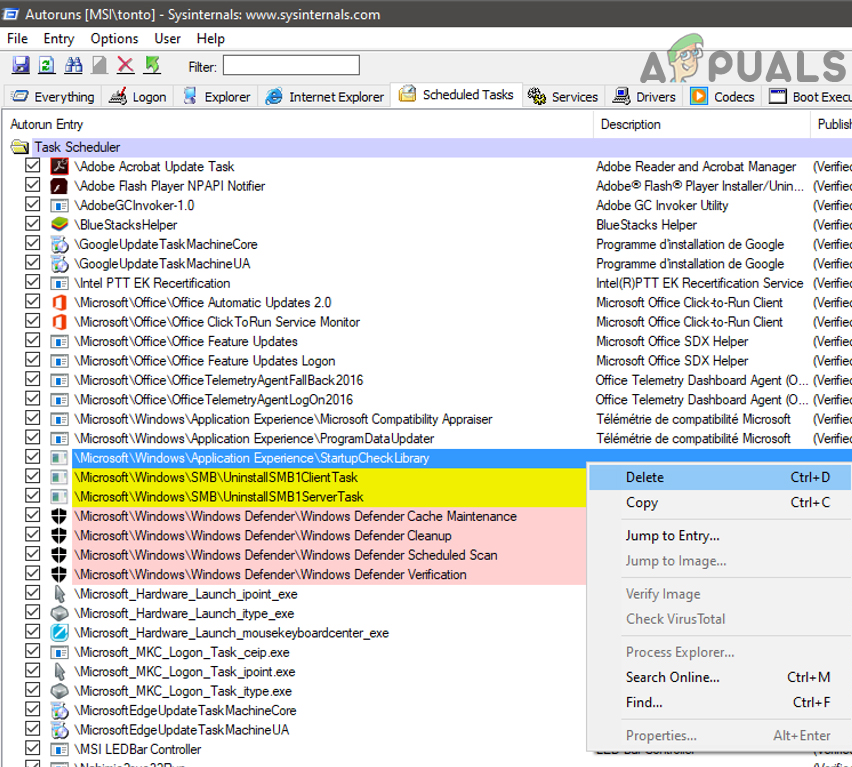
Delete the StartupCheckLibrary Entry in Autoruns - Upon restart, check if the system is clear of the DLL error.
Solution 5: Run the SFC and DISM Commands
You may encounter the error under discussion if the files, essential for the operation of your system, are corrupt. In this context, running the SFC and DISM commands will clear out the corruption and thus solve the problem.
- Run the SFC command and then check if the issue is resolved.
- If not, then run the DISM command and then check if the DLL issue is resolved.
Solution 6: Perform a Repair Upgrade of Your System’s Windows
If the issue persists, then performing a repair upgrade of Windows (you will not lose any files and applications, but the setup will repair the system files and perform a system update) may solve the problem.
- Perform a repair install of Windows 10.
- After completion of the repair install, hopefully, the DLL issue is resolved.