Using Solarwinds Advanced Alerts to Manage Network Issues
Solarwinds Orion is packed with an Advanced Alert Manager. Network and System Administrators can leverage this intelligent feature to get notified whenever an event or issue occurs in the environment. Alert manager notifies a network administrator whenever an event occurs or a performance indicator exceeds the set threshold. With this real-time notification, a network administrator can quickly resolve the issue. Alert manager can help us avoid missing any issues in the infrastructure. If an issue goes unaddressed, that may impact the business. Hence, Alert Manager is essential in Network Monitoring.
How does Alert Manager work?
Alert Manager checks the Network devices monitored using Solarwinds for any health or performance issues with the threshold and alert conditions we set for a specific parameter. Solarwinds Alert Manager will trigger alerts if the alert condition is met. We can also set up Email or text messages to particular people to alert them immediately. Click on this link to learn more about Solarwinds Advanced Alert manager and download it.
That being said, let’s get started and see how to configure alerts and set up Email notifications to alert a set of recipients using Solarwinds.
Configuring Alerts in Solarwinds Alert Manager
Here, let’s see how to configure alerts for the below scenarios.
- Network node is down.
- Packet Loss.
- Interface Down.
- Bandwidth Utilization.
1. How to configure an alert if a Network node goes down
We can configure alerts to get notified whenever a network device goes down. Follow the below steps to configure the alert.
- Go to Settings and then All Settings.
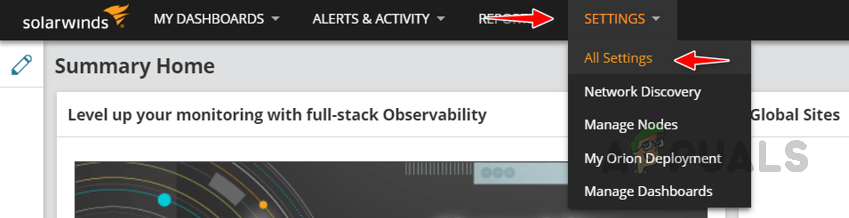
- Click on Manage Alerts under Alerts & Reports.

- Click on Add New Alert.

- In the Properties section,
1. Provide an appropriate name for the alert.
2. Provide a description that helps to understand the alert.
3. Enable the alert.
4. Choose a proper evaluation frequency. The alert condition will be evaluated on this frequency.
5. Choose the severity of the alert
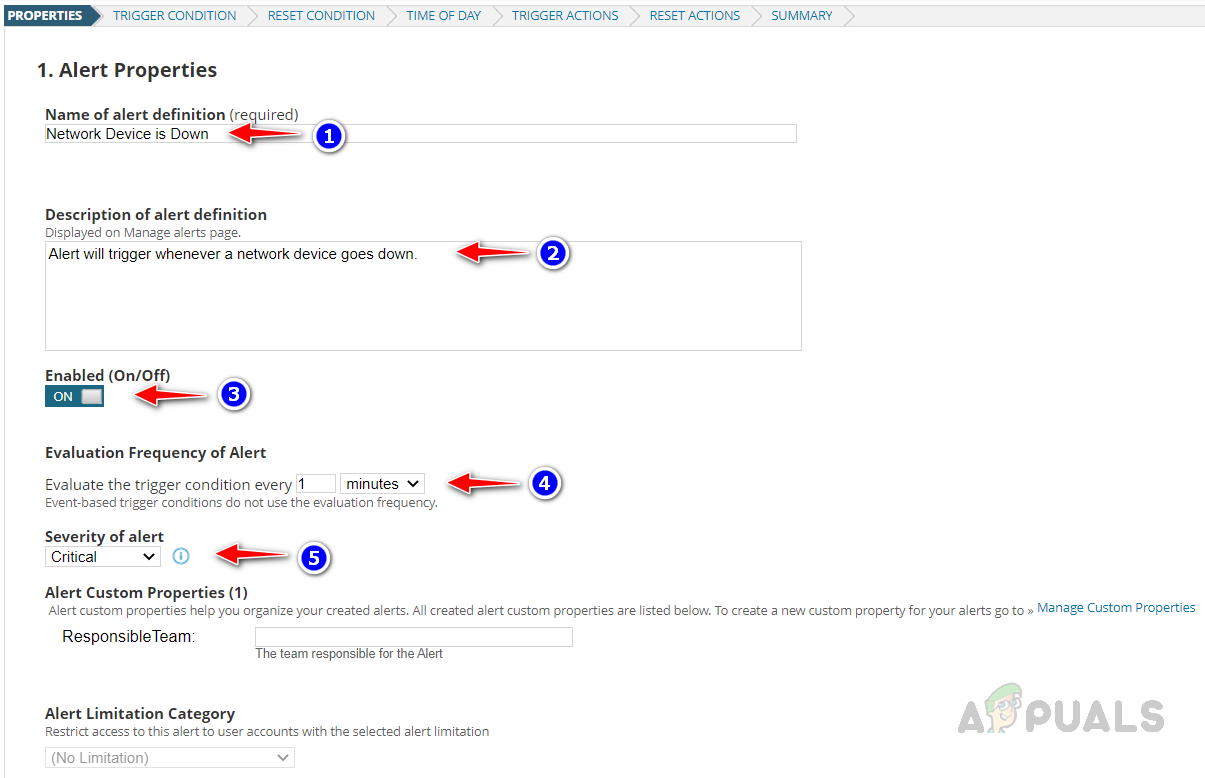
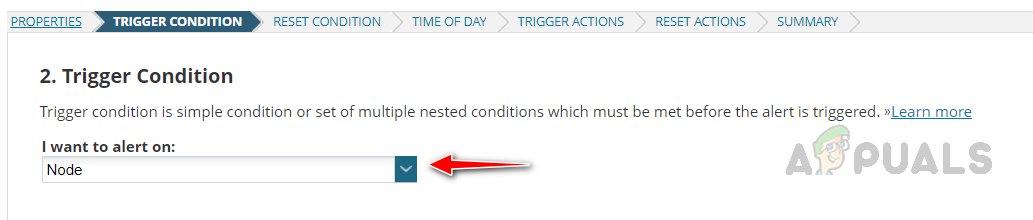
Once done, click on Next. - In the Trigger Condition section, choose Node under I want to alert on the drop-down list since we are configuring an alert for Node down.
- In The scope of alert, select All objects in my environment if you want to set up an alert for all the devices monitored in Solarwinds. Select Only following set of objects if you’re going to set up an alert for a specific set of devices.

- Let’s set up an alert for a specific set of objects here.
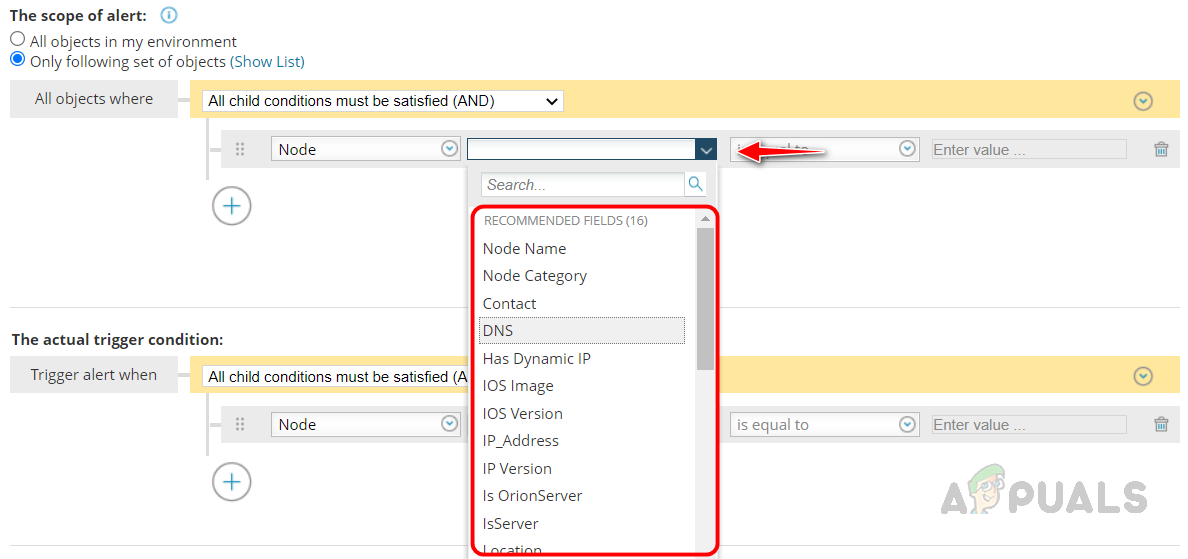
- Choose Only following set of objects.
- Click on the drop-down and select a property to filter the nodes we want to set up the alert. There are lots of properties available to filter the nodes. Also, we can use the custom properties as well filter the devices.
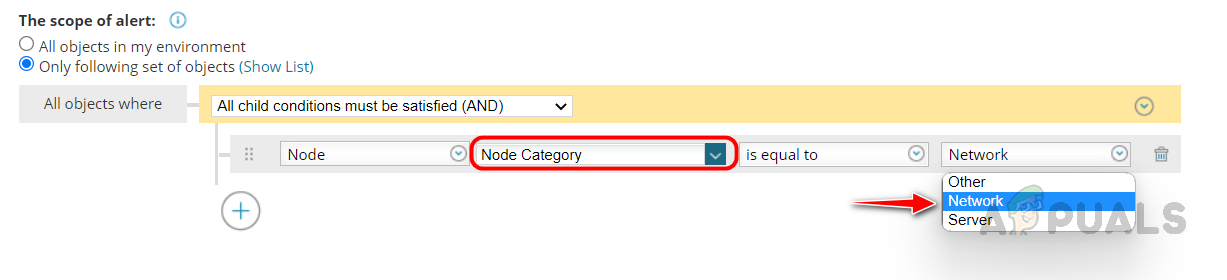
- Here, I have selected Node Category to filter only the Network devices. Below is the complete condition.
- We filtered the network devices for the alert. Now let’s set up the alert condition.
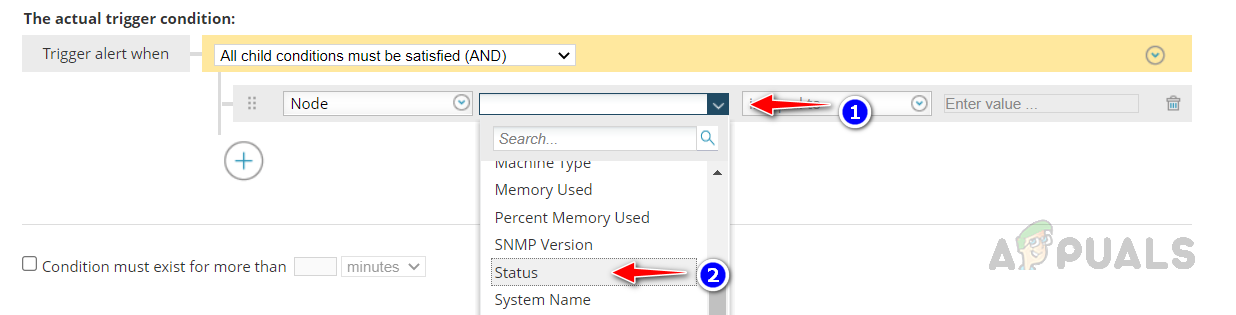
- In The actual trigger condition section, select Status from the drop-down list.
- Once you select Status, now select Down from the other drop-down list.
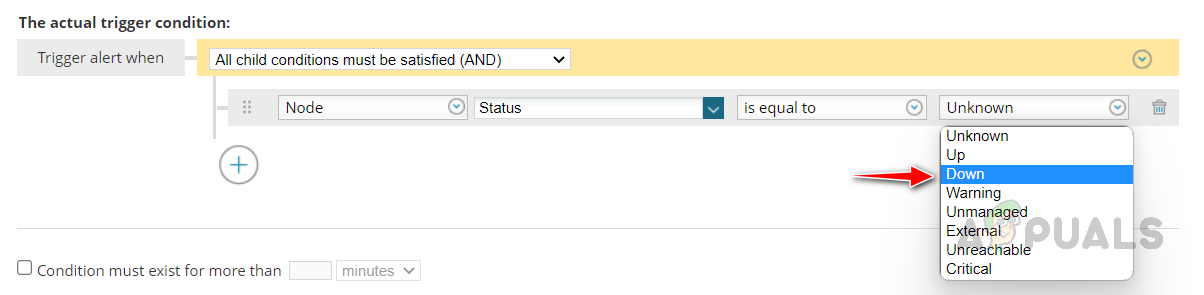
- Complete the alert condition as below.
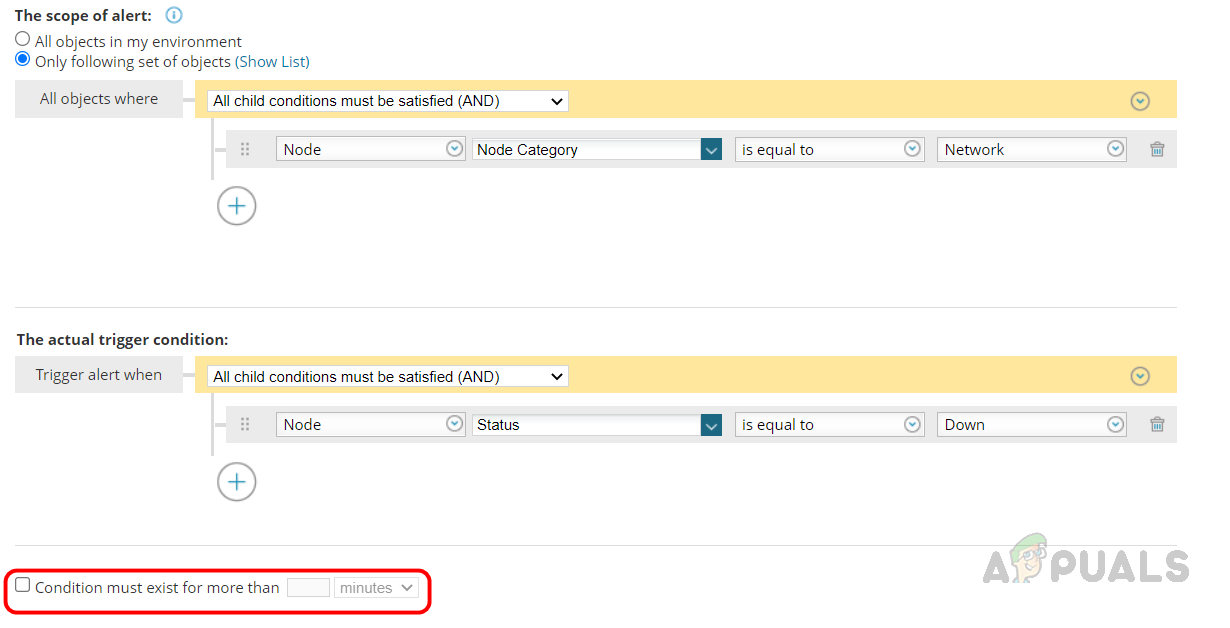
If you don’t want to trigger the alert immediately once the device status goes down, check the “Condition must exist for more than” option and specify the time you want to delay the alert. Once done, click on Next. - In the Reset Condition section, use the default reset condition.

- In the Time of Day section, we can schedule the alert to disable/enable during a specific window. If you would like to enable the alert always, then choose Alert is always enabled, no schedule needed.

- Now Solarwinds will take us to the Trigger Actions section. This is where we configure the Email or Text alert notifications. Solarwinds alert manager also provided various trigger actions we can use based on our needs.
- In the Trigger Actions section, click on Add Action.

- Below are the available trigger actions provided by Solarwinds alert manager.
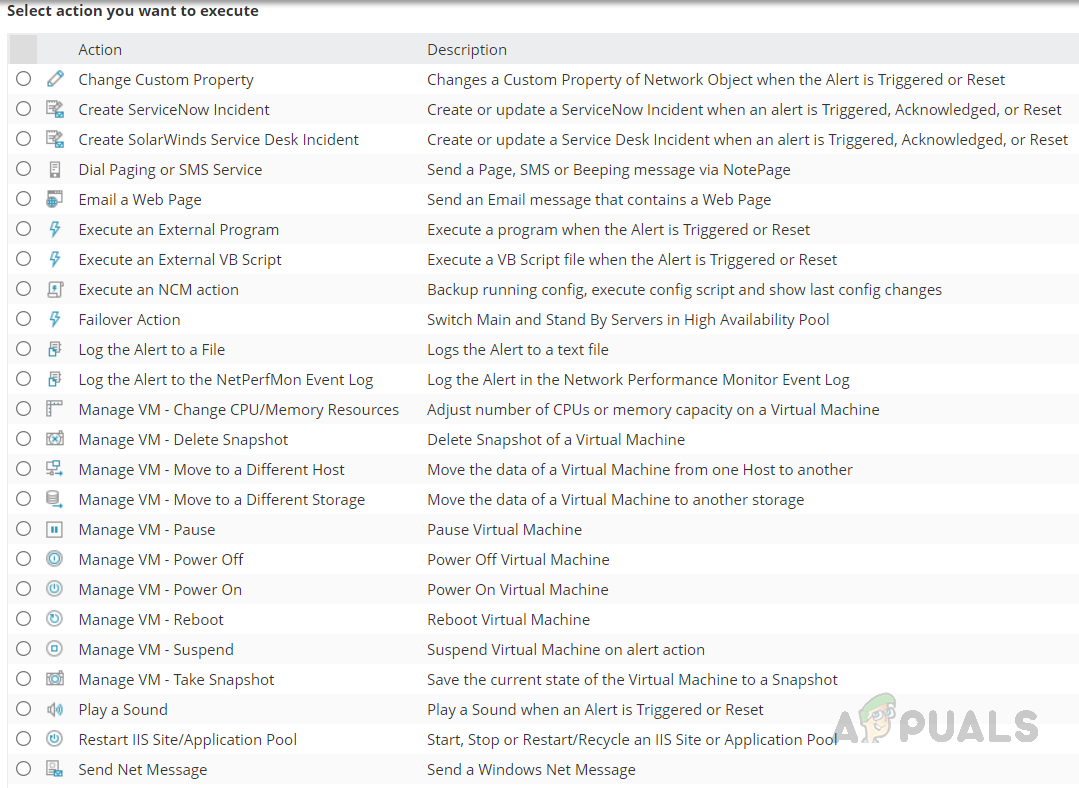
- Scroll down, select Send an Email/Page, and click Configure Action.

- Provide a name for the action, and enter the recipient’s Email ID. You can also add Cc and Bcc in the Email action if required.

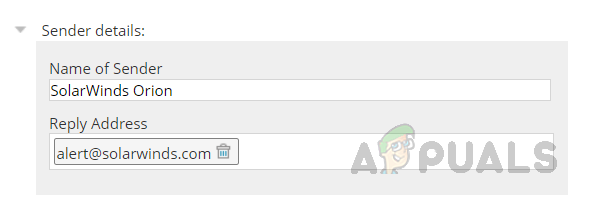
- Configure the sender details.
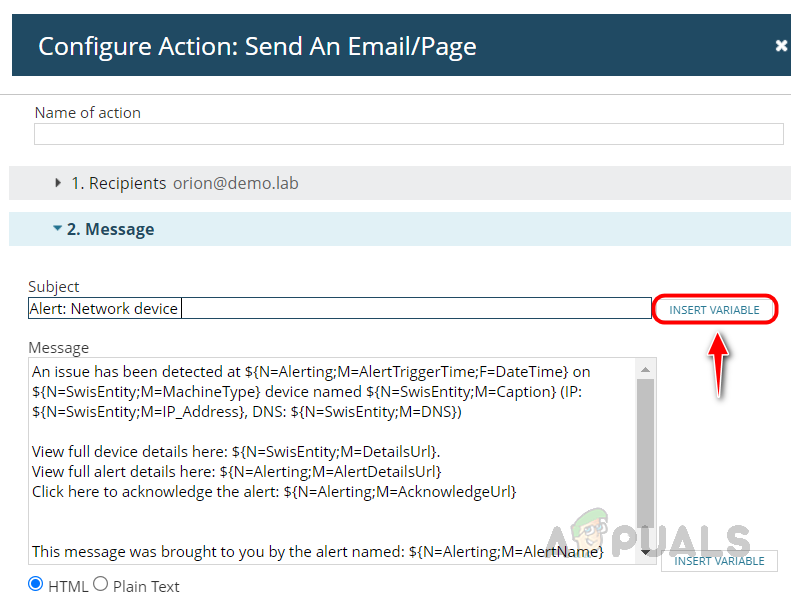
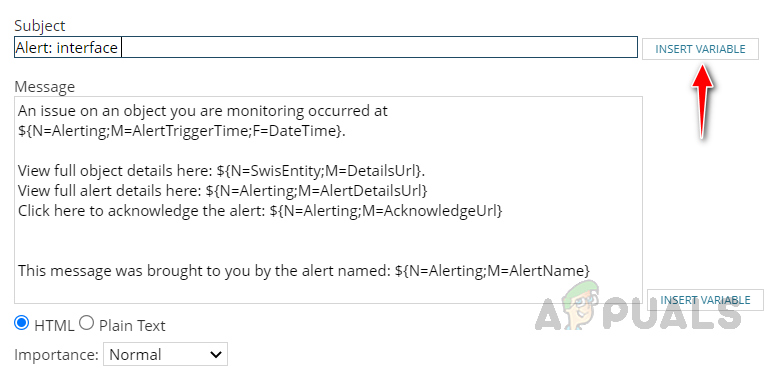
- Expand the Message section. We can see the default message configured by Solarwinds. We can use it or modify it.

- Let’s modify the default message. We can use the Insert Variable option to call the device and alert related fields like device name, IP address, alert name, alert triggered time, etc.
- Let’s see how to add the network device name in the alert Email subject.
- Modify the subject as you wish and click on Insert Variable.
- Search for Node Name in the search box, select the variable and click on Insert Variable.
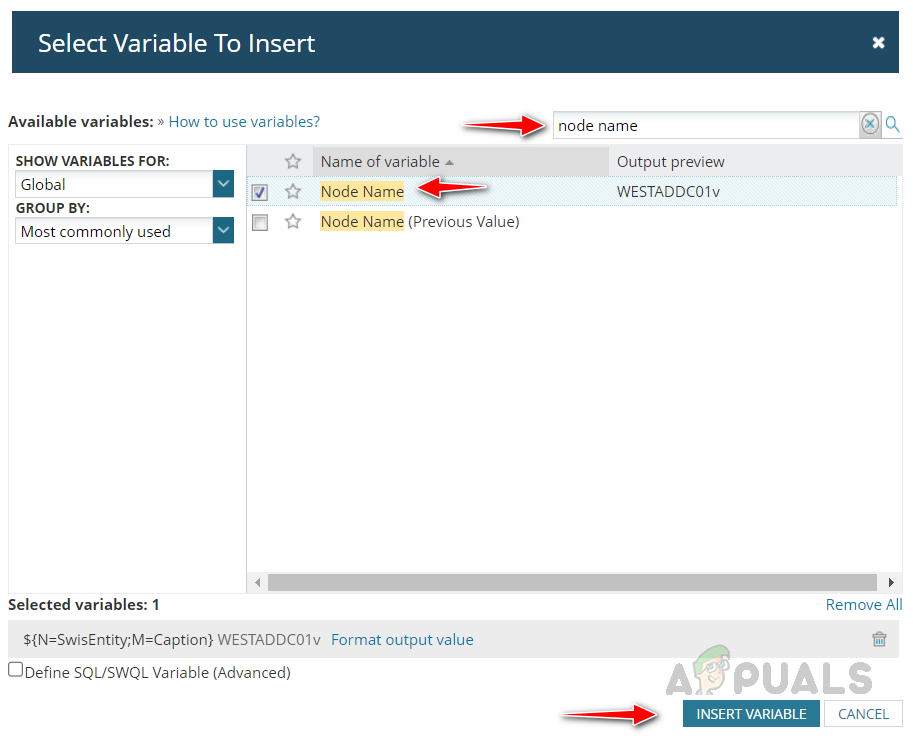
- We can see the variable added in our subject.
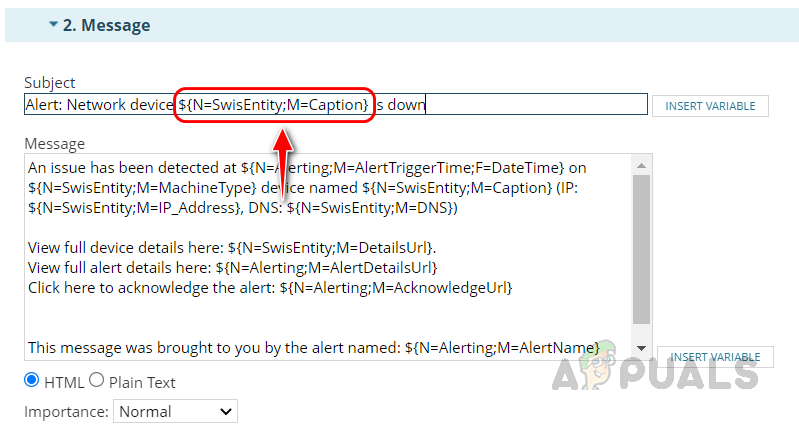
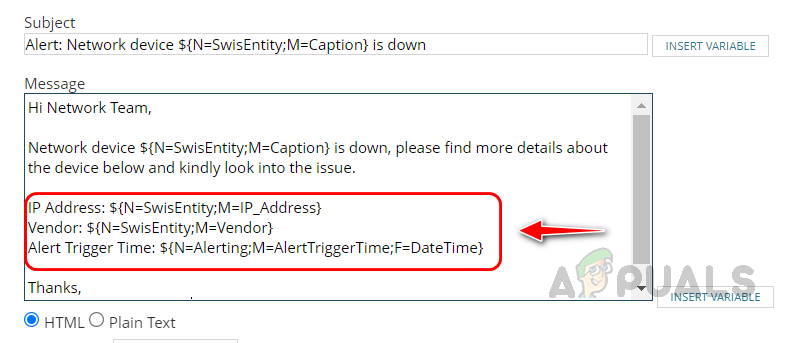
Using this Insert Variable action, we can include more details like IP address, vendor, and custom property details if we have any. - Let’s modify the Message for the email as well.
- Expand SMTP Server and select your SMTP server.

If you configured your SMTP server already in Solarwinds, you could choose Default Server as your SMTP server. - Expand the Time of Day. You can disable or enable the trigger action if required using this option.

- Expand the Execution Settings and modify them if required. Once done, click on Add Action.
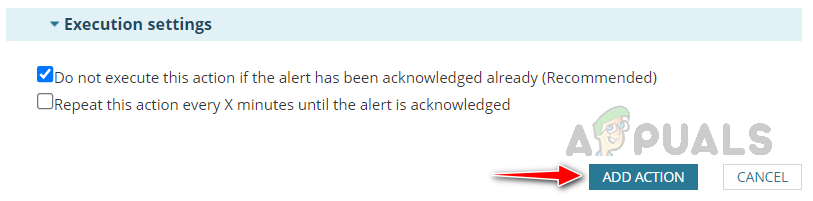
- Click on Next once the action has been added.
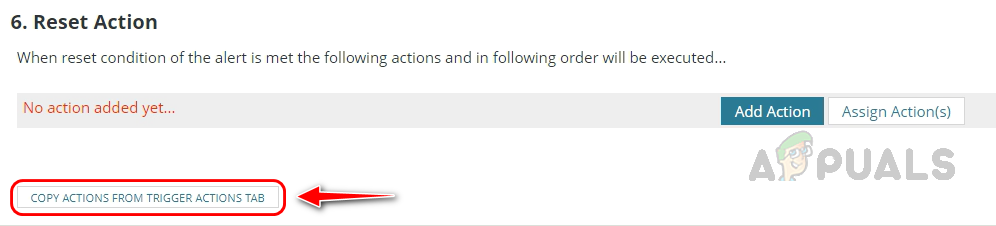
- You can copy the trigger action to reset the action and make a few changes to configure the reset action. Click on Copy Actions from Trigger Action Tab.
- Once the action is copied, click on the Edit icon to modify the action.
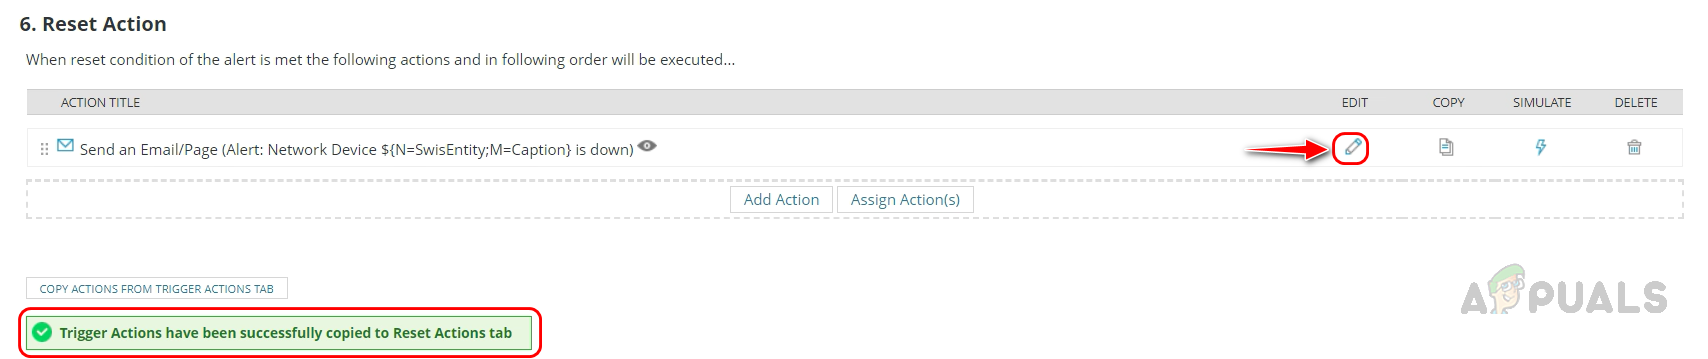
- Modify the action and click on Save.
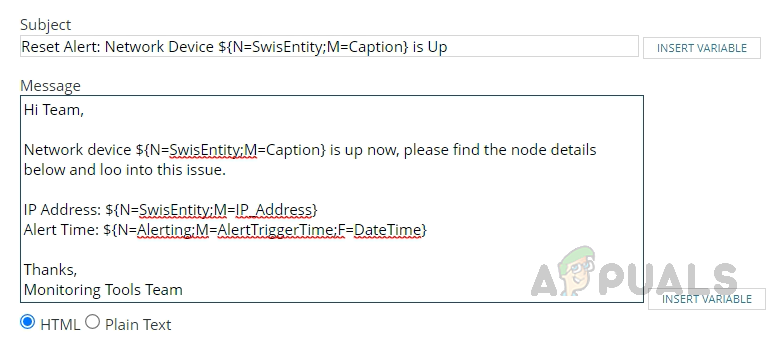
- Once the action is configured, click on Next.
- On the Summary page, review the summary of the configured alert.
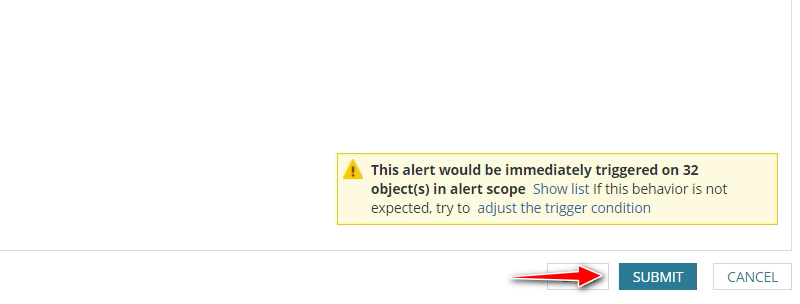
- Before submitting the alert, you can see how many alerts will be triggered for the condition. With this, we can validate whether the alert condition is correct. If not, reconfigure the alert condition.
- An alert will be triggered whenever the network device meets the alert condition. We can receive the email and can see the alert on the active alerts page.
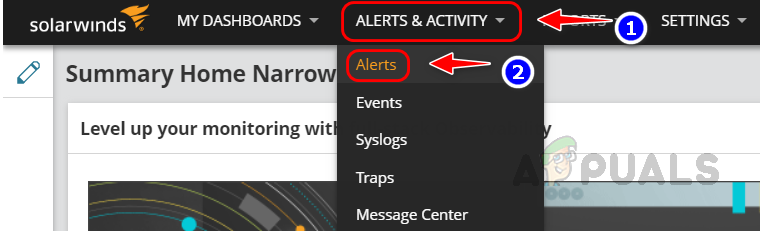
- To check the active alerts page, go to Alert & Reports and click on Alerts.
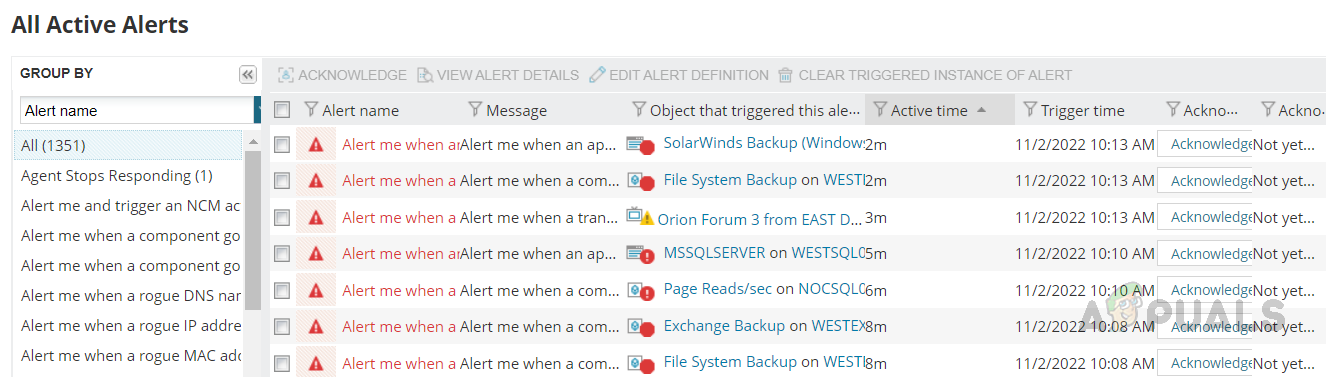
- We can see all the active alerts on the alerts page.
This is how we can configure alerts and set up Email notifications to the respective team managing the devices.
2. How to configure an alert for packet loss in a network device
You can follow the same steps as above to create an alert. You have to reconfigure the alert condition and trigger action based on the alert that you configure.
Let’s see how to set up trigger condition for packet loss alert.
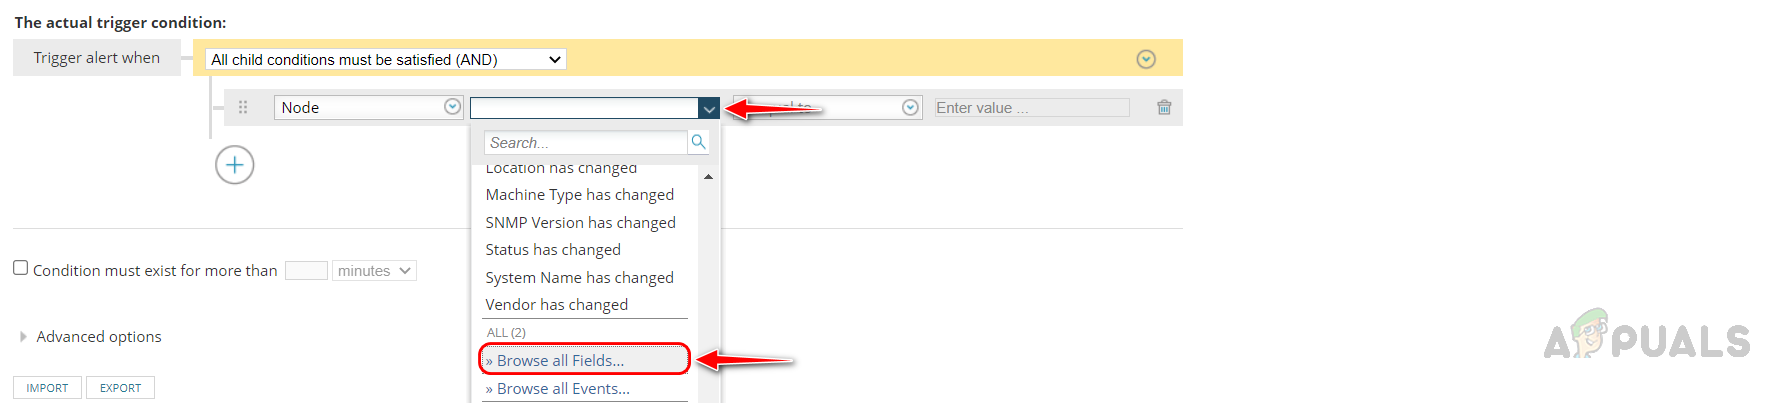
- On the trigger condition section, click on the drop-down list and select Browse All Fields.
- Select Percent Loss from the Nodes table.
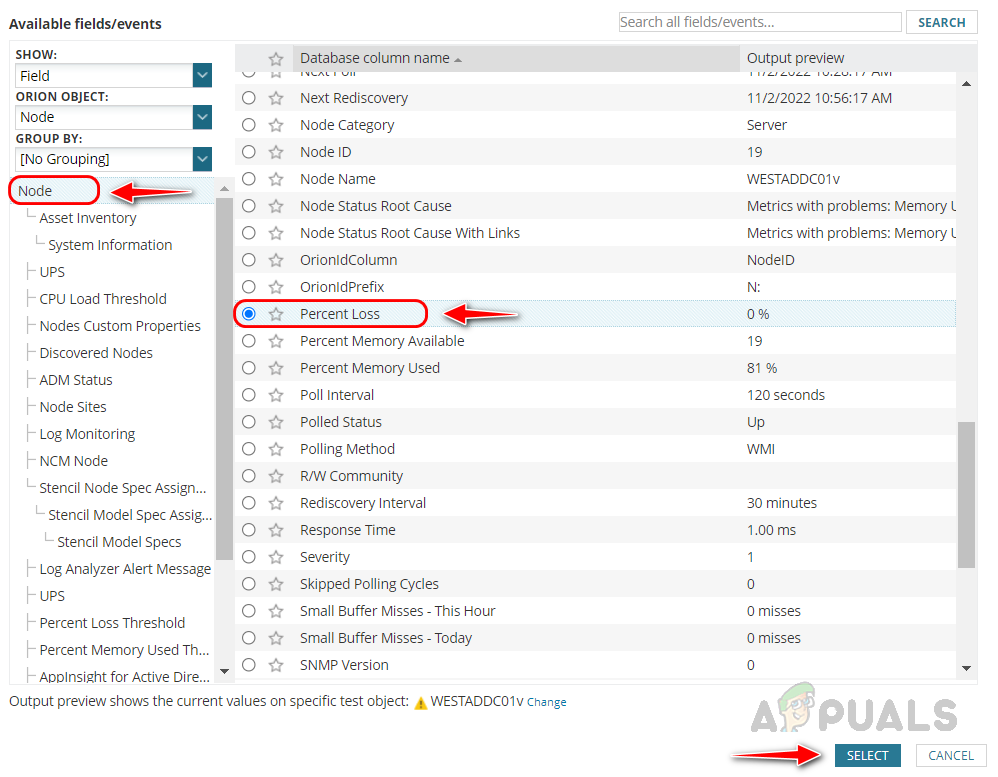
- Now mention the percentage of packet loss that you want for the alert.

- Once configured, click on Next.
- On the Trigger Actions section, add Email action.
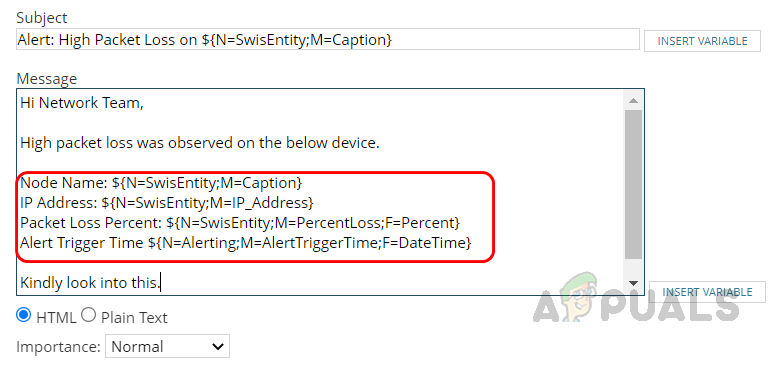
- Modify the Email subject and message body as required.
- Copy the trigger action to reset the action and modify it as required. And save the alert.
Whenever the packet loss on a network device meets this condition, an alert will be triggered to the respective team.
3. How to configure an alert for interface down in a network device
Follow the below steps to configure the alert condition and trigger action for the interface down alert.
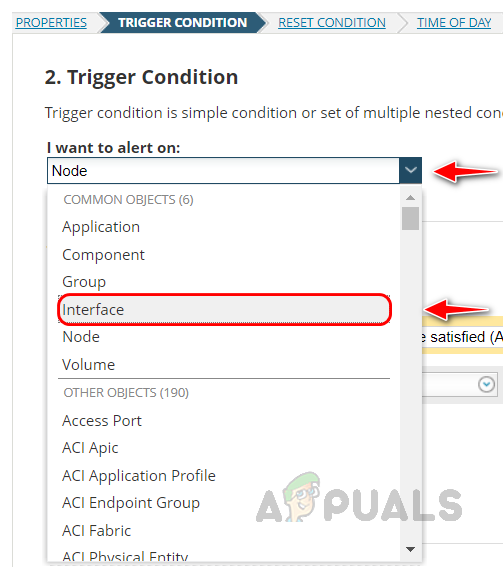
- Since we are configuring the alert for the interface, we need to change the object to interface on I want to alert on tab. To do that, click the drop-down menu and select interface from the list.
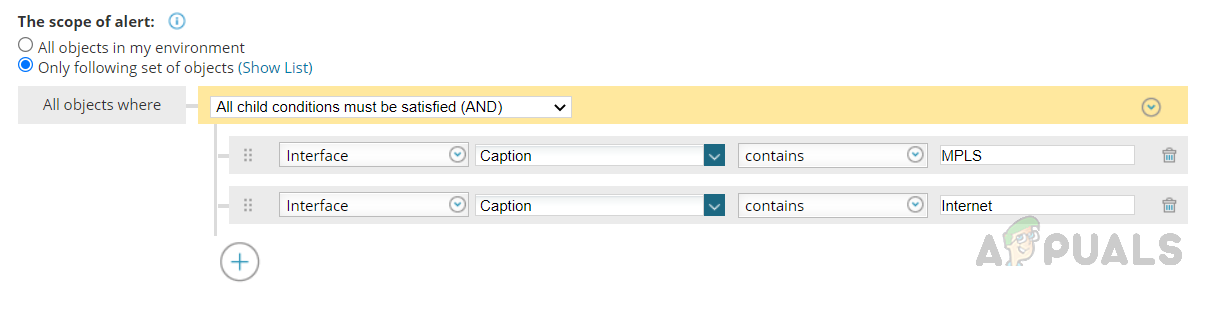
- You can set alerts for all the interfaces or specific interfaces like MPLS, Internet, etc. Filter the interfaces for the alert based on your needs. I have filtered only MPLS and Internet interfaces using the caption column.
- In the trigger condition section, configure the condition as below.

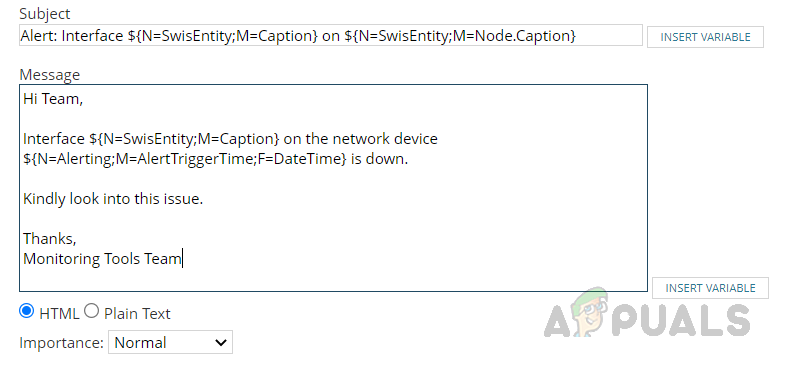
- On the Trigger Actions page, add the interface name and the respective network device detail in the subject and the message body using the insert variable option so that the network administrators can easily identify which interface is down on which device.
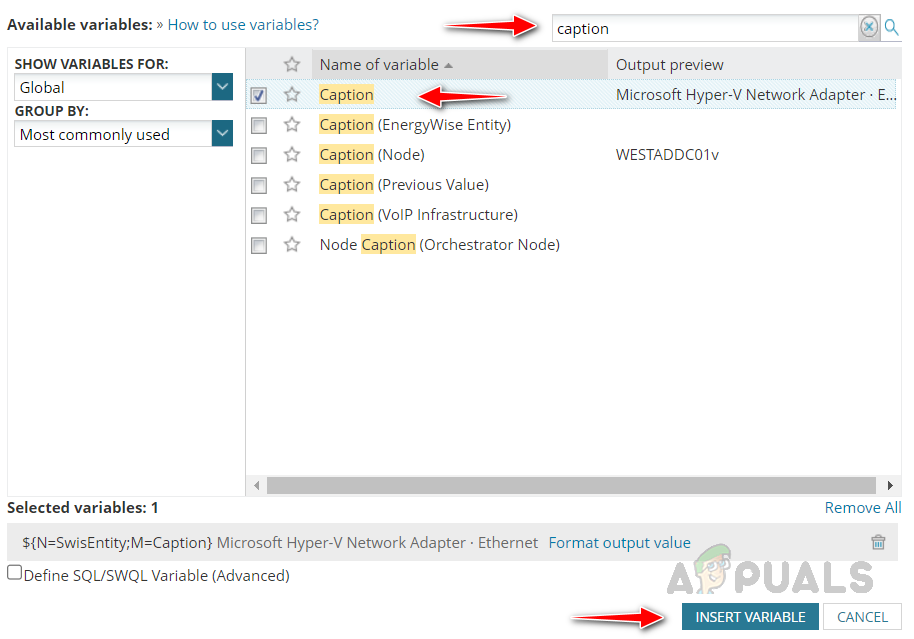
- Search for Caption and add the variable.
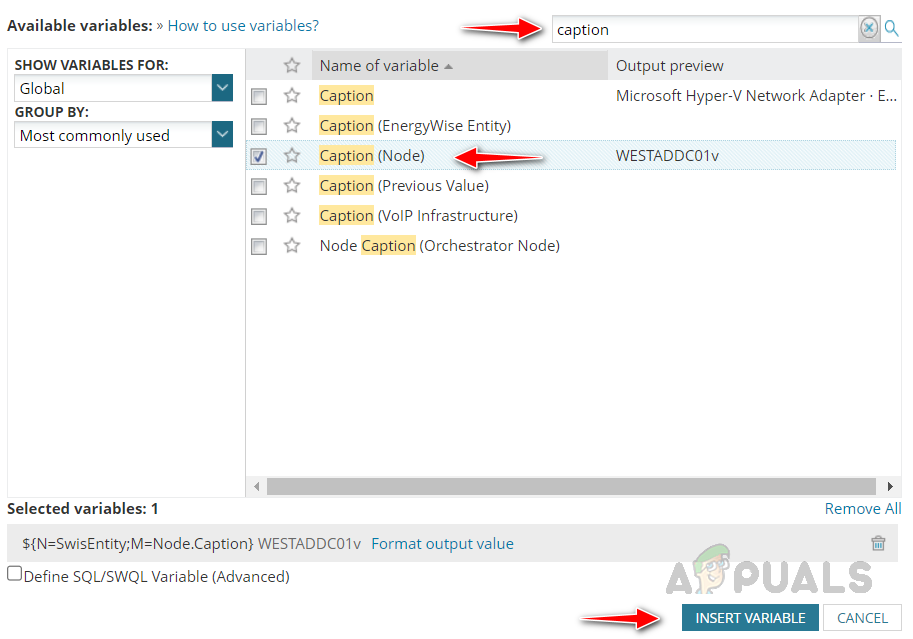
- Search for the node caption and insert the variable.
- Once modified the Email subject, modify the Email message using the insert variable option.
- Save the trigger action, copy the trigger action to Reset Action and modify the action as required, and save the alert.
The alert will trigger to the responsible team whenever an MPLS or Internet interface goes down based on our alert condition. This is how we can set up alerts for interface status in a network device.
4. How to configure an alert if bandwidth utilization is high on an interface
As we mentioned, choose the interface in I want alert on the drop-down list on the trigger condition page.
- Filter the required interfaces for the alert using the interface properties as shown below.
- Now we need to set up trigger conditions for the bandwidth utilization alert. Here let’s set up an alert for the received percent utilization if the utilization goes beyond 80%.
- Click on the drop-down list in the trigger condition and select Browse All Fields.
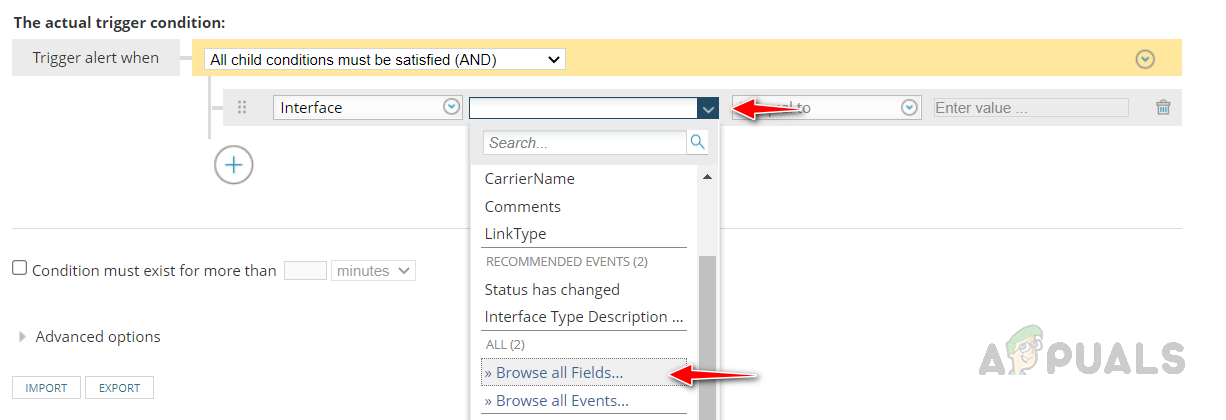
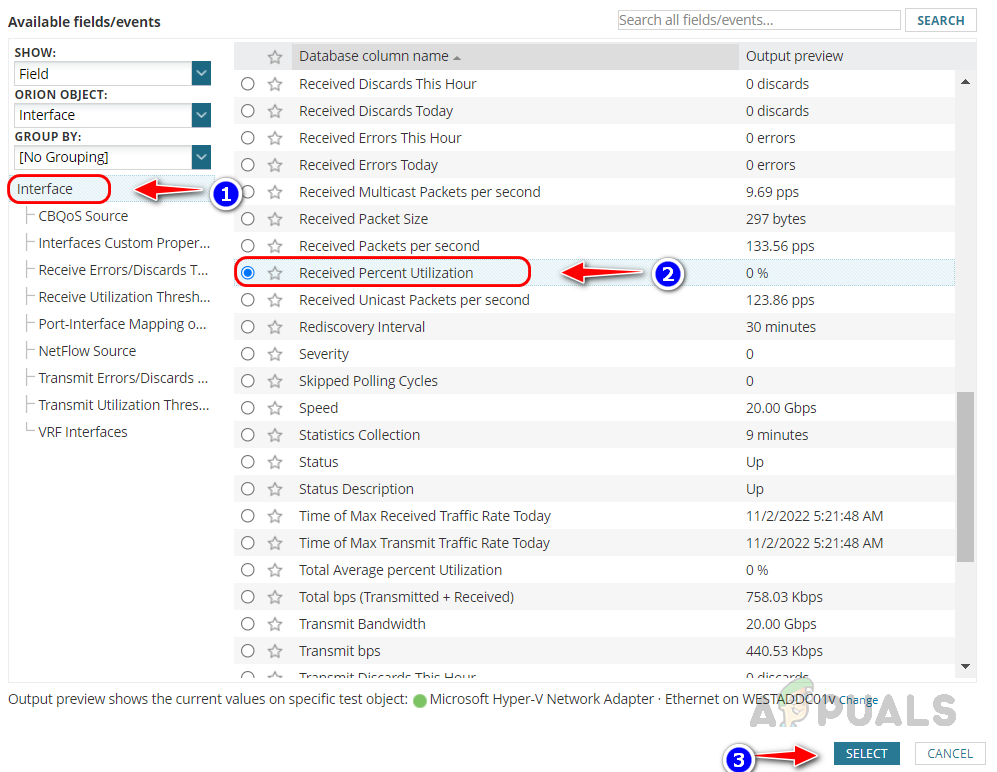
- Select Received Percent Utilization from the Interface table and click on Select.
- Now click on the drop-down list and select greater than or equal to. An alert will trigger whenever the utilization goes above or equal to the set threshold.

- Now set the threshold value in the text box. The complete alert condition will look like the below.

- Our alert condition is ready. Now we need to configure the Email action to bring the interface and utilization details, which will help the network administrator to resolve the issue quickly.
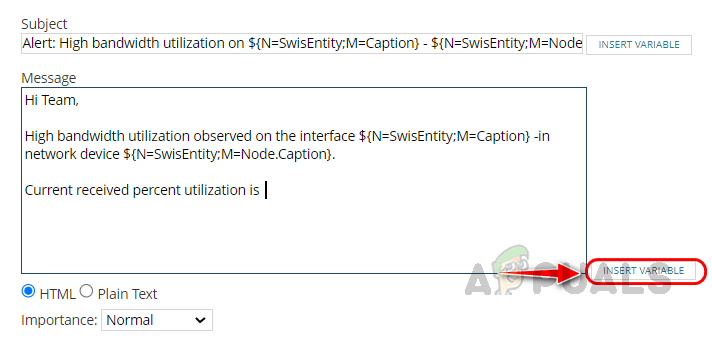
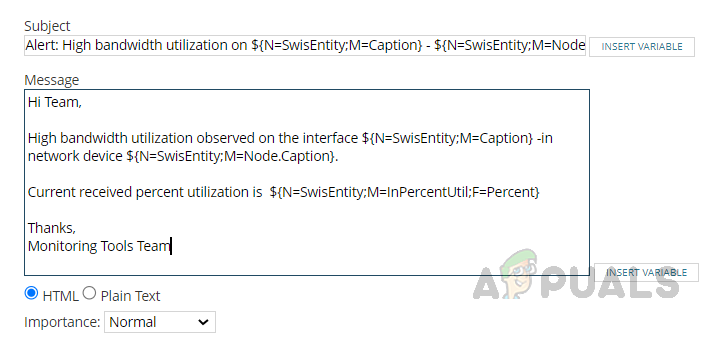
- Modify the Email subject to bring the interface name and node details.
- On the message body, we need to bring the current utilization on the interface so that the network administrator can see the exact percent utilization on the interface.
- Once you have added the interface name and node details on the message body, click Insert Variable to bring the received percent utilization.
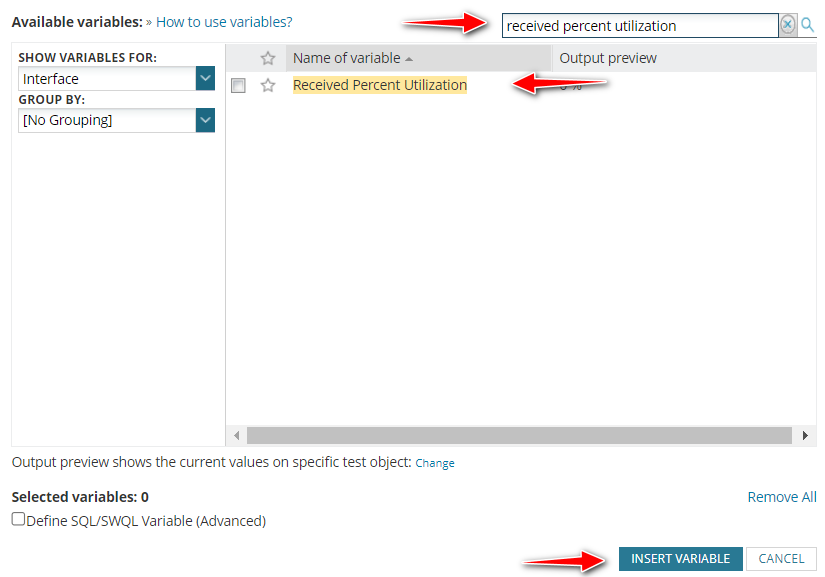
- Search for Received Percent Utilization, select the variable, and click on insert variable.
- Our Email action is configured now.
- Copy the trigger action to the Reset Action page, modify it as required, and save the alert.
An alert will trigger to the responsible team whenever the received percent utilization meets the alert threshold.
This is how we can use Solarwinds Advanced Alert manager to configure alerts. We can use these steps to configure alerts for any monitored parameter in Solarwinds. We need to choose the right object in the I want alert on the drop-down list so that the alert can be configured properly.