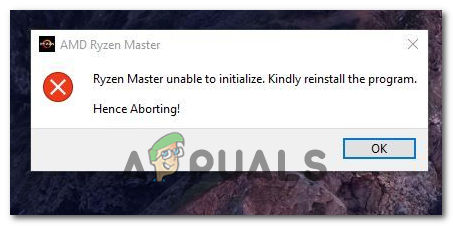
Fix: Ryzen Master unable to initialize. Hence Aborting!
 Reviewed by Muhammad Zubyan
The error, “Unable to initialize; kindly reinstall. Hence, aborting,” is a common issue encountered when using Ryzen Master. This error occurs when there are problems with the initialization process of the Ryzen Master software. The error message indicates that the program failed to start correctly and advises reinstalling it as a potential solution. This error is typically caused by an outdated or corrupted installation of the application.
There are several other factors that may play a key part in users facing this error, such as conflicting software or services and incorrect system configuration.
We have curated a detailed troubleshooting guide that will enable users to rectify the error, “Unable to initialize; kindly reinstall. Hence, aborting.
1. Bypass Windows Core Isolation
Windows Core Isolation, specifically the Memory Integrity component, can potentially impact the functionality of certain AMD applications or drivers. Windows Core Isolation’s Memory Integrity feature works by enforcing strict memory access policies, which can sometimes interfere with software that relies on direct access to system memory or makes low-level modifications.
Simply put, the Windows operating system tends to automatically crash programs created by other vendors if compatibility issues arise. However, you can take steps to bypass this security feature. Please follow the instructions below:
1.1 Create a DWORD value to disable the blocklist in the registry.
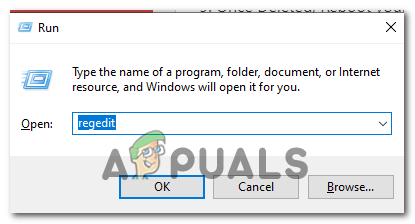
- Press the Windows + R keys simultaneously to open the run dialogue box.
- Type “regedit” in the run dialogue box search box.
- Now, Navigate to the path given below.
HKEY_LOCAL_MACHINE\System\CurrentControlSet\Control\CI\Config\
- In the config directory, Right-Click to open the context menu.
- Navigate to New > DWORD (32-bit value) and Name this entity as “VulnerableDriverBlocklistEnable”
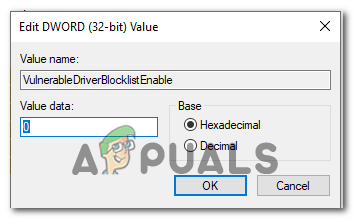
- Set the value to 0
- Now, reboot your computer.
After the reboot, try launching the application in question, i.e., Ryzen Master, and check whether the issue has been resolved or not.
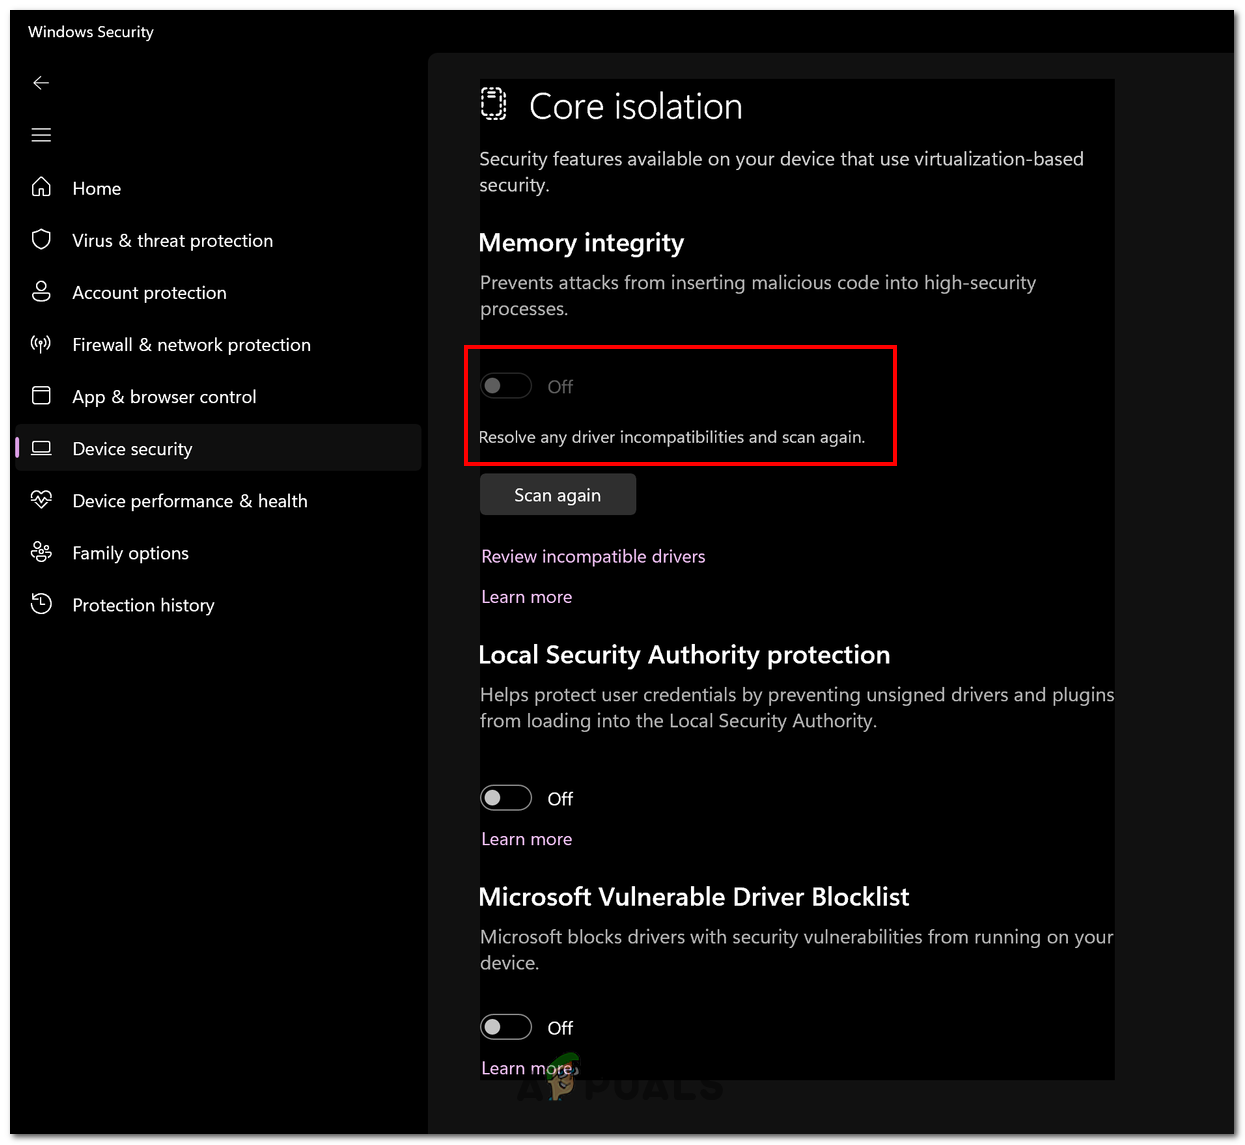
1.2 Disable Core Isolation from settings
Disabling core isolation can help resolve the Ryzen Master initialization error. This is achieved by eliminating potential conflicts between the VBS environment created by core isolation and the functioning of Ryzen Master. When core isolation is disabled, the VBS environment becomes inactive. This can potentially resolve compatibility issues between Ryzen Master and the isolated environment. Here’s how to do so:
- Press the Windows Key to open up the start menu.
- In the Start menu search bar, type “Core Isolation” and press the Enter key. If you do not see the Core Isolation feature, it means that CPU virtualization is disabled. Therefore, before continuing, make sure to turn it on.
- Toggle the switch under ‘memory integrity’ to ‘off,’ as shown in the image below.
- Reboot your computer.
After the reboot, Run the program and check if the issue’s been resolved or not.
2. Clear the CMOS
Clearing the CMOS can often resolve the error message, ‘Ryzen Master unable to initialize; kindly reinstall, hence aborting.’ This process fixes any corrupted BIOS settings that interfere with the initialization of Ryzen Master. By clearing the CMOS, these corrupted settings are removed, restoring the BIOS to a clean state. Here’s how to clear the CMOS:
- Shut down your computer completely and disconnect the power cord from the back of the computer or switch off the power supply.
- Open your computer case to access the motherboard. Refer to your computer or motherboard’s manual for specific instructions on how to open the case.
- Locate the CMOS battery on the motherboard. It resembles a round, silver coin-like battery and is often easily visible.
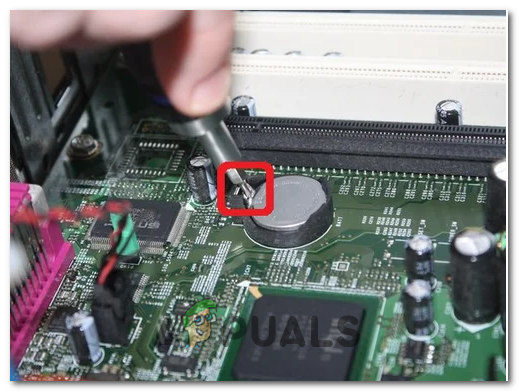
- Carefully remove the CMOS battery from its slot. You can use your fingers or a small flat-head screwdriver to gently lift it out.
- Wait for a few minutes to allow any residual charge in the system to dissipate. This helps to ensure that the CMOS settings are completely cleared.
- After waiting, reinsert the CMOS battery into its slot, ensuring it is properly aligned.
- Close the computer case and reconnect the power cord or switch on the power supply.
- Power on your computer and access the BIOS settings by pressing the appropriate key during the startup process (often displayed on the screen during boot-up). The commonly used keys include Del, F2, F10, or Esc. Refer to our BIOS key guide.
- Once your computer boots up successfully, Try checking it if the error has been resolved or not.
3. Reinstall the Chipset drivers
When it comes to ensuring your computer’s hardware components work smoothly, chipset drivers play a vital role. These drivers act as a bridge between the operating system and the hardware, enabling effective communication and ensuring everything functions properly.
However, over time, these drivers can become outdated or corrupted due to various factors, such as compatibility issues. This can lead to a range of issues. By reinstalling the chipset drivers, you can resolve these problems and optimize your system’s performance. As an example, we will be going through the steps to reinstall chipset drivers on an AMD device.
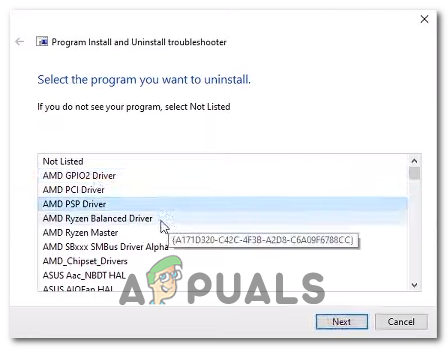
3.1 Uninstall existing chipset drivers
Follow these straightforward steps to uninstall the existing chipset drivers:
- Download the AMD cleanup utility by clicking here.
- Once downloaded, continue with the straightforward installation procedure.
- In the application select the PCI, GPIO2, etc one by one to individually uninstall them.
- Once installed, Reboot your computer.
3.1 Install AMD Chipset drivers.
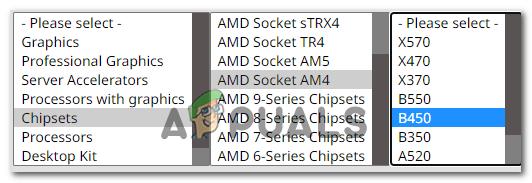
Follow these steps to install the latest AMD chipset drivers:
- Click here to visit the download page for the AMD chipset drivers.
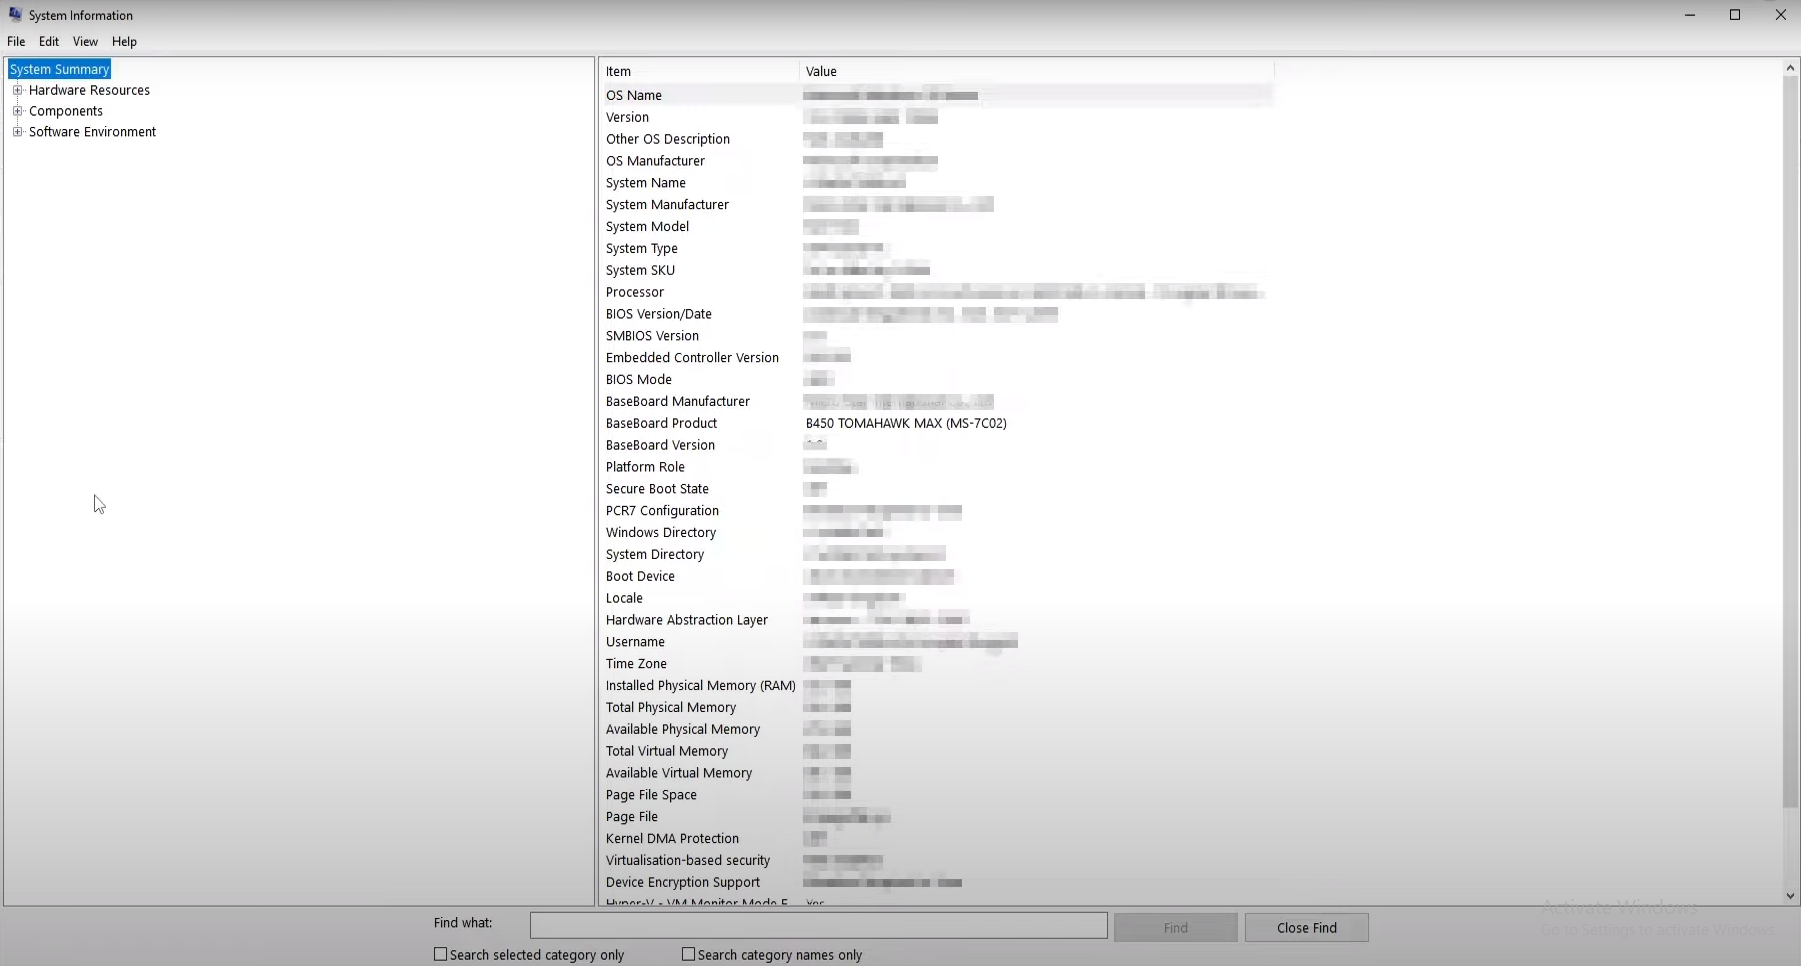
- If you’re unsure of the specification of your motherboard, Press the Windows key and in the search bar type “System Information”. Here you can check the information under Baseboard product.
- Now, On the Download page specify your Device and download the drivers as shown in the image below.
- Download the driver file, and install it.
- Reboot your computer after installation.
4. Reinstall Ryzen master
By addressing issues related to Ryzen Master’s installation files or configurations, reinstalling the program can potentially fix the error message ‘Ryzen Master unable to initialize; kindly reinstall the program, hence aborting.
Additionally, we will clear the registry entries to ensure the complete removal of the program from your computer before proceeding with the reinstallation. Follow these steps:
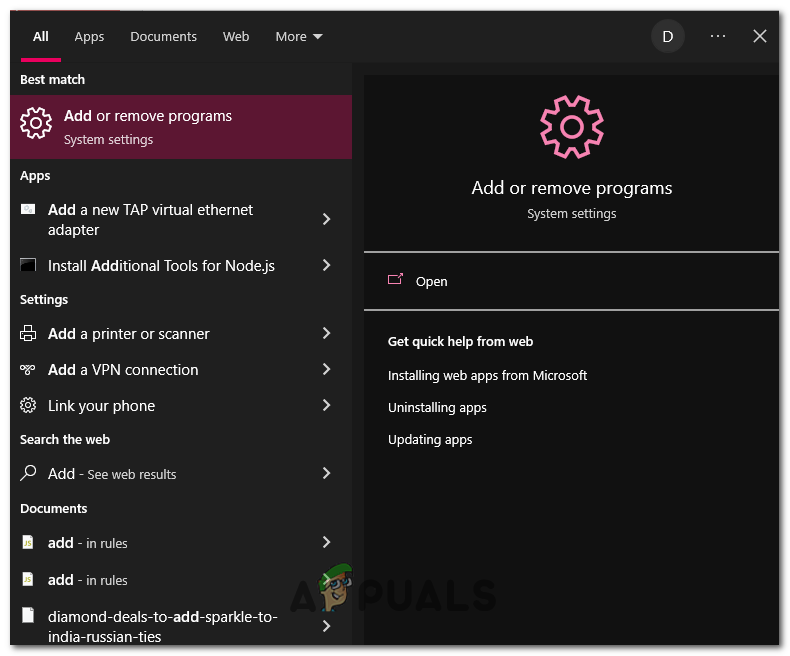
- Press the Windows key on your keyboard to open the start menu.
- In the start menu search bar, type Add or Remove program
- Now, in the list of applications locate Ryzen Master and Click on it.
- Click on the Uninstall button and wait for a while.
- Now, Press the Windows + R keys simultaneously to open the Run dialogue box.
- Type Regedit in the text box and hit the enter key.
- Navigate to the below-mentioned path:
Computer\HKEY_LOCAL_MACHINE\SYSTEM\ControlSet001\Services\AMDRyzenMasterDriverV13 (or v15, v20, the version number depends on the installed version._
- Delete the V13/V19 or the V20 folder. The version number totally depends on the version of ryzen master installed.
- Once Deleted, Reboot your computer for the changes to take effect.
Reviewed by Muhammad Zubyan


