Is your Roku Remote blinking Green? Here’s How to Fix it
 Reviewed by Muhammad Zubyan
The Roku remote blinks green as an indication of issues with its charging or pairing. This problem has been reported across various models of Roku devices. When the remote blinks green, you may also notice a battery icon appearing on the TV screen at regular intervals.
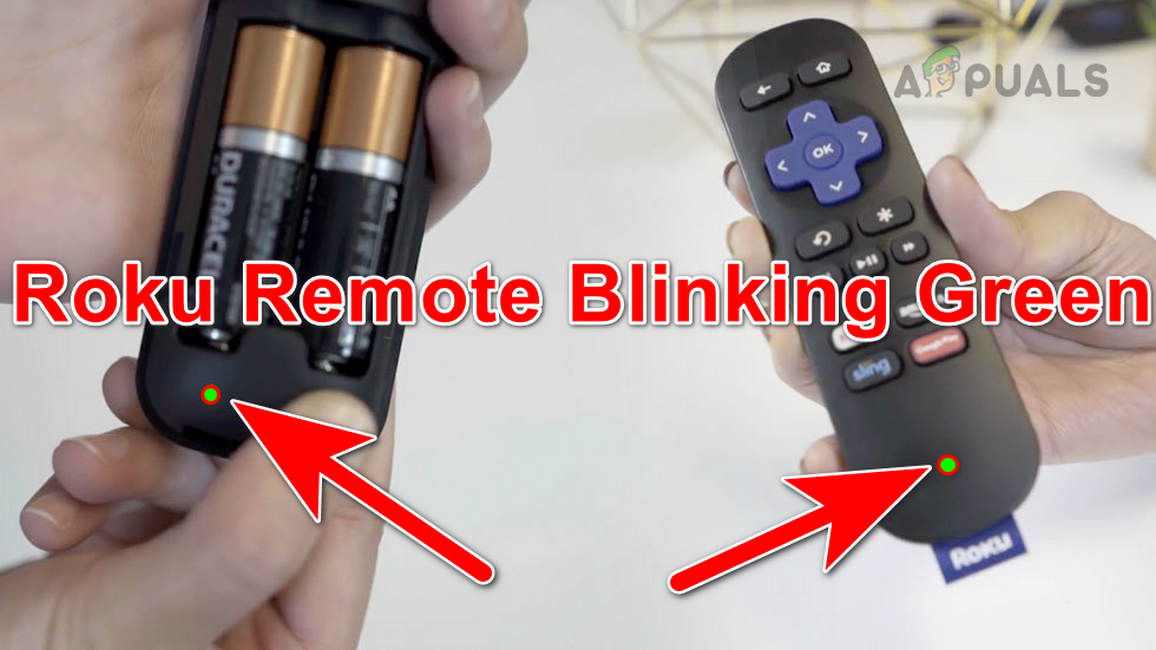
The remote fails to control the device or TV when it blinks green and its batteries tend to drain quickly. Depending on the model, the blinking light may be located on the front panel or inside the battery compartment. Both IR (infrared) and RF (radio frequency) remotes have been known to be affected. In the case of rechargeable remotes, either they will fail to charge or will not hold the charge effectively.
Troubleshooting Prerequisites
- Ensure that you have the Roku app installed and configured on your device as it may be required for some of the methods discussed below.
- In certain situations, if the app is unable to detect your Roku device on the Wi-Fi network, you can use an Ethernet cable to directly connect your Roku device to the network.
- If you have headphones connected to your Roku remote, disconnect them and see if it solves the problem.
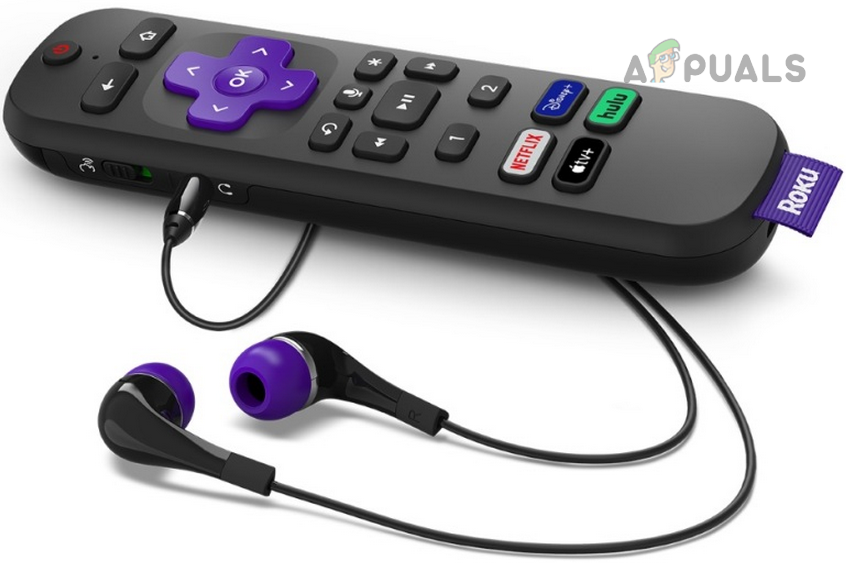
Disconnect Headphones from the Roku Remote - Verify that the firmware of your Roku device is up to date.
1. Charge the Remote
You will notice a blinking green light on your Roku remote with rechargeable batteries if the batteries need charging. To address this matter, start charging the remote.
Charge the Remote for Extending Time
- Put the remote on the charging and wait for at least 3 hours.
Charge the Roku Remote - Remove the remote from the charging and see if the problem is solved.
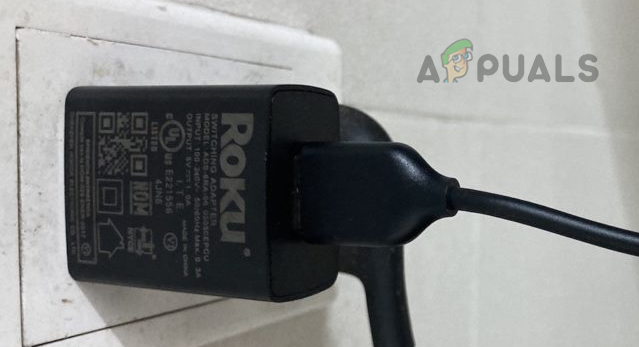
Ensure that you are using the original cable and power adapter provided to charge the remote. If charging fails or the remote is not maintaining the charge, you can attempt using alternative power sources such as a USB port on a computer or other devices. Additionally, use a different charging cable and see if that resolves the issue.
Repeatedly Connect and Disconnect the Charging Cable
- Put the remote on the charging, and when the remote shows a charging light, unplug the charging cable from the remote.
- Repeat this 15 times, but always make sure to disconnect when the remote’s charging light comes on.
- Charge the remote for 3 hours and see if the issue is resolved.
Use the Remote on Charging
- Put the remote on the charging and in the charging condition, check if the remote controls the Roku device or TV.
- If so, then you can use the remote in this condition. This can help in pairing another remote or trying other methods mentioned in this article.
2. Perform a Cold Restart of the TV, Roku Device, and Router
When the Roku remote fails to complete the pairing process, its light will continuously blink green. This issue might have occurred when the communication modules of the TV, Roku device, and router (specifically for an RF remote) are not in the required state.
To rectify this problem, perform a cold restart of all the equipment.
Restart Roku
- Unplug the Roku device from the TV and power source.
Unplug Roku from the TV and Power Source - Wait for a minute and plug back the Roku device. See if the Roku remote issue is resolved.
Restart Roku with a Single Battery in The Remote
- Unplug the Roku device and press the pairing button on the remote.
- When the light is flashing green, remove a single battery from the remote and plug the Roku device back in.
Remove a Single Battery from the Roku Remote - When the Roku name stops bouncing on the screen, put the battery back in the remote and hold down the pairing button for 5 seconds. Verify if the issue is resolved.
Restart Roku without a Battery in the Remote
- Unplug the Roku device from the TV and power source.
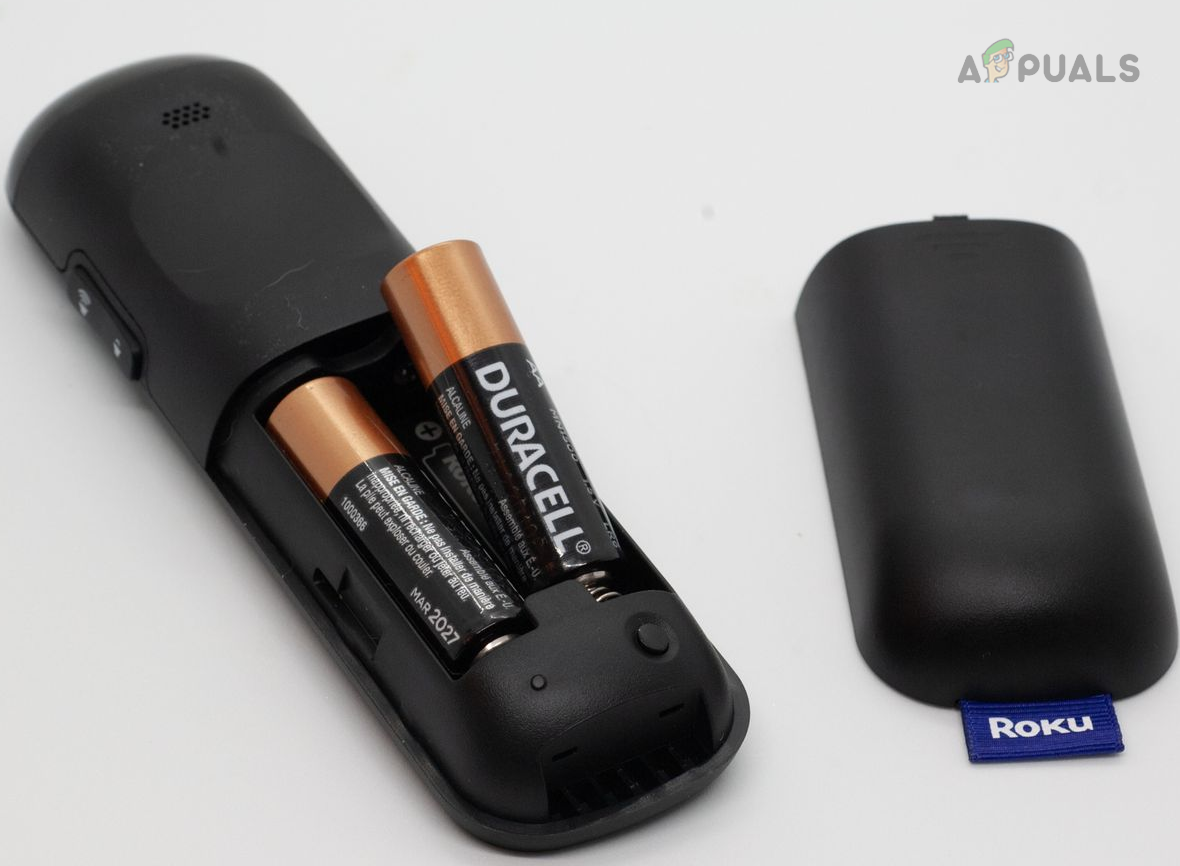
- Remove both batteries of the remote and wait for a minute.
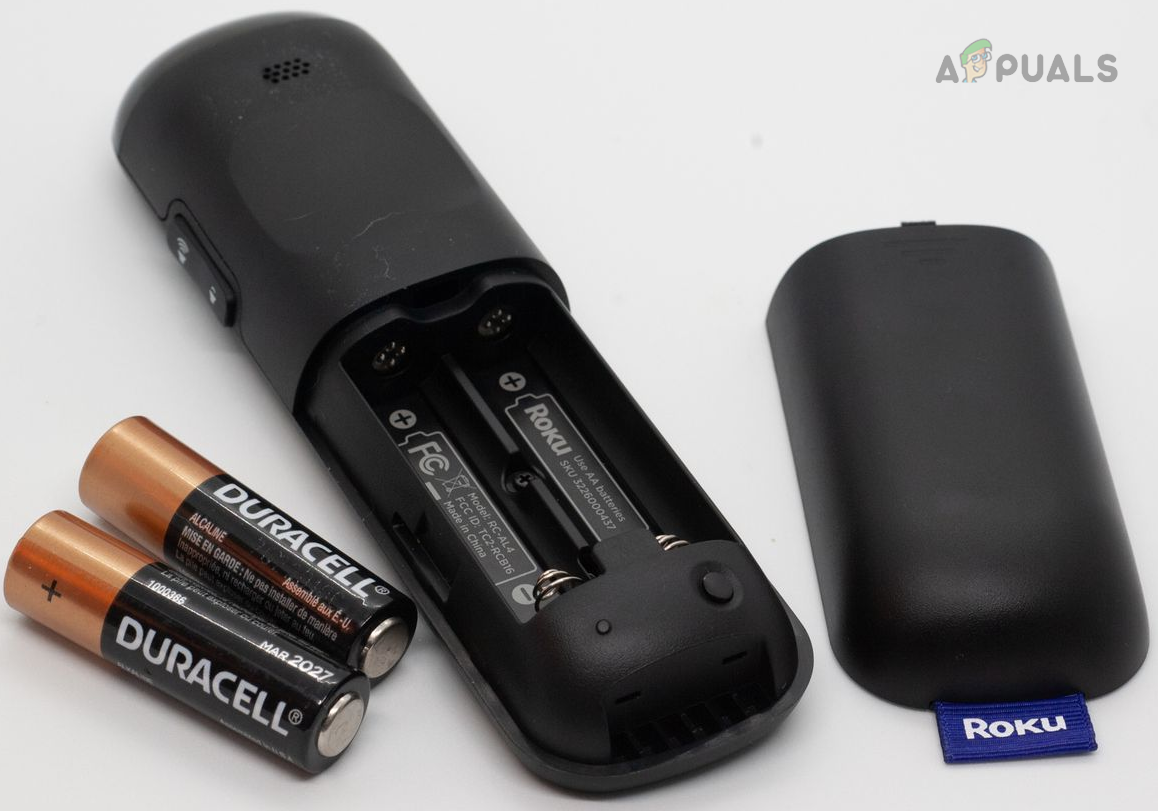
Remove Both Batteries from the Roku Remote - Plug the device back into the HDMI port and then plug it into the power source.
- Insert the batteries back into the remote, and once the white light on your Roku device becomes solid, press the pairing button on the remote for 5 seconds.
- See if the green light has disappeared from the remote. If so, press other buttons on the remote and confirm if the pairing is successful.
Restart the Roku, Router, and TV
- Unplug the Roku device from the TV and power source.
- Power off the TV and router.
- Unplug their power cables from the power sources.
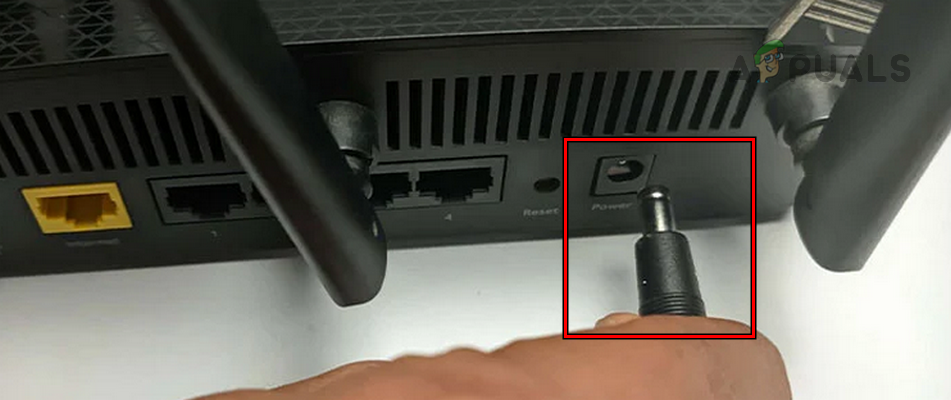
Unplug the Power Cable of the Router - Remove the batteries from the Remote and wait for a minute.
- Plug back the TV and router.
- Power on the router and then the TV.
- Plug the Roku back into the TV and connect it to its power source.
- Once the Roku device restarts, put back the batteries and press the pairing button on the remote. See if the blinking green light has stopped on the remote.
3. Try Another Power Source or Port for the Roku Device
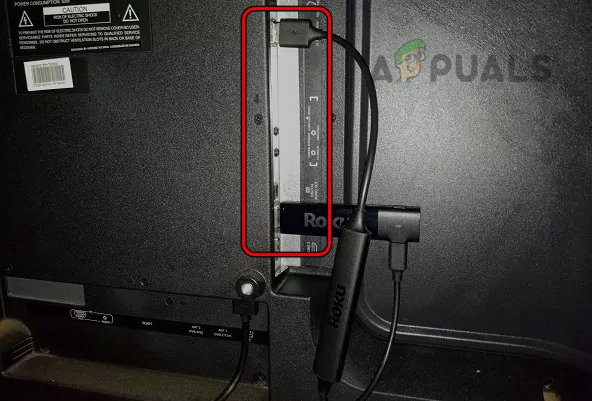
If the power source fails to provide enough current to the Roku device, the device will fail to receive signals from the remote. Likewise, if the HDMI port to which the Roku stick is connected does not support the communication standards utilized by Roku, it will also result in problems.
Here, trying another power source or HDMI port for the Roku device will solve the problem.
Try Another Power Source
- Connect the Roku device to another power source. For example, if you are using a wall outlet, switch to the USB port of the TV or vice versa.
Connect Roku to Another Power Source - Check if the issue is resolved.
Try Another Port
- Remove the batteries of the remote and unplug the Roku device from the power source.
- Switch the Roku to another HDMI port of the TV and plug back the Roku into the power source.
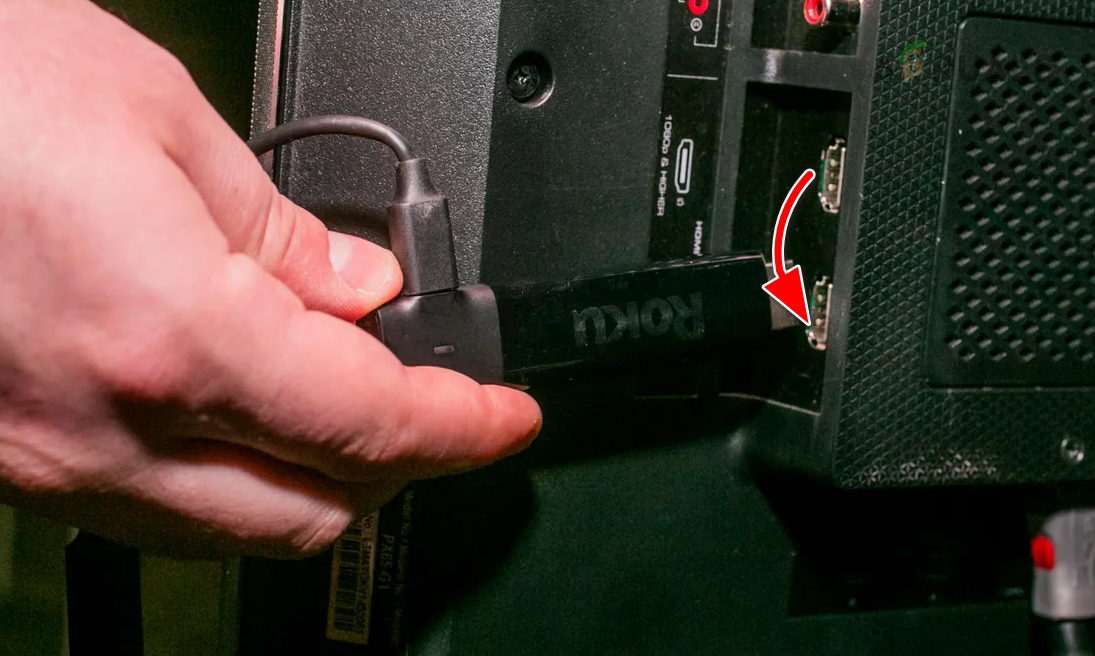
Switch the HDMI Port of Roku on the TV - Put the batteries in the remote and see if it is clear of the blinking green light.
4. Disable the Remote’s Voice Control
When the microphone or voice control feature (applicable only for RF remotes) on the Roku remote drains the batteries excessively, the batteries deplete quickly. Consequently, the remote starts blinking green. In such cases, disabling the voice control of the remote should resolve the issue.
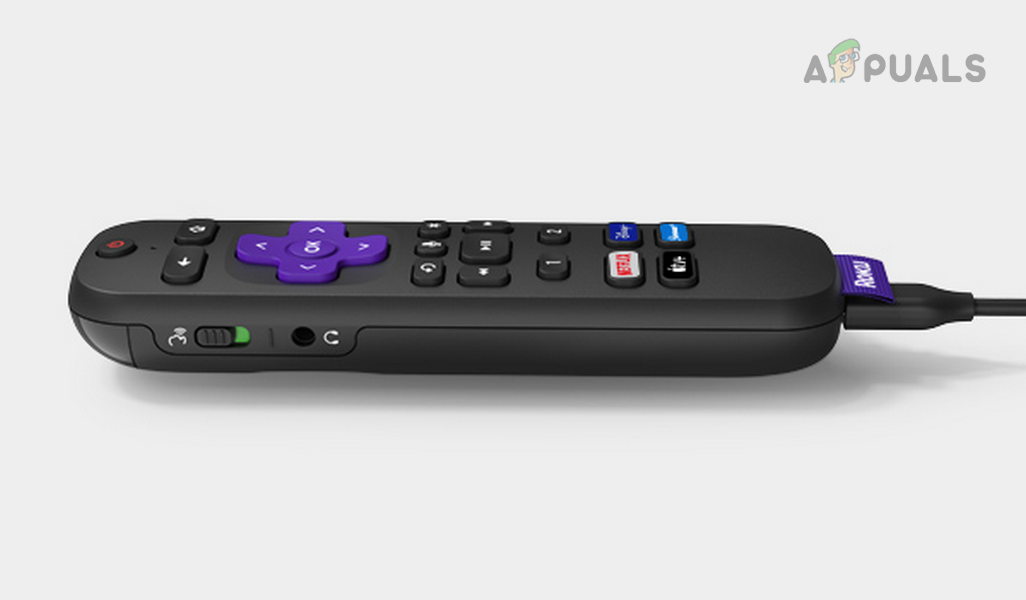
- Locate the microphone switch on the remote’s side and toggle it to the off position.
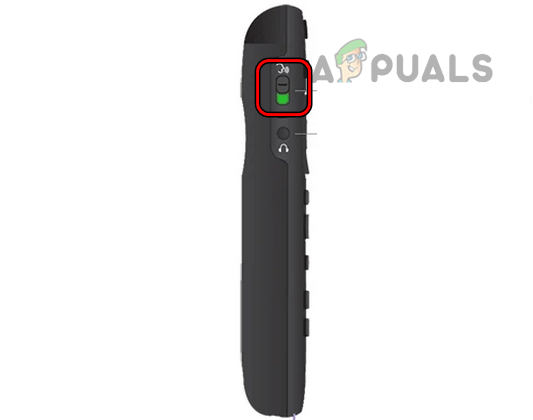
Disable Voice Control on the Roku Remote - Put the remote on charging and once charged, see if the issue is resolved.
5. Re-Pair the Roku Remote
If the green light is flashing on the Roku remote, it means that it needs to be paired with the Roku device. To fix this, you need to perform the pairing process between the Roku remote and your device or TV.
To complete these steps, you may need to use the remote in the Roku app.
Bring the Remote near the Device for Pairing
- Bring the Roku remote just beside the device and press the pairing button.
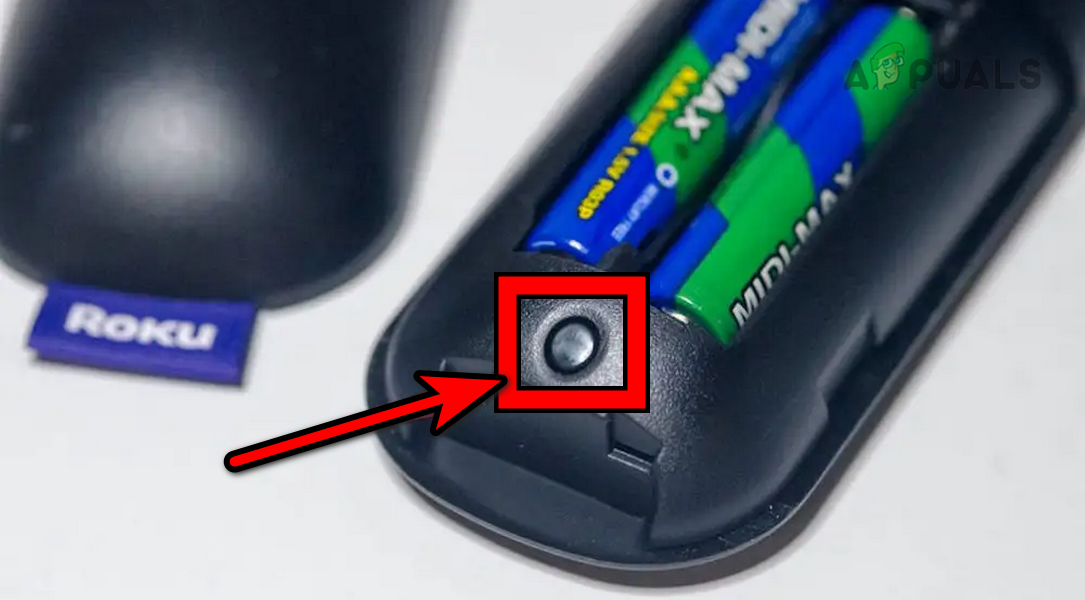
Press the Pairing Button on the Roku Remote - See if the problem is solved. If so, then an electromagnetic interference was causing the issue. For an IR remote to work, it must be in the line of sight of the device or TV, and if it is hidden behind the TV, you will need an HDMI extension cable.
Pair Through Settings
You may need another remote or use the Roku app to perform the steps below:
- Launch the Roku Settings and go to Remote & Devices > Set up a New Device.
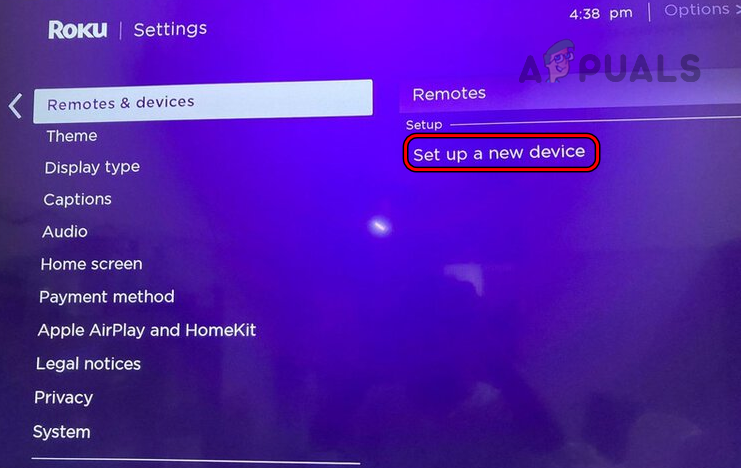
Set Up a New Remote in the Roku Device Settings - Press the Pairing button on the Roku remote (not the app) and see if the problem is solved.
Delete older Remotes from the Roku Settings
You may also need to use the remote in the Roku app to complete these steps.
- Disconnect all the Roku devices in your vicinity from TVs and power sources.
- Remove batteries from all the remotes in your vicinity.
- Connect back the problematic Roku device and put the batteries back only in the problematic Roku remote.
- Launch the Settings of the Roku device and go to Remote & Devices.
- Delete all the remotes except the one you are trying to connect and disconnect the Roku device from the power source.
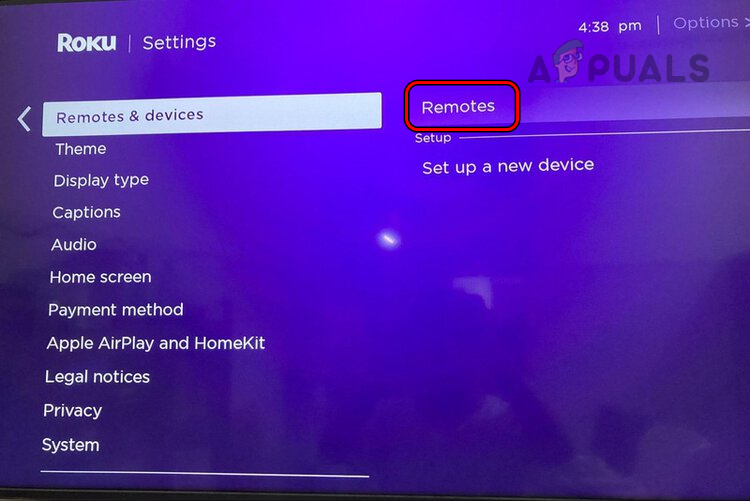
Delete Old Paired Remotes from the Roku Device Settings - Remove the batteries from the remote and wait for a minute.
- Connect back the Roku device and put the batteries back into the Roku remote. See if the remote’s flashing green light is gone.
If you have more than one Roku device, make sure the problematic remote is not paired to any other device.
6. Clean the Roku Remote and Check for any Stuck Buttons
If the charging port of the Roku remote has accumulated dust, it will fail to establish a proper connection with the charger and the batteries will not charge. This will be indicated by a continuously blinking green light. Similarly, if a button on the remote is stuck in the pressed position, it will continuously drain the battery, causing the green blinking light.
In either case, cleaning the Roku remote and checking for any stuck buttons will solve the problem.
Clean the Remote
- Remove the back cover of the remote and use a toothpick to clean its charging port.
- Grab a Compressed Air Can and use it to blow air in the charging port.
- Grab a wet wipe soaked in rubbing alcohol and clean the terminals or springs in the battery compartment.
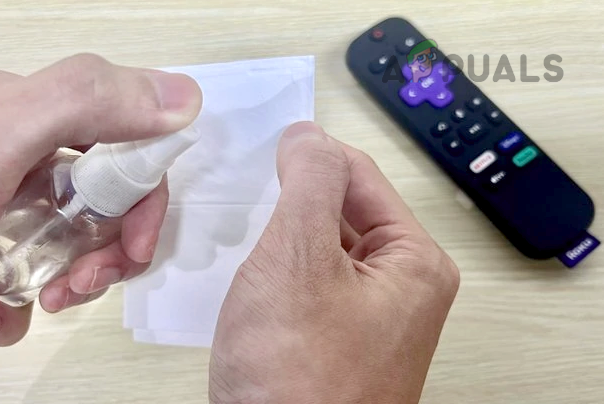
Clean the Roku Remote - Once the alcohol dries out, attach the cover back on the remote and put the remote on charging.
- Wait for an hour and see if the remote is operating properly.
Check for Any Stuck Buttons
- One by one press all the buttons on the remote thrice.

Press All the Roku Remote Buttons One by One - Make sure no button is stuck in the pressed position and Check if the issue is resolved.
7. Implement Various Battery Techniques
You will experience a flashing green light on the Roku remote if its batteries are dying or the static current present on the remote is not letting the remote complete its paring operation. Here, trying various battery techniques will resolve the issue.
Remove a Single Battery
- Remove a single battery of the remote and wait for a minute.
- Insert back the battery and see if the problem is solved.
Remove the Remote’s Batteries for Extended Time
- Remove both batteries of the remote and wait for an extended time such as overnight (at least for 10 hours).
- Put back the batteries in the remote and check if the remote’s flashing green light is gone.
Reconnect the Battery Compartment’s Cable
Try this method if you are skillful at doing so, otherwise, skip it. Don’t try it if your remote is under warranty.
- Remove the remote’s batteries and open the remote’s case.
- Disconnect the cable that connects the battery compartment to the main board.
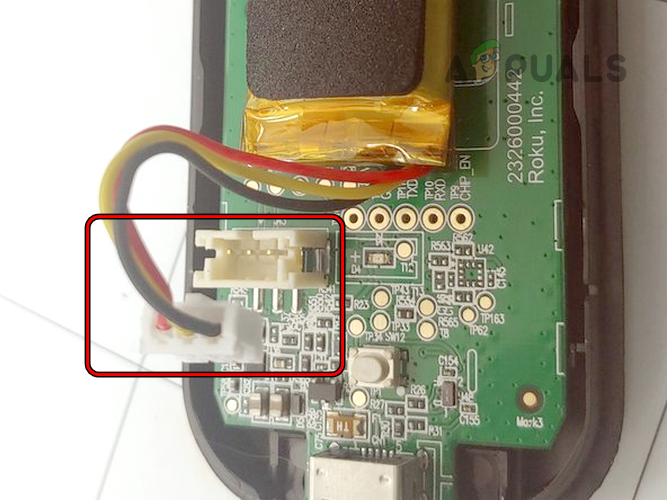
Disconnect the Battery Terminal from the Roku Remote - Wait for 5 minutes and reconnect the cable.
- Put back the batteries and see if the issue is resolved.
Try New Batteries
- Remove the old batteries from the remote and put the new batteries into the remote. Make sure to use a new pack of batteries, not the batteries present with you.
- Verify if the remote is operating properly without showing the green light.
8. Reset the Roku Device to the Factory Defaults
The Roku remote will not work and show blinking green light it cannot pair with the Roku device. This might have occurred if the essential modules of the Roku device are damaged or malfunctioning.
In this case, resetting the Roku device to the factory defaults will do the trick. Remember to backup any data on your Roku device as it will be wiped from the device.
You will need another remote or use the Roku app to complete the steps below. Only try the reset method if you have or can arrange another remote from a friend or family. As you will need a remote to set up the Roku device after factory resetting and if the problematic remote does not work, you will get stuck on the language or pair remote screen.
Through Settings
- Remove the batteries from the remote and launch the Roku device Settings.
- Go to System > Advanced System Settings > Factory Reset.
- Select Factory Reset Everything and follow the prompts on the screen to complete the process.
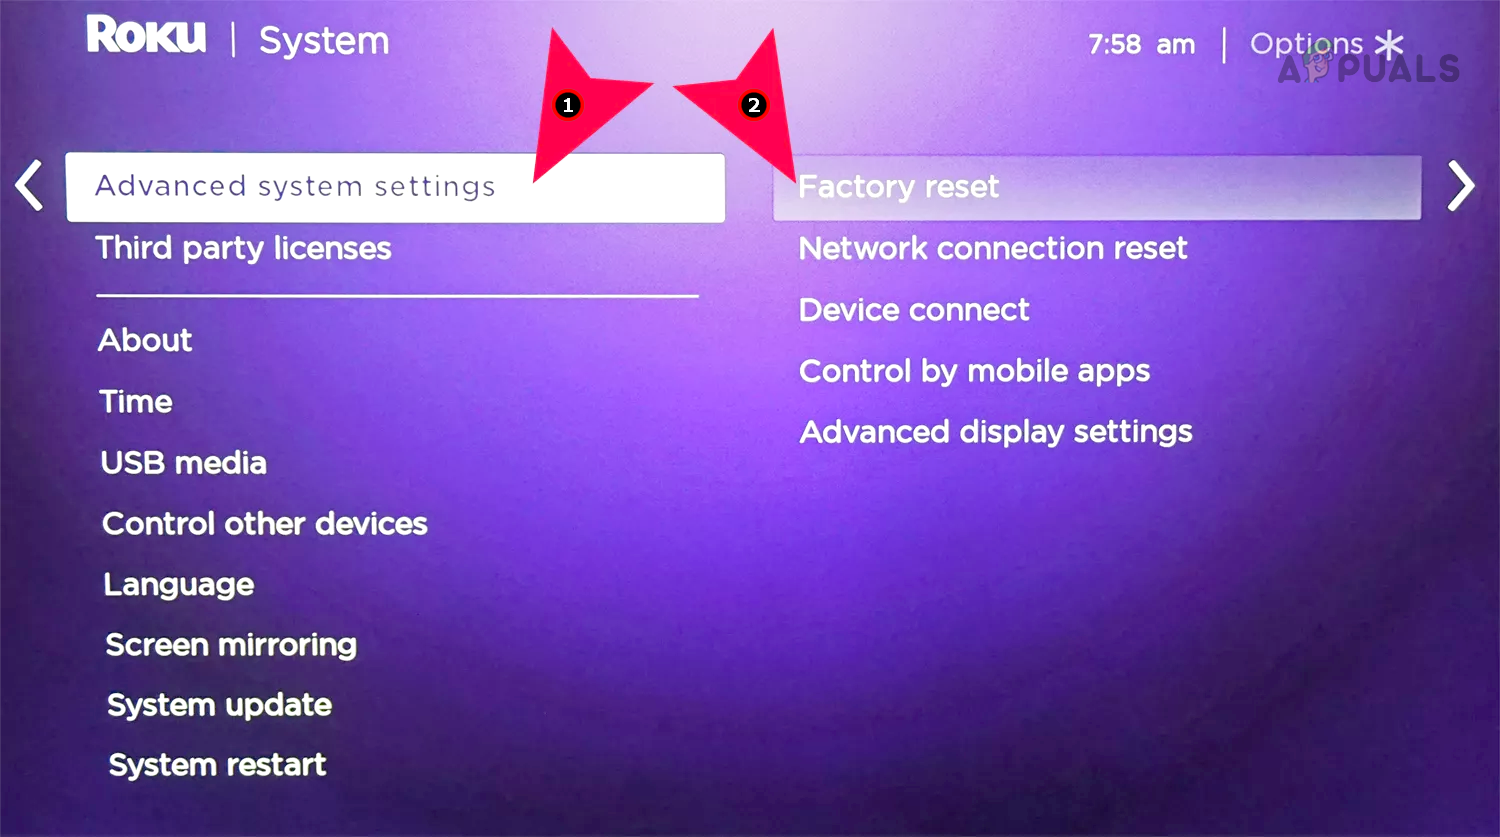
Factory Reset the Roku Device Through Settings - When the device restarts after the factory reset, put the batteries in the remote and pair it with the device. Hopefully, it will be working correctly.
Through the Reset Button
- Remove the batteries from the remote and locate the reset button on your Roku device.
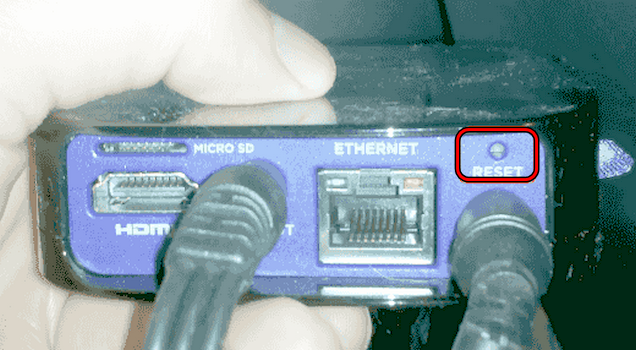
Reset the Roku Device Through the Reset Button - Press and hold the reset button till the device restarts. You will see Roku on the screen.
- Release the button and put back the batteries in the remote.
- When the pairing prompt is shown on the screen, press and hold the pairing button for 5 seconds.
- Release the button and hopefully, the issue will be resolved.
If none of the previously mentioned solutions resolve the issue, reach out to Roku Support for further assistance. If the remote or Roku device is still under warranty, you can request a replacement. In case the warranty has expired, you will need to obtain a new remote or consider repairing the existing remote or Roku device.
If the remote works correctly with other Roku devices, likely, the power cord of the wireless receiver of the Roku device will require replacement. Alternatively, you can try using other remotes available to you.
Reviewed by Muhammad Zubyan