[FIX] Printer keeps Printing Documents in an Inverted Color Scheme
This error causes the documents to appear in inverted colors, if you are printing a black and white document, then your whites will appear in black and the black text will appear white. Many users have reported this and the culprit behind the issue is usually the misconfiguration of the printer. However, this can also be caused by updating the printer driver as the new update might not be compatible with the printer and the printer starts malfunctioning. Please see the below methods to solve this problem.
Method 1: Change the Advanced Settings of the Printer
In this method, we will change the advanced setting of the printer. This is an option in the advanced settings that control if the documents are printed normally or with inverted colors. You need to make sure that you have the correct settings enabled. Please follow these steps:
- Type Printer in the Windows Search bar.
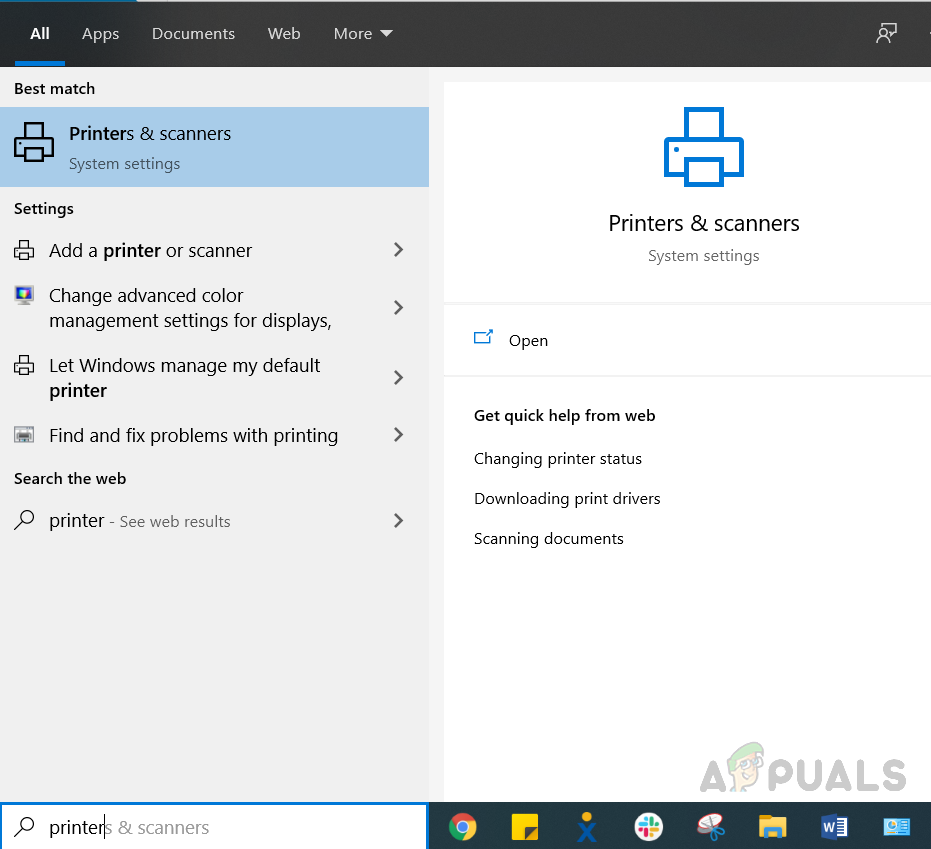
Type Printer in the Windows Search bar - Open your Printer properties and go to the Advanced tab. Click on that tab named Printing Defaults.
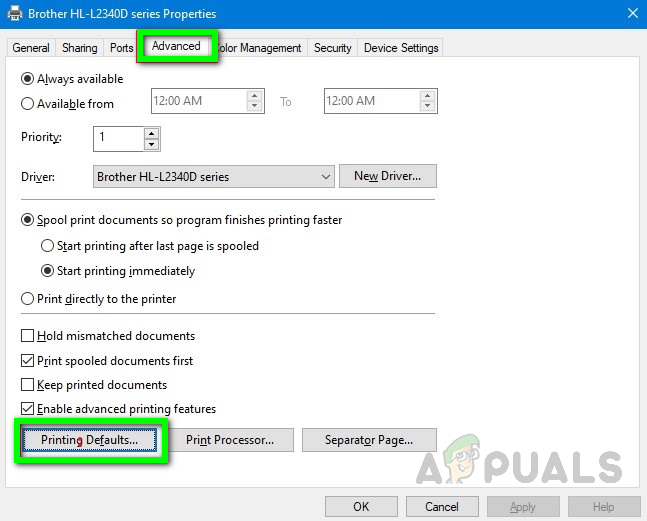
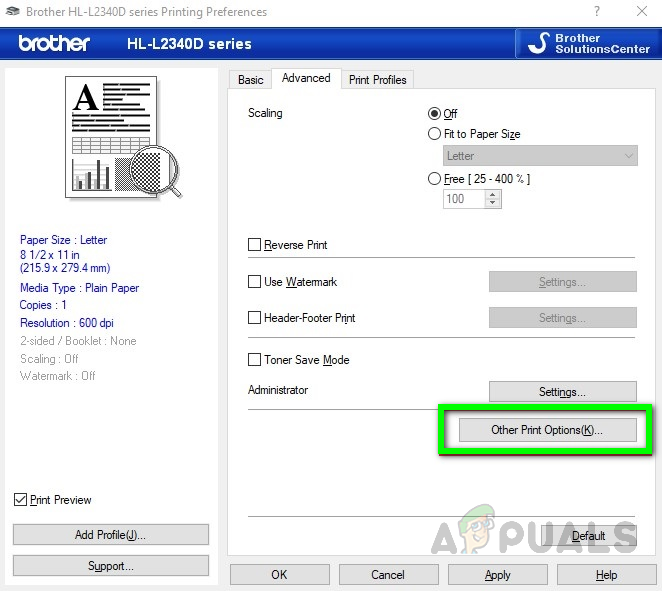
- Click Advanced and select the Other Print Options.
- Select the option that says Print Text in Black in the left pane and also check the box on the right side that says Print text in black.
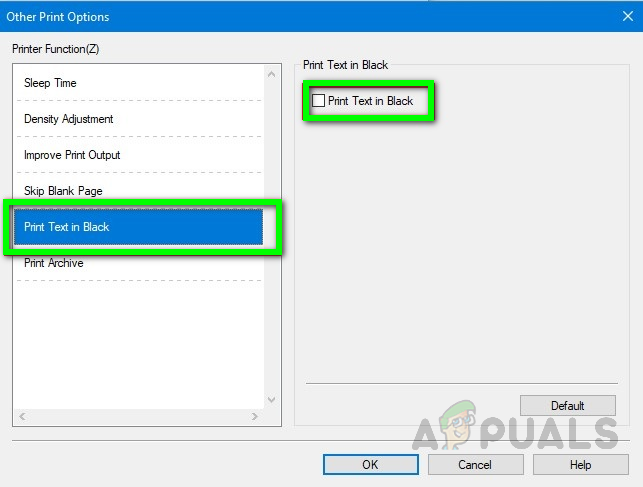
- Now click OK on all three windows to apply the changes.
Method 2: Change Your Printer’s Driver
If you are using a BROTHER printer then this method will surely work for you since there is a known issue with the Brother printers which is caused by a recent update to the generic printer driver installed on your computer. Therefore, you will need to uninstall the existing printer driver and reinstall the driver listed in the below steps.
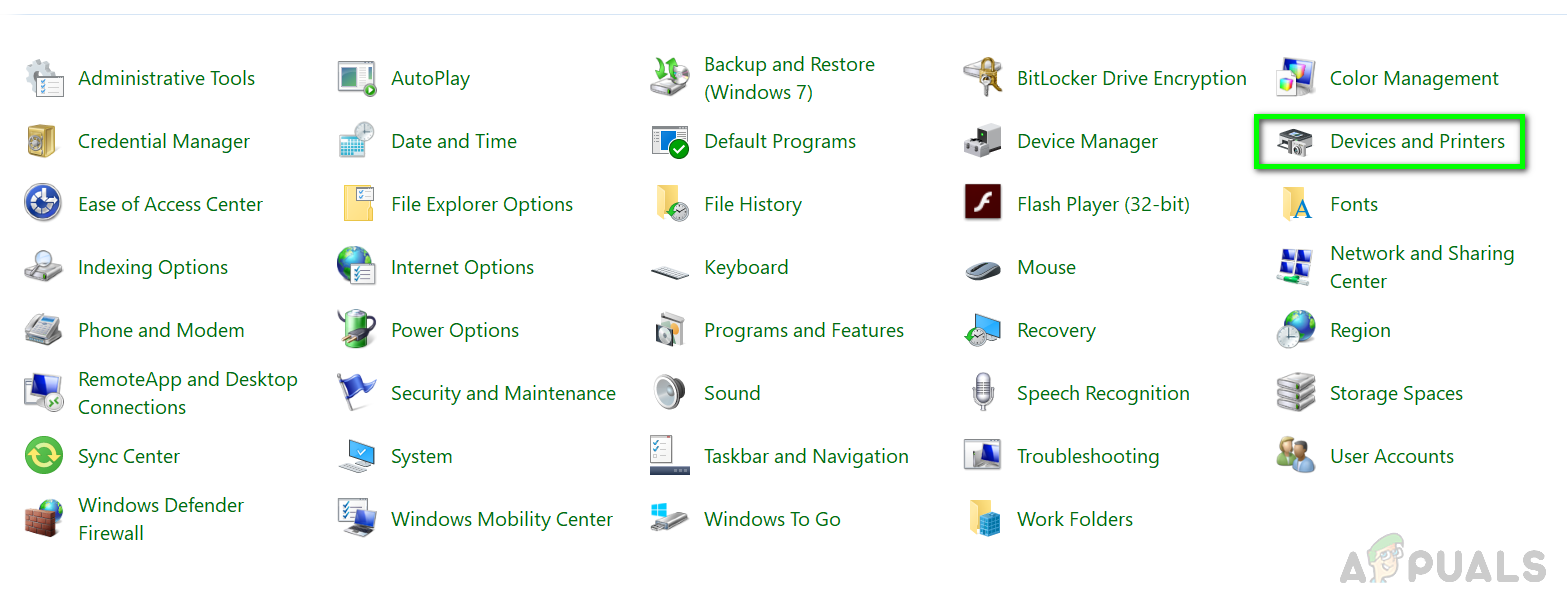
- Go to your Computer’s Control Panel and click Devices and Printers.
- Right-click on your Printer icon and click on the option Remove The Device, If the system prompts you to delete the driver, click Yes.
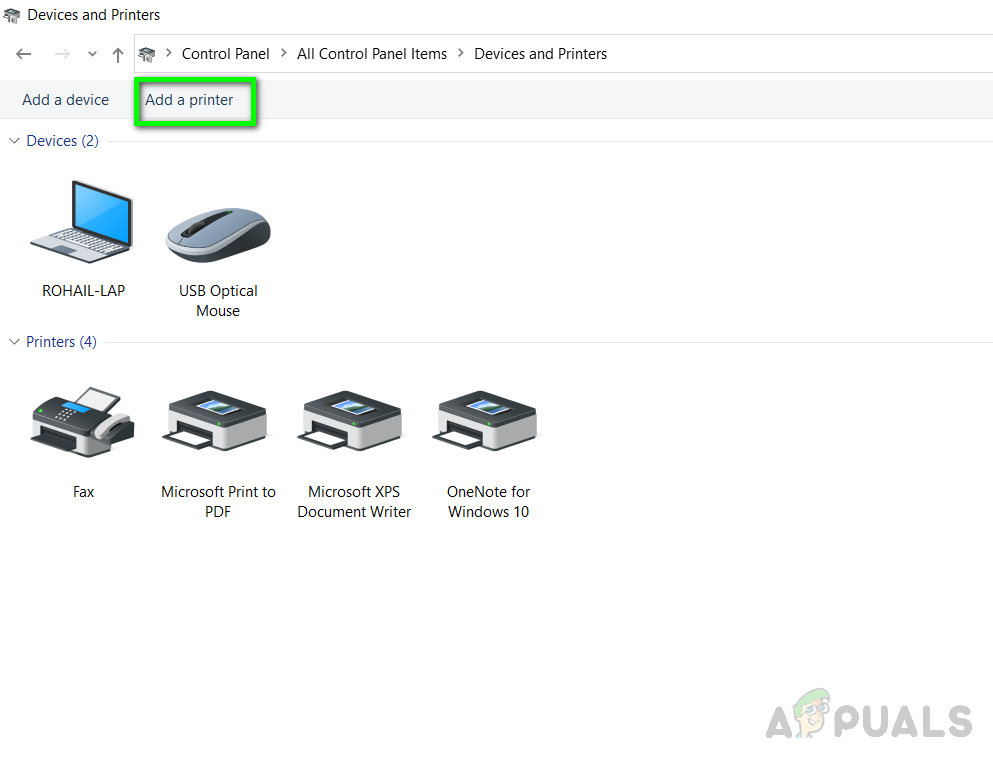
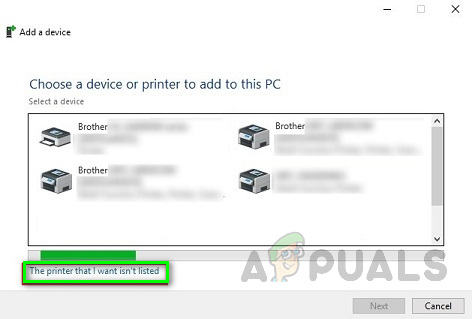
- Now on the top, click Add a Printer and the system will begin searching for the printers attached to your network.
Add a Printer - Once the list populates, click The printer that I want isn’t listed, even if your printer is there in the list.
click The printer that I want isn’t listed - Now on the next screen, choose the option My Printer is a little older. Help me find it.
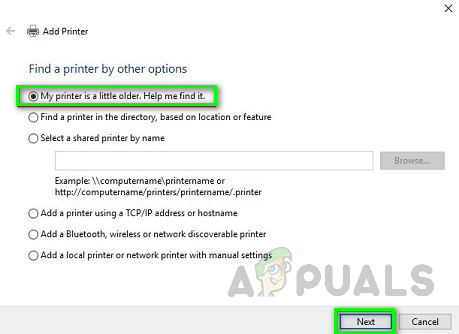
choose the option My Printer is a little older. Help me find it. - The window will start searching for the printers attached to the network.
- If you see the message that says The driver is already installed, select the option that says Replace the current driver and then click the Next button.
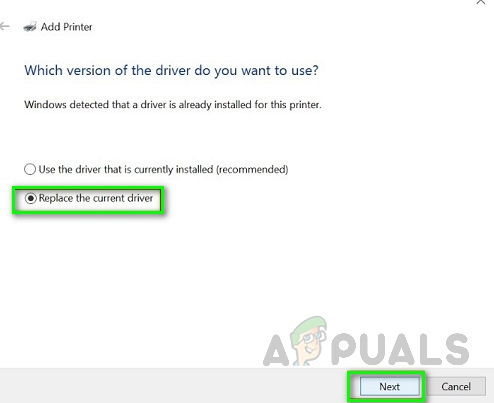
select the option that says Replace the current driver and then click the Next button - Leave the default name of the printer as is and click Next.
- Choose your Printer Sharing option and click Next.
- You can set your machine as the default Printer.
- Now click Finish and try to print a test document.