How to Fix the Printer Error 0x00000bbb in Windows?
The printer error 0x00000bbb occurs when the users try to create a print job in Windows using an installed printer. Apparently, this issue occurs with certain printers when Windows fails to recognize them.
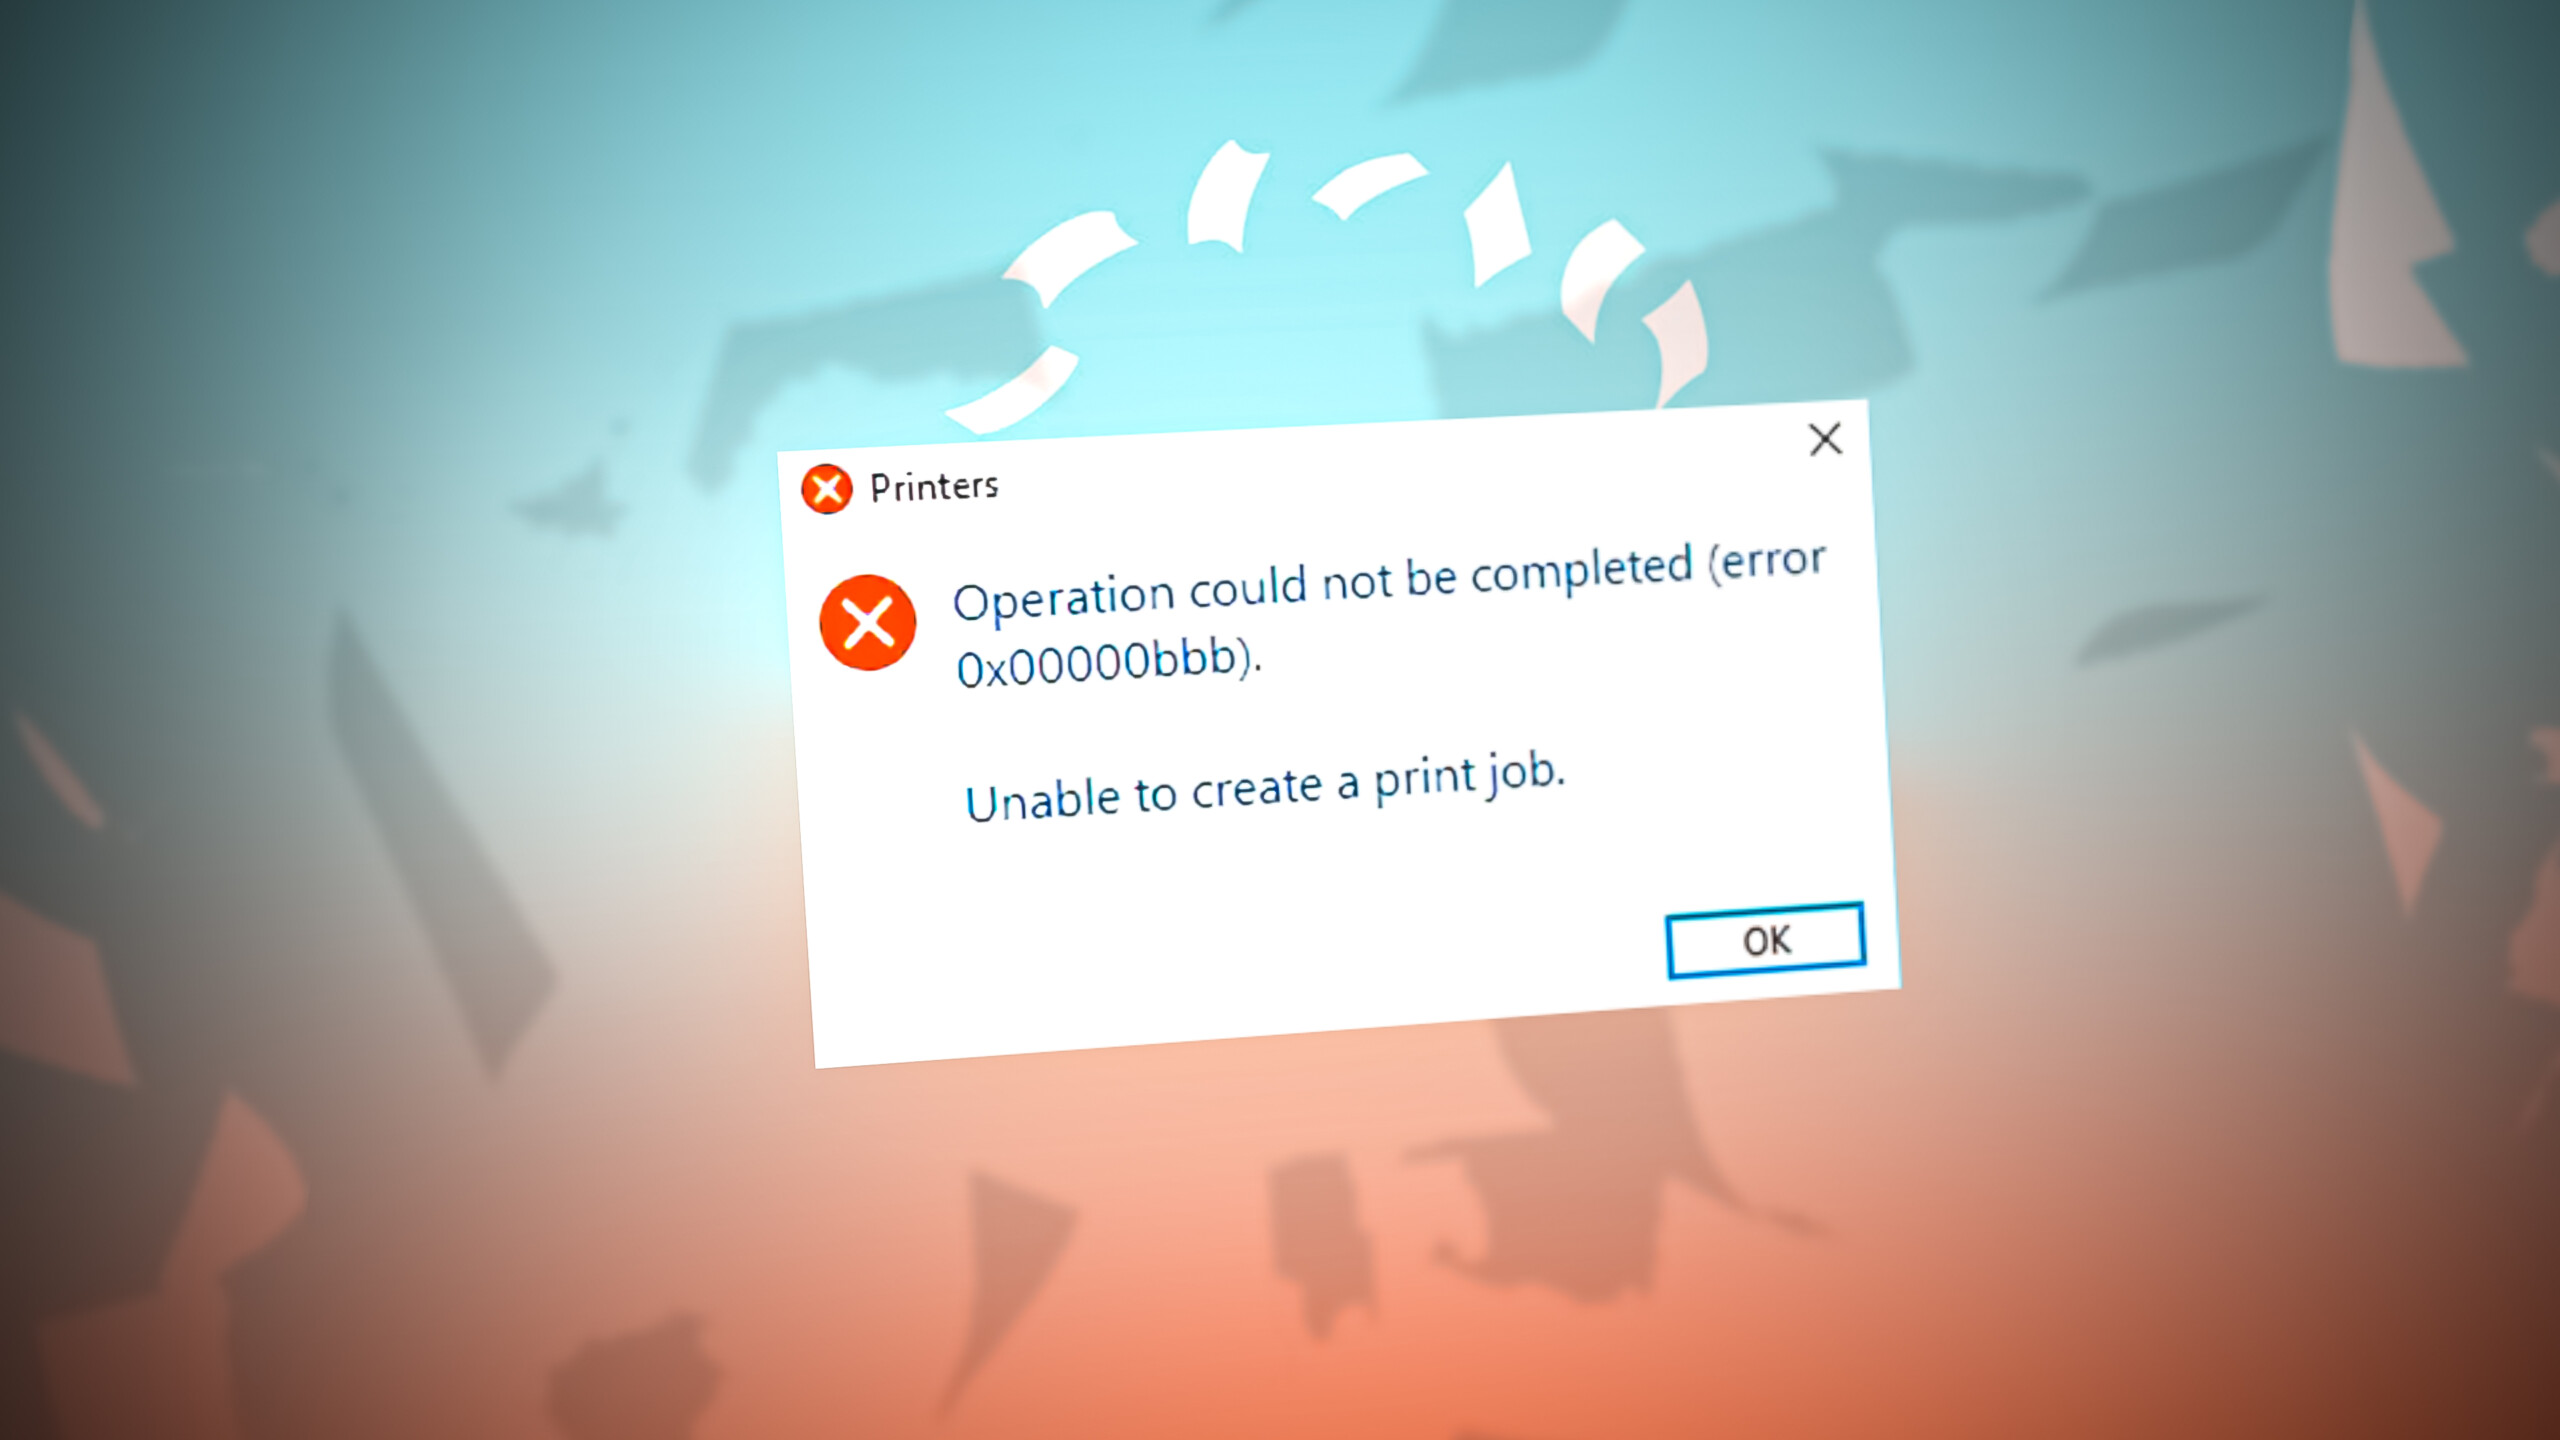
The problem is typically caused by corrupt updates and corruption issues within the system. Below, we have discussed several ways of fixing this problem once and for all.
1. Run the Printer Troubleshooter
In case of facing any printer-related issues on your Windows computer, the first thing that you should do is run the printer troubleshooter. This utility can be found in the Settings app and works by scanning the system for printer-related issues.
Here is how you can run the printer troubleshooter:
- Press the Win + I keys together to open Windows Settings.
- Navigate to System > Troubleshoot > Other troubleshooters.
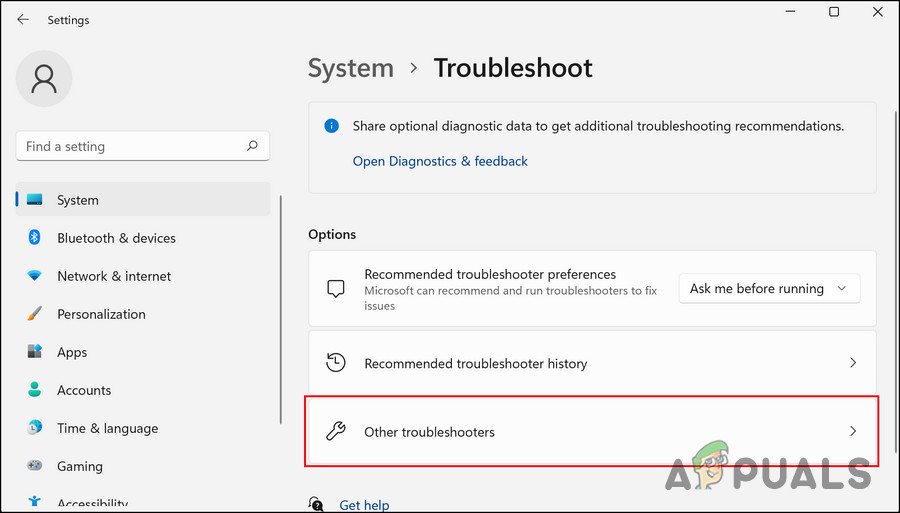
Click on the Other troubleshooters option - Now, locate the Printer troubleshooter and click on the Run button associated with it.
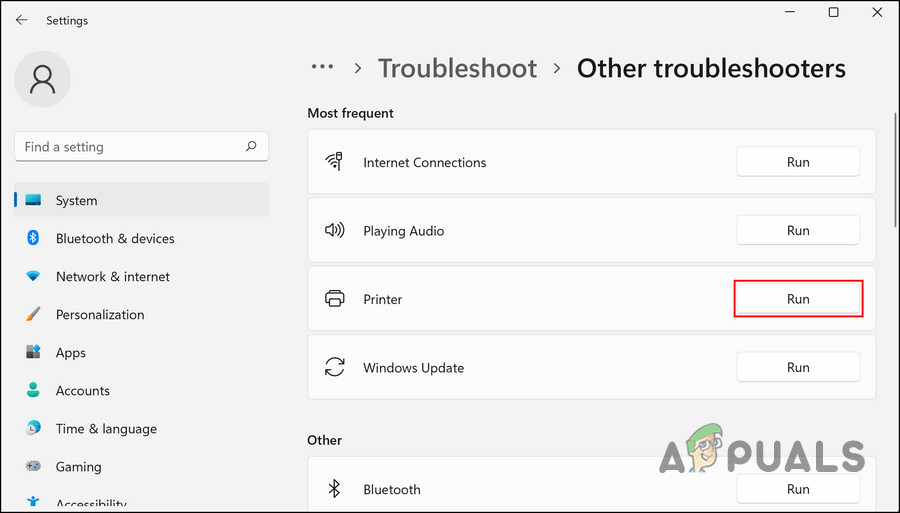
Run the printer troubleshooter - Wait for the troubleshooter to complete its scan and then check the results.
- If the troubleshooter suggests you solutions, click on Apply this fix. Otherwise, click on Close the troubleshooter and move to the next method below.
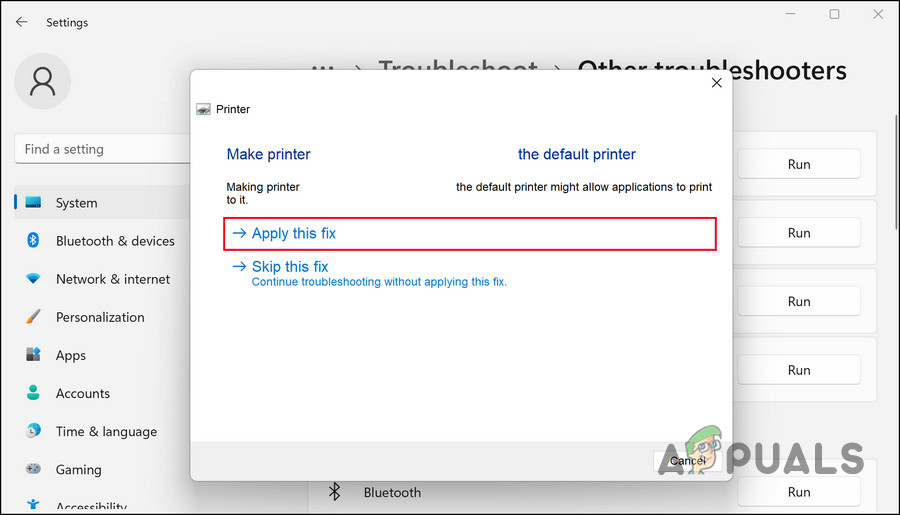
Apply the fixes by the troubleshooter
2. Add New Port on Problematic Printer
The problem can also occur with the port Windows is trying to use. If this scenario is applicable, then creating a new port and directing Windows to it will fix the problem.
Here is how you can do that:
- Press the Win + I keys to open Windows Settings.
- Navigate to Bluetooth & devices > Printers & scanners
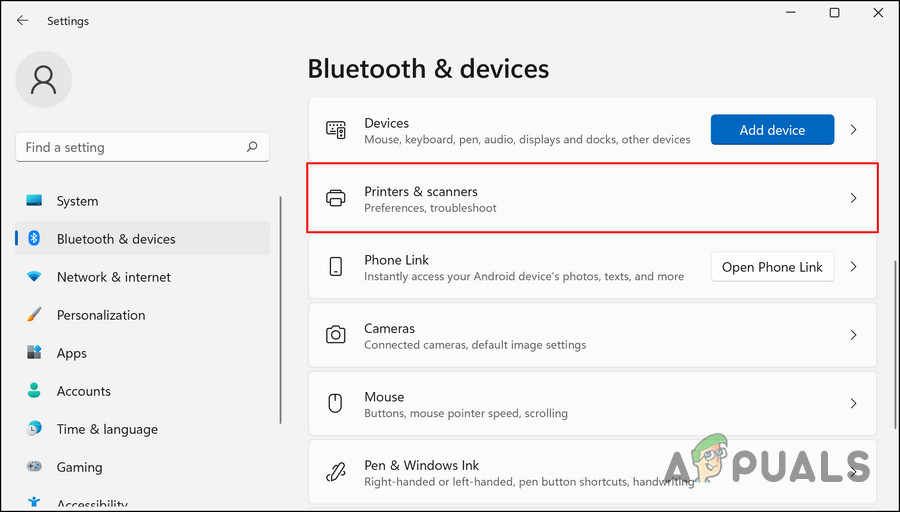
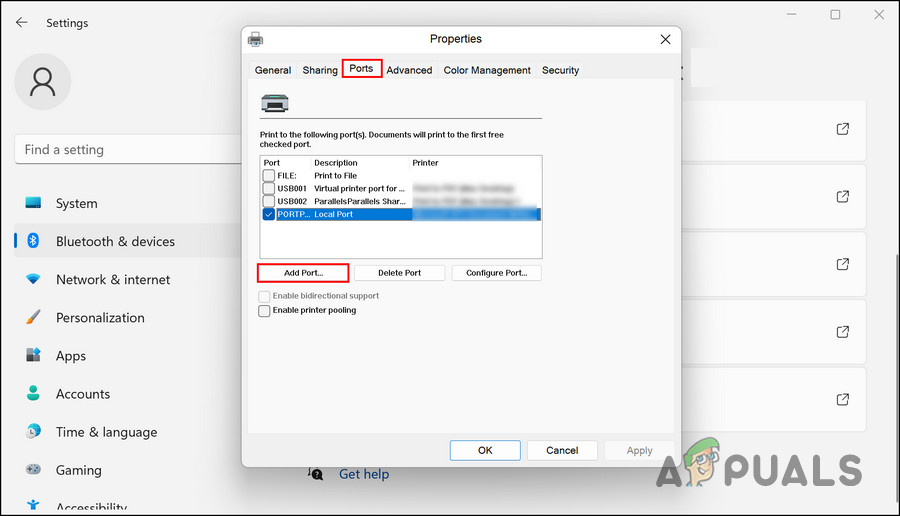
Access the Printers & scanners option - Now, select the problematic printer and click on Printer properties in the next window.
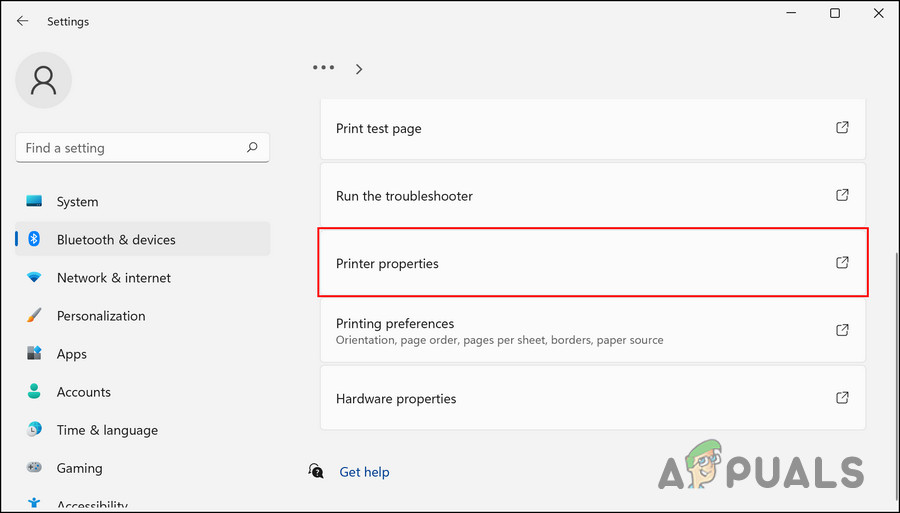
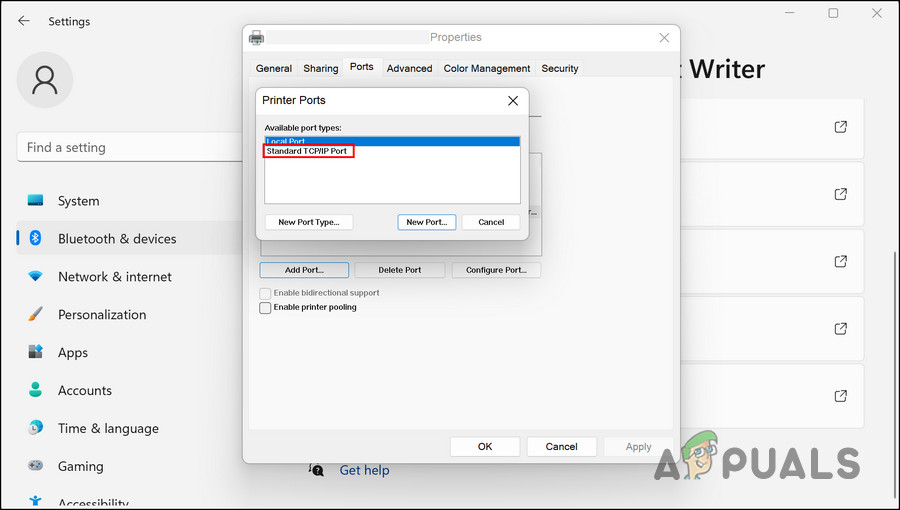
Click on the Printer properties - Head over to the Ports tab and click on Add Port.
Click on the Add port button - Select the Standard TCP/IP port and add the IP address of your printer.
Choose the Standard printer port - Once done, press the Win + R keys together to open a Run dialog.
- Type cmd in the text field of Run and press the Ctrl + Shift + Enter keys together.
- Click Yes in the User Account Control prompt.
- Type the following commands in the Command Prompt one by one and hit Enter after each to execute them.
cd C:\Windows\System32\spool
cacls.exe PRINTERS /E /G administrator:C
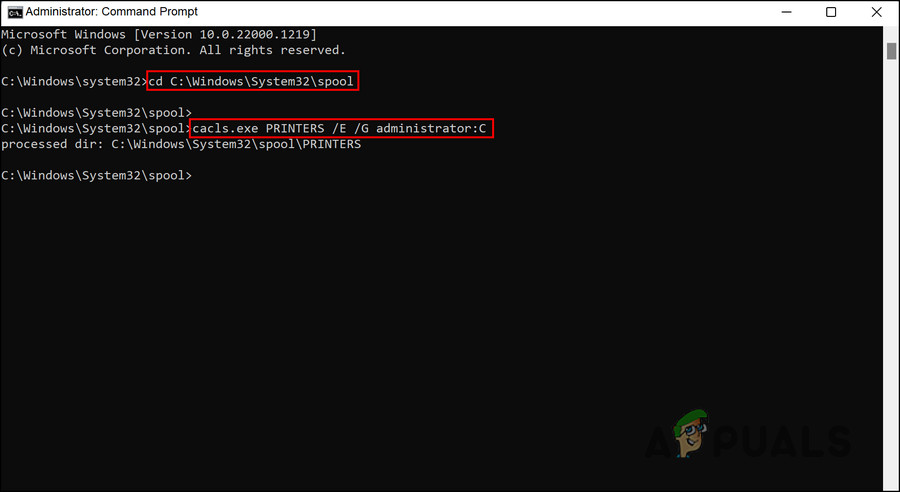
Execute the entered commands - Once done, restart your computer and check if the issue is resolved.
3. Update the Printer Driver
Your printer driver might be outdated or corrupt, causing your system to be incompatible with your printer. In this case, updating the printer driver can fix the problem.
Here is how you can update your printer driver on Windows:
- Press Win + R to open a Run dialog.
- Type devmgmt.msc in the text field and click Enter.
- In the Device Manager window, locate the Printers section and expand it.
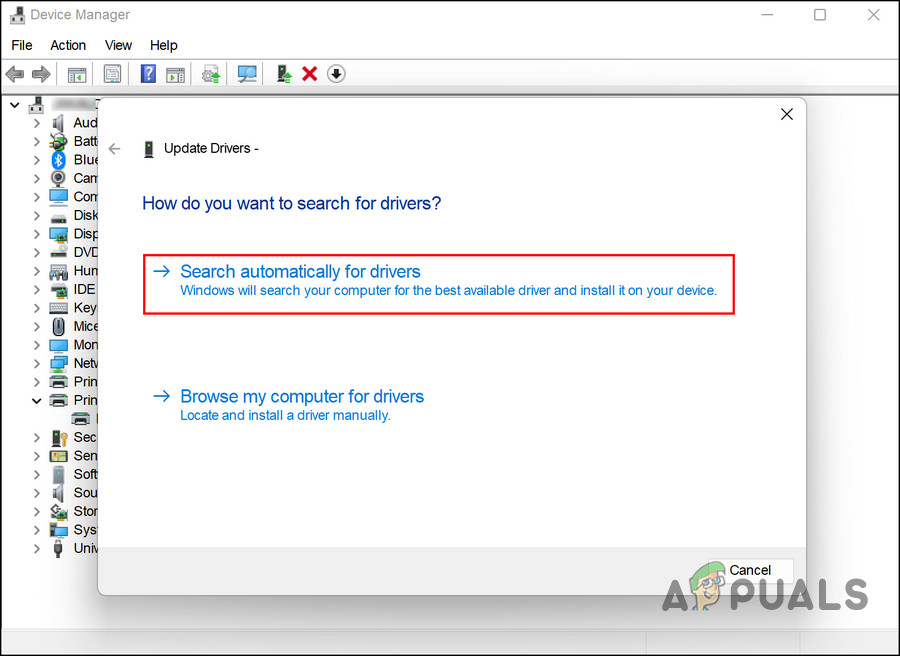
- Right-click the targeted driver and choose Update driver.

Click on the Update driver button - Then click on Search automatically for drivers and follow the instructions to install the updates.
Let the Device Manager search for updated drivers - Once done, restart your computer and check if the issue is resolved.
Manually updating the driver is also an option if the system cannot find any updates. In this case, follow these steps:
- Go to your printer manufacturer’s website in your default browser.
- There you will find the latest version of the printer driver. Download and install it.
- Once done, expand the Printers section in Device Manager.
- Right-click on the problematic printer and choose Update driver.
- Select Browse my computer for drivers in the next window.
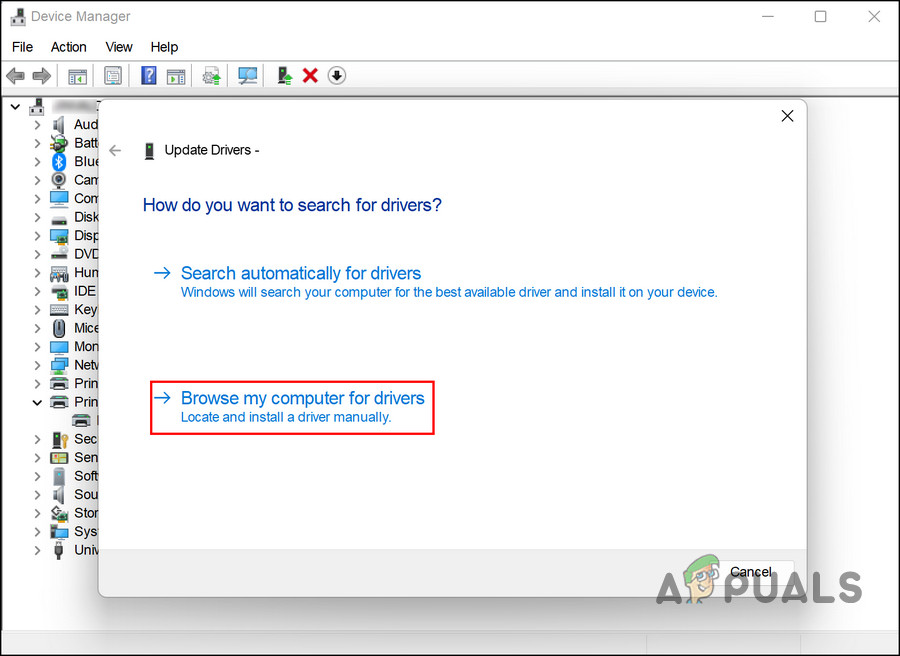
Click on the Browse my computer for drivers - Go to the folder where you installed the latest driver software and select it.
- Once the update process has completed, check if the error has been resolved.
4. Restart the Print Spooler Services
In order for the printer to work properly, the print spooler service must be running properly, and if it is not, problems like this will be encountered. It is usually possible to fix the problem by restarting the service.
Here is how you can restart the print spooler service:
- Press Win + R together to open Run.
- Type services.msc in Run and hit Enter.
- Right-click the Print Spooler service in the Services window.
- Choose Properties from the context menu.

Click on the Properties option - If the service is disabled, click the Start button.
- In case the service is already running, click on the Stop button, wait for a few seconds, and then click Start again.
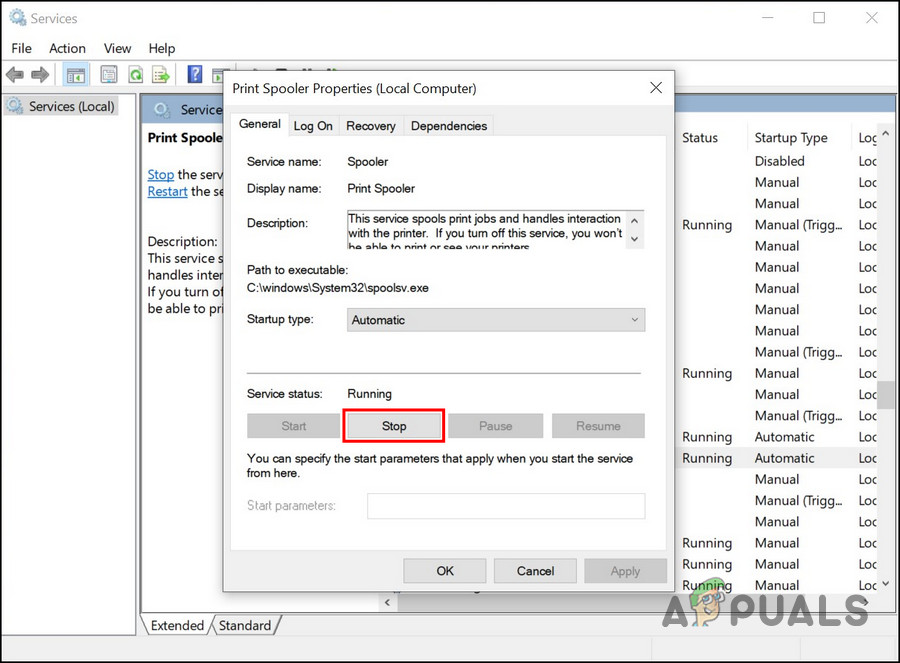
Click on the Stop button - Select Automatic from the Startup type dropdown.
- Click on Apply > OK to save the changes.
5. Reinstall Your Printer
If all else fails, uninstall the printer driver and then reconnect the printer after removing it from the system and the device. Windows will automatically install the default printer driver when you connect your printer to the PC, hopefully resolving the error.
Follow these steps to proceed:
- Press the Win + R keys to open Run.
- Type control in the text field of Run and click Enter.
- Expand the View by dropdown in the Control Panel window and choose Large icons.
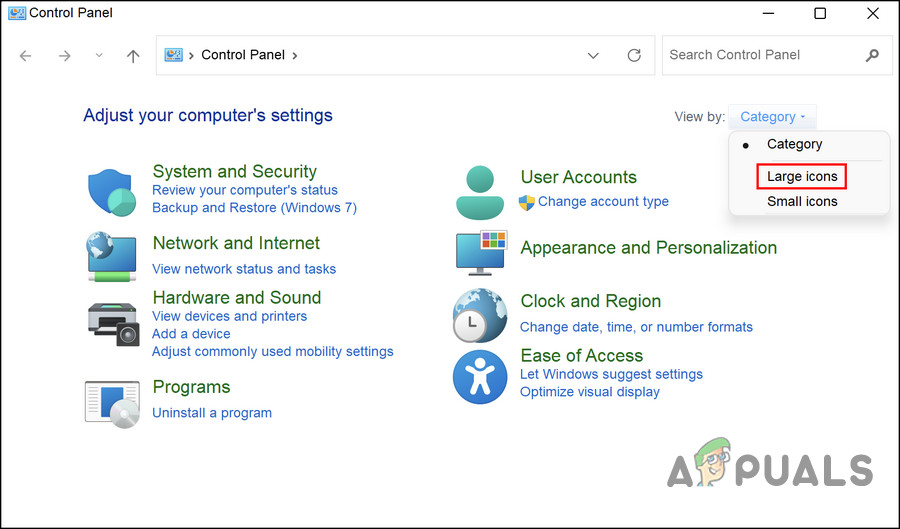
Click on the Large icons option - Select Devices and Printers from the menu. Here you will find a list of all the printers installed on your computer.
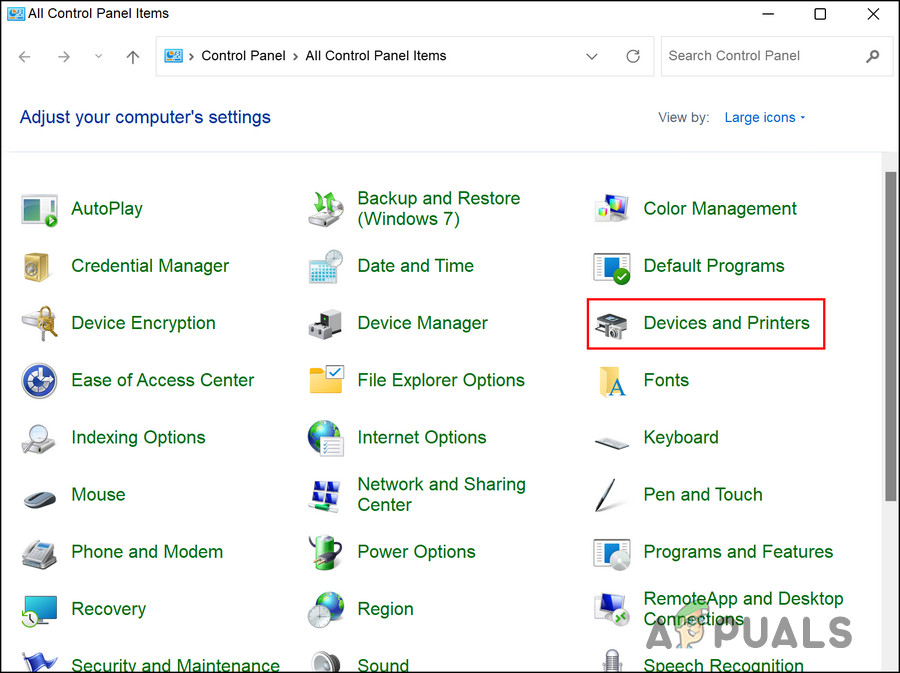
Click on the Devices and Printers option - Simply right-click the faulty printer and select Remove device.
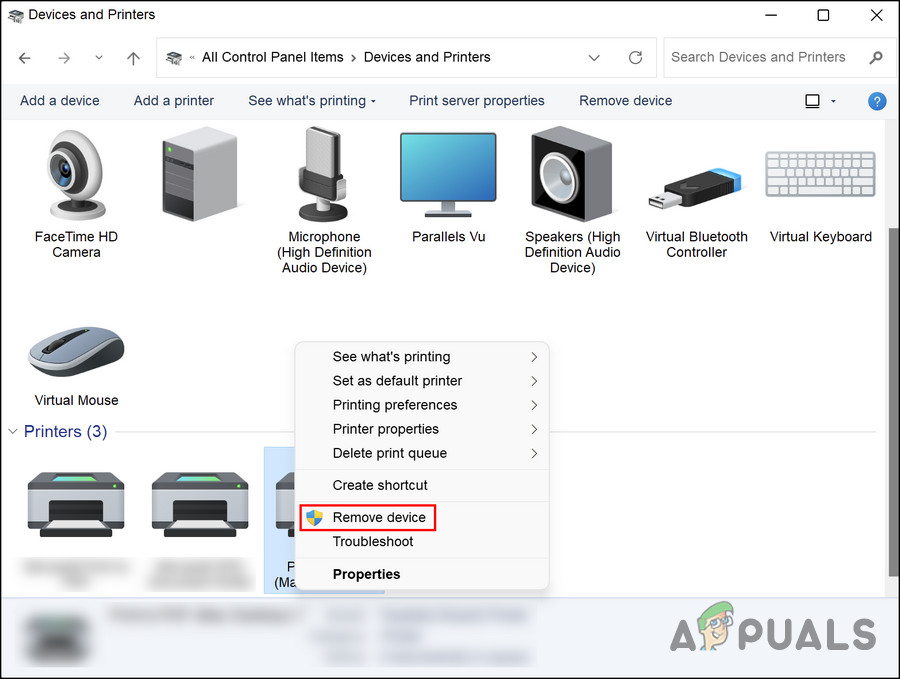
Click on the Remove device button - If a UAC prompt pops up, click on Yes.
- Once done, type Device Manager in Windows search and click Open.
- Look for the Print queues section, expand it, and right-click on the faulty printer.
- In the context menu, select Uninstall device.
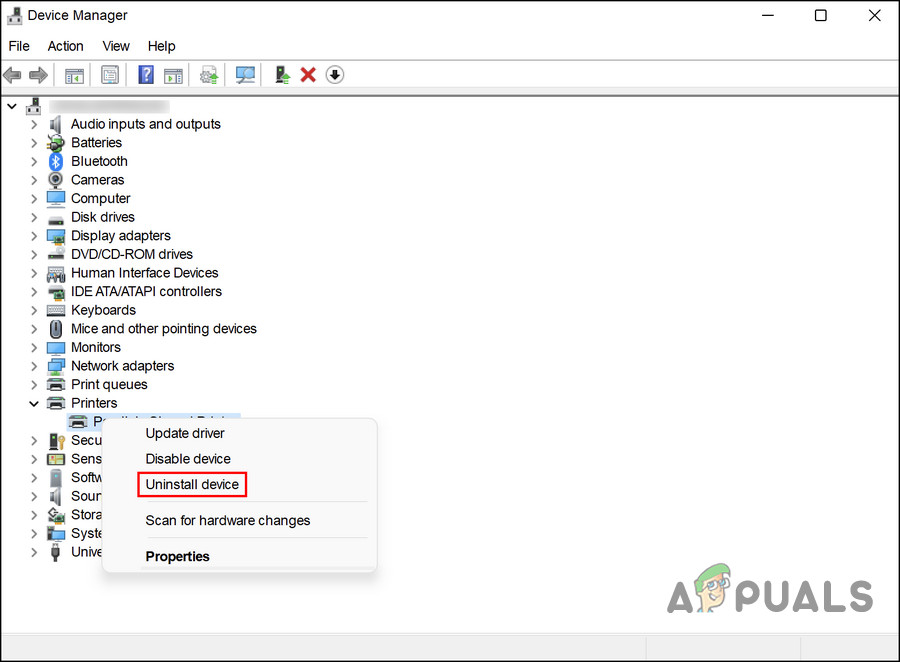
Choose the Uninstall device option - Now, launch Control Panel again.
- Head over to Uninstall a program under Programs.
- Right-click on all printer applications and select Uninstall.
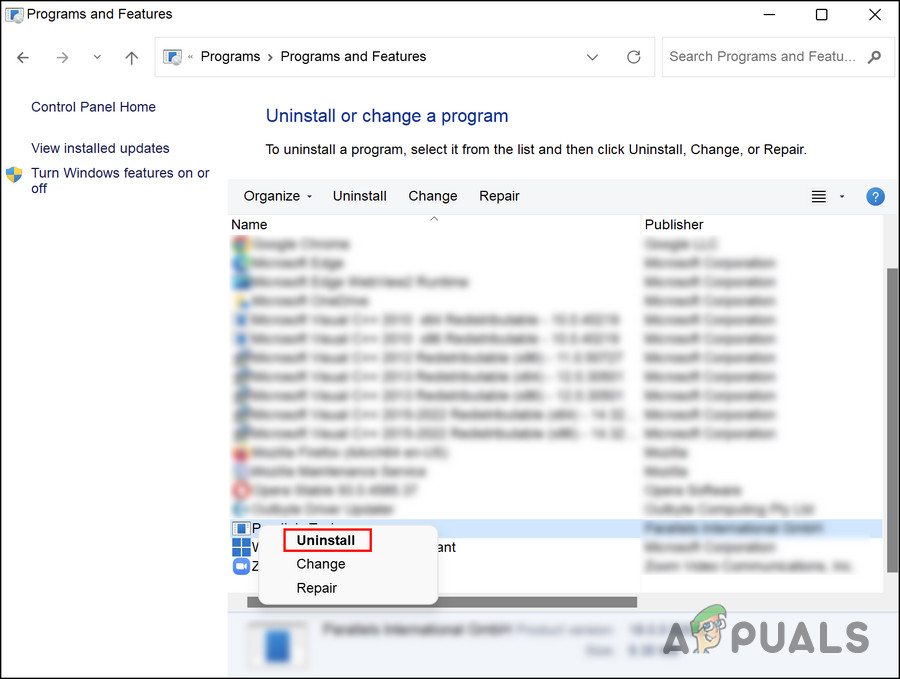
Uninstall the printer - Then, disconnect the printer from the device and restart your computer.
- Upon reboot, connect the printer again.
- Finally, head over to the Devices and Printers section again in the Control Panel.
- Locate your printer, right-click on it and select Set as default printer from the context menu.
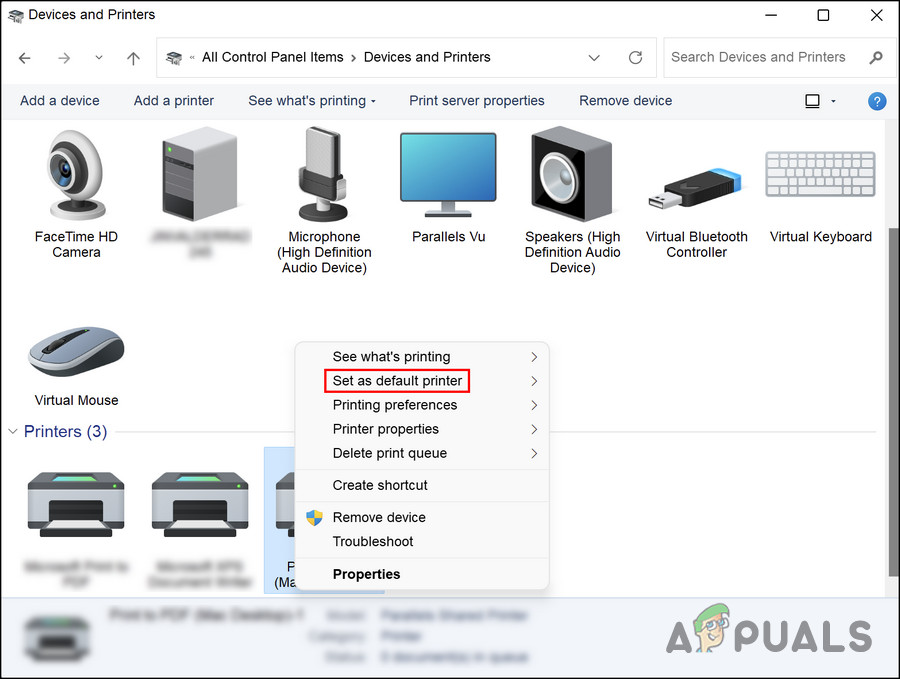
Click on the Set as default printer button
Hopefully, this should fix the problem once and for all.