Fix: Professional Mode Not Working in Epson Scan 2
 Reviewed by Muhammad Zubyan
The Professional Mode within Epson Scan 2 is designed for expertly scanning images, negatives, films, and more. However, failing to utilize the Professional Mode in the Scan 2 application can have a negative impact on the quality, efficiency, and time required for the scanning process.
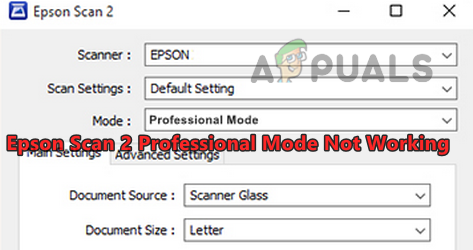
The option for Professional Mode might not be displayed, could appear greyed out, or selecting it might not yield any response from the Scan 2 application. An update to the app or the device’s OS is reported to trigger the issue.
How to Make Professional Mode Work on Epson Scan 2
We will try to make Professional Mode work on Epson Scan 2 by using different techniques, and if all else fails, reinstalling the utility will be the last option.
1. Change the Mode of Epson Scan 2
A malfunction in the mode selection of the Scan 2 app might trigger the Professional Mode issue. This can be solved by changing the mode of the Scan 2 app and reverting it to the Professional Mode.
- Launch the Epson Scan 2 and open the Mode dropdown.
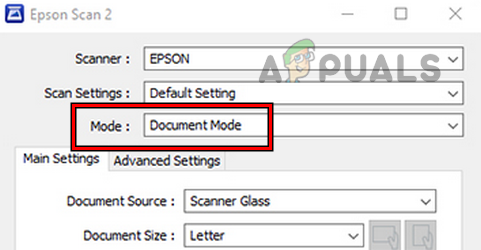
Change the Scan Mode of Epson Scan 2 - Select another mode (except the Professional Mode) and complete a scan.
- Switch to the Professional Mode and verify if it is operating correctly.
2. Launch the Epson Scan 2 Utility as Admin
If the Professional Mode needs access to a protected system resource but the Scan 2 utility does not have the required privileges, you will not be able to use the required mode. To solve this, launch the Epson Scan 2 application as an administrator.
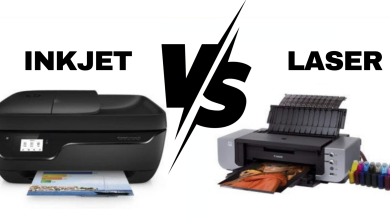
- Right-click on the Epson Scan 2 and select Run as Administrator. You can find the utility in the following location on an X64 PC:
C:\Program Files (x86)\epson\Epson Scan 2\Core
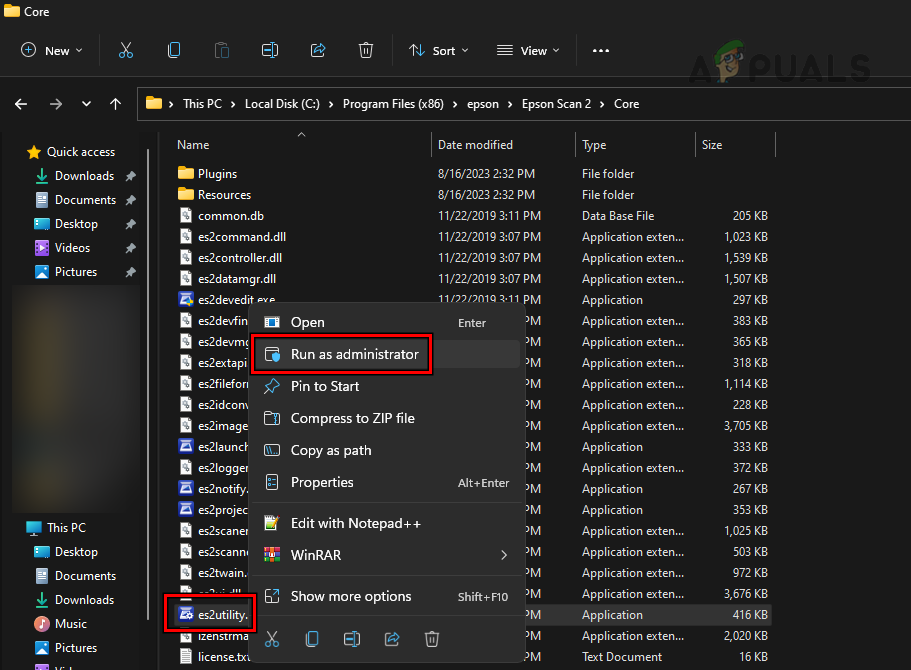
Launch Epson Scan 2 as an Administrator - In the UAC prompt, click Yes and confirm if the Professional Mode is operating.
3. Reboot Your Device and Scanner
A malfunction in the input modules of the system will not let you use Professional Mode in Epson Scan 2. Here, rebooting your device and scanner will do the trick.
- Exit the Epson Scan 2 utility and switch off the scanner.
- Unplug its USB cable from the system and power off your system.
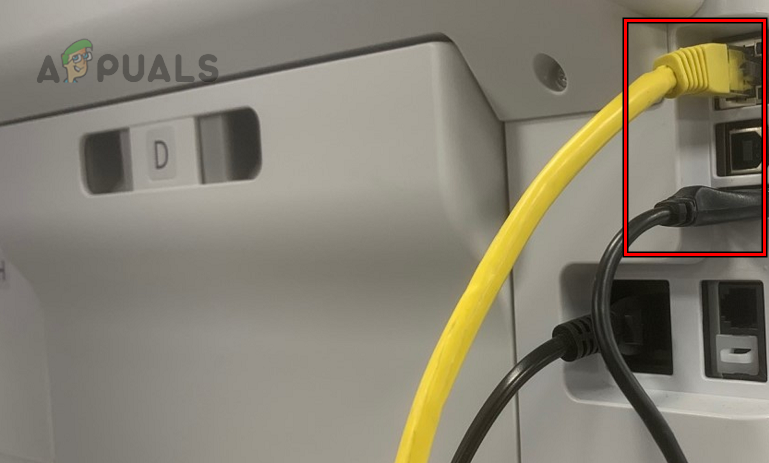
Unplug the Cable of the Epson Scanner - Power on your system and connect the scanner back to another USB port of the system.
- Disconnect and reconnect the TPU cable at the back of the scanner.
- Launch Epson Scan 2 and confirm if the Professional Mode issue is resolved.
4. Reset the Epson Scan 2 to the Defaults
You will not be able to use Professional Mode on the Epson Scan 2 if it has a conflicting configuration enabled. Additionally, if the files holding the utility’s configurations are damaged, it will also result in the issue at hand. In such a scenario, resetting the Epson Scan 2 utility to its default settings will solve the problem.
- Navigate to the following path:
64-bit

C:\Program Files (x86)\epson\Epson Scan 2\Utility

32-bit

C:\Program Files\epson\Epson Scan 2\Utility
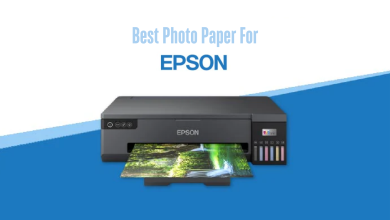
- Launch Epson Scan Maintenance Utility and set the operation dropdown to Reset Epson Scan/Epson Scan 2.
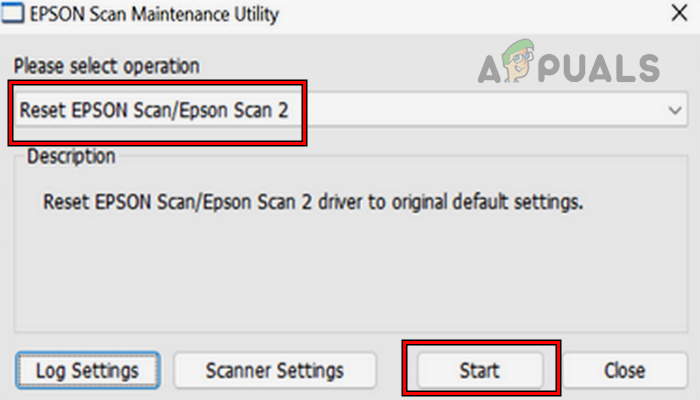
Reset Epson Scan 2 to its Default Settings - Click on the Start button and once done, see if the problem is solved.
- If not, go to the Configuration tab of the Epson Scan 2 and click on Reset to Defaults.
- Restart the system and verify if the issue is resolved.
5. Update the Device’s OS and Epson Scan 2
You will not be able to use the Professional Mode on Epson Scan 2 if the device’s OS or the application itself is outdated. This will cause incompatibility between the device and the Epson app. To fix this, update the device’s OS and Epson Scan 2.
Update the Device’s OS
To update Windows:
- Right-click on Windows and go to Settings > Windows Update.
- In the right pane, click on Check for Updates and install all the available updates.
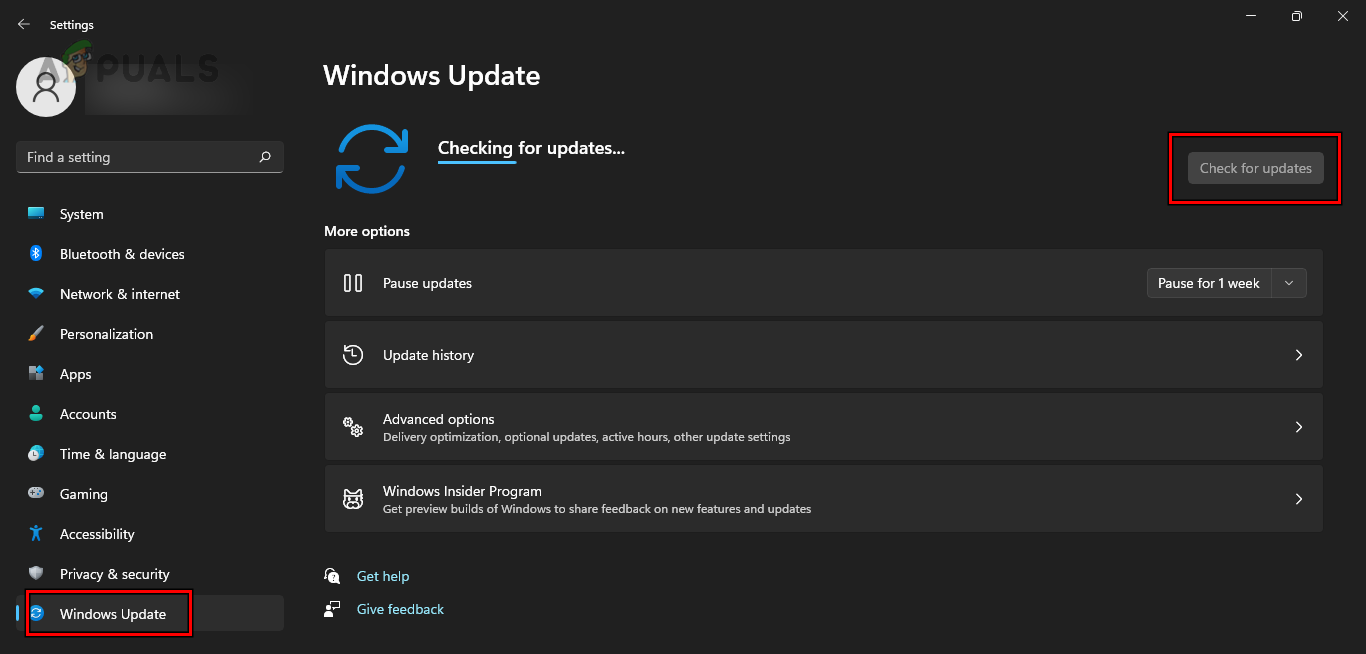
Check for Windows Updates - Restart the system and launch Epson Scan 2. Verify if the Professional Mode is working.
Update the Epson Scan 2
- Launch a web browser and navigate to the Epson website.
- Go to Support > Scanners > your scanner model > Drivers > Scanner Driver and Epson Scan 2 Utility.
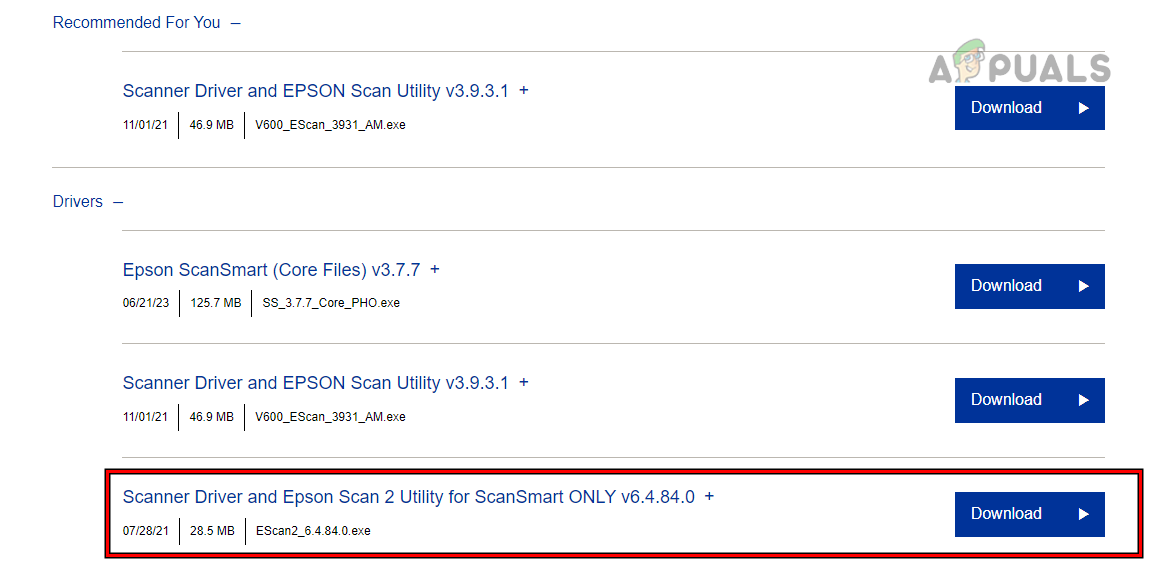
Download Epson Scan 2 - Download it and install it (without uninstalling the current installation).
- Launch it and see if the problem is solved.
- If not, download Scan Patch for User Interface for your scanner from the Epson website and install it.
- Launch Epson Scan 2 and verify if the issue is resolved.
6. Delete the Scanner from Printers and Scanners
If the scanner configurations in the system’s settings are not valid, the settings retrieved by the Scan 2 utility will fail to display the Professional Mode or make it work. This can be fixed by deleting the scanner from Printers and Scanners and re-adding it.
- Right-click on Windows and go to Settings > Bluetooth & Devices > Printers & Scanners.

Open Printers and Scanners in Windows Settings - Select the Epson scanner and click on Remove.
- Confirm to remove the scanner and restart the system.
- Add the scanner back to the system, and verify if the Professional Mode is working correctly.
7. Reinstall the Epson Scan 2 Application
You will not be able to use Professional Mode on the Epson Scan 2 if the essential modules of the application are damaged and fail to execute correctly. Here, reinstalling the Epson Scan 2 application will solve the problem.
To do so on a Windows PC:
- Disconnect the Epson scanner from the PC and delete the scanner from the Printers and Scanners (discussed earlier).
- Right-click Windows and select Apps & Features.
- Expand the Epson Scan 2 application and click on Uninstall.
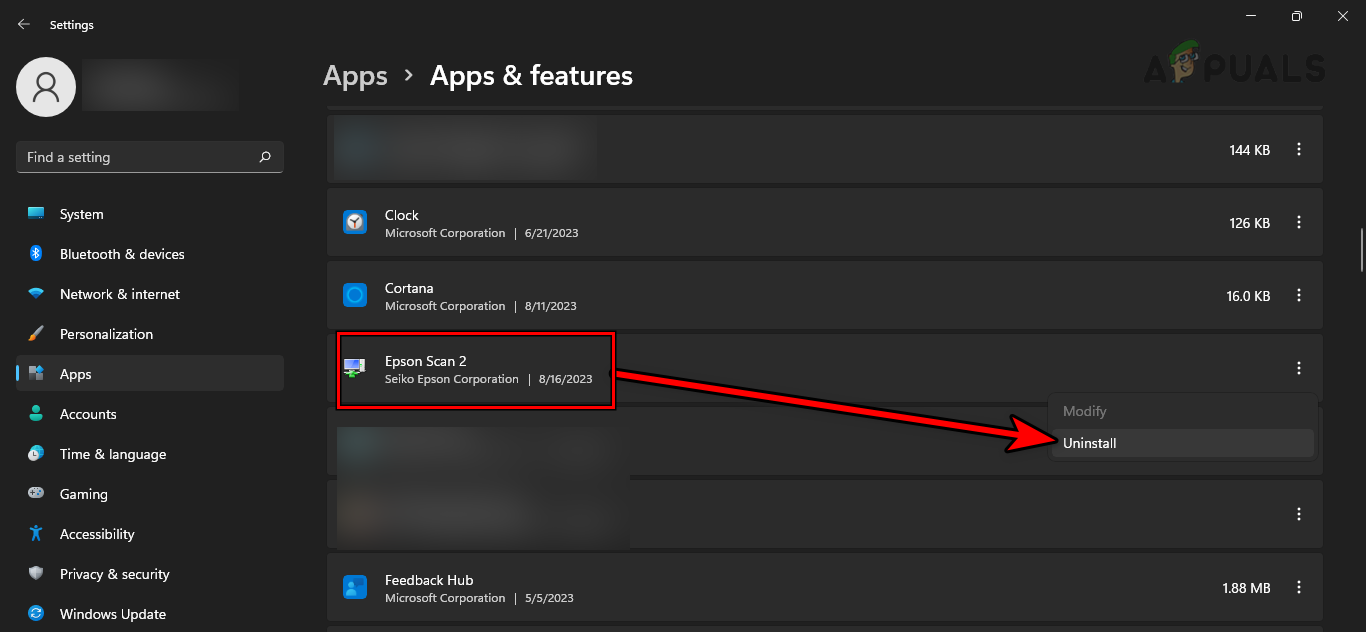
Uninstall Epson Scan 2 on Windows - Follow the prompts to uninstall the Epson application and restart the device.
- Launch a web browser and go to the Epson website.
- Navigate to Support > Scanners > your scanner model > Drivers > Scanner Driver and Epson Scan 2 Utility.
- Launch the installer as administrator and follow the prompts to complete the process.
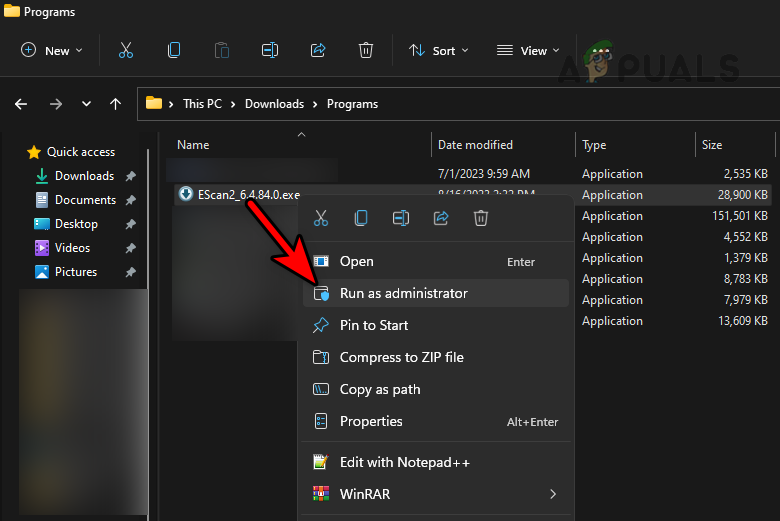
Launch the Installer of Epson Scan 2 as Administrator - Launch Epson Scan 2 and hopefully, its Professional Mode will be working correctly.
If this does not work, check if you can use Professional Mode on the Epson Scan 2 on another system. If that is not an option, contact Epson Support for further assistance. Till then, you can try another compatible scanning app (e.g., VueScan) with your scanner.
Reviewed by Muhammad Zubyan