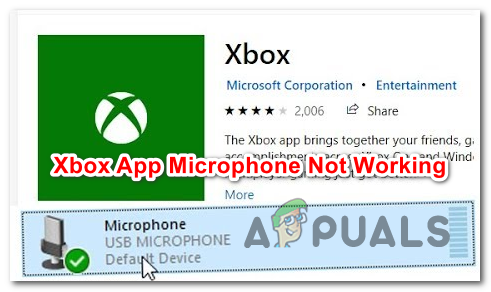
Xbox App not picking up Microphone sound on Windows 10
The default Xbox App will not pick up any audio from the microphone that is connected to the PC for some users. It doesn’t matter if a headset or a standalone mic is connected – the microphone doesn’t work for the party chat or in-game. Affected users report that the mic works just fine with other apps and that they can even hear other people in the Xbox Party Chat.
NOTE: This issue is different from the one where affected users see the “Your network settings are blocking party chat”, with the error code 0x89231906.
What’s causing the microphone to stop working inside Xbox App?
- Generic audio glitch – In some cases, this particular issue can occur due to a genetic glitch that is already covered by Microsoft. An incorrect recording device configuration can typically be rectified by running the Windows Recording Audio troubleshooter and applying the repair strategy that gets automatically recommended.
- The headset is connected through USB – As it turns out, this issue is fairly frequent with dual-connectivity that allows the Microphone to be connected with both a 3mm jack and USB. If this scenario is applicable, you can resolve the issue by connecting the device with the 3mm jack instead of the USB.
- Inconsistent Default Audio channel – If you’re encountering the issue with a USB connected headset, chances are it’s having issues when connecting to a particular audio channel (1 Channel, 24 bit, 192khz, Studio Quality). In this case, you should be able to resolve the issue by accessing the Sound settings associated with that device and changing the default format to a different preset.
- Privacy settings prevent the Xbox App to use the microphone – A recent security update has overhauled some security settings having to do with the microphone and camera. If you have the latest Windows 10 build, chances are you Xbox app is prevented from using the microphone unless you specifically allow it. In this case, you can resolve the issue by accessing the Privacy settings and allowing UWP apps to use the microphone.
How to get the microphone to work with the Xbox App on Windows 10
In order to force the microphone to work with the Xbox App on Windows 10; please follow the steps listed below.
1. Running the recording audio troubleshooter
Before we move forward to more advanced repair strategies, let’s test to see if your Windows 10 installation is not capable of fixing the issue automatically. As several affected users have confirmed, this problem can occur due to an incorrect recording configuration that can be easily resolved by running the Recording Audio troubleshooter.
This built-in utility is designed to scan your computer from common problems with audio recording devices and automatically applied a tested fix if a viable scenario is found. Several affected users have confirmed that this operation ultimately allowed them to fix the issue without the need to apply any other manual fixes.
Here’s a quick guide with what you need to do in order to run the Recording Audio troubleshooter to force the Xbox App to pick up audio from your connected microphone:
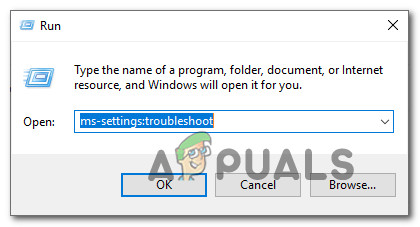
- Press Windows key + R to open up a Run dialog box. Next, type ”ms-settings:troubleshoot’ and press Enter to open up the Troubleshooting tab of the Settings app.
Accessing the Troubleshooting tab - Once you’re inside the Troubleshooting tab, move down to the right-hand menu and click on the Recording Audio entry. Then, from the newly appeared context menu, click on Run the troubleshooter to start the utility once again.
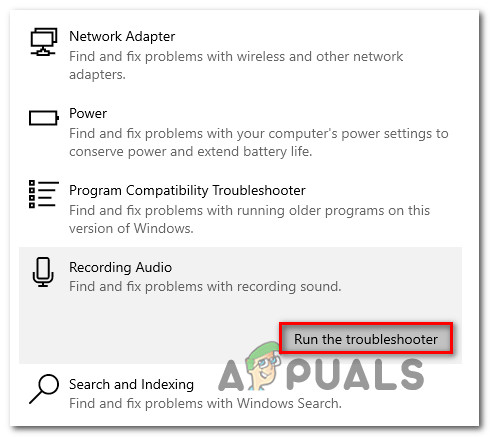
Running the Recording Audio troubleshooter - Wait until the utility is started. If you are prompted by the UAC (User Account Control), click Yes to grant administrative privileges.
- After the analysis is complete, look at the results and see if a viable repair strategy is identified. If the utility ends up recommending a fix, apply it by clicking on Apply this fix, then wait for the procedure to be complete.
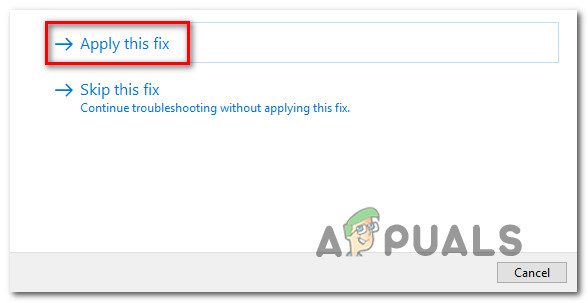
Apply this fix - Once the fix is successfully deployed, restart your computer and see if your microphone audio is picked up by the Xbox App.
If the same problem is still occurring, move down to the next potential fix down below.
2. Changing the connection cable (if applicable)
If you’re encountering the issue with a headset or microphone that can be connected with both a 3mm hack or USB, you should try to use the 3mm jack connection method if possible. The Xbox App is notoriously known for failing to pick up audio from Microphone/headsets when connected through USB.
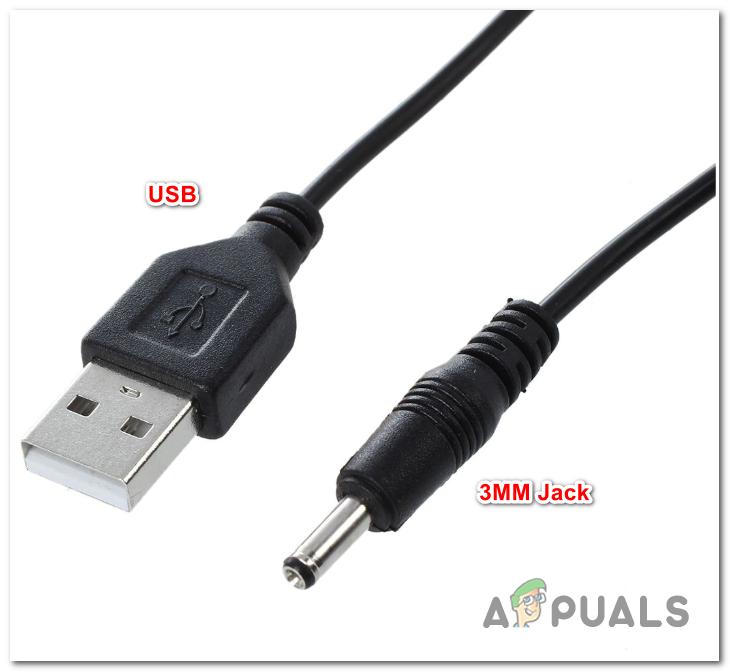
So if your audio recording device is currently connected through USB, redo the connection with a 3mm jack and restart your computer. After the next system startup is complete, open the Xbox app again and see if your microphone audio is getting picked up.
If the same problem is still occurring or this method wasn’t applicable to your current situation, move down to the next potential fix below.
3. Changing the default audio channel
As it turns out, the audio recording function inside the Xbox App on Windows 10 is mostly occurring when a particular audio channel is selected (1 Channel, 24 bit, 192khz, Studio Quality).
There’s no official explanation why this problem is occurring, but several affected users have confirmed that the issue was resolved indefinitely after they accessed the Sound settings menu and changed the audio channel to a different audio format – by adjusting the sample rate and bit depth.
Note: WIth a bit of work, you can determine the true bitrate of audio files that you want to play.
Here’s a quick guide on changing the default audio channel on Windows 10 in order to force the Xbox app to pick up audio from your microphone:
- Start by right-clicking on the sound icon in your taskbar (bottom-right corner of the screen). Next, from the newly opened context menu, choose Open Sound Settings from the list of available options.
- Now that you are inside the Sound settings screen, move down to the right-hand section of the screen. Next, scroll down to the related settings sub-menu and click on Sound Control Panel.
- Once you manage to get past the Classis Sound menu, scroll down to the Playback tab and then right-click on the active sound device that you’re having issues with. From the newly appeared context menu, choose Properties.
- Now that you are inside the properties screen, choose the Advanced tab from the horizontal menu at the top. Next, go to the Default format section and work to adjust it to the 2 channel, 16 bit, 48khz, DVD Quality.
- Click Apply to save the changes, then restart your computer and see if the Xbox app is picking up microphone audio at the next system startup.
If the same issue is still occurring or this method wasn’t applicable, move down to the next potential fix below.
4. Allowing the Xbox App to use Microphone
As it turns out, this particular issue can also be caused due to a Windows 10 Privacy settings that end up prohibiting the Xbox app to use the microphone feature. This was not standard behavior when Windows 10 launched, but a recent security update is preventing UWP apps from accessing the camera & microphone unless you specifically configure them to be allowed them.
If this scenario is applicable to you and you’re suspecting that the Xbox App is preventing from using the microphone, follow the instructions below to make sure that’s not the case:
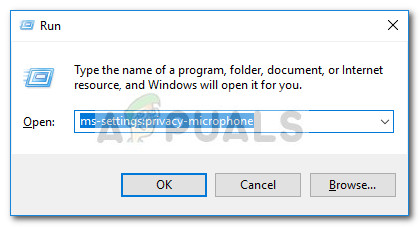
- Press Windows key + R to open up a Run dialog box. Next, type ‘ms-settings:privacy-microphone’ and press Enter to open up the Microphone Privacy window fo the Windows Settings app.
- Once you’re inside the Microphone privacy tab, move over to the right-hand pane and enable the toggle associated with Allow apps to access your microphone.
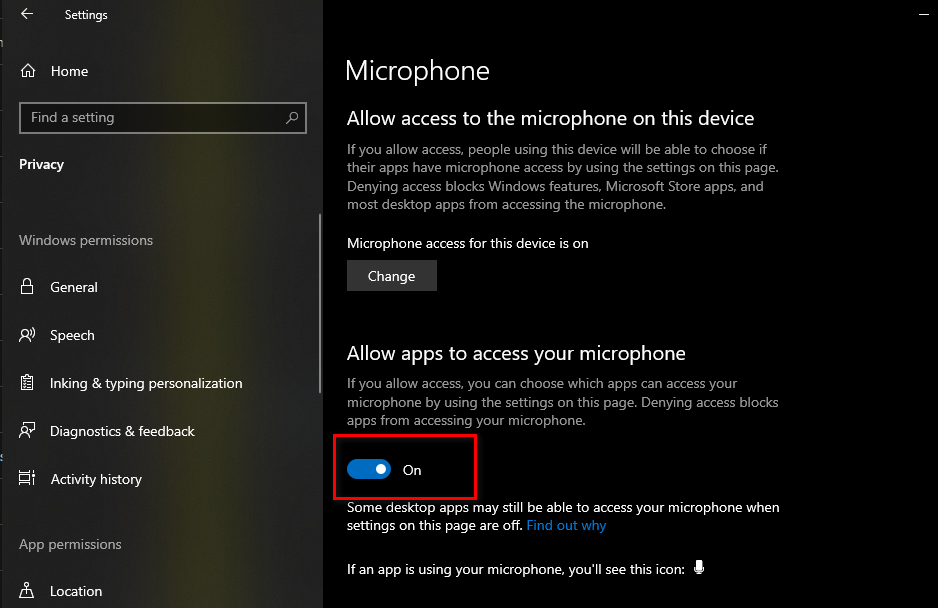
Allowing UWP apps to access the microphone - Once accessed is granted, scroll down to the list of apps allowed to use the microphone and ensure that the toggle associated with the Xbox Console Companion (Xbox App) is Enabled.
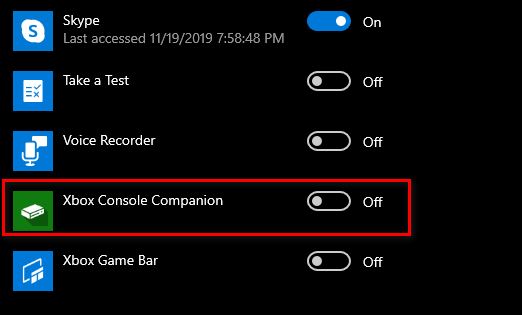
Allowing the Xbox App to use the microphone - Once the setting is On, restart your computer and see if the issue is resolved at the next system startup.