There are various reasons you might want to extract audio from a video file, such as creating a ringtone, isolating background music, or saving a memorable voice clip. Some videos (usually memes) are memorable simply because of their background music.
We’ve already done a detailed guide on how you can convert YouTube videos to MP3 files, but what about local files? In this guide, we’ll cover different methods for extracting audio from videos across major platforms, including online tools, Windows, macOS, Android, and iOS.
Extracting Audio Online
There are numerous tools that allow you to extract audio from a video on the Internet. The only limitation they have is that the video must not be too large i.e. not more 20MB. This limitation may vary according to the site. We will be using 123Apps‘ Audio Extractor. Follow the steps below to use this tool:
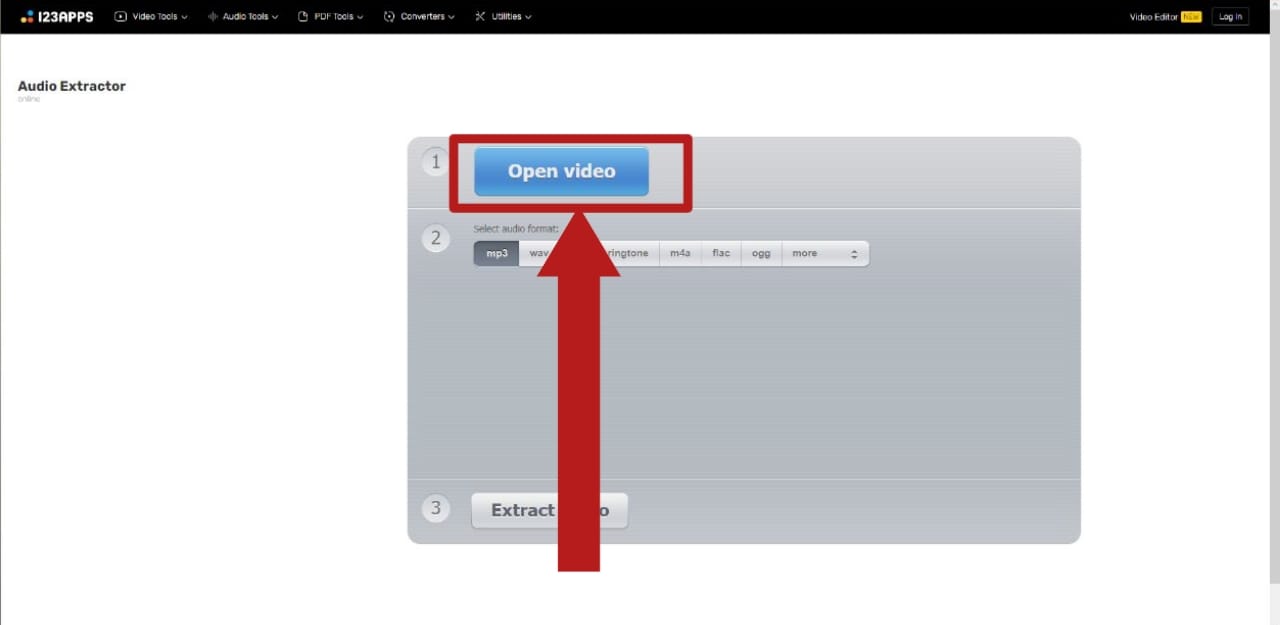
Go to Audio Extractor’s website and Click on ‘Open video’. Click on ‘Open video’
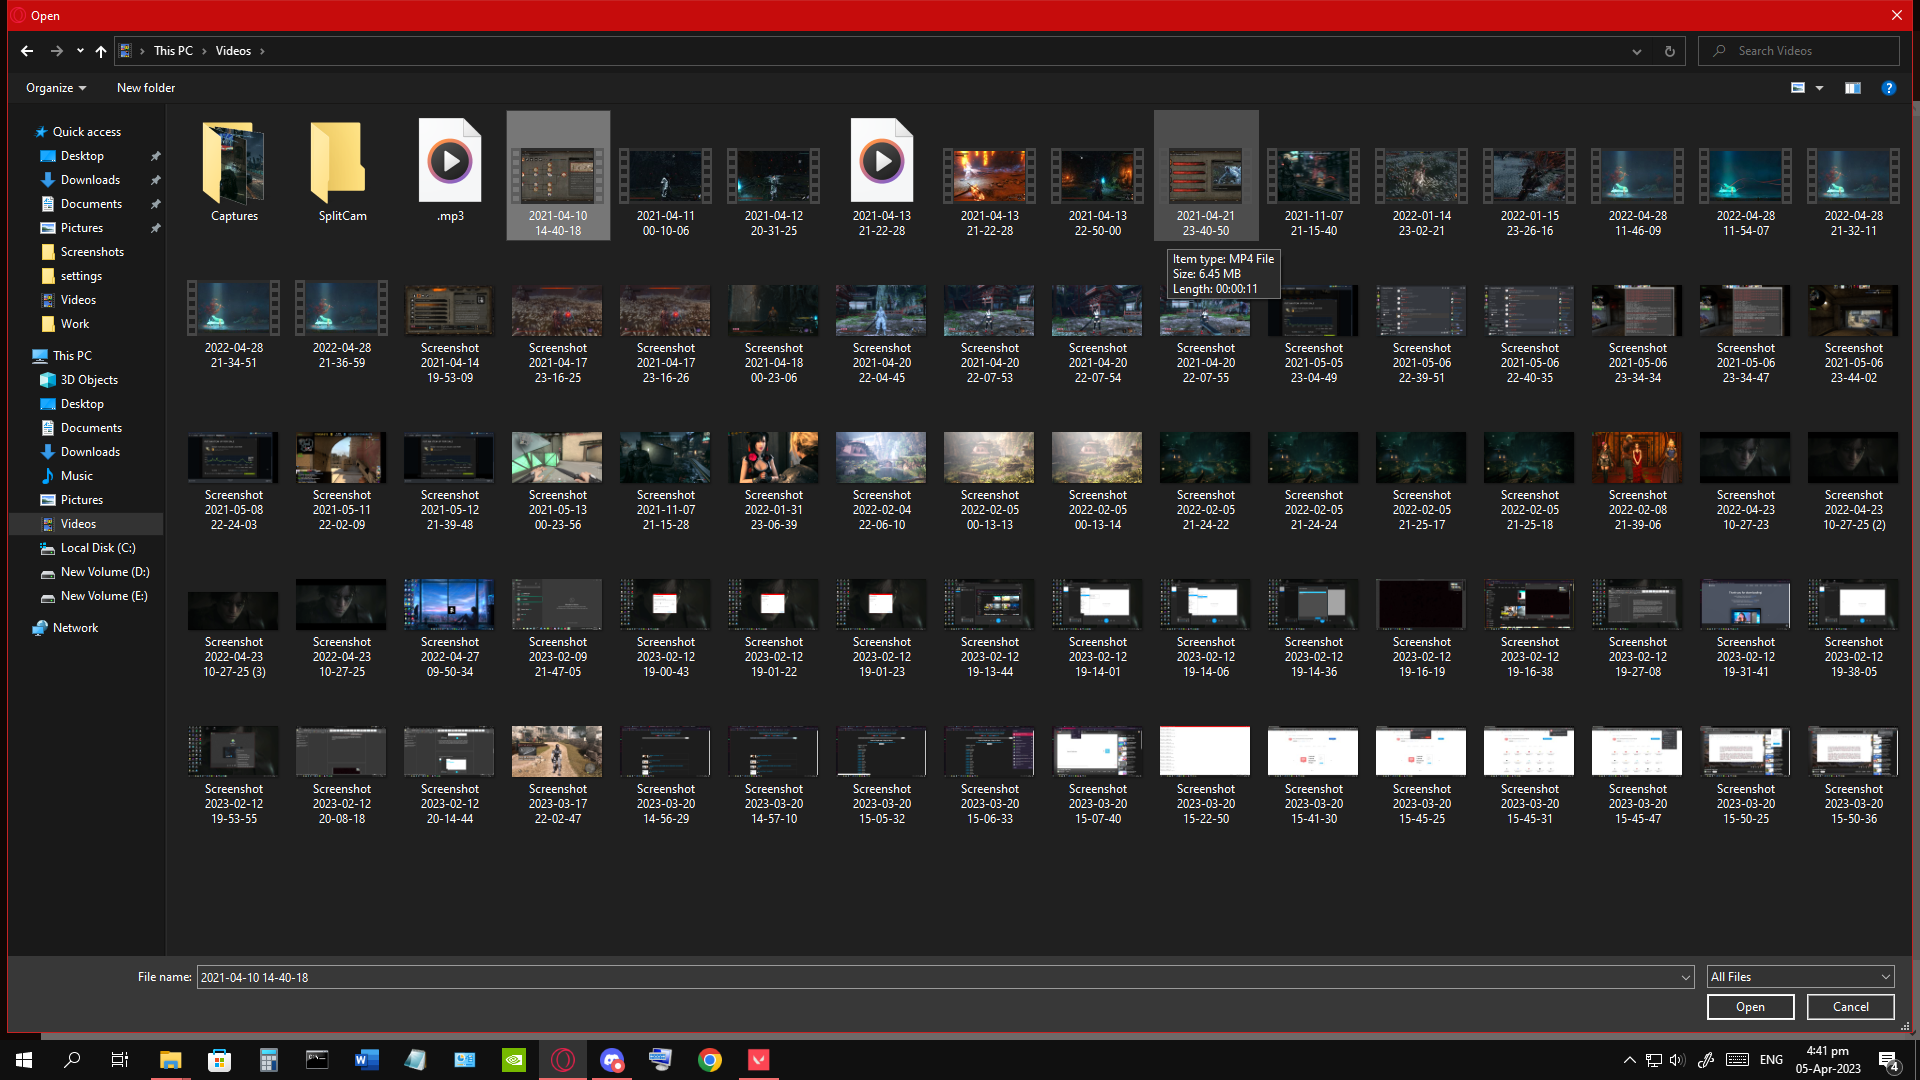
Your file explorer should open up depending on your platform. Navigate to where the video is stored and select it. It should begin uploading. Choose your desired video
Choose your desired audio format from the settings. The most commonly used formats are .m4a, .mp3 and .ogg.
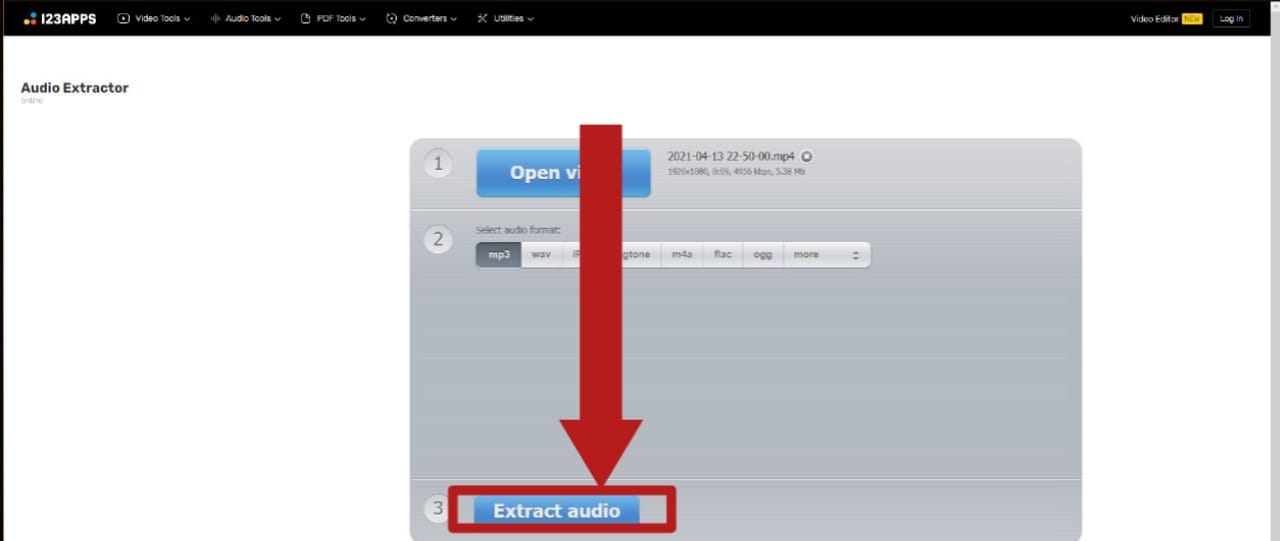
Once the video has been uploaded and you have chosen your desired settings, click on ‘Extract audio’.
Click on ‘Extract audio’ to begin the extraction process
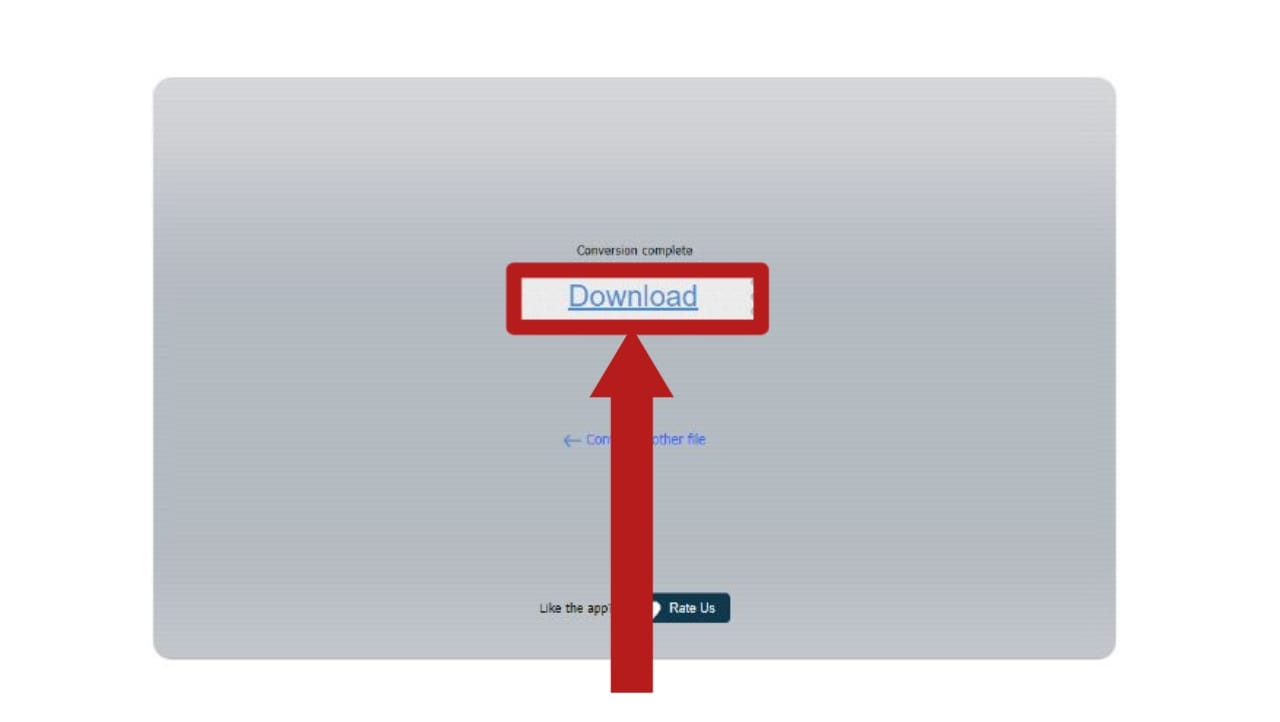
In a few moments, the audio will have been extracted. Tap the ‘Download’ button to download the audio.
Click ‘Download’ to download the extracted audio
Extracting Audio on Windows
Extracting audio on Windows is relatively easy, due to the wide variety of applications available for this function. One such app is the infamous VLC Media Player.
VLC (VideoLAN Client) is a free and incredibly versatile tool that supports a wide range of file formats, allowing the user to modify and view nearly all kinds of video and audio files. It is also available on macOS, iOS, Linux and Android. You can download VLC from here.
To extract audio from a video using VLC, follow these steps:
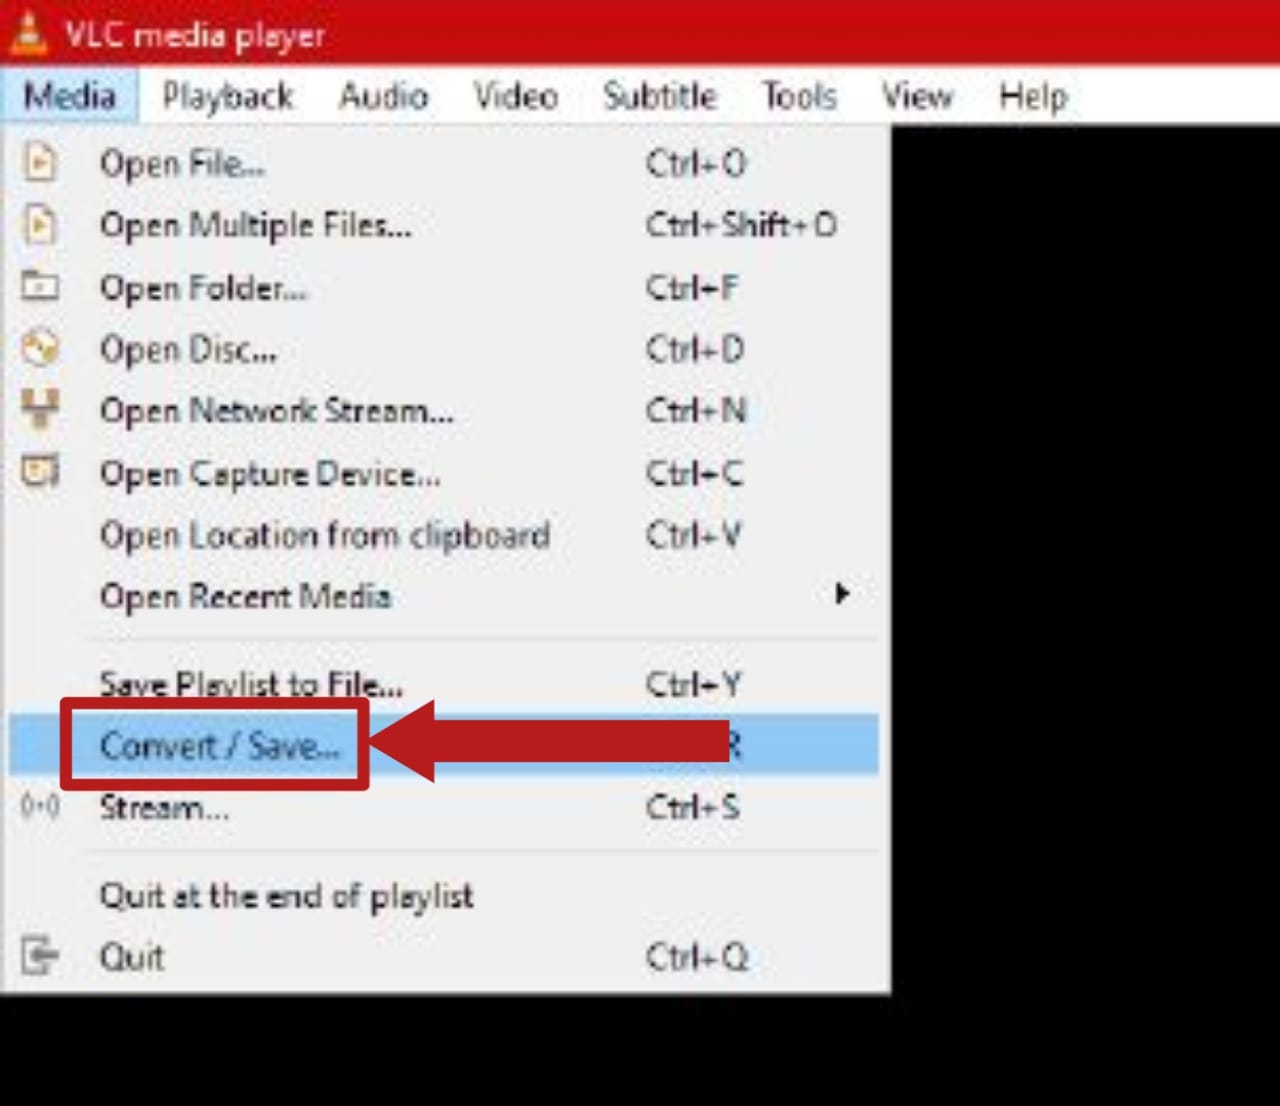
Open VLC. Click on ‘Media’ and select ‘Convert/Save’ from the drop-down menu. Click on ‘File’ and select ‘Convert/Save’ from the drop-down menu cho
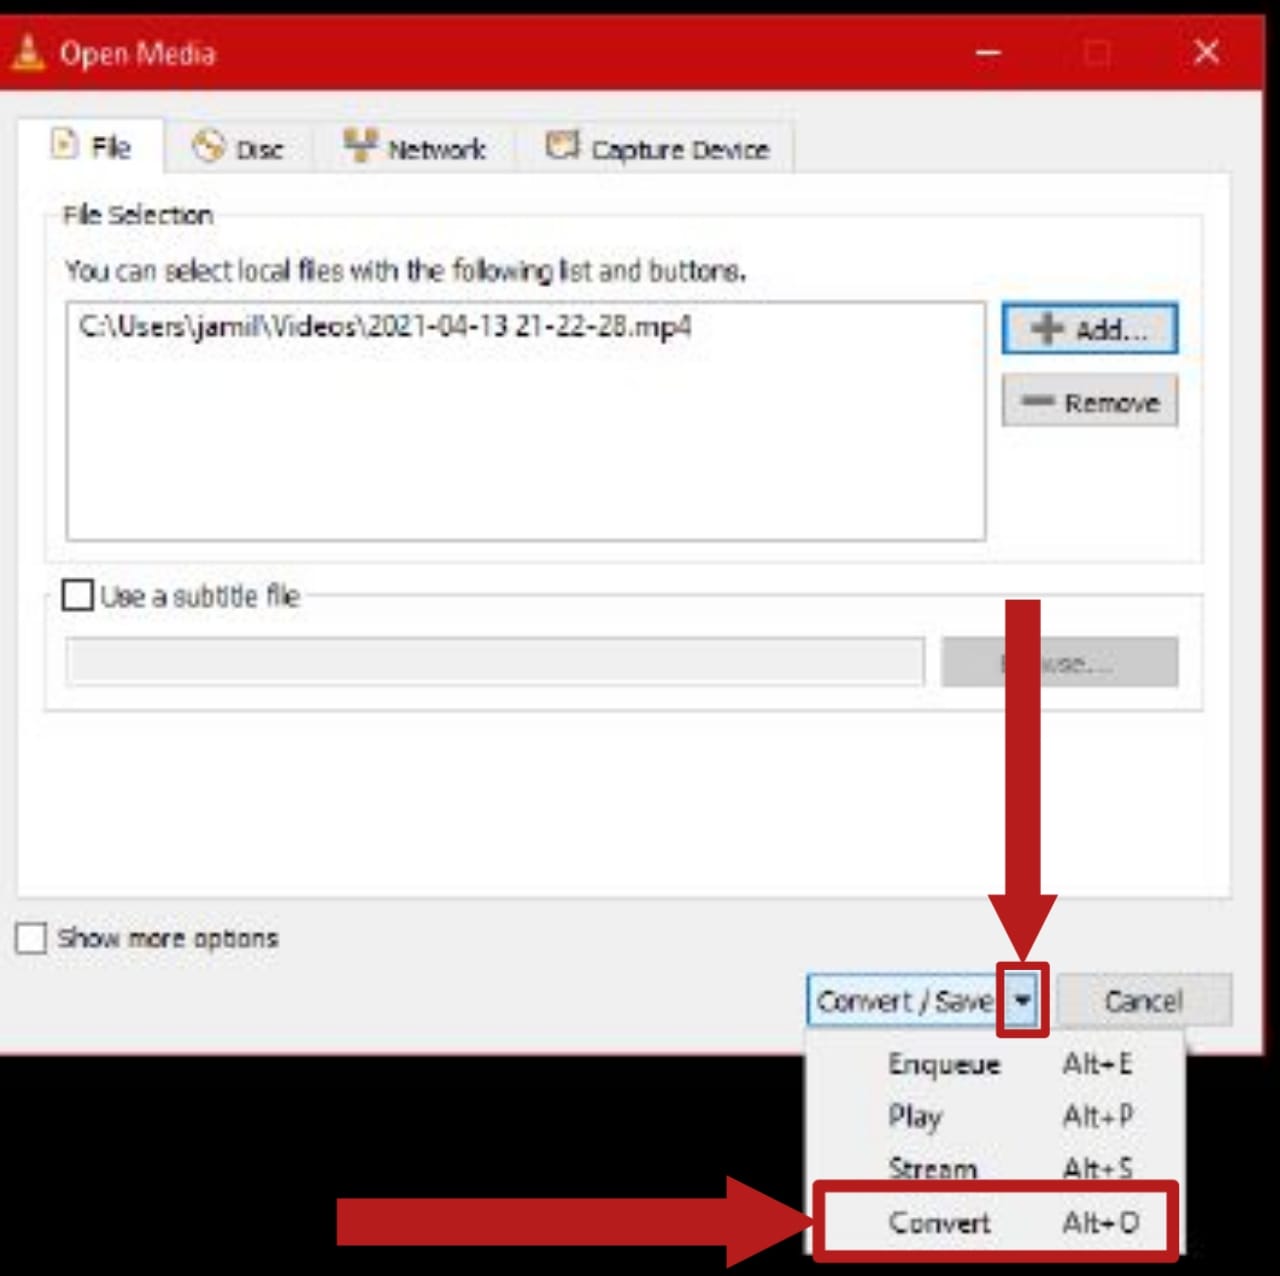
A menu will open up. Select ‘Add’. Select ‘Add’
The File Explorer will appear in a pop-up fashion. Navigate to where your video is stored and open it.
Click on the downwards arrow next to the ‘Convert/Save’button. Select ‘Convert’. Click on the downwards arrow to open the drop-down menu. Select ‘Convert’
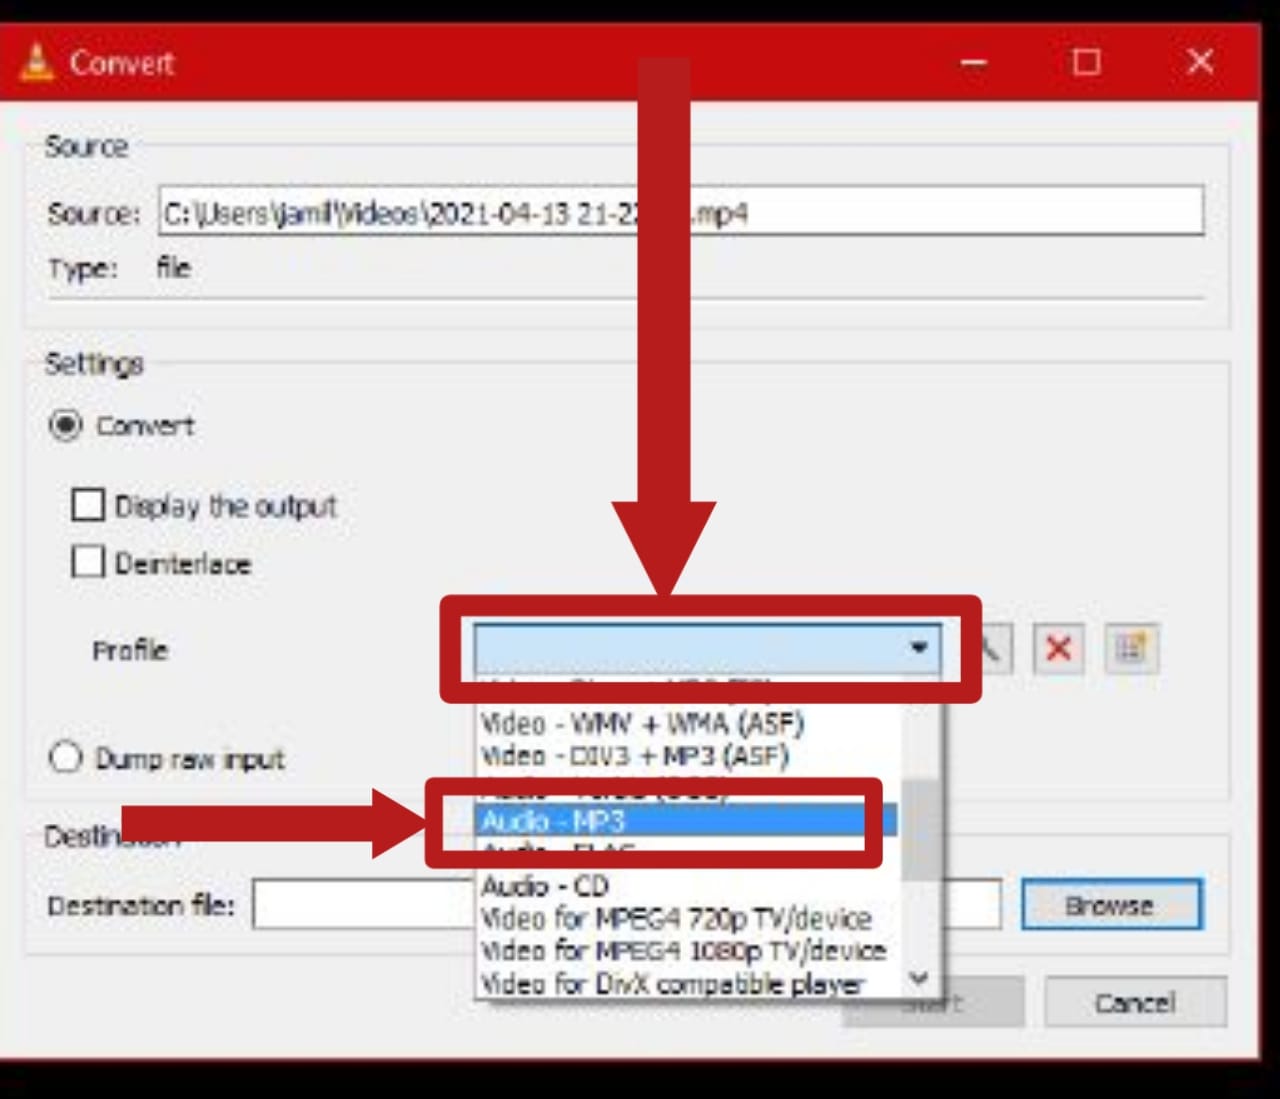
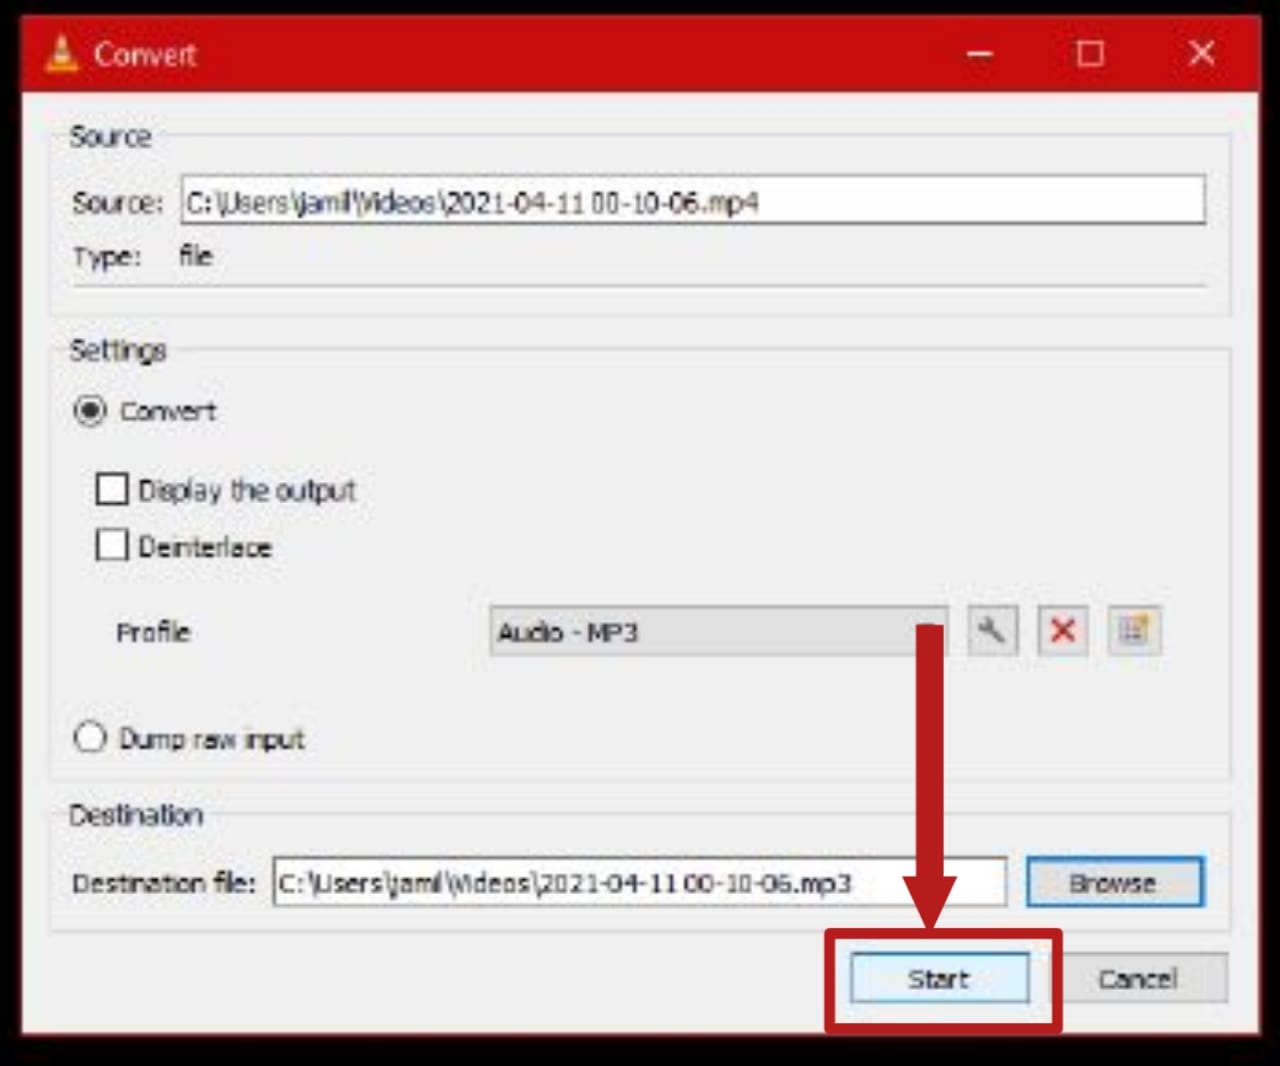
Choose your desired audio format by clicking on the ‘Profile’ drop-down menu. We will be choosing ‘Audio – MP3’. Click on the blank space button to open the drop-down menu. Scroll down to find the audio option and choose ‘MP3’
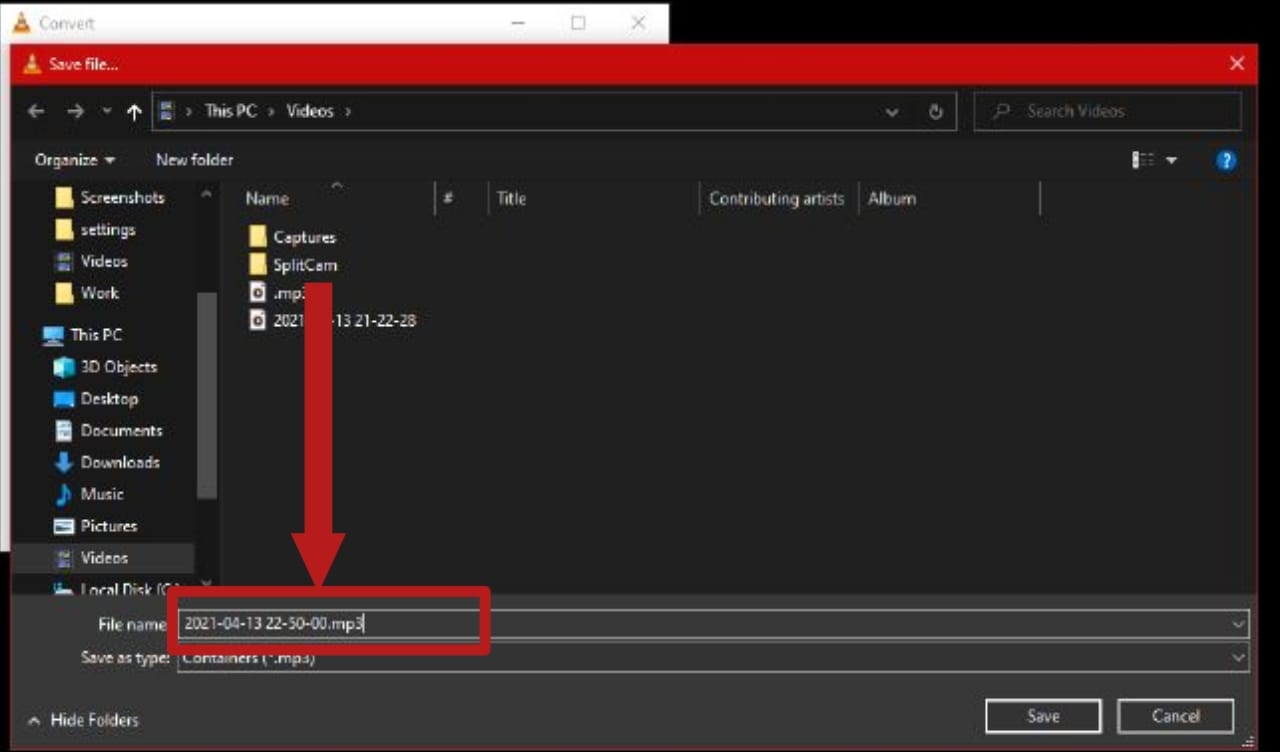
Choose the destination folder in the File Explorer for the audio file by clicking on the ‘Browse’ button. On the File Explorer pop-up, make sure to add ‘.mp3’, or whatever format you’ve chosen, at the end of the file name. If you don’t, VLC won’t convert it to an audio file. Rename the output file if you want. Don’t forget to add ‘.mp3’ to the end of your output file
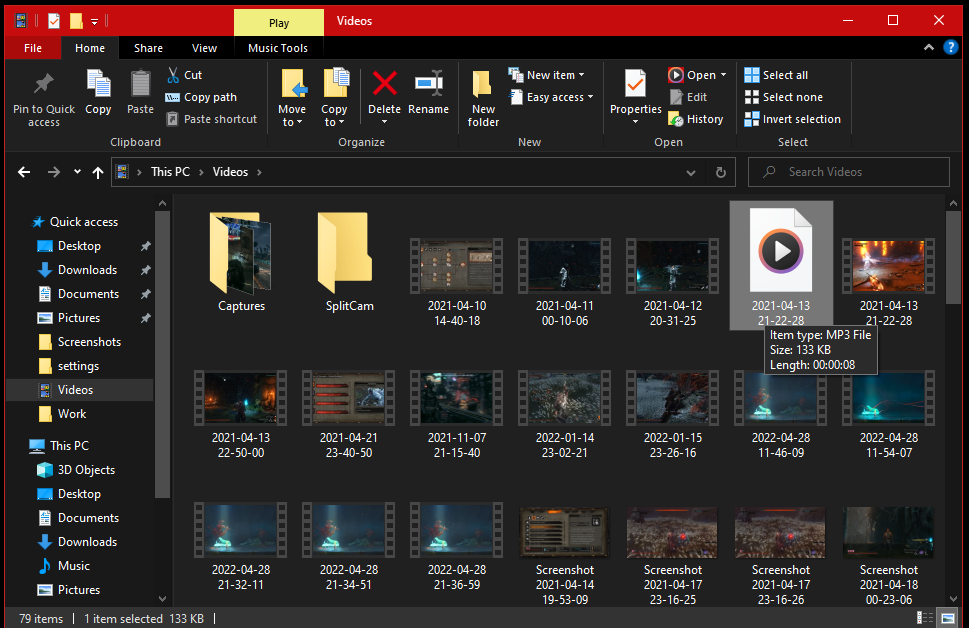
Click on ‘Start’. The conversion time will vary based on the length of the video. Once done, you can preview the output file by opening the destination folder from the File Explorer. Click on ‘Start’ to begin the extraction processYou can find the output file in the destination folder you set earlier
Extracting Audio on a Mac
On macOS, similar to Windows, there are a plethora of tools for extracting audio from a video. VLC can also be used here. However, a quicker solution would be to use the pre-installed QuickTime Player. The only drawback to using QuickTime is that it outputs the file in a MPEG-4 format with an AAC-encoded audio track known as ‘M4A‘. Though, you can convert this M4A audio file to MP3 easily.
To extract audio from a video using QuickTime, follow these steps:
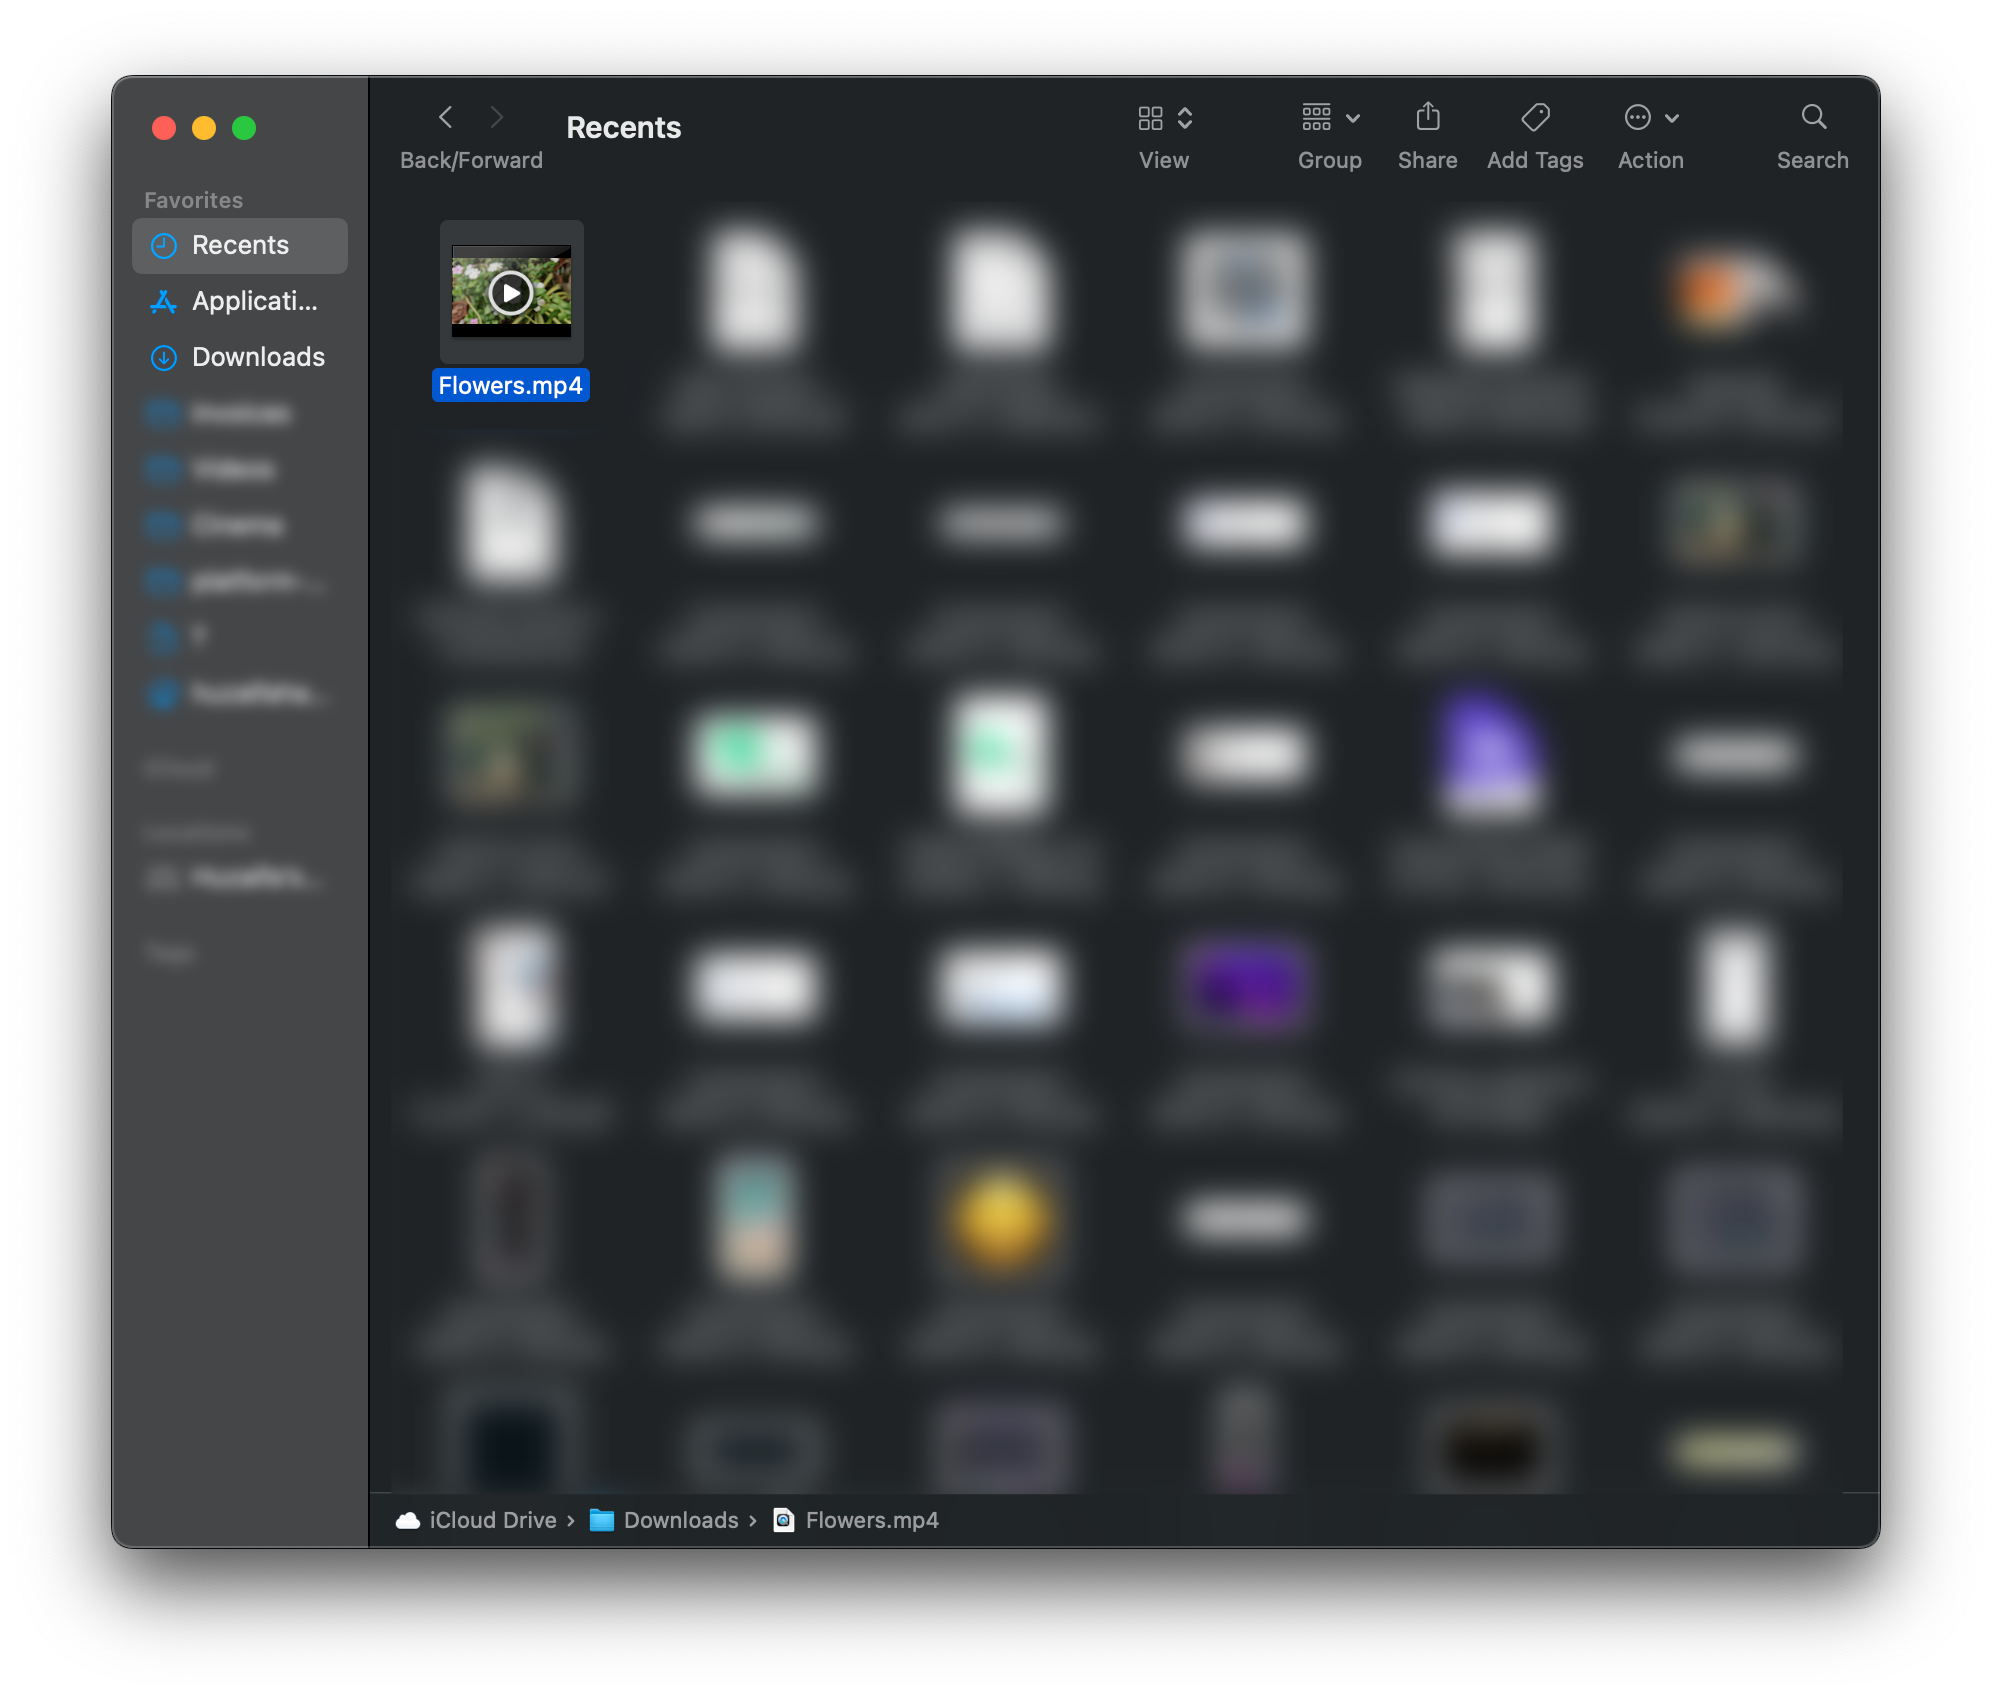
Open Finder and navigate to the target video. Open Finder and go to your video
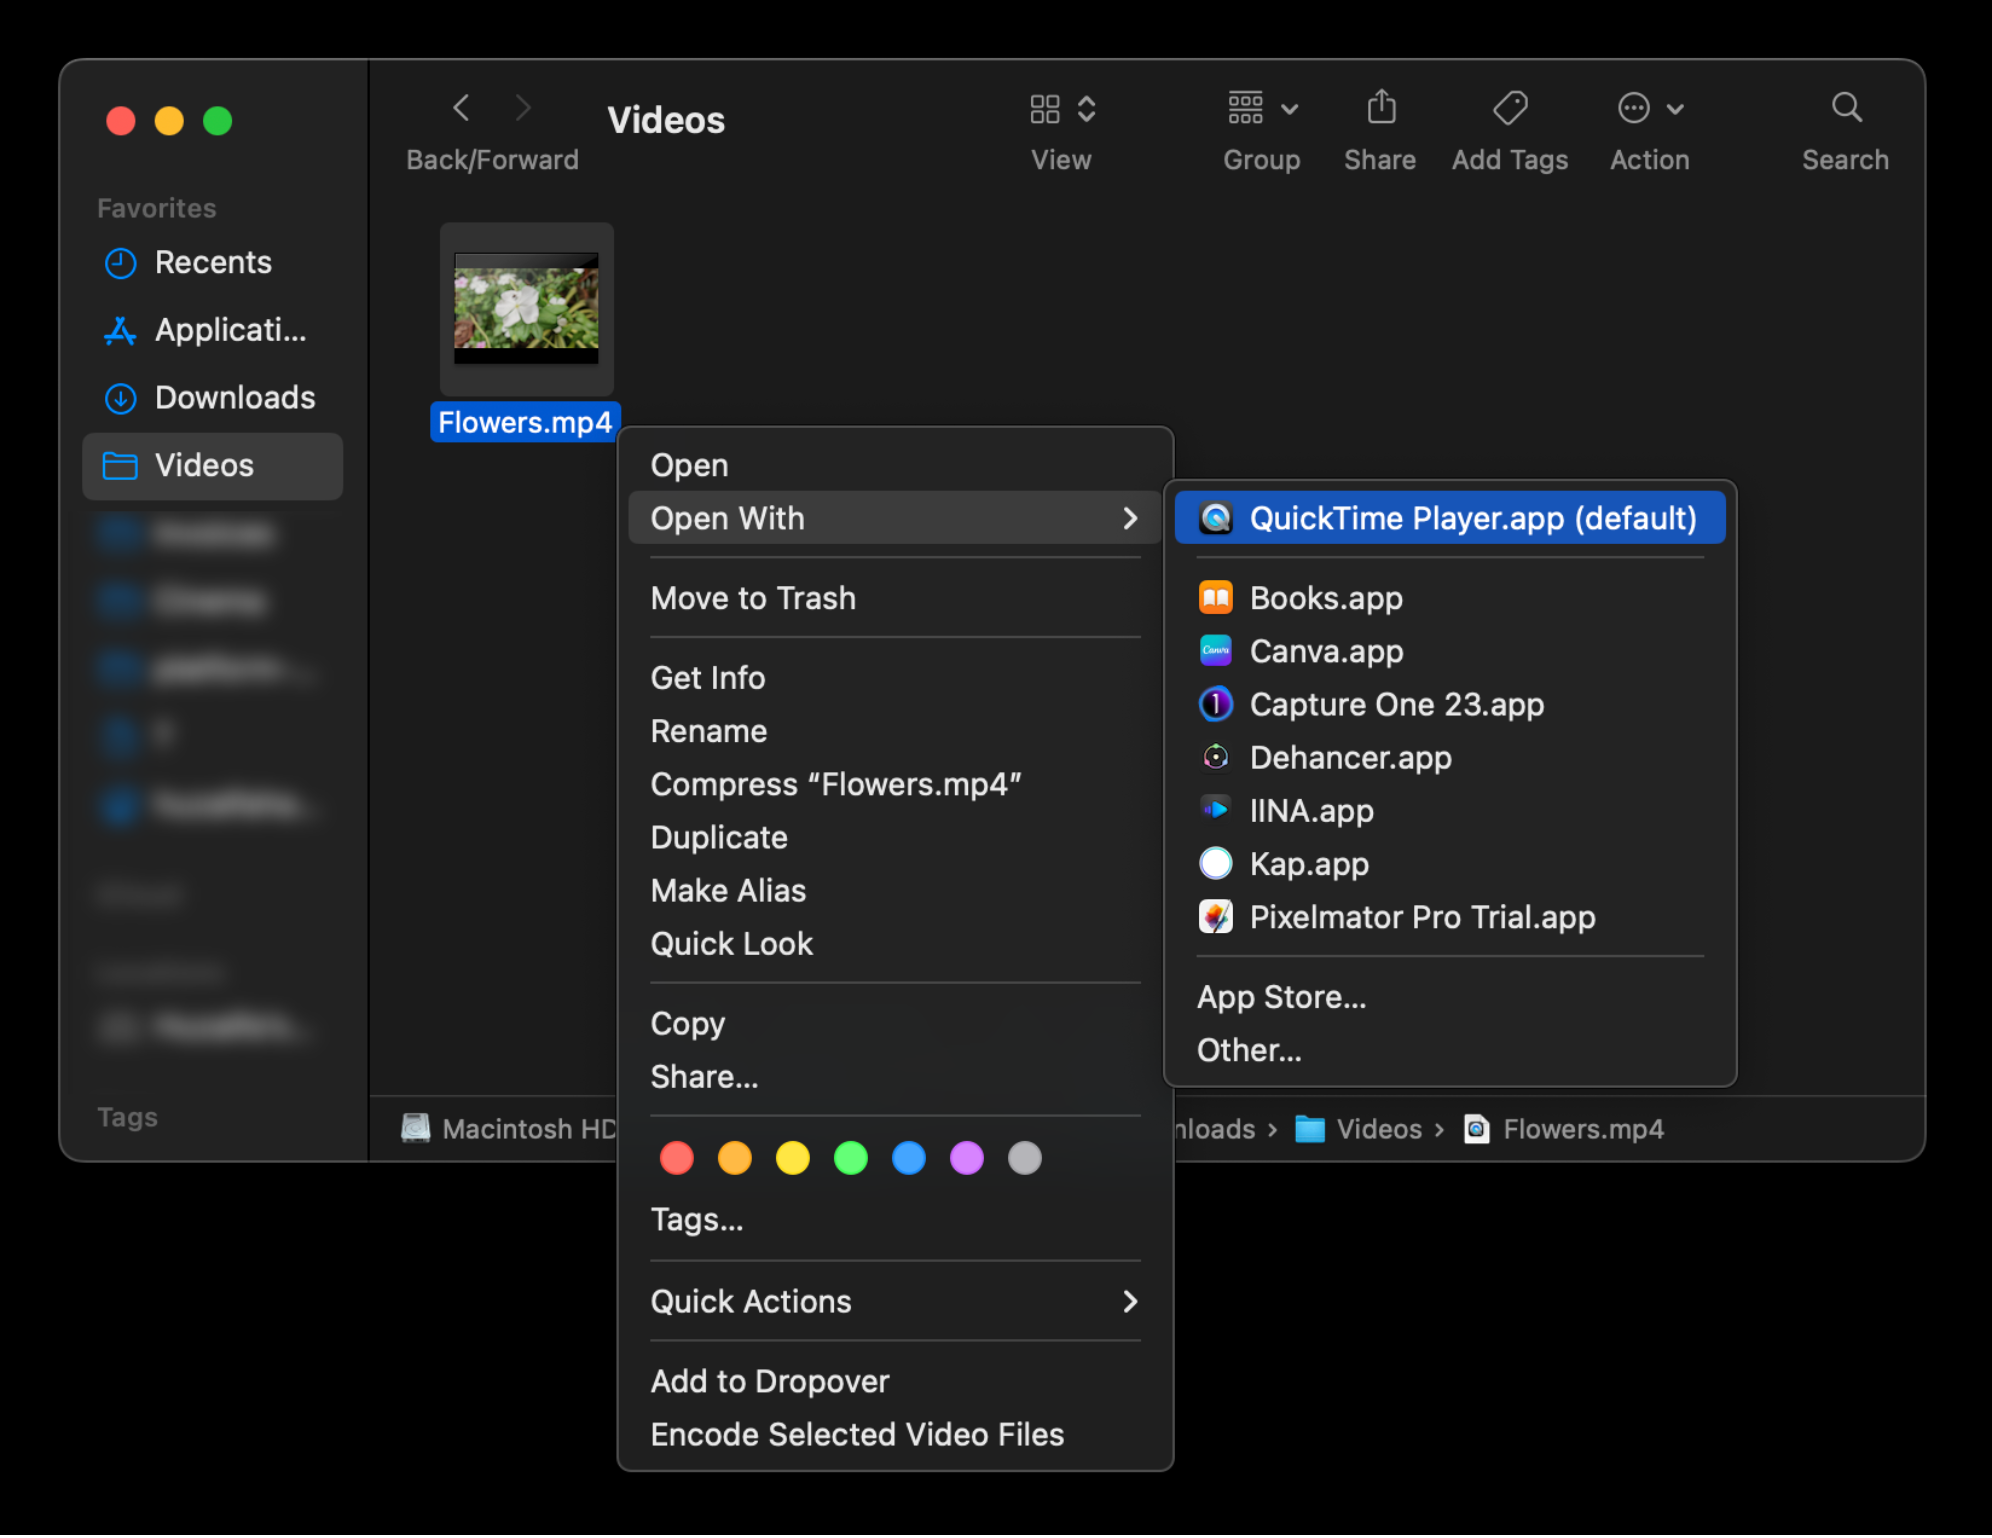
Right-click (or two-finger click) the file and open it with QuickTime. Open the video with QuickTime
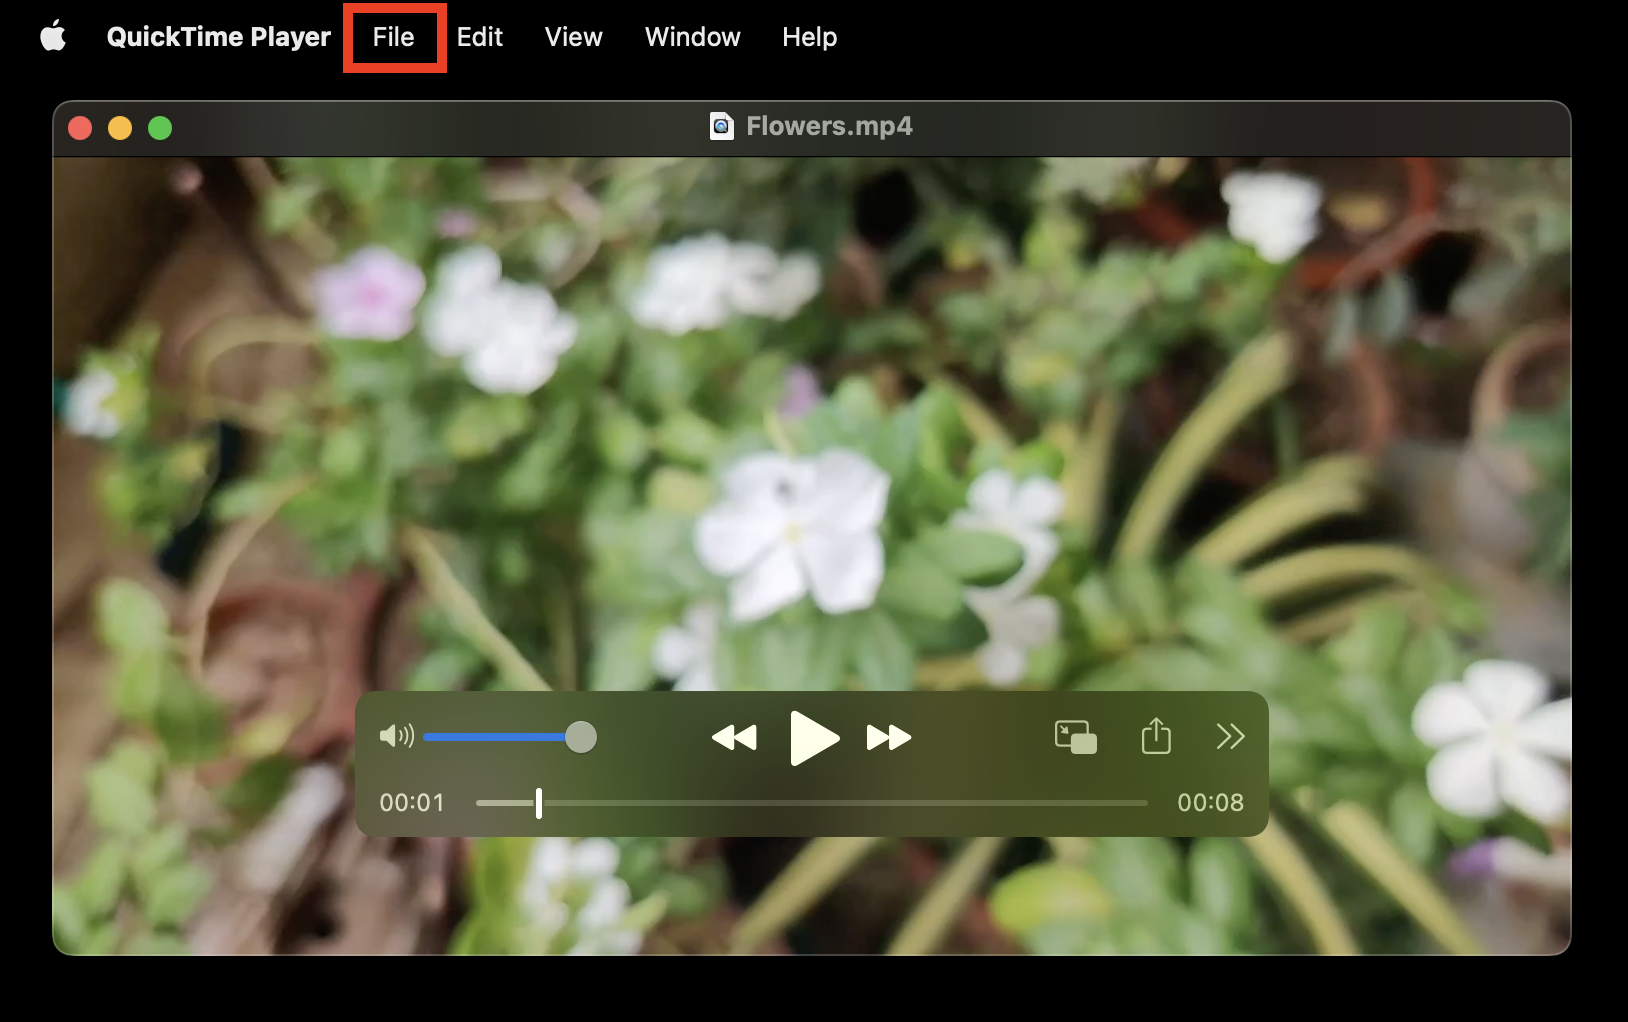
Once the video is playing in QuickTime, click on ‘File‘ in the menu bar.
Click on File in the menu bar
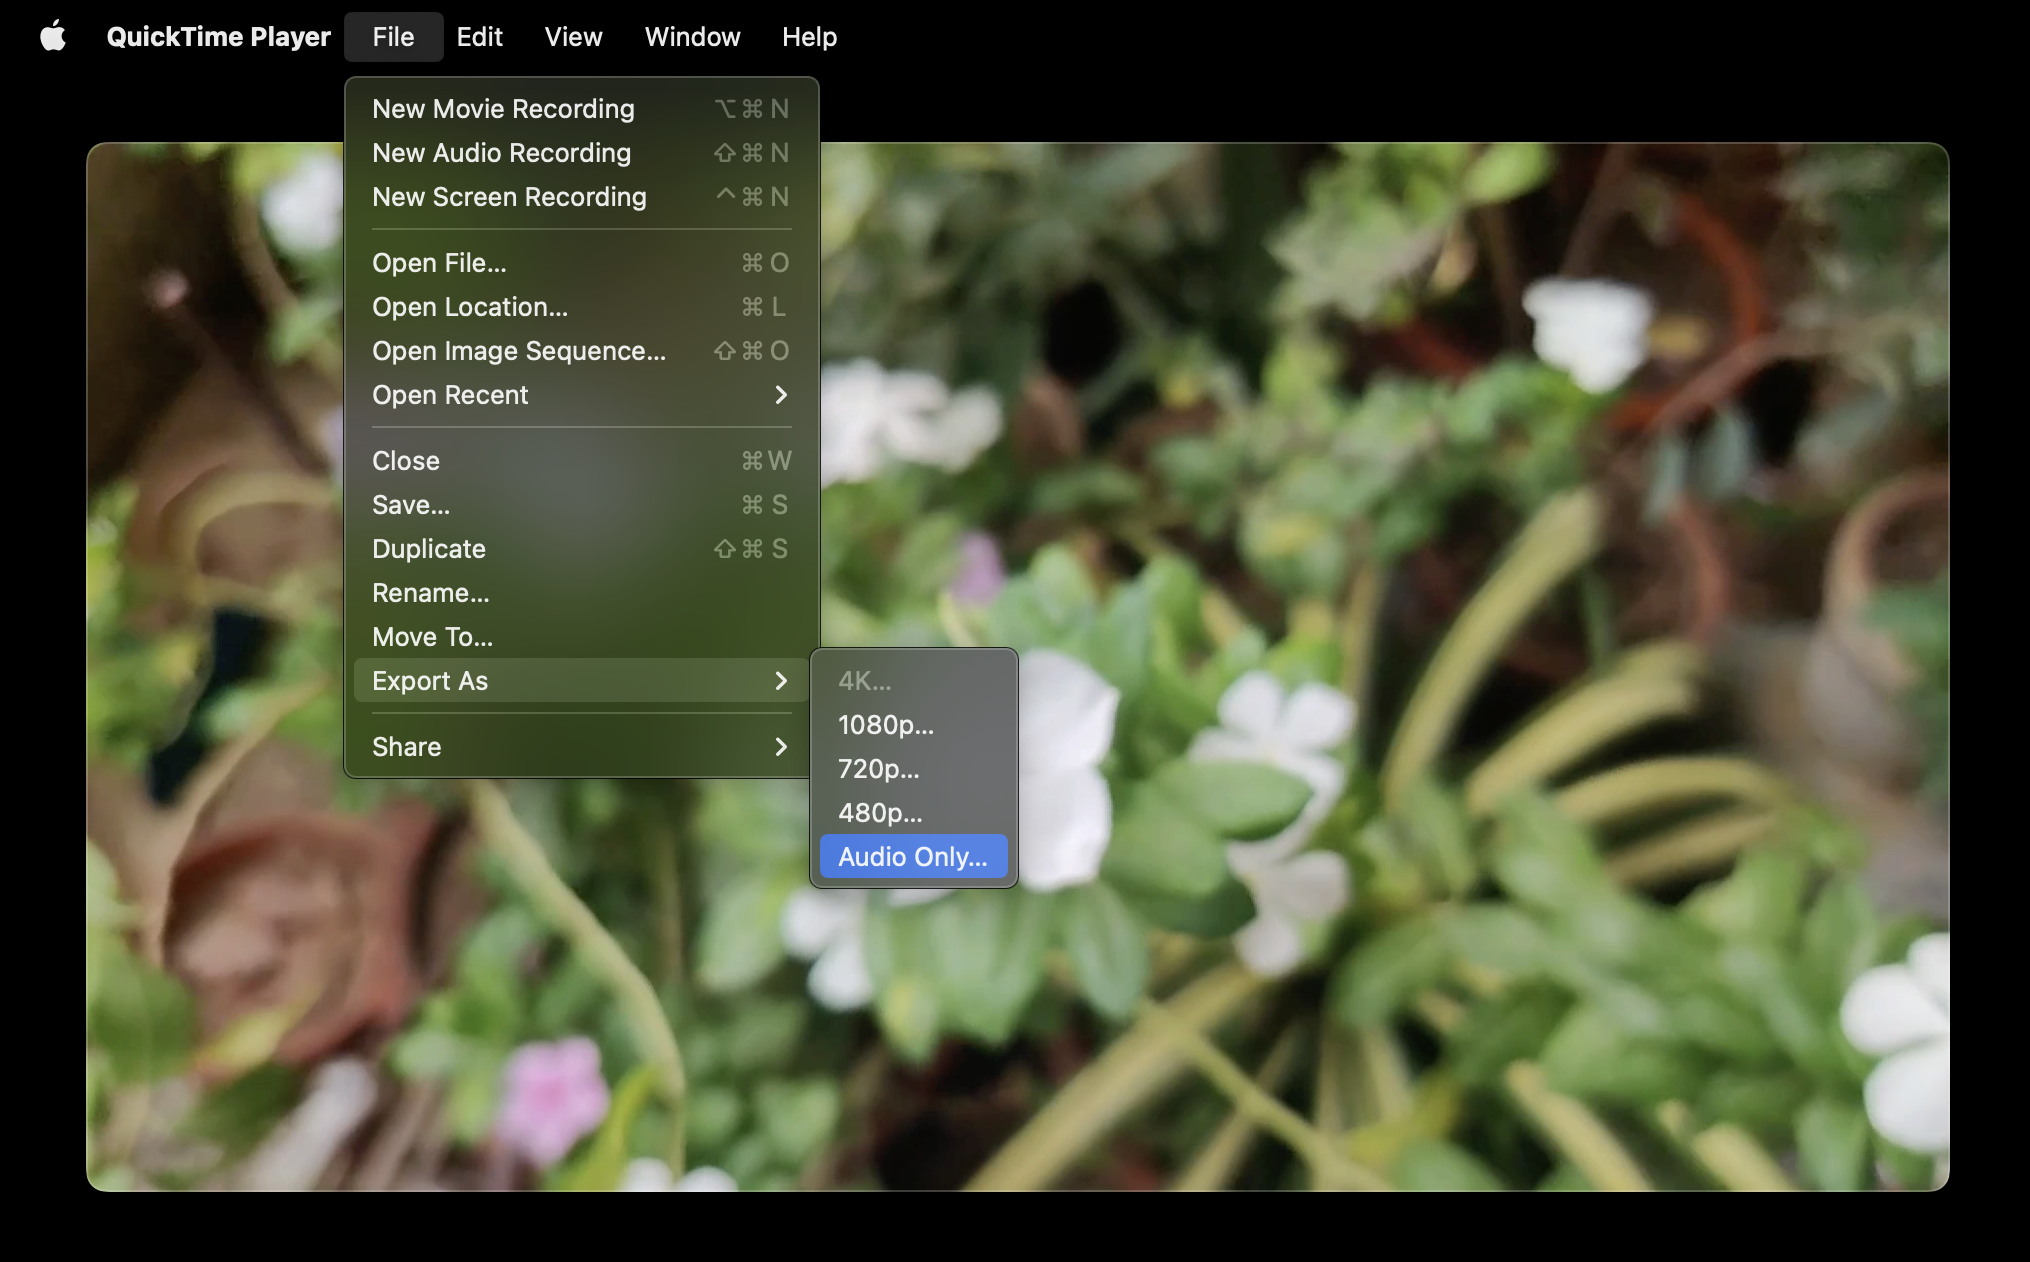
In the drop-down menu, click on ‘Export As‘ and select ‘Audio Only…‘. Click Export as and select Audio only
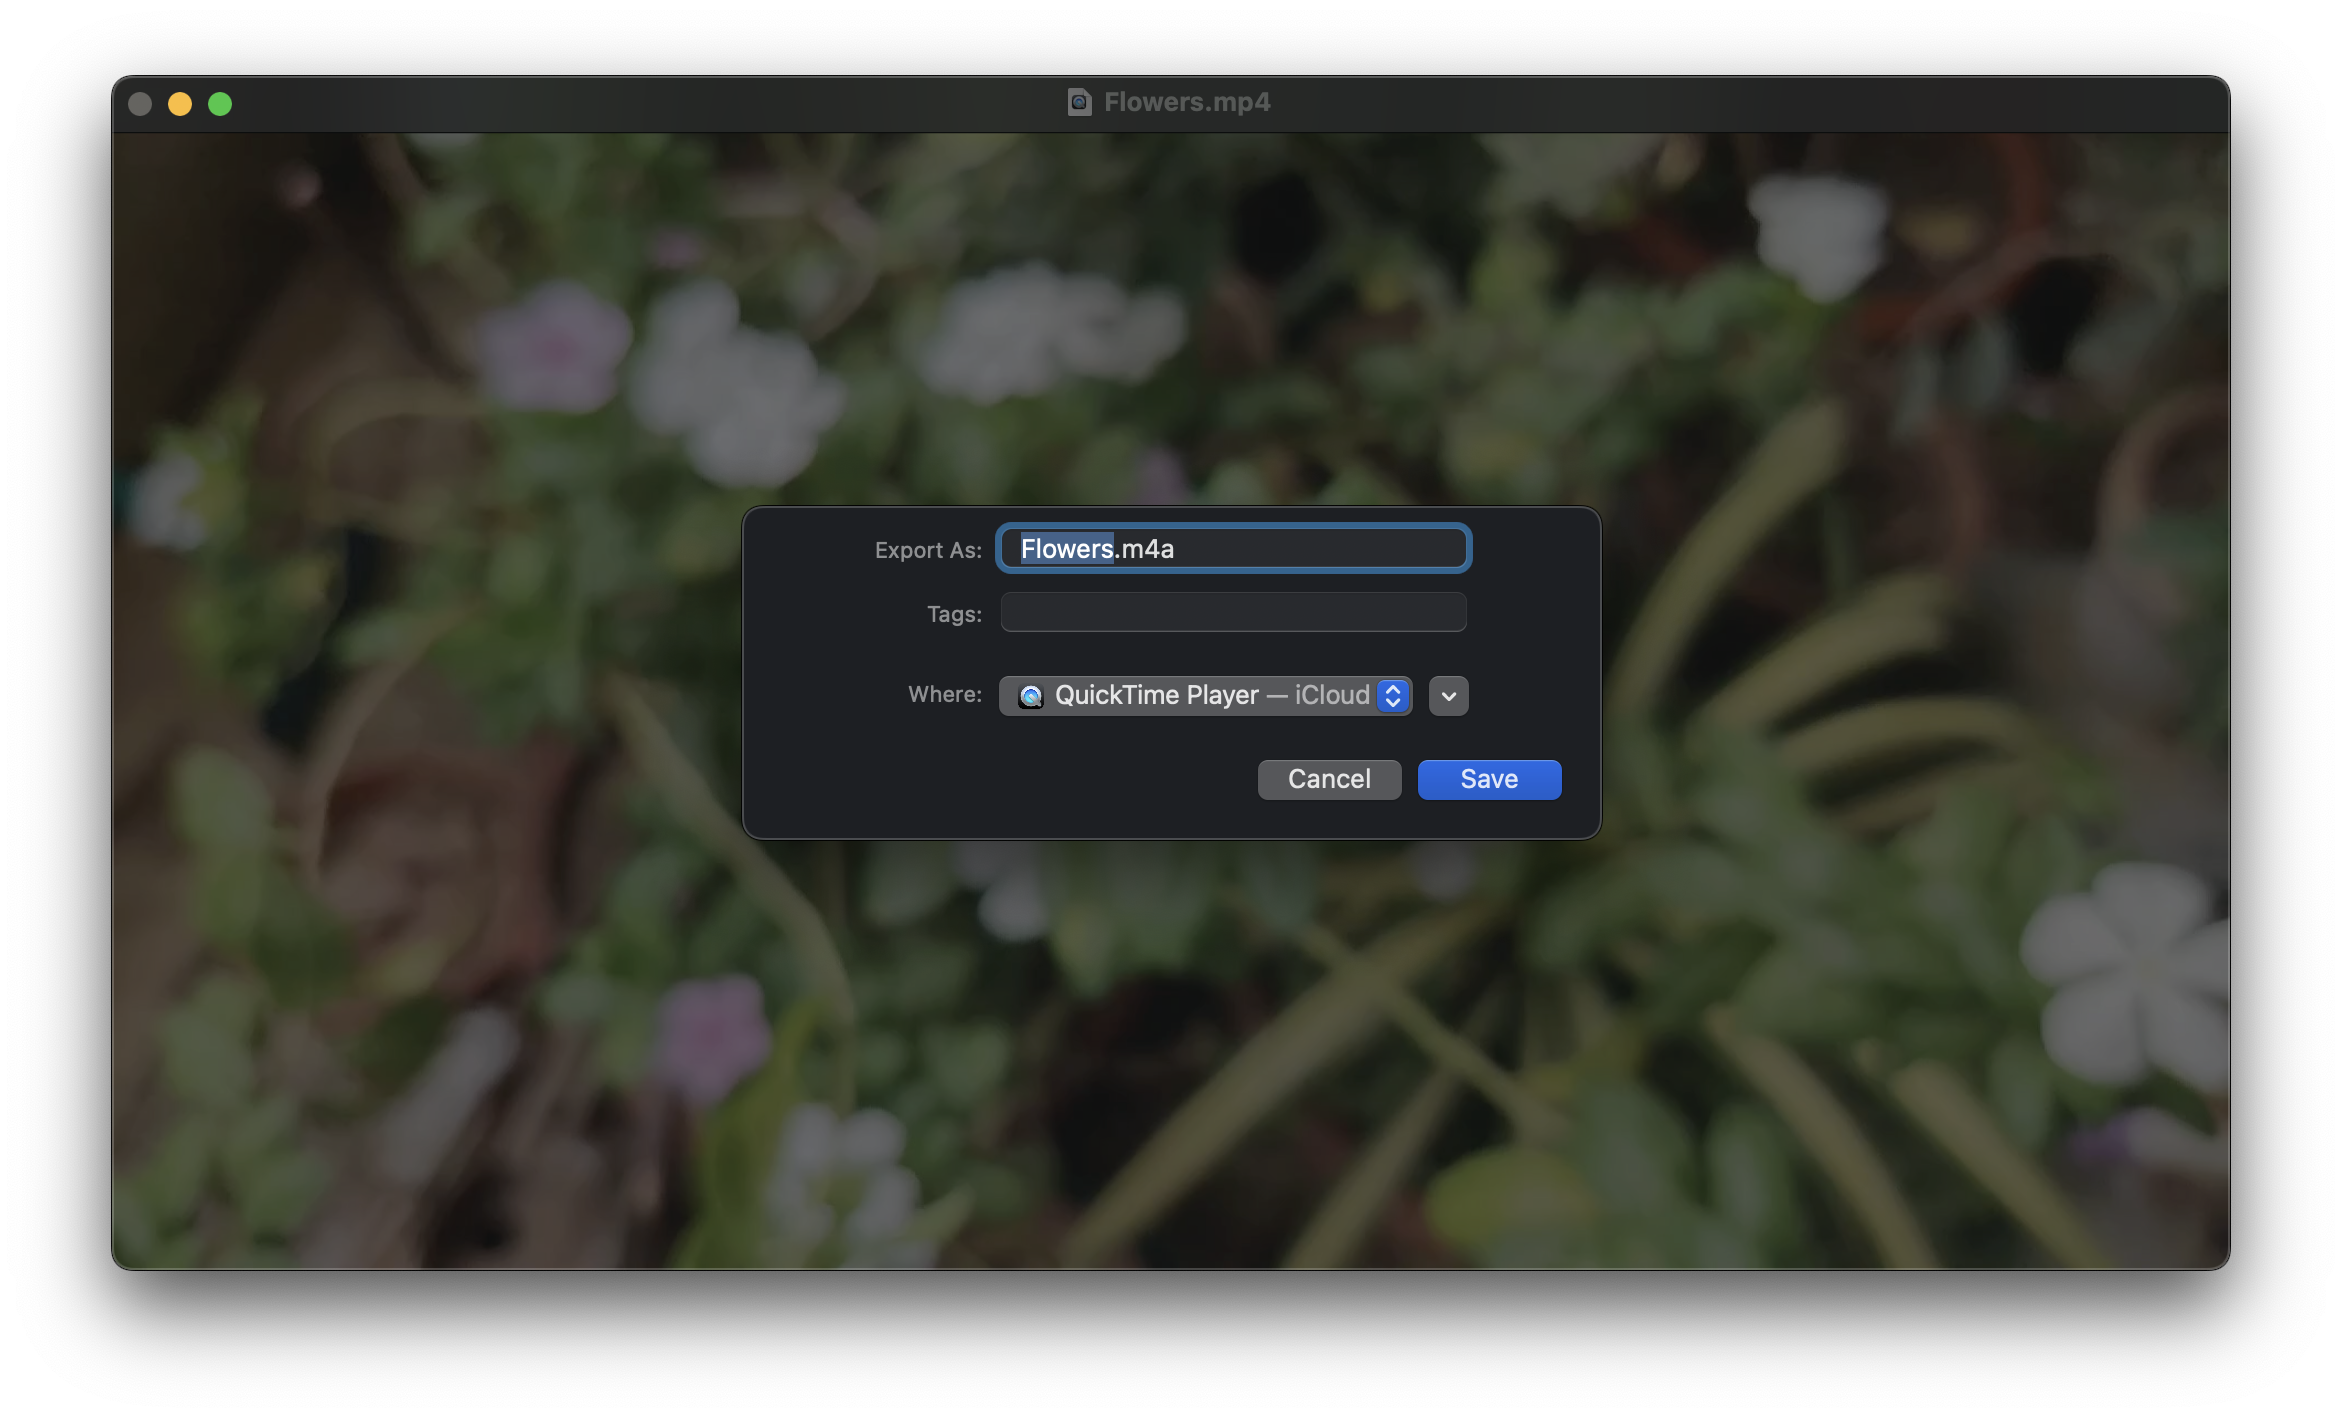
Chose where you want to save the file and its name, then click on Save. Select the name and location of the file
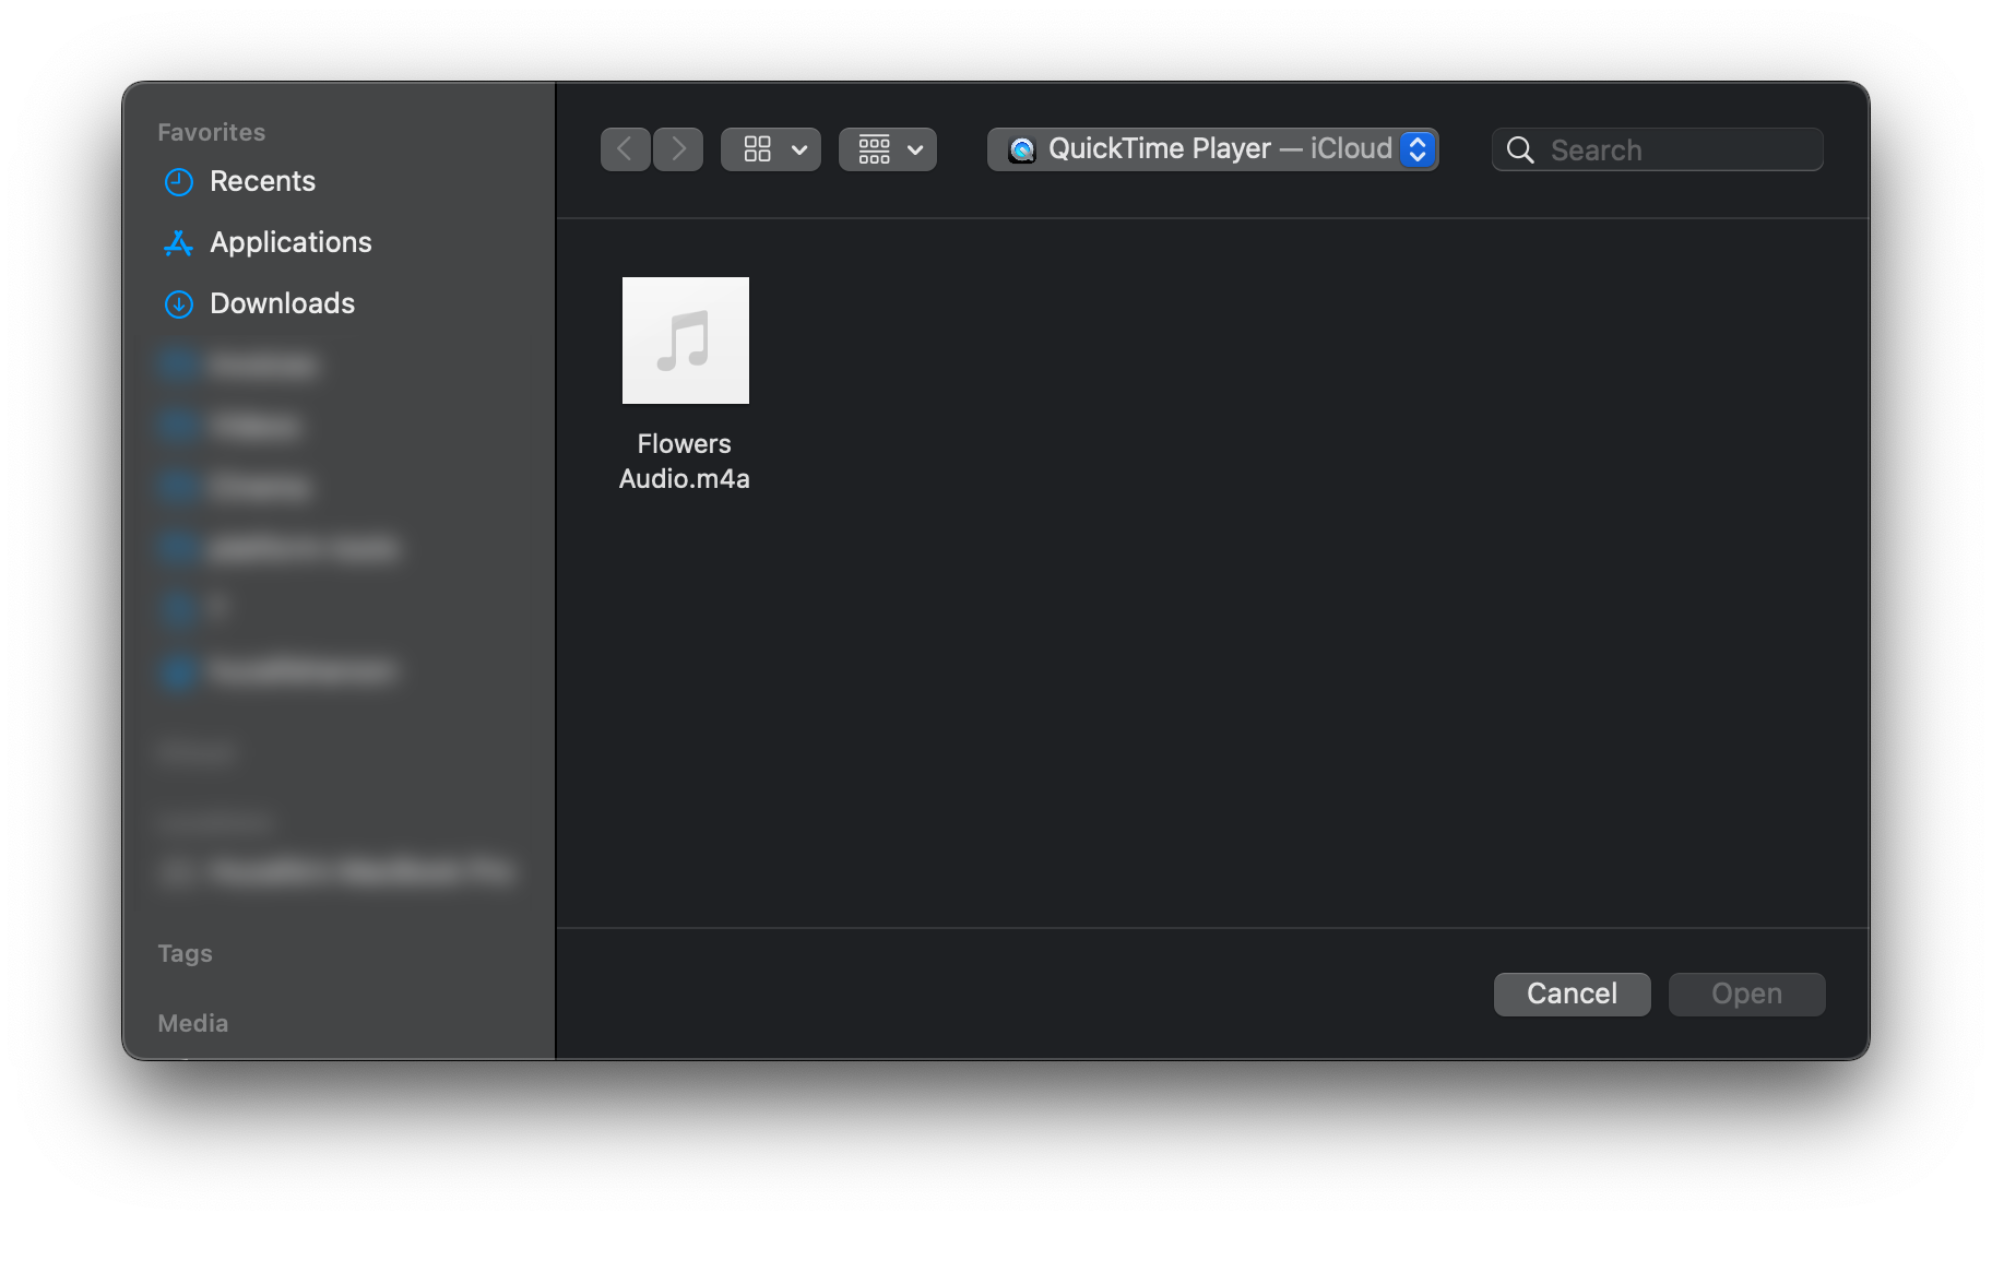
Open the destination folder to see your output file. Converted audio file
Tip: Longer/larger videos may take longer to convert, so be patient. However, if a video seems to be stuck and QuickTime is not responding, Force Quit both the Finder and QuickTime and try again.
Extracting Audio on Android
There are several apps available on the Google Play Store for extracting audio from a video. We will be using one called Video Converter (incredibly unique name, we know). Besides extracting audio from a video, you can use it for other useful purposes such as trimming audio, merging videos, clipping videos, etc.
To extract the audio using this app, download the app and follow the steps below:
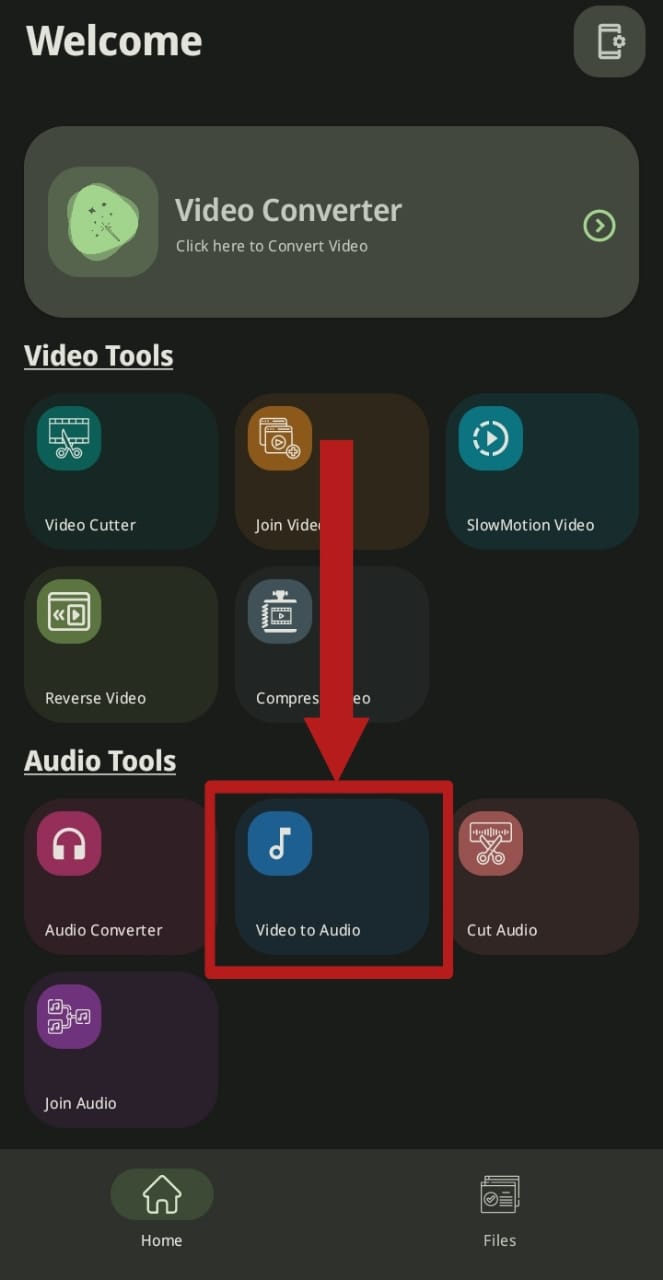
Open Video Converter. Grant it the required permissions. Select ‘Video to Audio‘. Select ‘Video to Audio’
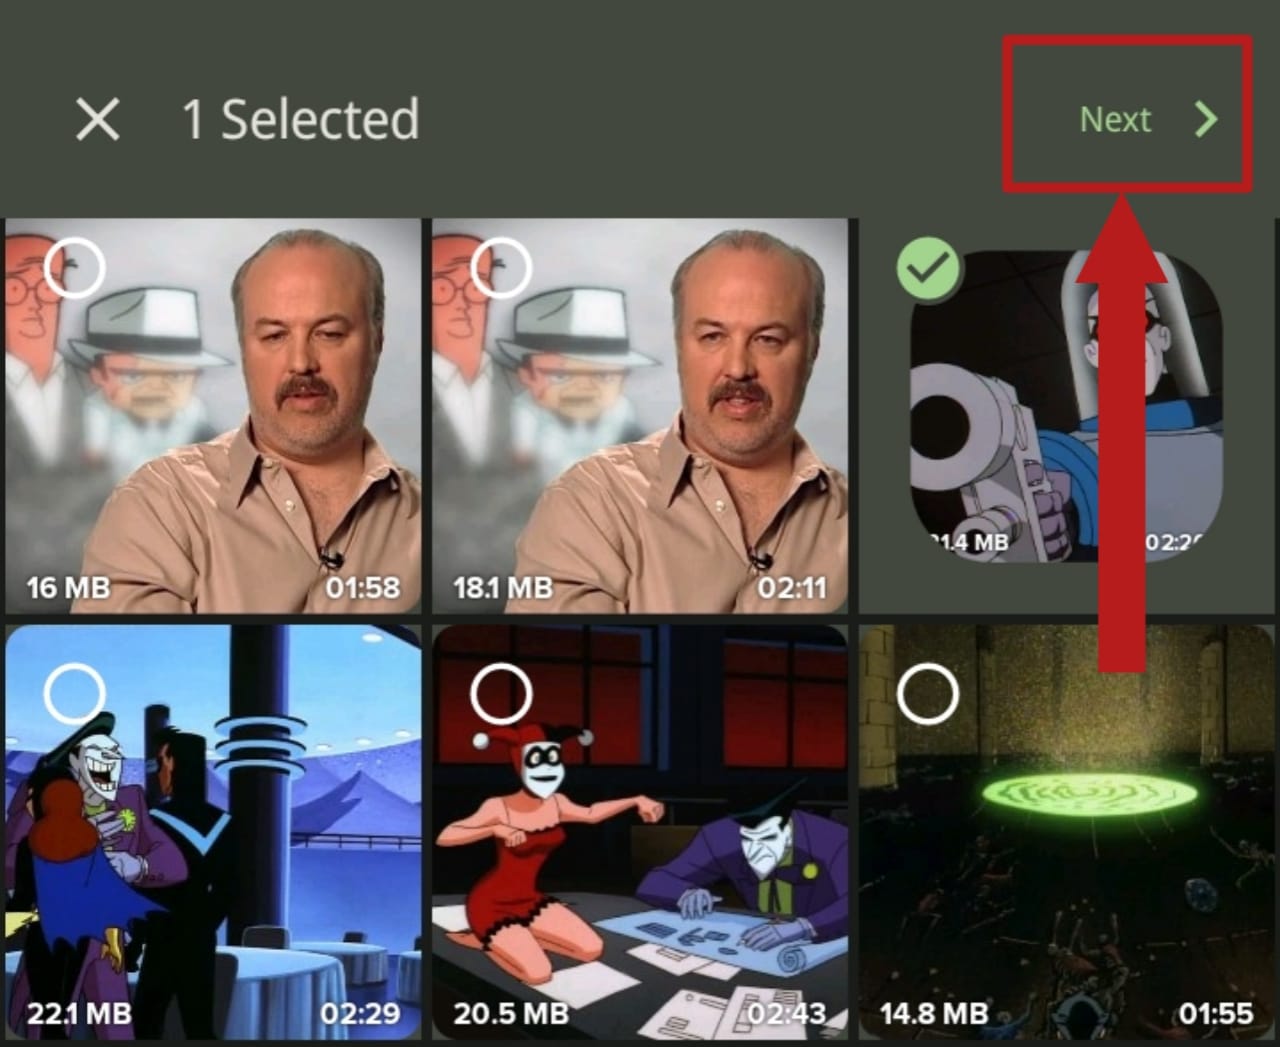
Choose the video from the grid shown and tap on ‘Next’. Select the video and tap ‘Next’
If you can’t find the video, press the ‘Browse’ option and navigate to where the video is stored on your device’s internal storage or SD card.
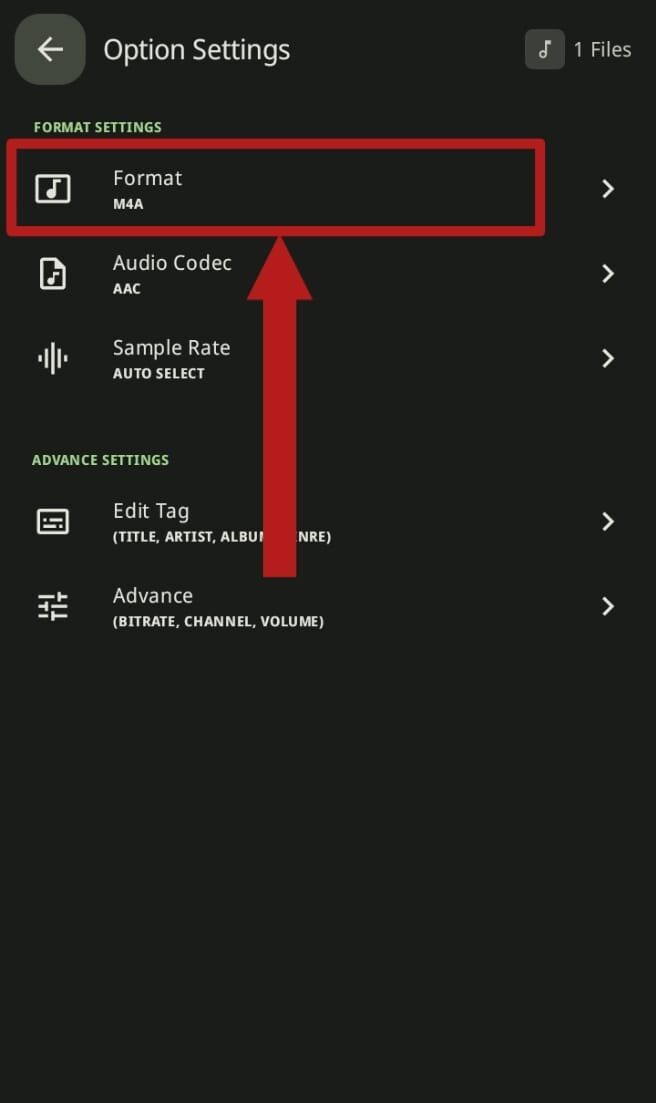
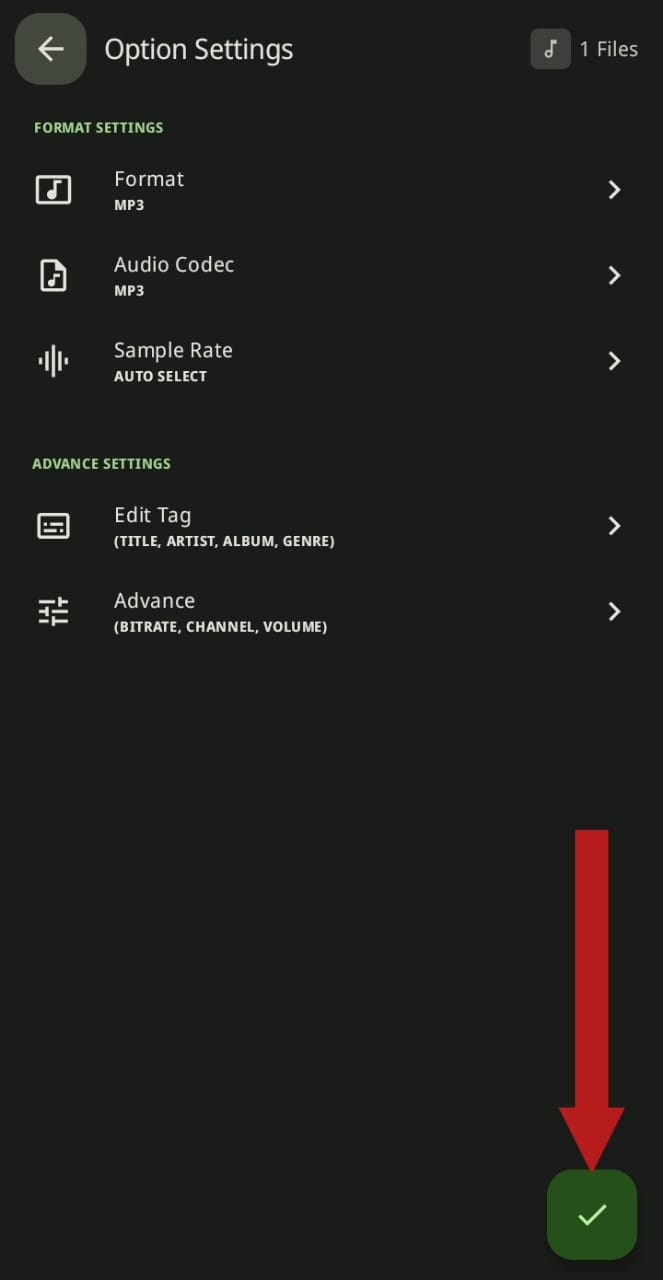
Choose your desired format by tapping on the ‘Format’ option. We recommend MP3.
Tap Format to change the output audio format
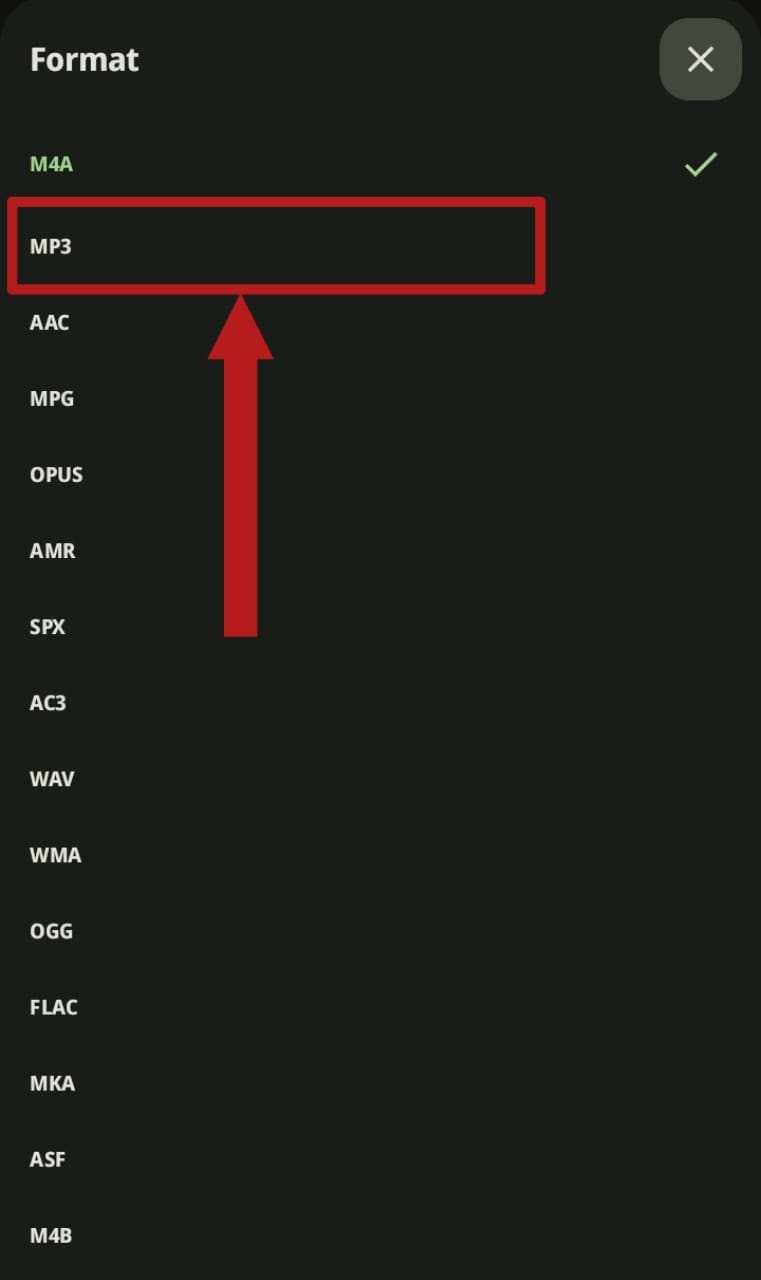
Select MP3 from the options shown to you
Press the tick on the bottom-right corner. Press the tick to proceed
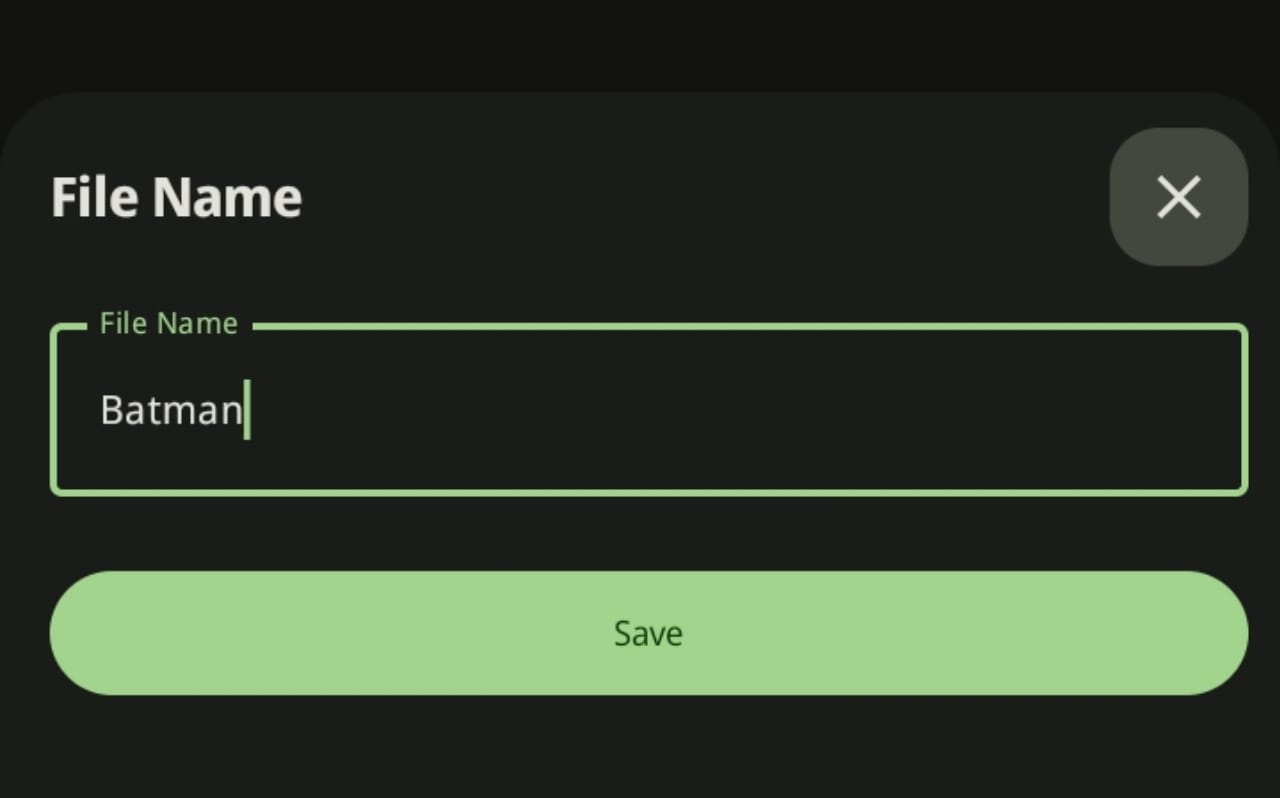
Name the output file whatever you want and press “Save” to save the file.
Rename your output file
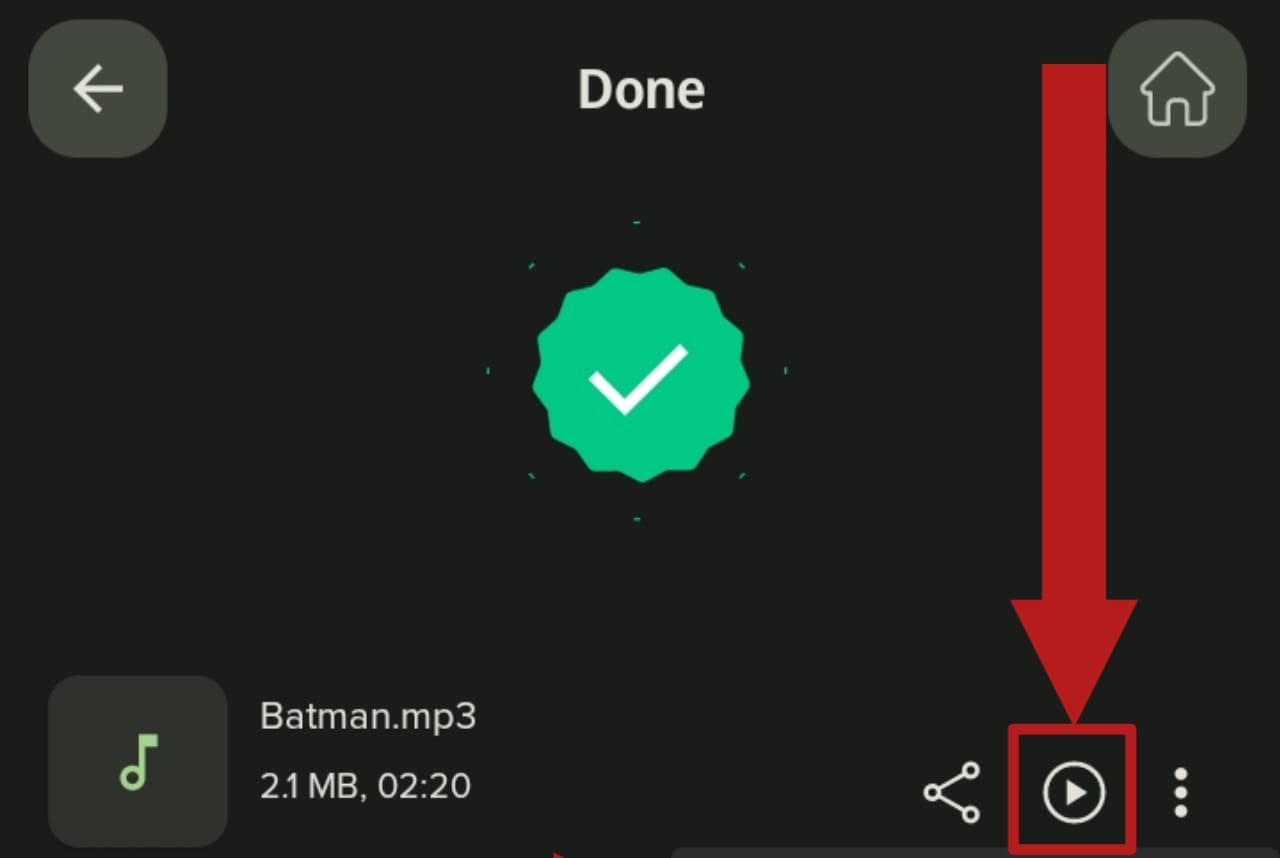
The conversion process will begin. Once done, you can preview it by pressing the ‘Play’ button. You can also check where the file is stored by clicking on the three vertical dots and choosing ‘File info’. Press the ‘Play’ icon to preview your file
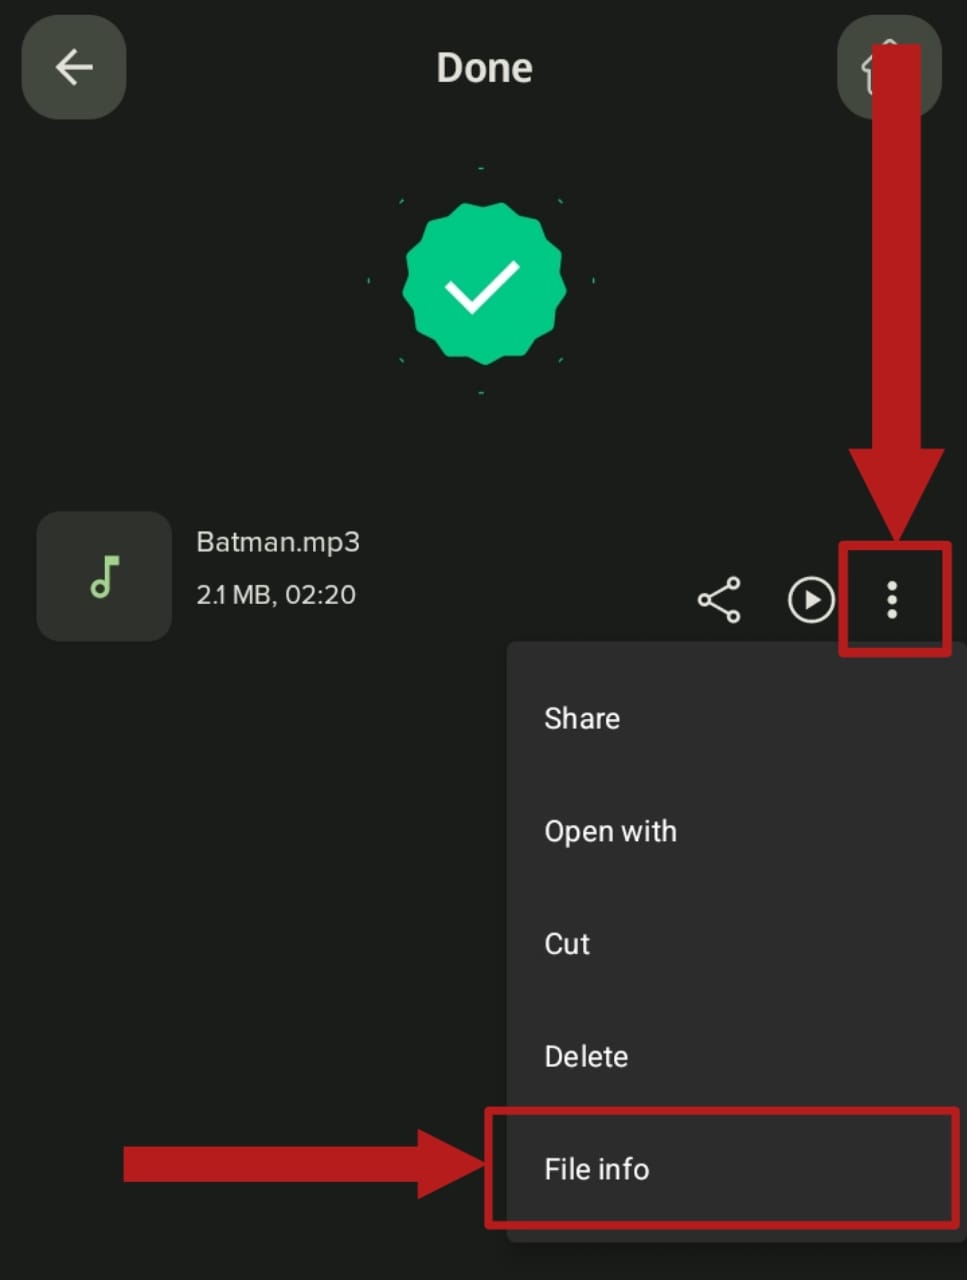
You can also check where the file is stored by clicking on the three vertical dots and choosing ‘File info‘.
You can find where the output file is located by tapping on the three dots and selecting ‘File info’
Extracting Audio on iOS
The App Store also has its fair collection of apps that allow you to extract audio from a video. We will be using Video to MP3 – MP3 Converter. You can download the app through this link from the App Store.
Follow the steps below to start extracting:
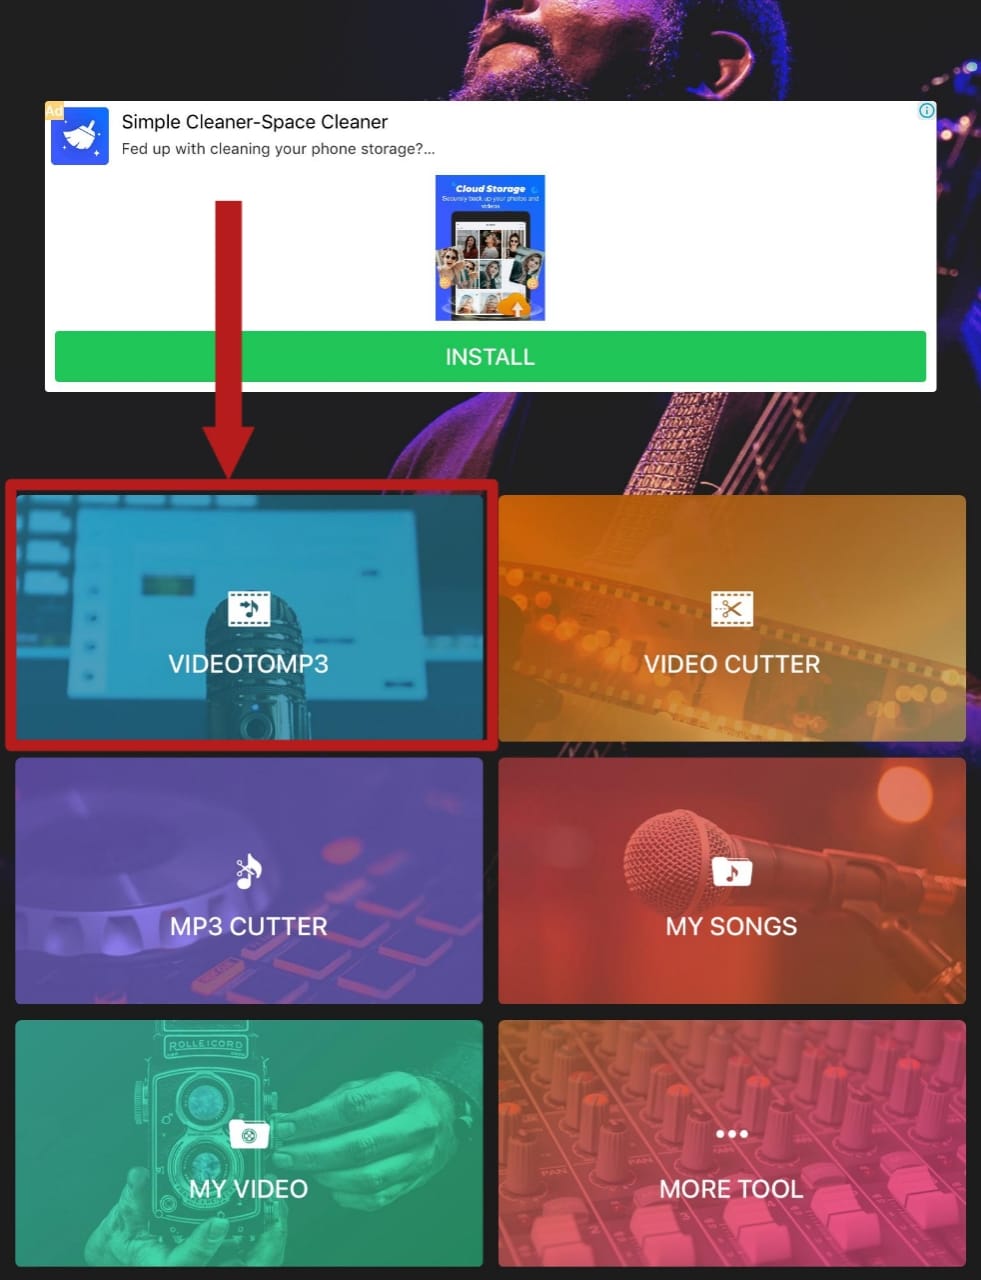
Open the app. Allow it to access your media library. Select ‘VideotoMP3’. After granting the app permissions, select ‘VideotoMP3’
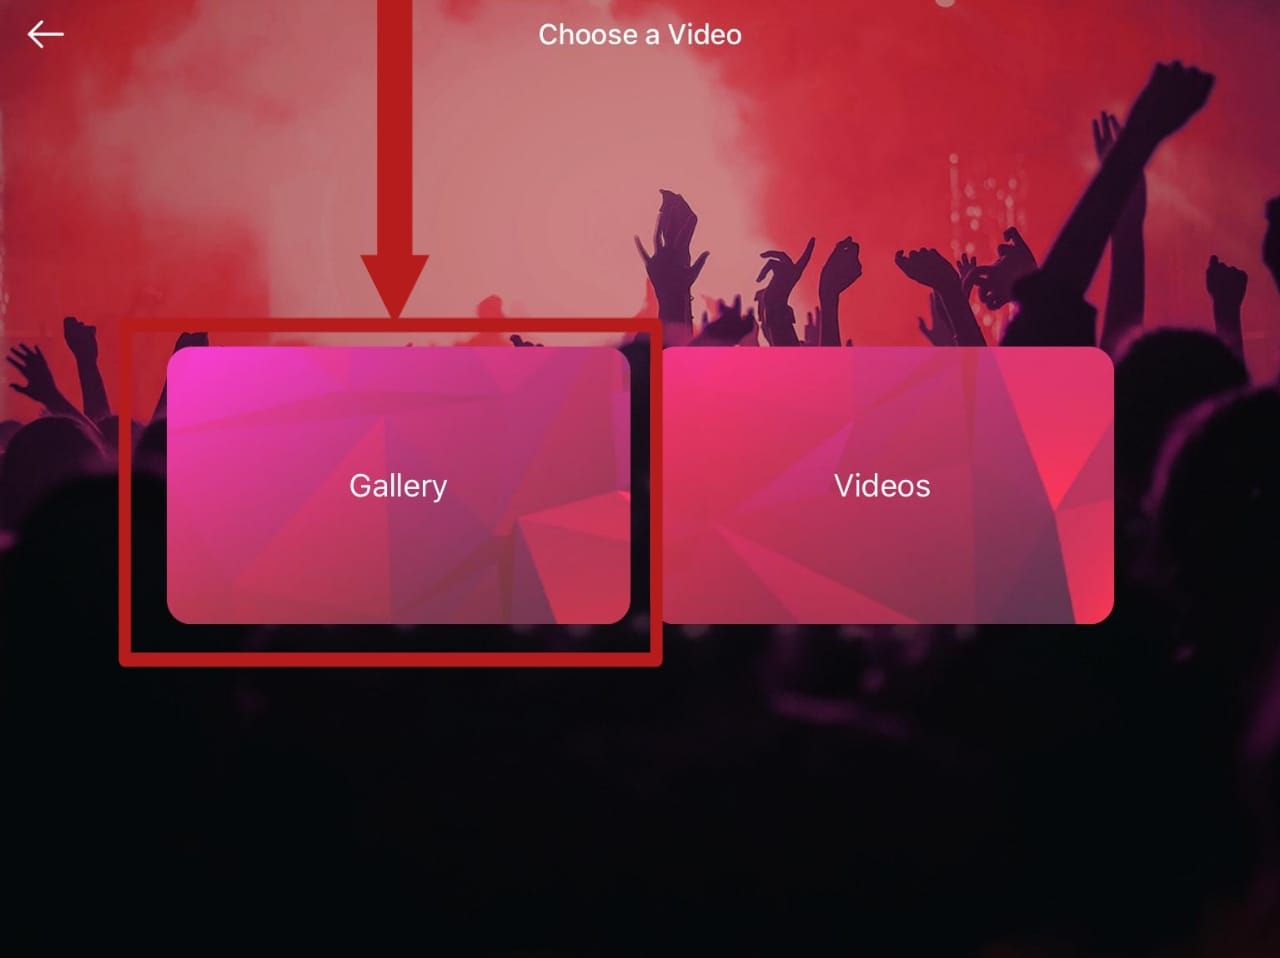
On the next screen, choose ‘Gallery‘. It will show you all the videos in your Gallery. Choose ‘Gallery’
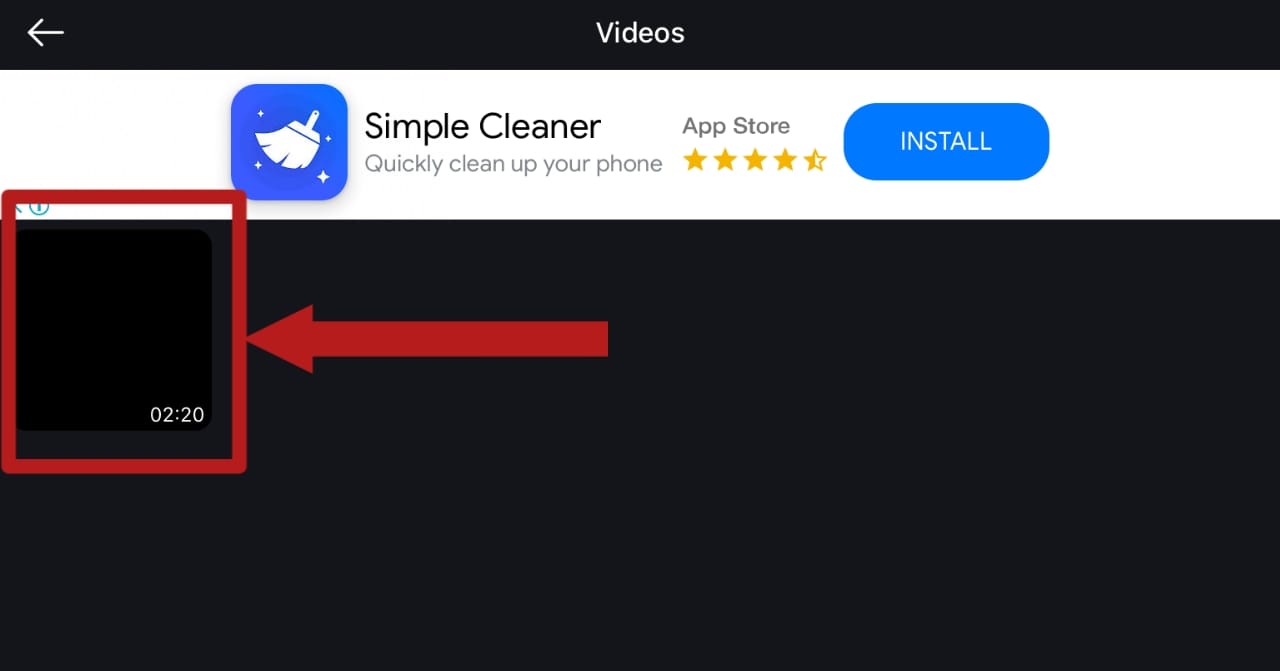
Choose the desired video from the grid. Choose the desired video from your Gallery
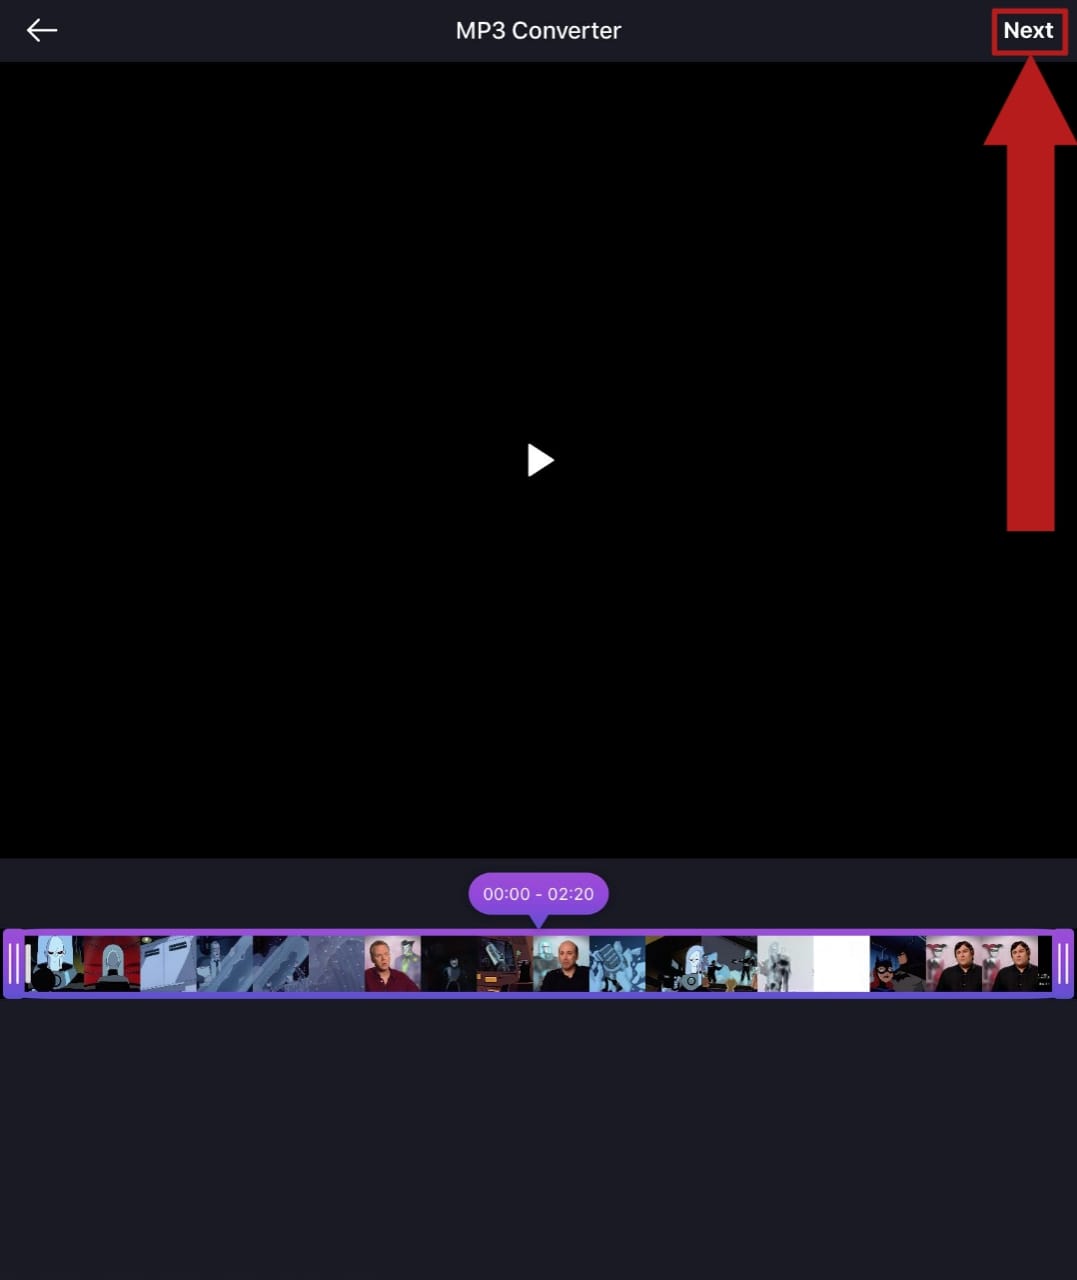
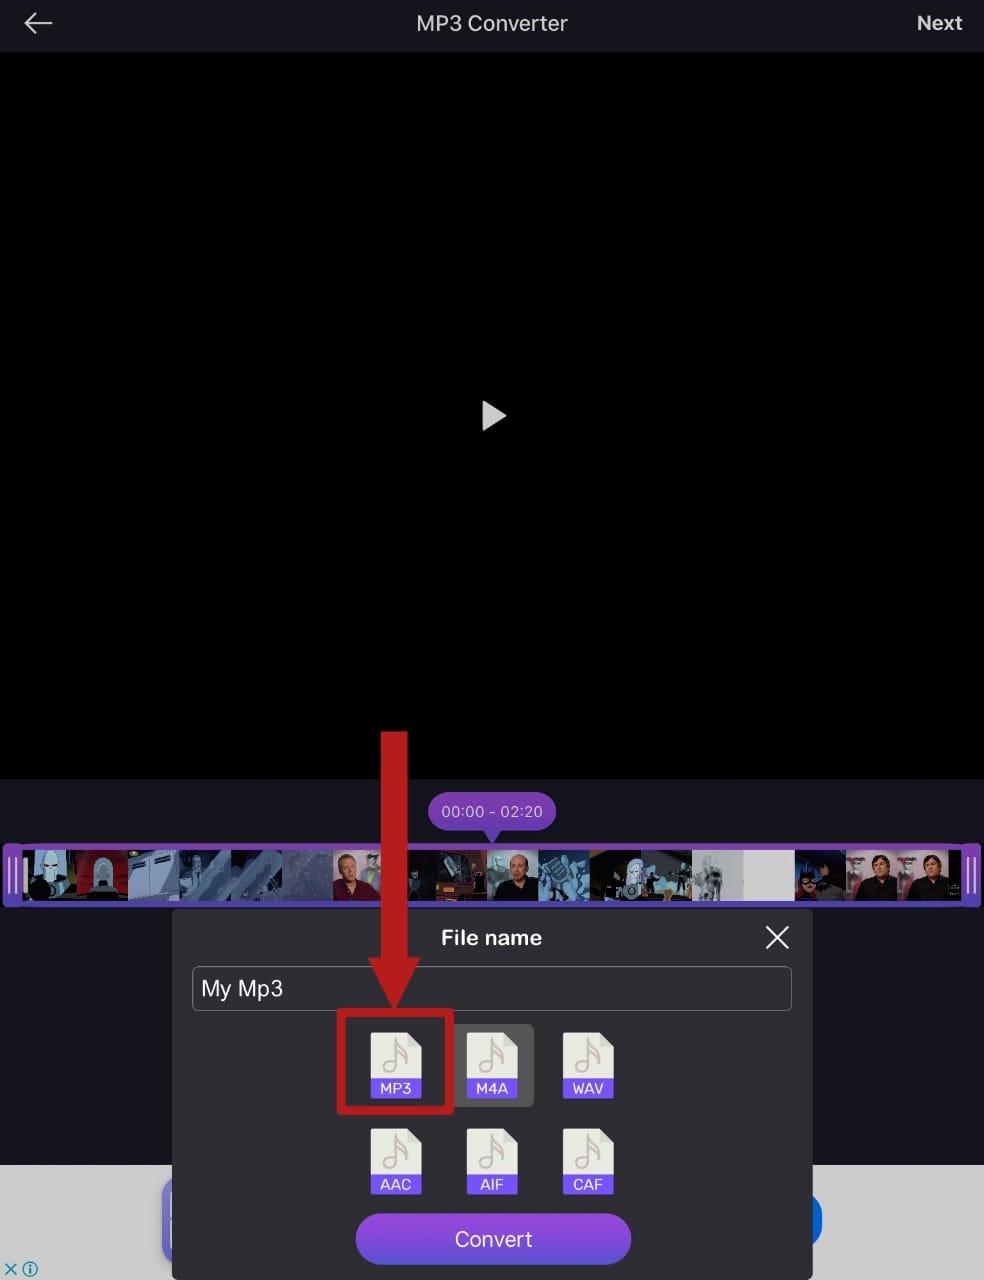
Now, you will have to choose the part of the video you want to extract audio from. If you want the audio from the whole video, tap on ‘Next’. If not, drag the slider according to your requirements and tap ‘Next’. When you’ve finished modifying the length of the video from which the audio is to be extracted, tap ‘Next’
It will ask you the output file name and format. Name it whatever you like and choose your desired format. Press ‘Convert’. Select your desired format and rename your file
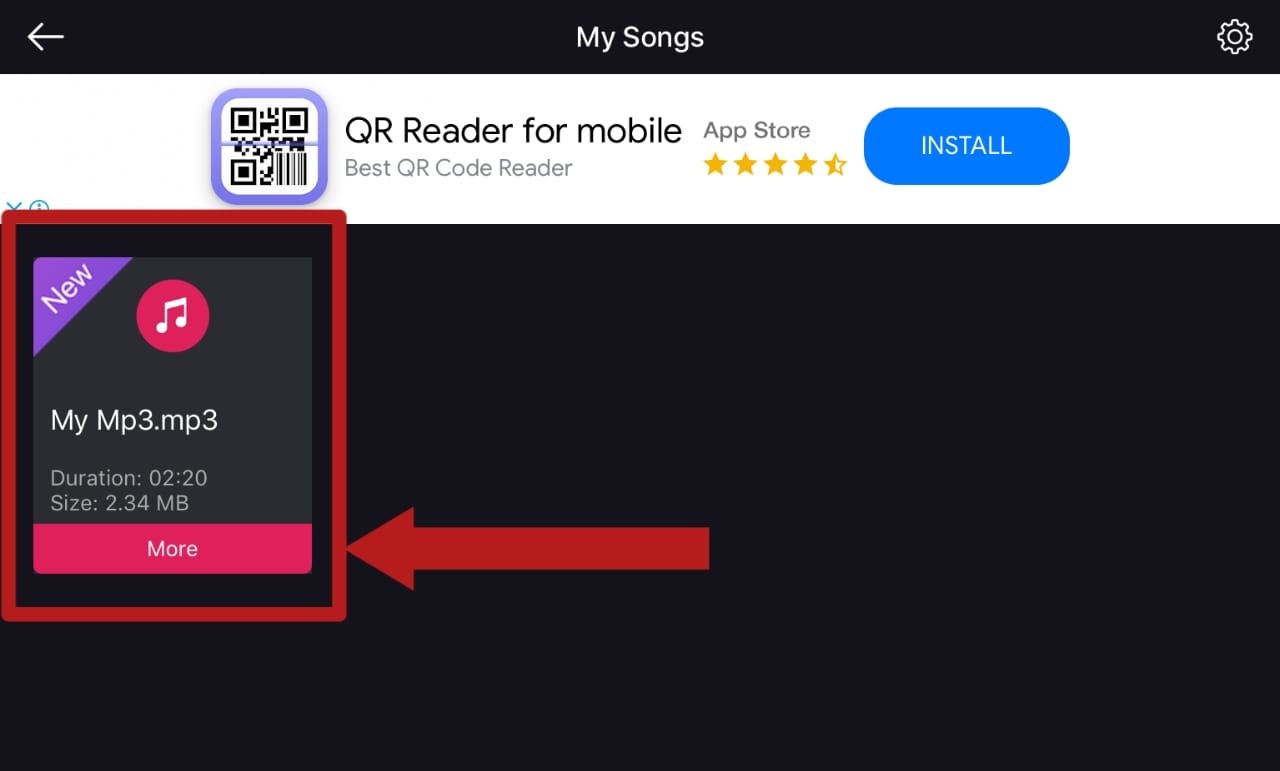
The conversion process will take a few seconds. Once done, you can preview it. Preview the file in the app
Conclusion
There are also several other advanced tools out there that let you further modify the audio you are extracting, like FFmpeg. The tools mentioned above are simple and easy to use; making them perfect for beginners.
Enjoy extracting the audio from your favourite videos, podcasts, gameplays and clips!
Kamil is a certified MCITP, CCNA (W), CCNA (S) and a former British Computer Society Member with over 9 years of experience Configuring, Deploying and Managing Switches, Firewalls and Domain Controllers also an old-school still active on FreeNode.
 Reviewed by Huzaifa Haroon