How to Fix Ngen.exe High CPU Usage Issue in Windows
 Reviewed by Muhammad Zubyan
Ngen.exe (Native Image Generator) is a part of the .Net Framework and is used to improve the performance of managed applications. It creates native images from managed assemblies.
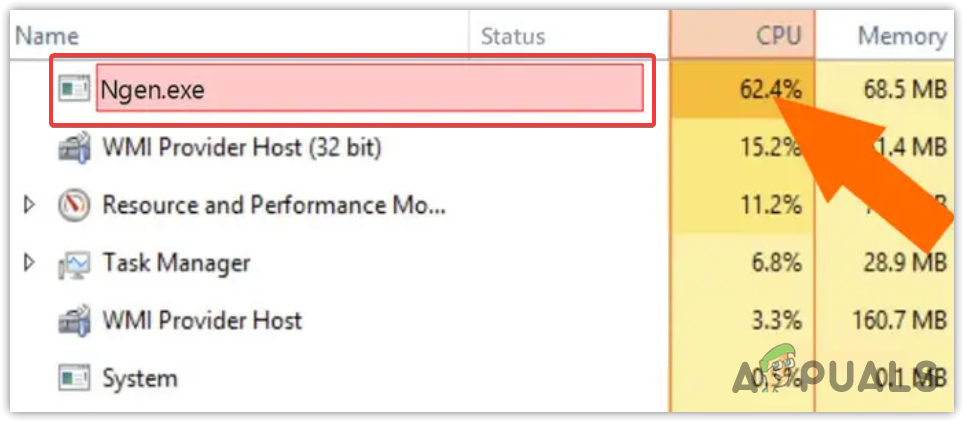
Typically, the .Net Framework code is compiled in an intermediate language and then compiled into native machine code. This process causes a slight delay when a JIT (Just-in-Time) compilation occurs. However, when the Ngen.exe runs in the background, it reduces the delay by precompiling IL (Intermediate Language) assemblies into native machine code.
So, if the ngen.exe is consuming high CPU usage, there is a high chance that this file becomes corrupted or outdated, which is why it is consuming a lot of CPU resources. To fix this issue, you need to follow the methods one by one to get this issue resolved.
1. Ensure Ngen.exe (Native Images) are updated
Since Ngen.exe is a part of the .Net Framework, it is recommended to ensure that all the compilations of the native images are up to date. To do this, you will have to put a command that will let you update the compilation of the native images. This often helps fix the high CPU usage. To do so, follow the steps:
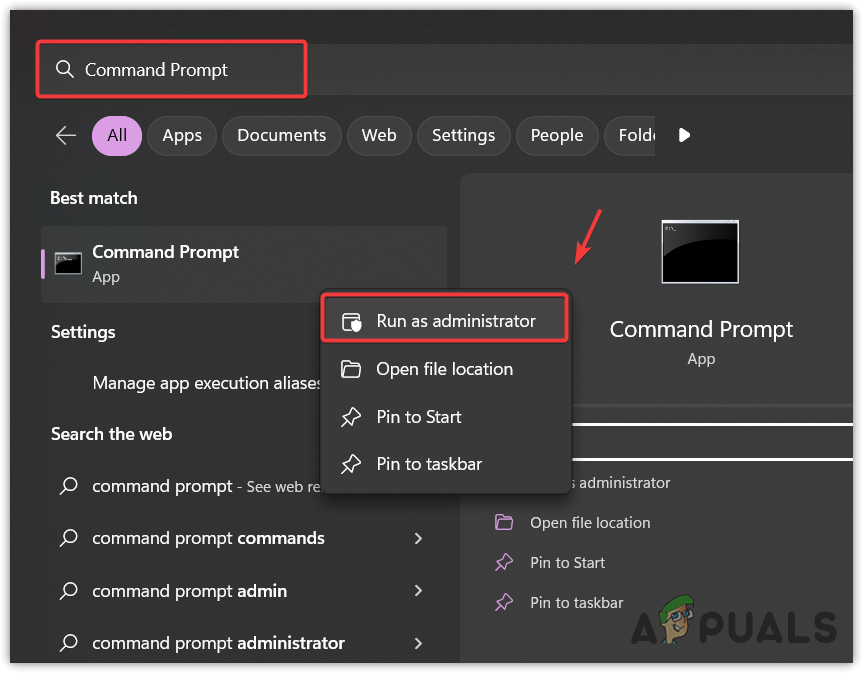
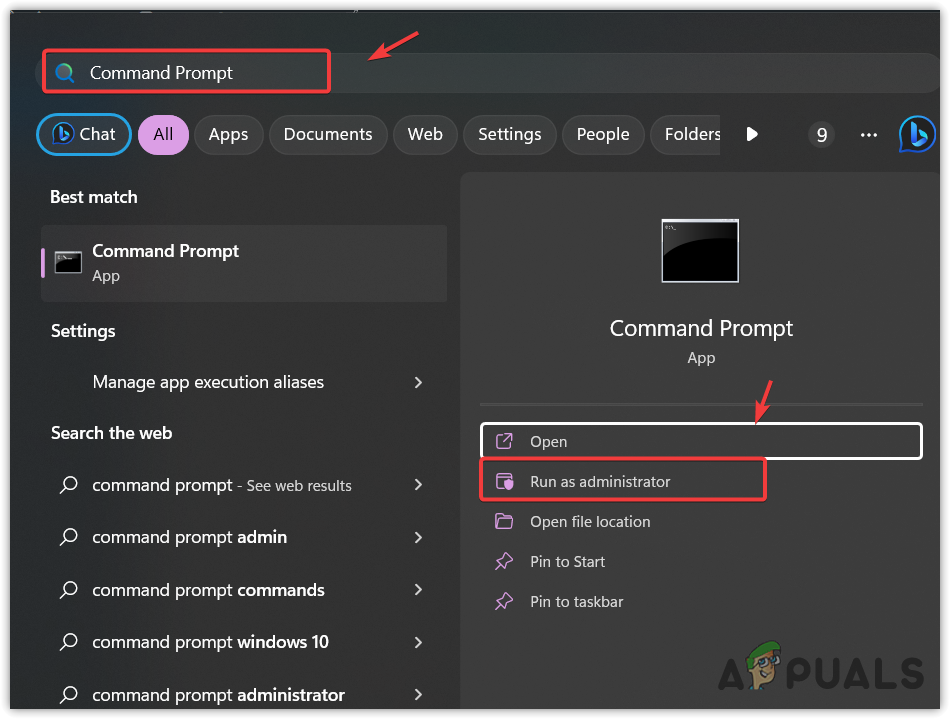
- Click the Start Menu and type Command Prompt.
- Right-click the Command Prompt and select Run as administrator.
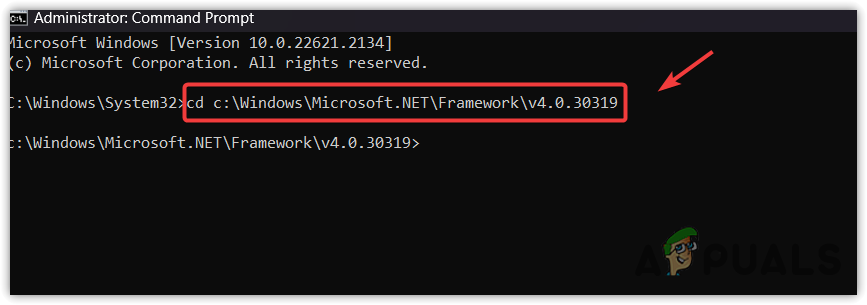
- Now, enter the following command according to your system type and hit Enter to execute.
For 32-bit: cd c:\Windows\Microsoft.NET\Framework\v4.0.30319
For 64-bit: cd c:\Windows\Microsoft.NET\Framework64\v4.0.30319
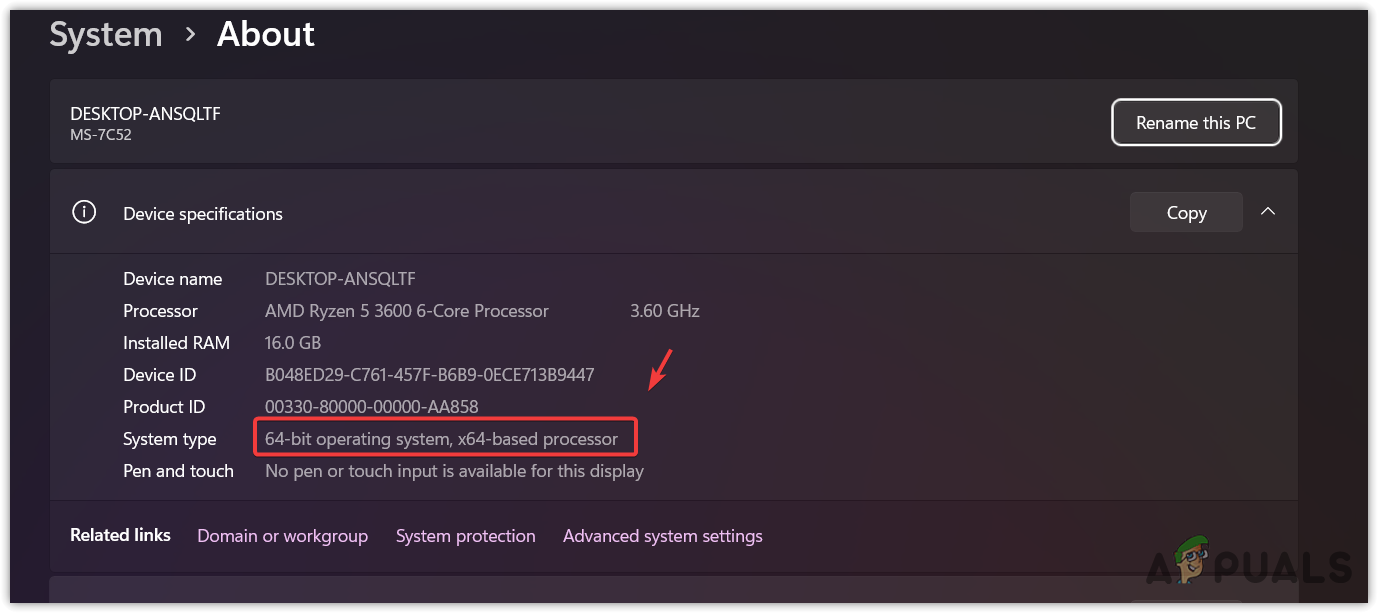
- To find out the system type, click the Start Menu and type About.
- Hit Enter to navigate into the About settings.
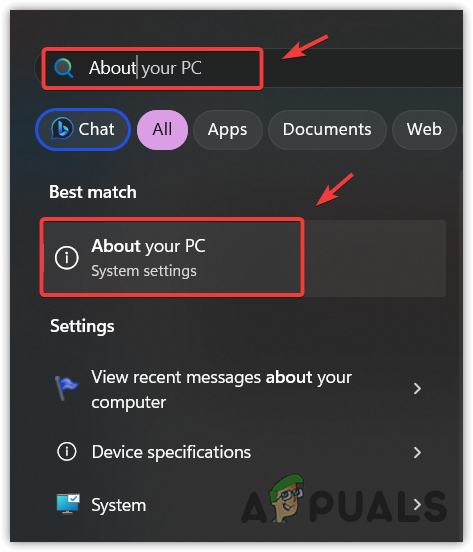
- Here, you will see all the system specs, including the system type.
- Once you find out the system type, go back to the command prompt and enter the command accordingly.
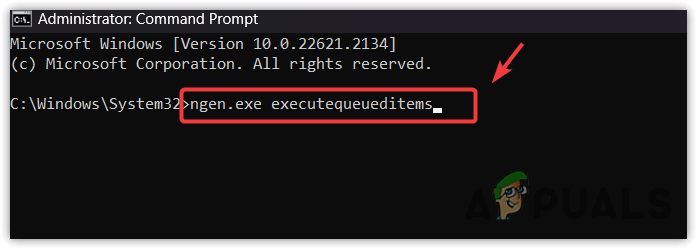
- Once you have navigated to the framework folder, type the following command.
ngen.exe executequeueditems
- Once done, open the task manager and check if the ngen.exe high CPU usage issue disappears or not.
2. Remove the Ngen text file
The Ngen text file contains the instructions that ngen.exe needs to proceed. One of the affected users has confirmed that removing the ngen text file resolved the high CPU usage issue. Therefore, in this step, we will try deleting the Ngen text file. Follow the instructions to remove the ngen text file.
- Open File Explorer by pressing the Win + E keys simultaneously.
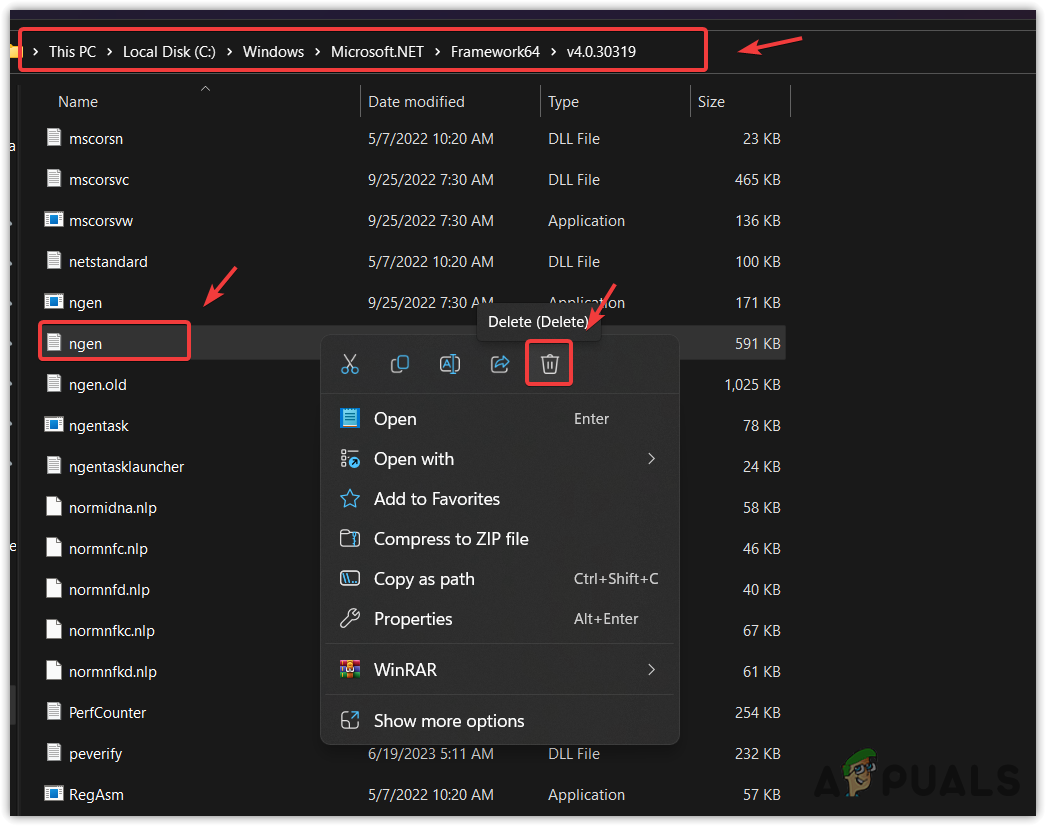
- Navigate to the following destination and find the ngen text file.
c:\Windows\Microsoft.NET\Framework64\v4.0.30319
- Make a backup of ngen text file, then right-click on it and delete it.
- Once done, check if the issue is resolved or not.
3. Force Update Ngen.exe
If the issue persists, you can try forcing the ngen.exe to update. Since outdated ngen.exe might cause irrelevant consumption of CPU resources, updating it might fix this issue. Follow the steps to do so:
- Open the Start Menu using the Win key.
- Type Command Prompt, right-click on it, and select Run as administrator.
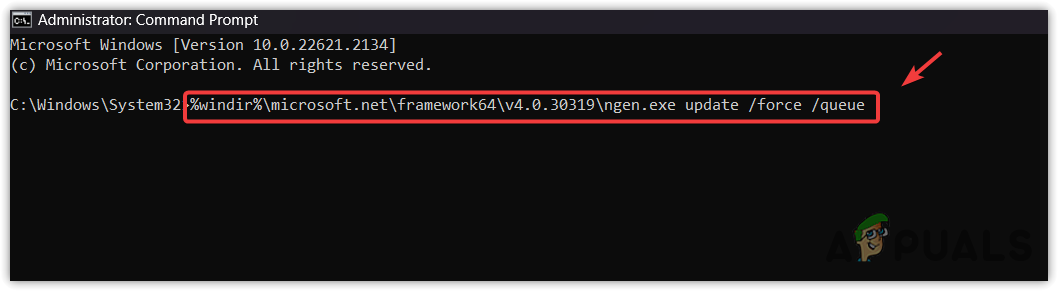
- Then, type the following command according to your Windows system type.
For 32-bit: %windir%\microsoft.net\framework\v4.0.30319\ngen.exe update /force /queue
For 64-bit: %windir%\microsoft.net\framework64\v4.0.30319\ngen.exe update /force /queue
- Once done, verify if this issue is resolved or not.
4. Run DISM and SFC Commands
DISM, short for Deployment Image Servicing and Management, is used to restore Windows images. Meanwhile, the SFC, short for System File Checker, is used to repair the protected system files from the cached folder. Both command line utilities are intended to restore the system files, especially the executable and DLL files. Therefore, in this method, we will try running these command line utilities to restore the ngen.exe file.
- Press the Win key and type Command Prompt.
- Right-click the command prompt and select Run as administrator.
- Now, enter the following commands and hit Enter to execute them. This can take up to several minutes.
DISM /Online /Cleanup-Image /RestoreHealth
sfc /scannow
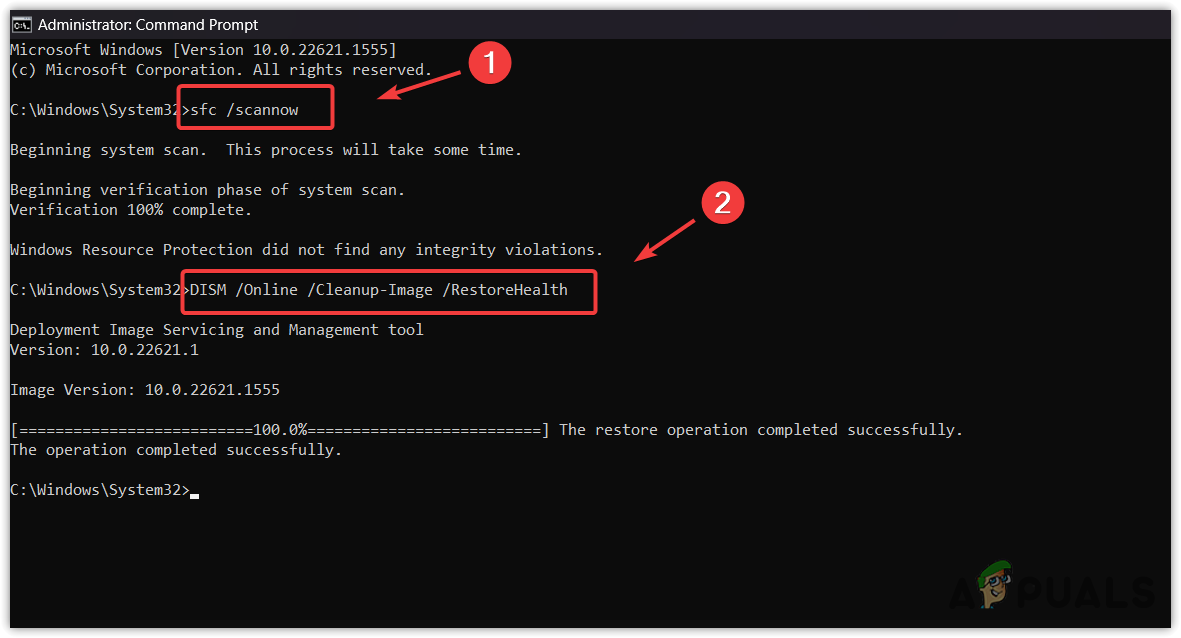
- Once the verification is completed, close the command prompt and see if the ngen.exe is causing high CPU usage.
5. Disable the Automatic Updates
Although this solution is weird, it actually worked for one of the affected users. Disabling the automatic Windows update will prevent the upcoming updates from installing automatically. Only follow this method if you can afford to disable the updates. To do so, follow the steps:
- Open the Run Program by pressing the Win + R keys simultaneously.
- Type gpedit.msc in the input box and click OK to navigate into the Group Policy Editor.

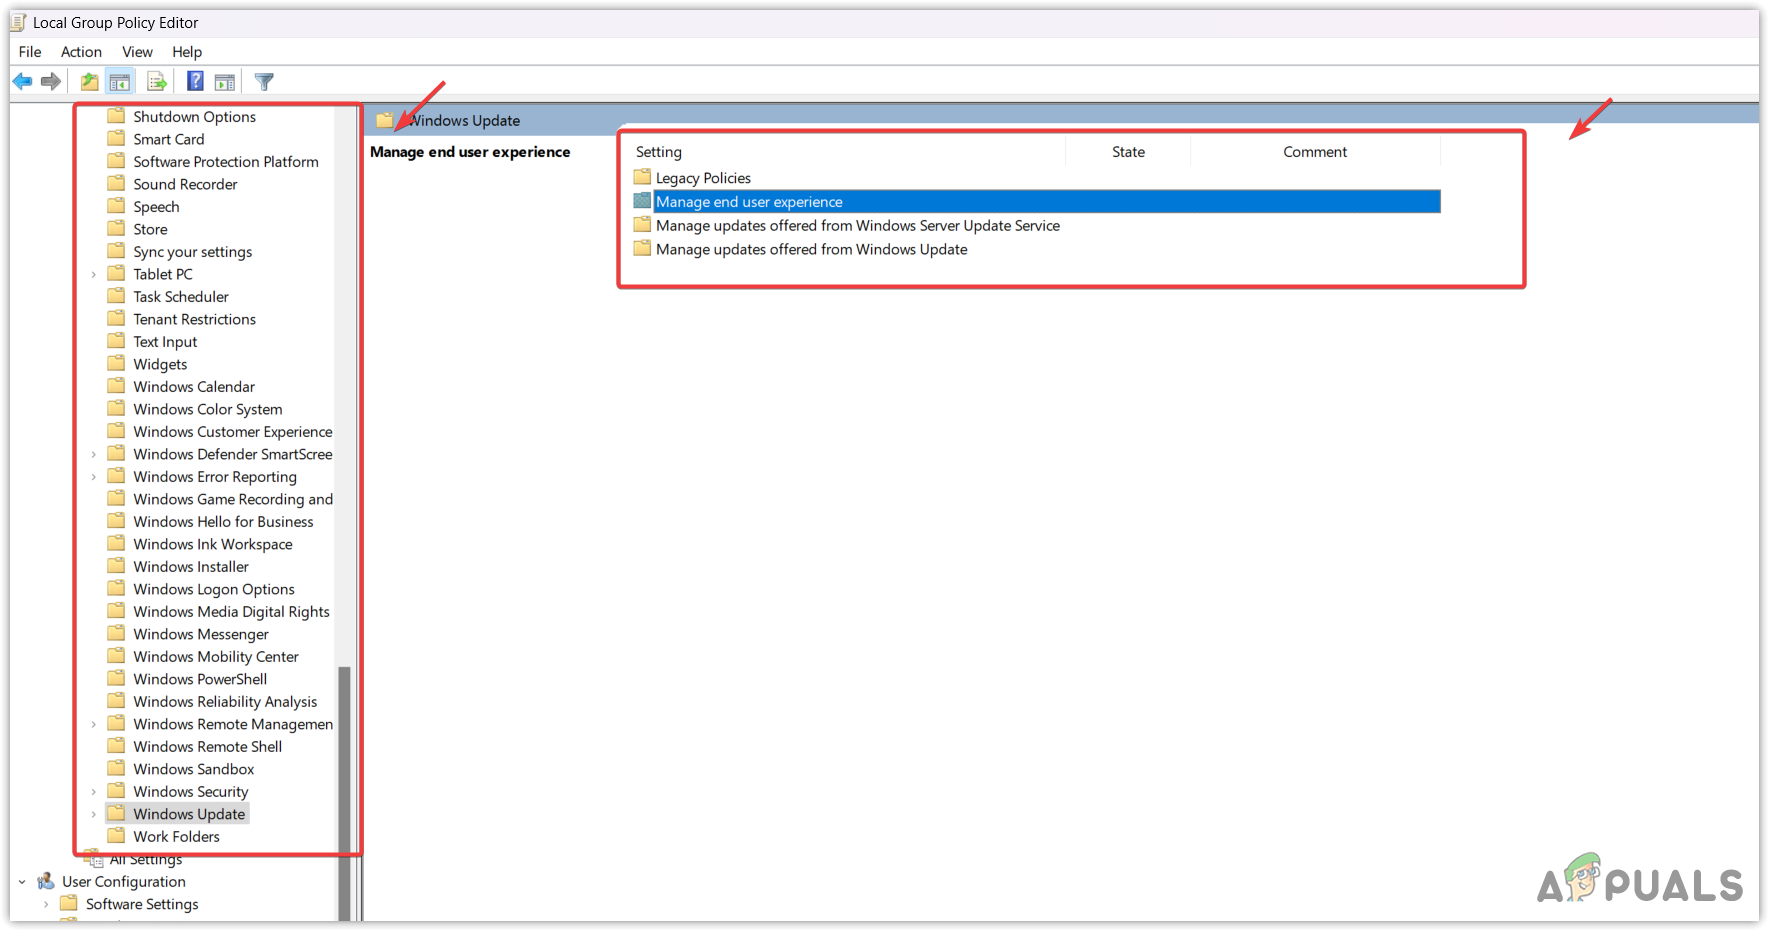
- In the Group Policy Editor, go to Computer Configuration > Administrative Templates > Windows Components > Windows Update.
- Double-click the Manage end user experience to view more options.
- Here, double-click Configure Automatic Updates and select Disabled.
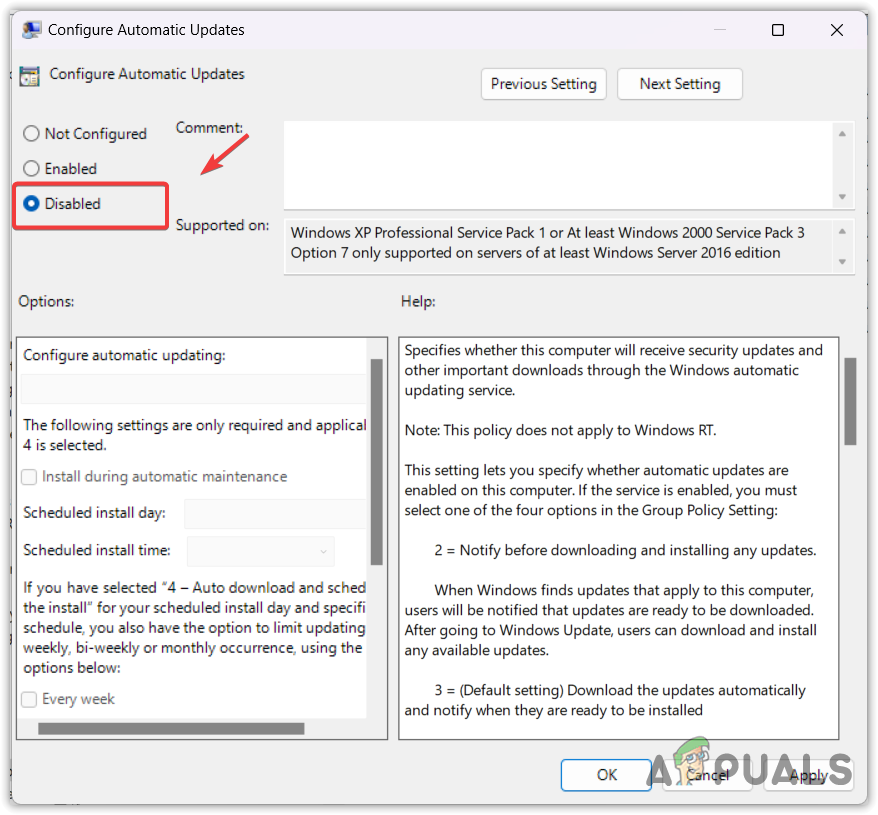
- Once done, click Apply and click OK.
6. Disable .NET Framework tasks from Task Scheduler
You can also disable the .net framework from the task scheduler, which should prevent the ngen.exe from consuming an accessive amount of CPU resources. A task scheduler works like a job scheduler that is used to launch programs or scripts at a predefined time or after specified time intervals.
However, disabling the .NET Framework might cause applications to not work. Therefore, either ensure that you don’t have any .Net Framework application or ignore this method and proceed to other troubleshooting options.
To do so, follow the steps:
- Click the Start Menu and type Task Scheduler.
- Hit Enter to navigate into the task scheduler.

- Use the left menu and navigate to Task Scheduler Library > Microsoft > Windows > .Net Framework.
- Right-click the .Net Framework task and select Dsiable. Repeat this step for all .Net Framework tasks.

- Once done, restart your computer for the changes to take effect.
- Once done, check if this works or not.
7. Ensure ngen.exe is legitimate
If the ngen.exe is still causing high CPU, it is essential to ensure that your Windows is not infected by the malware or virus. When an executable file causes high CPU usage, it often indicates that the process could be malicious. To ensure this, you need to navigate to the directory where the ngen is located by right-clicking on the ngen process from the task manager. Then, open the details tab by accessing the properties of ngen.
Now, here if you see @Microsoft Corporation. All rights reserved; it means the file is legitimate. However, it is still recommended to scan your system with the Windows Defender or any third-party antivirus utility to ensure that the ngen.exe is not affected by the malware. Follow the steps to do so:
- Press the Win key and type Windows Security.
- Hit Enter to navigate into security settings.

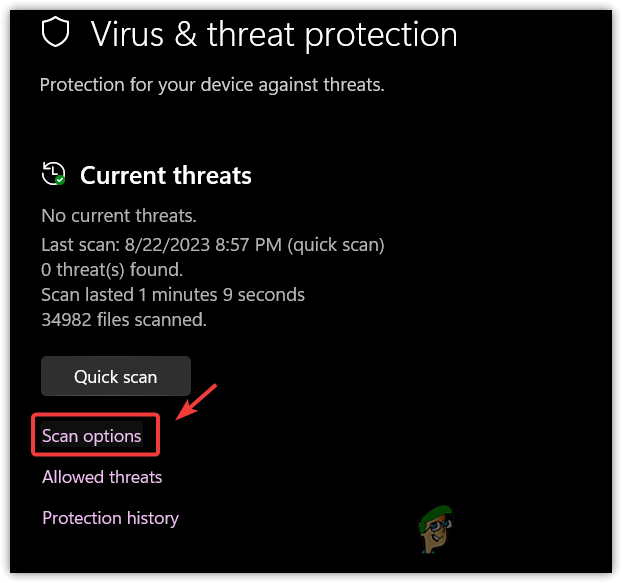
- Navigate to Virus & threat protection.
- Click Scan options to view more scanning options.
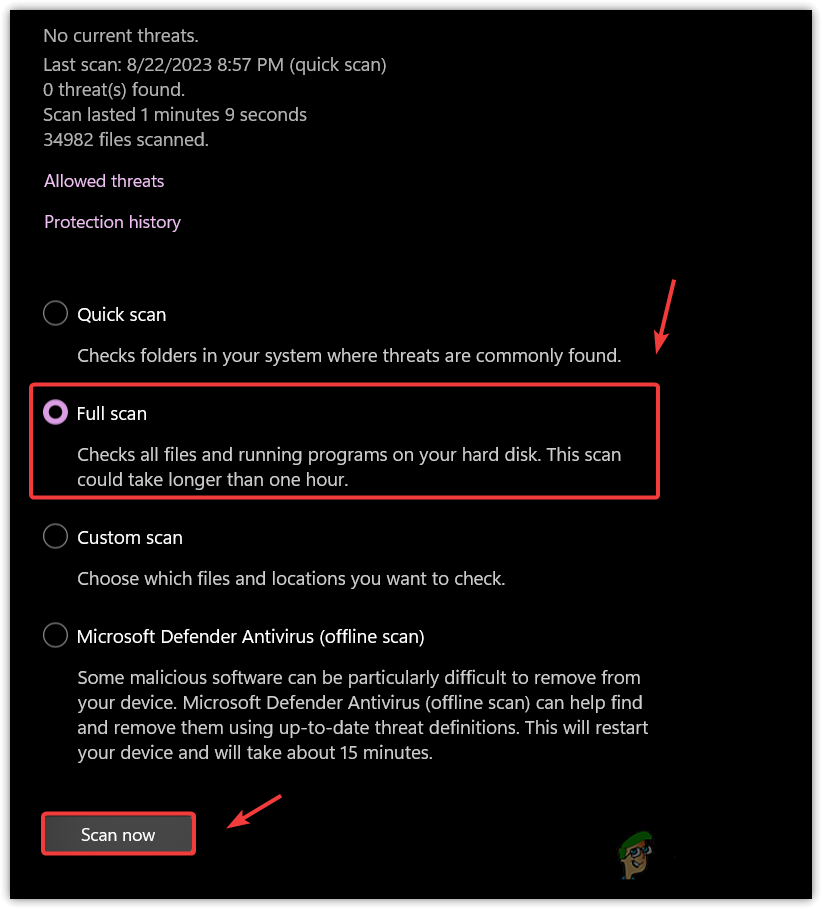
 Select Full Scan and click the Scan Now option.
- Wait for the scanning to be completed.
- Then, see if the issue is fixed or not.
You should not ignore this issue if it still persists, as it consumes a lot of CPU consumption, which cannot be ignored. Since you have come this far, consider using a system restore utility or try resetting or reinstalling Windows. That’s it.
Ngen.exe High CPU usage- FAQs
The ngen.exe often consumes high CPU resources due to outdated native images or a corrupted ngen.exe file. Since you are facing this issue, ensure you have updated ngen.exe or try running the SFC and DSIM commands to repair the ngen.exe file.
Reviewed by Muhammad Zubyan


