Microphone Is Not Working on Windows 11? Here’s How to Fix It
We’ve been discovering a lot of reports from users upgrading over to Windows 11 only to discover that their built-in or external microphone no longer works. There’s no error message accompanying this error – the microphone appears to be active, but it’s not actually recording any audio.
We’ve investigated this issue thoroughly and we’ve discovered that there are several underlying issues that might produce this error code on Windows 11 systems. Here’s a list of scenarios that might render the Microphone capabilities on Windows 11 unusable:
- Generic recording issue – Keep in mind that there are certain predispositions that might cause this issue immediately after the upgrading process to Windows 11. If you’re looking to save time, the best course of action would be to start this troubleshooting guide by running the recording audio troubleshooter and applying the recommended fix.
- Access to the Microphone is Disallowed – Just like it was with Windows 10, Windows 11 is very thorough with the apps that are allowed to use your camera and microphone. If you’re only experiencing this issue while using certain apps, you should take a trip to your MIcrophone Privacy Settings and check if the app is allowed to use your microphone or not.
- Incorrect Microphone is set as the Default – One scenario that might confuse you into believing that your microphone is not working is a scenario in which you have the wrong microphone set up as the default choice. This usually happens with laptops, ultrabooks, and notebooks. In this case, you can access the Sound settings inside your Control Panel settings and ensure that the correct recording device is set as the default choice.
- Outdated Microphone drivers – Keep in mind that the upgrading on Windows 11 is notoriously bad when it comes to installing compatible audio drivers once the installation is complete. Oftentimes, it will install a generic partially incompatible equivalent. If this is the source of the issue, you should use Device Manager to ensure that you’re using the latest compatible driver for your recording device on Windows 11.
- Bad Group Policy migration – Another reason why you might expect to face this issue after upgrading to Windows 11 is a scenario in which your local fleet of group policies has only been partially migrated. In this case, you should be able to resolve the issue by forcing your fleet of local group policies to update from an elevated CMD prompt.
- System file corruption – Under certain circumstances, your PC’s inability to facilitate any audio recording might also be related to a case of system file corruption. If this scenario is applicable, you should start by performing SFC and DISM scans in quick succession before eventually working your way to a repair install (in-place upgrade) or repair install procedure if the issue still persists.
Now that we went over every potential culprit that might be responsible for this issue, let’s go over every confirmed fix that other affected users have successfully used to resolve this problem on Windows 11:
Run the Recording Audio Troubleshooter
The ideal way to start this troubleshooting guide is to run an automated utility that is capable of diagnosing automatically fixing (in some cases) the underlying cause of the system’s inability to use the microphone.
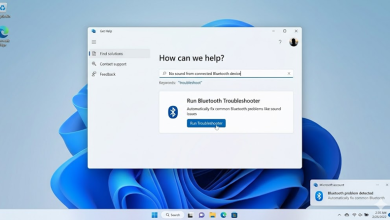
Microsoft has convenably included an automated troubleshooter specifically for microphone issues on Windows 11. It’s called the Recording Audio Troubleshooter and it contains a selection of automated repair strategies that your OS will be able to apply automatically in case a recognizable scenario is identified.
Note: This method is not guaranteed to fix your microphone issues, but it’s a great place to start if you’re troubleshooting and hoping for the easiest resolution.
Follow the instructions below to run the Recording Audio Troubleshooter on your Windows 11 computer and see if this allows you to resolve the issue:
- Press Windows key + R to open up a Run dialog box. Next, type ‘ms-settings:troubleshoot‘ inside the text box, then press Enter to open up the Troubleshooting tab.
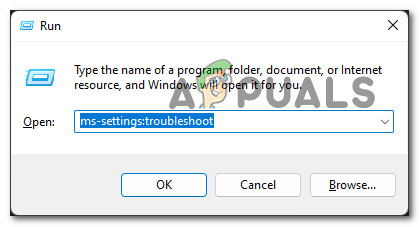
Opening up the Troubleshooting tab Note: If you’re prompted by the User Account Control, click Yes to grant admin access.
- Once you’re inside the Troubleshoot window, move over to the right-hand section and click on Other Troubleshooters.
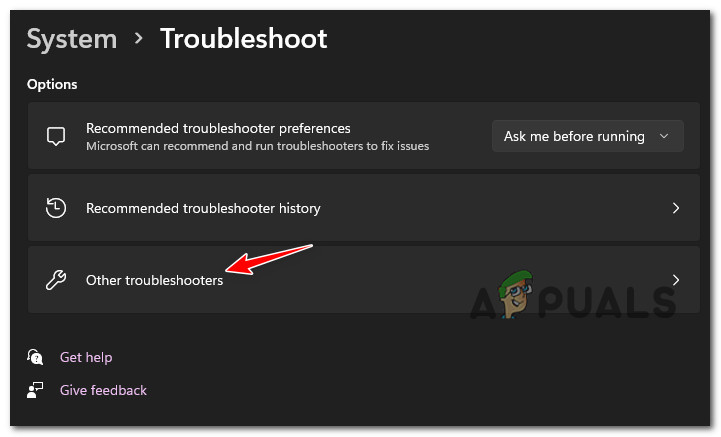
Open the Other Troubleshooters tab - Next, once you see the list of troubleshooters, scroll all the way down to the bottom of the screen and click on the Run button associated with Recording Audio.
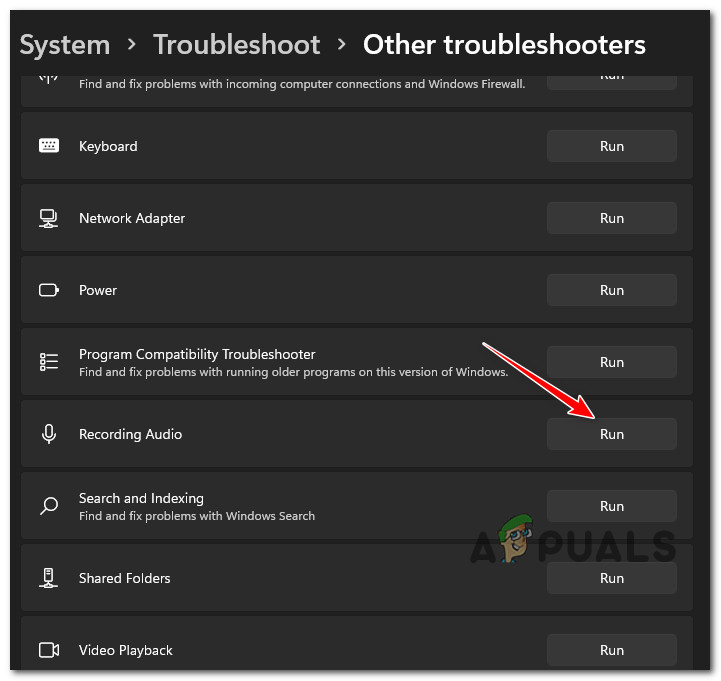
Opening the Recording Audio Troubleshooter - Once you open the Recording Audio Troubleshooter, wait until the initial scan is complete.
- Next, when asked which device you want to troubleshoot, make sure to select the microphone that you’re actually using (Current Default Device) and not one that is currently inactive before hitting the Next button.
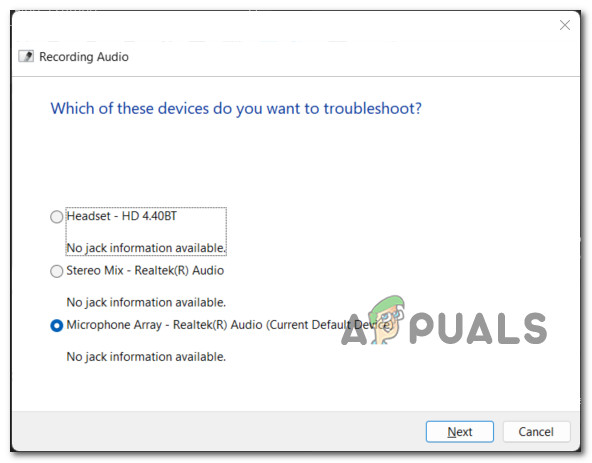
Choosing the microphone that is actually in use - If a viable fix is identified, click on Apply this fix from the prompt that just appeared, then wait until the automated fix is applied.
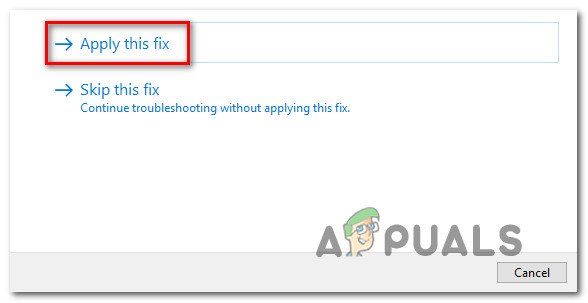
Applying the recommended fix - Reboot your PC and check if the issue is now fixed.
If this method did not fix the issue or no applicable fix has been recommended, move down to the next method below.
Allow Access to Microphone
If the Recording Audio Troubleshooter above did not make a difference in your case, the next thing you should investigate is a permission issue caused by Windows’s strict privacy rules around the camera and microphone usage.
In case you’re only experiencing this issue selectively (with certain apps), you’re most likely dealing with a privacy issue that can be rectified easily from the Privacy & Security tab.
You will need to ensure that the Microphone access is allowed across this PC, then check the allowed apps individually and ensure that the app you’re having issues with is allowed to use the microphone.
For step by step instructions on how to do this, follow the instructions below:
- Press Windows key + R to open up a Run dialog box. Next, type ‘ms-settings:privacy-microphone’ inside the text box, then press Enter to open up the Microphone tab from the Privacy & Security settings menu on Windows 11.
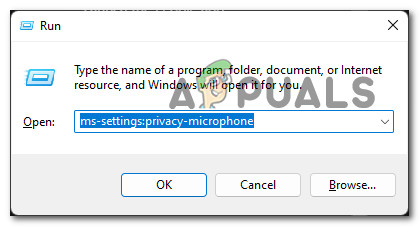
Accessing the Microphone privacy tab - If you’re prompted by the User Account Control, click Yes to grant admin access.
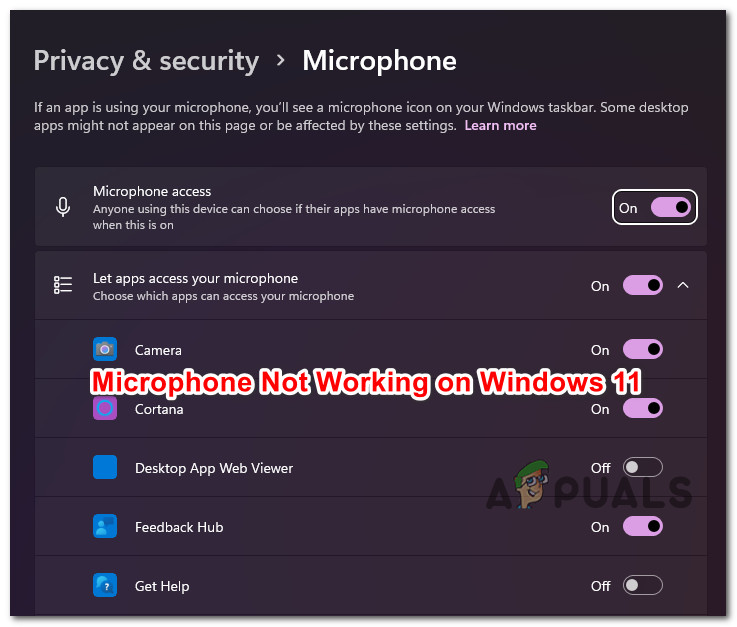
- Once you’re inside the correct window, move over to the right-hand side and make sure that the toggle associated with Microphone access is Enabled.
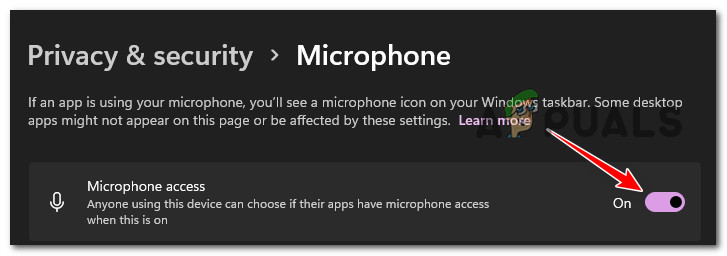
Enable the Microphone access - After you’ve ensured that the toggle associated with Microhpne access is Enabled, move below (under Let apps access your microphone) and make sure the main toggle, as well as the individual toggle of the app you’re experiencing microphone issues with, are both enabled.
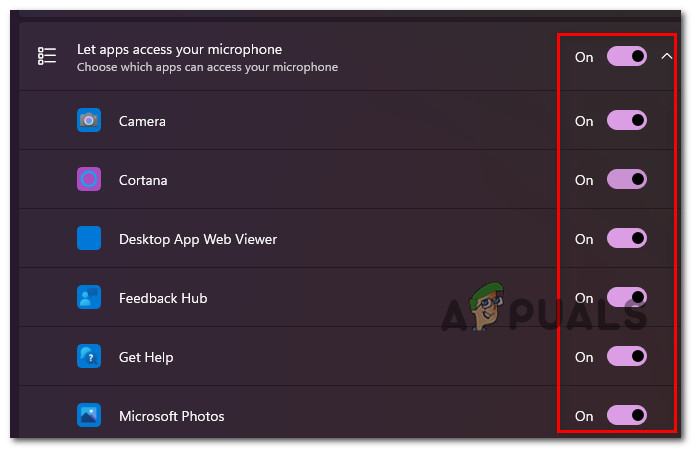
Enable the Microphone at an app-level - Once you’ve enforced the modifications above, reboot your computer and see if the microphone issue is resolved once the next startup is complete.
In case you already had the required privacy permissions for your microphone and this method was not effective in your case, start following the next one below.
Ensure that the Recording Device is Enabled
Now that we’ve ruled out a privacy issue from our potential culprit list, the next thing you should do is check whether your microphone device is actually active and see if it’s not disabled at a system level.
There are actually two different locations that you should look into:
- Device Manager – It’s possible that the recording hardware is disabled (this change might be enforced by certain AV suites if you’re deploying aggressive anti-spying measures.
- Sound Settings – Your microphone can also be disabled at a system level (you can check if this is the case by accessing the Sound menu from the classic control panel interface)
Follow the instructions below for a step-by-step guide that will allow you to make sure that your microphone is not actually disabled at a hardware or software level:
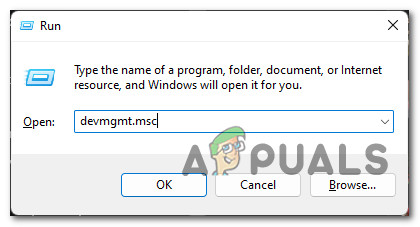
- Press Windows key + R to open up a Run dialog box. Next, type ‘devmgmt.msc’ inside the text box and press Enter to open up Device Manager.
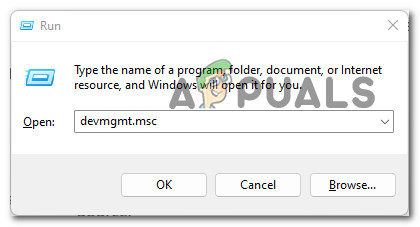
Open up Device Manager - When you’re prompted by the User Account Control, click Yes to grant admin access.
- Once you’re inside Device Manager, expand the drop-down menu associated with Audio inputs and outputs.
- Next, right-click on the entry associated with your microphone and choose Enable Device if it’s currently disabled.
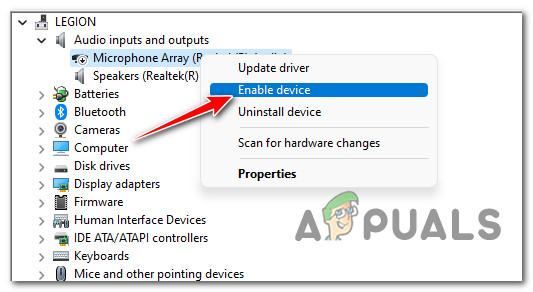
Enable the Microphone at a hardware level Note: If the microphone is already enabled, skip this step and move to the one below.
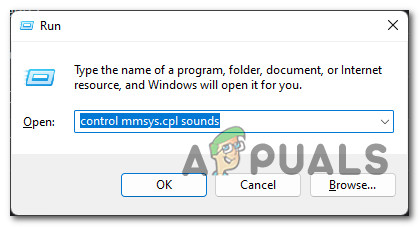
- Close Device Manager, then press Windows key + R to open up another Run command. This time around, type ‘control mmsys.cpl sounds’ and press Enter to open up the Sound tab of the classic Control Panel interface.
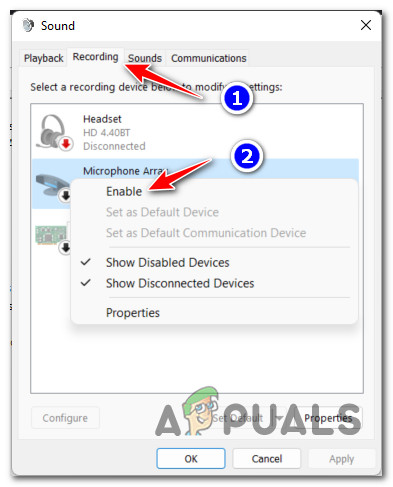
Open up the classic Sounds menu - Once you’re inside the Sounds window, use the ribbon bar at the top to click on Recording.
- Next, look at the microphone device that is currently active and see if it has the down-pointing arrow icon. If it has, right-click on the device and choose Enable from the context menu that just appeared.
Enable the microphone - Once you’ve made these modifications, reboot your PC and see if the issue is fixed once the next startup is complete.
In case you’re still unable to use your Microphone on your Windows 11 computer, move down to the next potential fix below.
Set the correct microphone as the default (if applicable)
Keep in mind that in case you’re a laptop, ultrabook, or notebook, your PC should have a built-in microphone. This is not a problem unless you end up connecting an external microphone.
If you currently have two microphones that might theoretically be active at any given time, you need to check which microphone is currently set as the default. It’s possible that the reason why you’re not getting any recorder audio from your microphone, you should see which microphone is currently set as the default.
In case you discover that a different microphone (than the one you’re actively using) is set as the default, you can rectify this issue by using the Sound menu to set the correct microphone.
Follow the instructions below to see if this method is applicable:
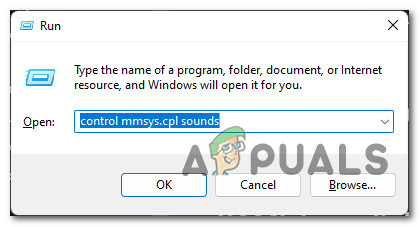
- Press Windows key + R to open up a Run dialog box. Inside the newly appeared text box, type ‘control mmsys.cpl sounds‘ and press Enter to open up the Sound menu.
Opening up the Sounds menu Note: If you’re prompted by the User Account Control, click Yes to grant admin access.
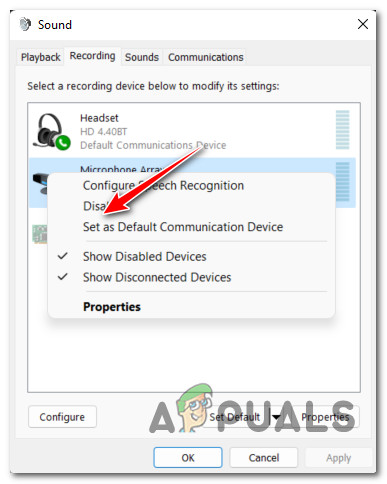
- Once you’re inside the Sound menu, click on the Recording tab from the menu at the top.
- Inside the Recording tab, check which device is set as the default by checking which of the entries has the green checkbox icon.
- If you notice that a different microphone is set as the default and not the one that you’re trying to use, right-click on your preferred microphone and choose Set as the Default Communication Device.
Set as the Default Communication Device - Once the modification has been operated, click on Apply to enforce the change, attempt to use your microphone once again, and see if the problem is now fixed.
In case you’re still not able to use your microphone, move down to the next method below.
Update Microphone Drivers
It’s not uncommon to deal with this issue if you’ve just finished the upgrading process to Windows 11 and your operating system has not yet updated the recording driver.
Keep in mind that while most Windows 10 recording drivers are compatible with Windows 11, some aren’t.
If you find yourself in a scenario where you’re stuck with an outdated recording driver that’s partially incompatible, you should be able to fix the issue by using Device Manager to install the latest compatible driver version.
Follow the instructions below for step-by-step instructions on how to do this:
- Press Windows key + R to open up a Run dialog box. Next, type ‘devmgmt.msc’ and press Enter to open up Device Manager.
Open Device Manager - If you’re prompted by the User Account Control, click Yes to grant admin access.
- Once you’re inside Device Manager, expand the Audio inputs and outputs drop-down menu.
- Next, right-click on the microphone device that you’re actively using and choose Properties from the context menu.
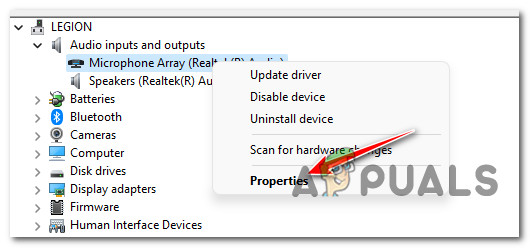
Accessing the Properties screen - Once you’re inside the Properties screen, click on the Driver tab from the horizontal menu at the top, then click on the Update Driver button.

Update the current microphone driver - At the next screen, click on Search automatically for drivers from the two available options.
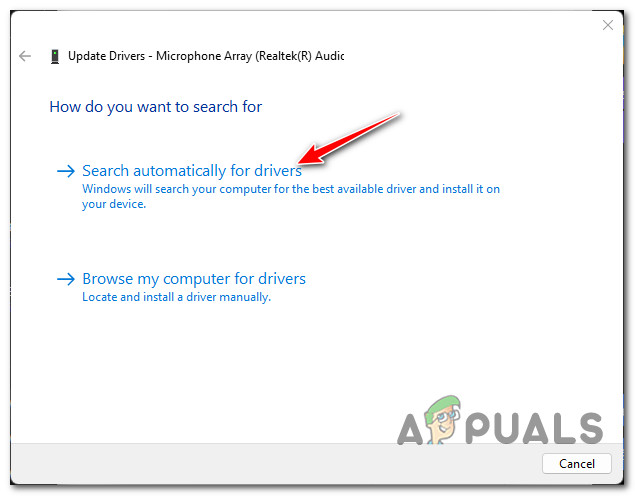
Search automatically for new drivers - Wait until the scan is complete and see if a new driver is recommended. If a new driver is recommended, follow the on-screen prompts to install it. On the other hand, if a new driver version is not found, click on Search for updated drivers on Windows Update to see if the WU component is capable of identifying a new version.
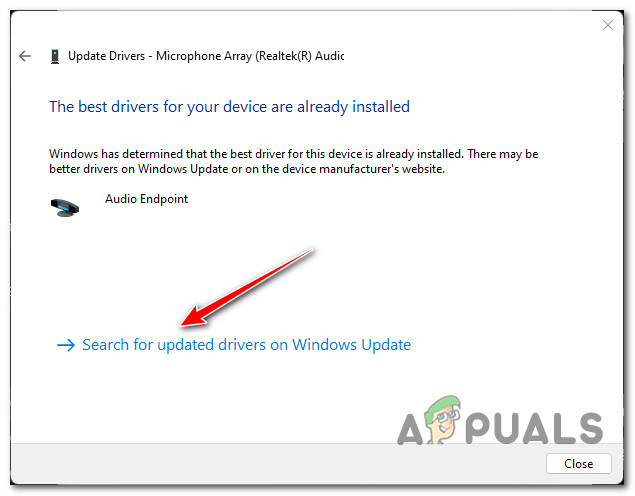
Search for updated drivers version using Windows Update - If a new version of the driver is identified, follow the on-screen instructions to install it on your PC.
- Once the new driver version is installed, reboot your PC and see if the microphone issue is resolved.
In case the same problem is still ongoing or neither of the utilities above has managed to find a new version, move down to the next method below.
Update the Group Policy (if applicable)
In case you’ve started dealing with this issue immediately after you completed the upgrade to Windows 11 from an older Windows version that was part of a local network with custom group policies, chances are this might impact your ability to utilize external peripherals like a microphone.
In case this scenario is applicable, you should be able to fix the issue by forcing an update to the entire fleet of local group policies – this can be done from an elevated Command Prompt.
Follow the instructions below for instructions on updating the group policy from an elevated Command Prompt:
- Press Windows key + R to open up a Run dialog box. Next, type ‘cmd’ and press Ctrl + Shift + Enter to open up an elevated Command Prompt.
Open up a Command Prompt window - At the User Account Control, hit Yes to grant admin access.
- Once you’re inside an elevated Command prompt window, type the following command and press Enter to reset every relevant group policy using a CMD terminal:
gpupdate
- Once the command has been successfully processed, you can close the elevated command prompt and reboot your computer.
- After your PC boots back up, see if you are able to use your microphone as expected.
In case the issue persists, move down to the next potential fix below.
Run SFC and DISM scans
If you’ve come this far without a result, chances are you’re dealing with some kind of system file corruption that is somehow affecting your PC’s ability to utilize the default microphone.
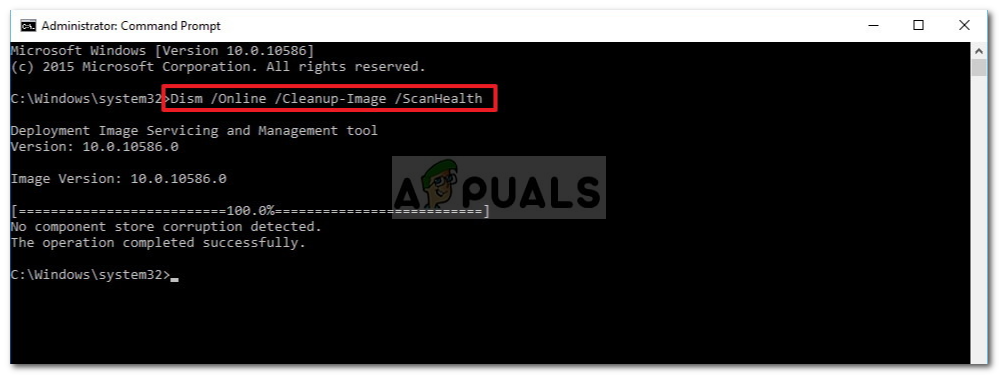
Several affected users that we’re also dealing with this problem have confirmed that the issue was finally fixed after they did a system-wide scan with SFC (System File Checker) and DISM (Deployment Image Servicing and Management) and replaced every corrupted system file with a healthy equivalent.
Our recommendation is to run both of these scans in quick succession to maximize your chances of success.
Start with an elevated System File Checker scan.

Note: You won’t need Internet access to deploy an SFC since this is an entirely local tool that will use a locally stored archive to replace file corruption with healthy equivalents.
Once the SFC scan is complete, reboot your PC and wait for Windows 11 to boot back up before deploying a DISM scan.
Note: This operation will require access to the Internet – instead of using a locally-cached archive to replace file corruption, DISM relies on a sub-component of Windows Update.
Once both of these scans are complete, do one final system restart and see if your microphone issues are not fixed.
In case the same issue is persisting, move to the final potential fix below.
Perform a repair install
If none of the solutions featured in this article have proven to be effective in your case, it’s clear that you’re dealing with some kind of system file corruption that you won’t be able to resolve conventionally.
If it comes to this point, you really have two ways forward:
- Repair install – This is the preferred approach if you have access to compatible Windows installation media. By performing a repair install (in-place repair) procedure, you will be able to replace every Windows file with a healthy equivalent without producing an effect on your personal files, applications, and games.
- Clean install – If you’re looking for a fresh start, this is the way to do it. But keep in mind that unless you back up your data in advance, you will lose any personal file that’s currently being stored on the same partition as your OS.