8 Solutions to Fix Laptop Can’t Detect Wi-Fi But Phone Can
 Reviewed by Huzaifa Haroon
Does it frustrate you when your Wi-Fi works flawlessly on your phone, yet your laptop seems blind to it? Given our reliance on wireless connectivity for work, social interactions, or leisure, this issue can be quite disruptive.
There is a myriad of reasons why this could happen. In this guide, we’ll uncover common causes that prevent laptops from detecting Wi-Fi networks, along with providing practical solutions to ensure a smooth, uninterrupted wireless experience for you.
1. Restarting Your Laptop
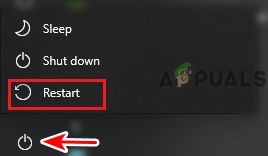
Such errors often result from software glitches, so the first logical thing to do is restart your laptop. Click on the “Windows” key on your laptop and then click on the “Power” icon and select “Restart.” Once your laptop restarts, the problem may be resolved right then and there.
2. Airplane Mode
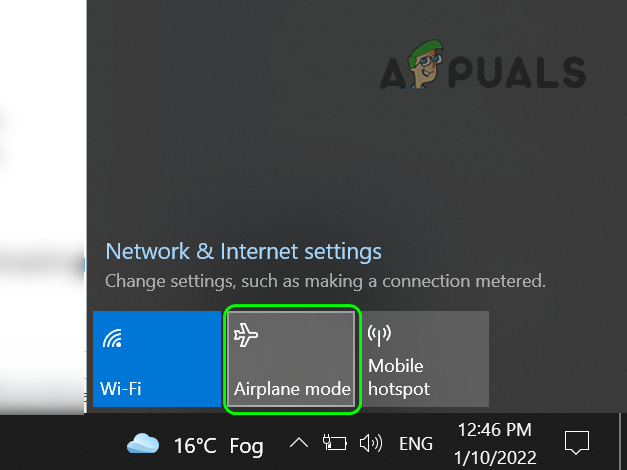
It is also possible that the Airplane mode of your laptop has been turned on. In that case no networks will be detected. To eliminate that as a possibility follow these brief steps:
- Click on the Wi-fi icon next to the volume icon on the taskbar.
- You might need to click on the caret (up arrow) first for the option to be visible.
- On the menu that pops-up, there will be an “Airplane Mode” option, make sure it is turned off.

If you can’t turn off Airplane mode for some reason on your laptop, refer to our comprehensive guide in order to find a fix for this error as it might very well be the culprit.
3. Wrong Date and Time
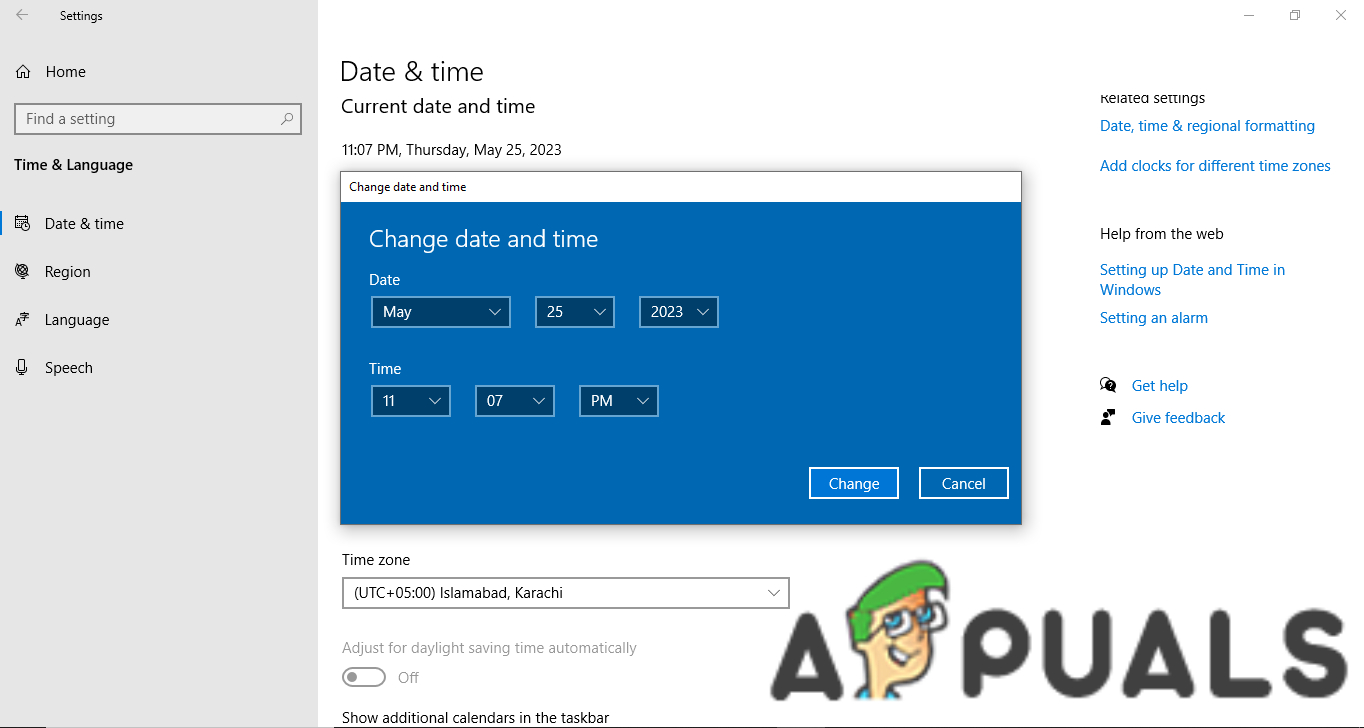
If your laptop has the wrong date or time, you won’t be able to establish an internet connection. Date and time can get messed up after a software update or upon re-installing Windows, so you need to fix it if it’s wrong. If your date and time are accurate, move to the next method. For everyone else:
- Go to Settings and search for “date“, click the option saying “Change date and time.”

Change date and time setting - On the new page that opens up make sure that correct “Time Zone” is selected.
- If the date is incorrect, make sure to toggle off the “Set time automatically” and click on “Change” and then set the correct date and time according to your region.
Change date and time option
4. Forget Network
If the Wi-Fi network is visible, but you still can’t connect to it, forget the network. Forgetting the network removes the stored connection details and requires you to reenter the password. This process can sometimes resolve issues by establishing a fresh connection between your device and the router.
While you can reset network settings entirely for a more thorough cleanup if you prefer, the forgetting process is much simpler:
- Click on the Wi-Fi icon and right-click on the specific network.
- Click on “Forget” and the network will be forgotten.
- Then click on the network again, enter its password and start using it.

If you don’t remember the password, kindly note it down first to avoid facing any issues while connecting to the network again. If needed, see our guide on what to do if Windows isn’t saving Wi-Fi passwords.
5. Weak Signal Strength
Another possible reason for your laptop not detecting Wi-Fi networks is that you are shielded from the signals. The antennae in your phone could be of better quality that it’s able to detect weaker signals where your laptop can’t. This means that you are in an area where the Wi-Fi signals are failing to reach you properly.
The first thing you should do is to confirm that it is the cause. Move your laptop closer to the router and check if the network gets detected.
If it does turn out to be the problem, here are a few fixes you can apply:
- Use Wi-Fi extenders with your router to increase the range of your router signals.
- Check out our guide to learn how to make DIY Wi-Fi range extenders, or better yet, use that phone of yours that’s getting all the signals as an extender!
- Upgrade your router antennas to a greater wavelength so more area gets covered.
- Try to position yourself in close proximity to the router with as few obstacles (such as walls) in between as possible.
6. Running the Troubleshooter
The next step you can take is to run the built-in internet troubleshooter. It will go through a series of tests to diagnose the issue and suggest a solution for it. Here’s how to run the internet troubleshooter:
- Open Settings and search for “Troubleshoot”, then select the option that says “Troubleshoot settings.”
- Here, click on “Additional troubleshooters“, and once it opens, click on “Internet Connection.”
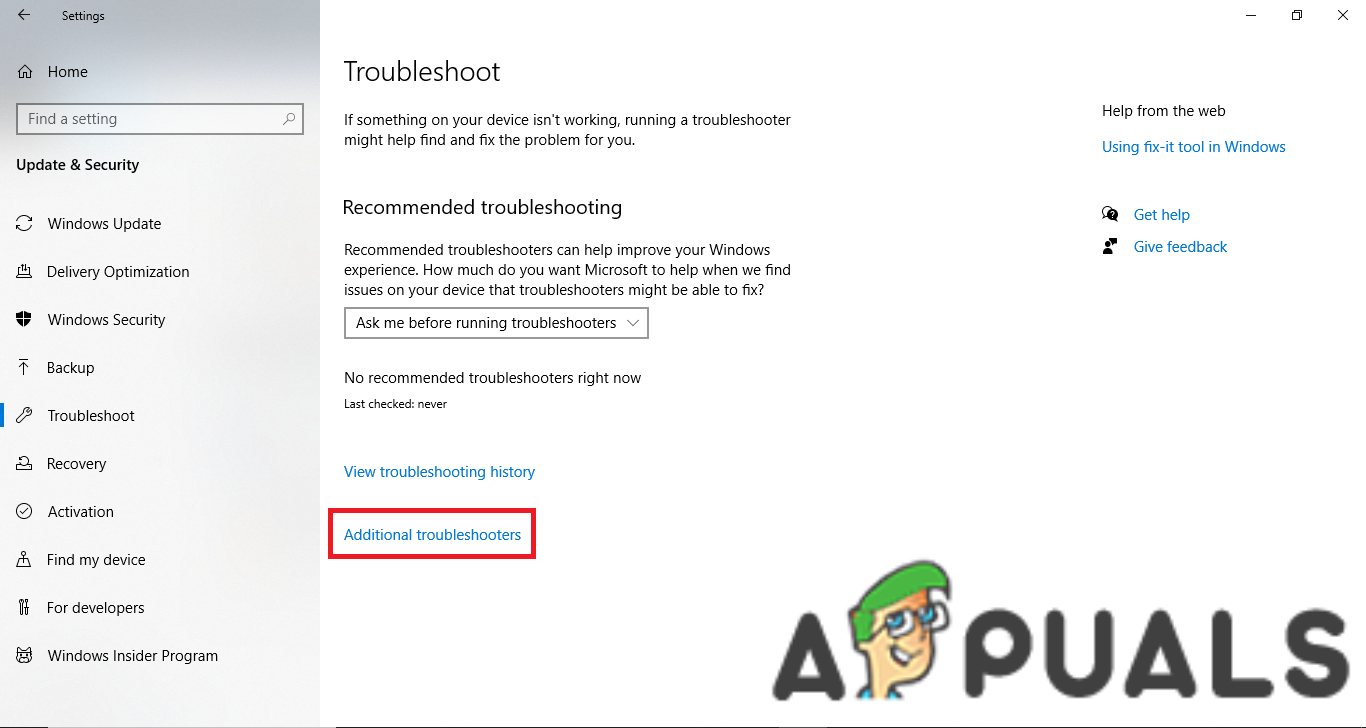
Additional troubleshooters in troubleshooter settings - Then select “Run the troubleshooter” and the process will commence.
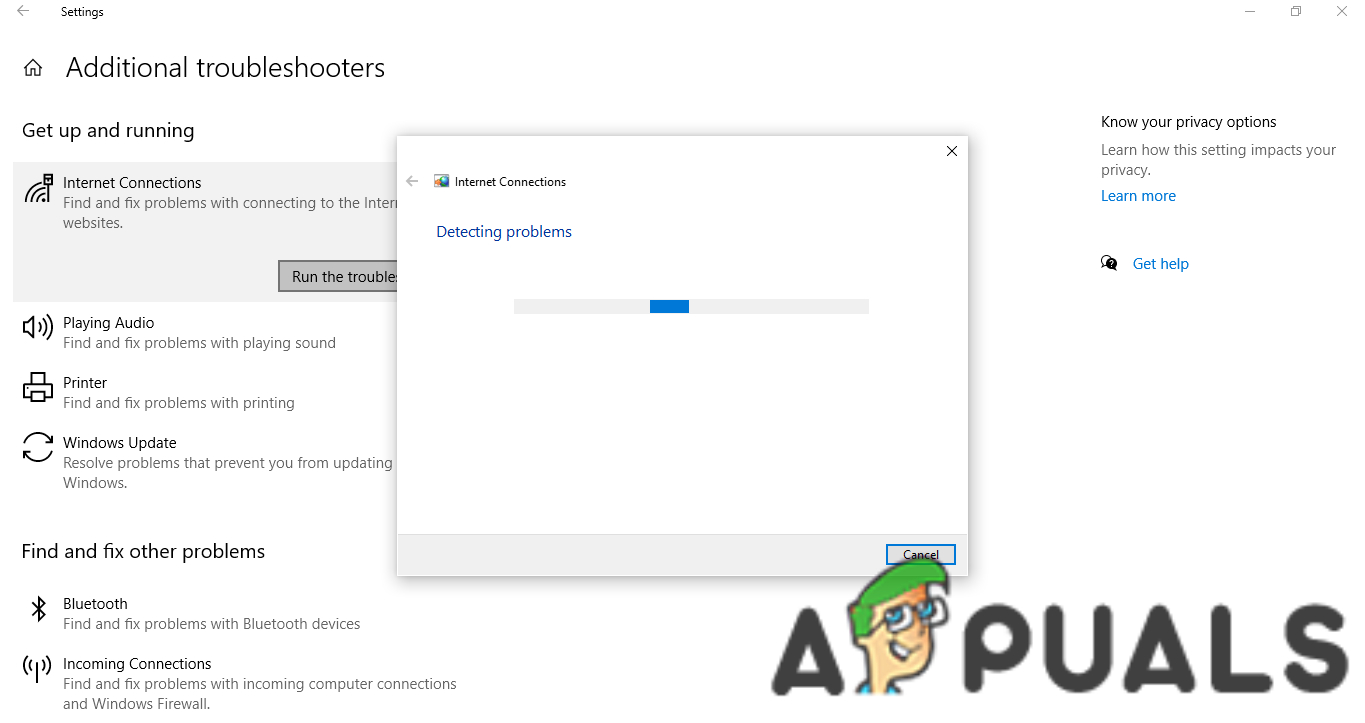
Internet troubleshoot in process - Once the troubleshoot ends, restart your laptop and check if it is detecting the network.
7. (Re-)Enable Network Discovery
A possible cause of no Wi-Fi network detection is that your laptop’s Network Discovery has been turned off. This can happen accidentally or after an update. You can check this or turn it back on by following these steps:
- Press the Windows key, search “Control Panel“, and open it.
- Click “Network and Internet” and then click “Change advanced sharing settings.”
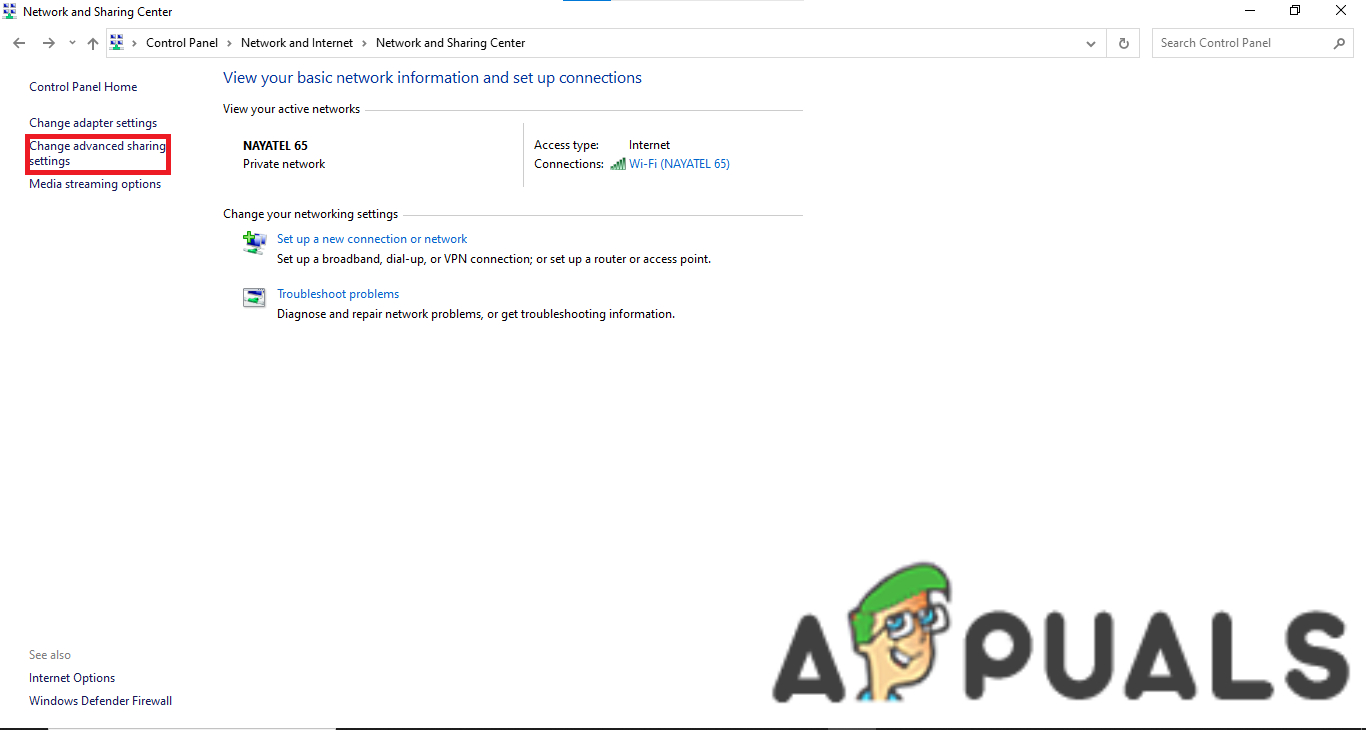
Change advanced sharing settings option - Make sure that “Turn on network discovery” is turned on.
8. Disable/Enable the NIC
The Network Interface Card (NIC) is a key hardware component in a computer that facilitates network connections. It is responsible for both wired and, in this case, wireless connectivity. Occasionally, resetting the NIC by disabling and re-enabling it can resolve network detection issues. Follow these steps:
- Press the Windows key, search “Control Panel“, and then open it.
- Click “Network and Internet” and then “Change adapter settings.“
- On the new page that opens, right click on Wi-Fi and select the “Disable” option.
- A moment later, right-click on it again and click the “Enable” option.

Enable option
Final Remarks
With luck, after applying these methods, you’re now experiencing seamless Wi-Fi on your laptop. If you’re still having issues, don’t fret—try using an Ethernet connection as a short-term workaround. For when your internet does come back around, be sure to check out our guide on how to improve internet speeds in Windows.
Reviewed by Huzaifa Haroon


