How to Fix Network Discovery not Working on Windows?
Network Discovery is a networking tool that enables you to set up the communication between devices on the same network. Using Network Discovery enables you to share files and printers easily. However, users have reported that they stumbled upon problems with Network Discovery randomly or after a major update.
What Causes Network Discovery to Stop Working on Windows 10?
There are several distinct causes of this problem. Each cause is tightly related to one of the methods you should use to resolve the problem so make sure you check out this list below:
- Important services are not running – Network Discovery depends on certain services to run so make sure you start them.
- SMB 1.0/CIFS File Sharing Support is not running – Even though the standard is outdated, users have reported that turning it on managed to resolve the problem.
- Network Discovery is turned on in Windows Defender Firewall – If the firewall is not allowing the connection, you will need to allow it through.
If Network Discovery is not working on Windows 10, it can be caused by various things reported by users. Some users have also proposed methods that can be used to resolve the problem and we decided to include them in our article. Make sure you check it out below and hopefully resolve the problem.
Solution 1: Make Sure Certain Services Start Automatically
Network Discovery is dependent on several services in order to run properly. A recent Windows Update or a change in your computer’s setup may have changed something about the startup of these services. Make sure you set them to run automatically and the problem should be resolved.
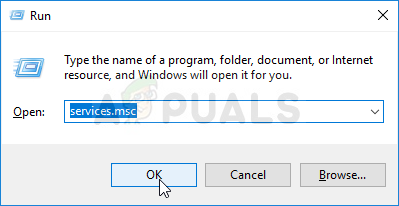
- Open the Run utility by using the Windows Key + R key combination on your keyboard (press these keys at the same time. Type “services.msc” in the newly opened box without the quotation marks and click OK in order to open the Services tool. The alternative way is to open the Control Panel by locating it in the Start menu. You can also search for it using the Start menu’s search button.
- After the Control Panel window opens, change the “View by” option at the top right part of the window to “Large Icons” and scroll down until you locate the Administrative Tools Click on it and locate the Services shortcut at the bottom. Click on it to open it as well.
- Locate the DNS Client, Function Discovery Resource Publication, SSDP Discovery, and UPnP Device Host services on the list, right-click on each one, and select Properties from the context menu which appears.
- If the service is started (you can check that just next to the Service status message), you should stop it for now by clicking the Stop button in the middle of the window. If it is stopped, leave it stopped until we proceed.
- Make sure that the option under the Startup type menu in the service’s properties window is set to Automatic before you proceed with other steps. Confirm any dialogue boxes which may appear when changing the startup type. Click on the Start button in the middle of the window before exiting. Make sure you repeat the same process for all services we mentioned.

You may receive the following error message when you click on Start:
"Windows could not start the service on Local Computer. Error 1079: The account specified for this service differs from the account specified for other services running in the same process."
If this happens, follow the instructions below to fix it.
- Follow steps 1-3 from the instructions above in order to open the service’s properties window. Navigate to the Log On tab and click on the Browse…

- Under the “Enter the object name to select” entry box, type in your account’s name, click on Check Names and wait for the name to become available.
- Click OK when you are finished and type in the password in the Password box when you are prompted with it if you have set up a password. It should now start without issues!
Solution 2: Turn on SMB 1.0/CIFS File Sharing Support
It seems that a recent Windows 10 update has disabled the SMB feature which is responsible for file sharing and it has definitely surprised users who started receiving this annoying error. Luckily, the problem can be fixed as easily as turning on SMB 1.0 in the Windows Features window. Follow the steps below in order to do so!
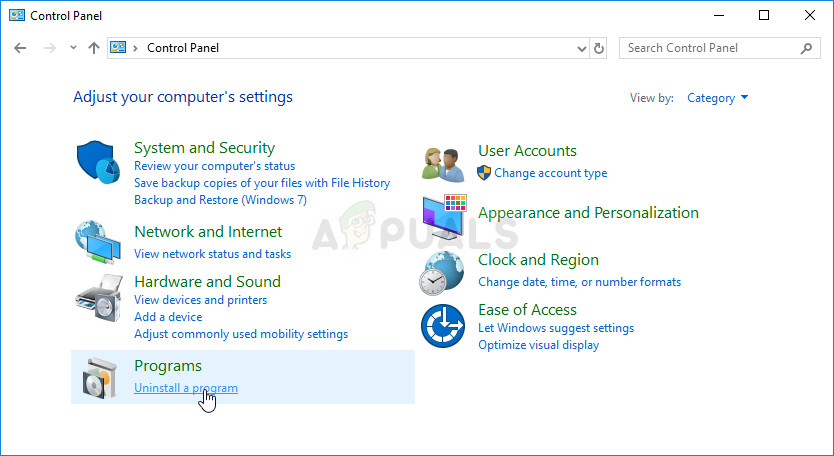
- Click the Start menu button and type in “Control Panel” when it opens. Click on the first result in order to open the Control Panel. You can also click Windows Key + R keys at the same time and type in “control.exe” in the Run dialog box.
- Make sure you change the view in Control Panel to View by: Category and click on Uninstall a program under the Programs
- In this window, locate the Turn Windows features on or off option at the left pane, click on it, and scroll down until you locate the SMB 1.0/CIFS File Sharing Support
- If the checkbox next to SMB 1.0/CIFS File Sharing Support is not enabled, enable it by clicking the box. Click OK to close the Windows Features window and reboot the computer.

- Check to see if the problem is gone when checking out Network Discovery!
Solution 3: Enable Network Discovery through Command Prompt
If you are actively using Windows Defender Firewall, you will need to include Network Discovery in order to allow it through. Windows Firewall settings may have been reset during an update or you might have just started using it. Anyway, the problem can be resolved via a simple command in Command Prompt:
- Search for “Command Prompt” by typing it right in the Start menu or by pressing the search button right next to it. Right-click the first entry which will pop up as a search result and select the “Run as administrator” option from the context menu.
- Additionally, you can also use the Windows Logo Key + R key combination in order to bring up the Run dialog box. Type in “cmd” in the dialog box which appears and use the Ctrl + Shift + Enter key combination for administrative Command Prompt.

- Type in the following commands in the window and make sure you press Enter after typing out each one. Wait for the “Operation completed successfully” message or something similar to know that the method worked.
netsh advfirewall firewall set rule group="Network Discovery" new enable=Yes
- Try to reset the connection and check to see if the error still appears!
If it still does, execute the following command:
REG add “HKLM\SYSTEM\CurrentControlSet\services\dnscache” /v Start /t REG_DWORD /d 2 /f
Solution 4: Perform a Network Reset
There is a Network Reset option in the Network & Internet section in Windows 10 Settings which was useful to plenty of people trying to resolve the problem. It will basically reinstall all network-related drivers and reboot your system. However, the problem should be resolved afterward!
- Use the Windows Key + I key combination to open Settings on your Windows 10 PC. Alternatively, you can search for “Settings” by using the search bar located at the taskbar or you can click the cog icon right above the Start menu button after it opens
- Locate and open the “Network & Internet” sub-entry in the Settings app by clicking on it once.
- Navigate to the Status tab and check for the Network reset button option by scrolling downwards. Click on it, confirm any dialogs, and follow any instructions which appear. Check to see if the problem is resolved!


Solution 2 did it for me. It appears a recent windows update disabled the “SMB 1.0/CIFS File Sharing Support” setting! Thanks for sharing friend.