How to Fix Wrong Time on Clock in Windows 10
There are sometimes when you might see the time on your Windows completely wrong. In most cases, the date is still correct and it’s just the time that changes. It can happen at any time. You can fix the time and it will work fine until your next reboot. The time will be wrong on every startup which can be a little annoying especially if you use your PC on daily basis.
The problem can be caused by many things and that is why there are a lot of solutions available. The problem might be because of a bug in the latest Windows update. The issue might arise from a faulty or dead CMOS battery. Your time can also be messed up if you have dual operating systems on the machine. Lastly, it might simply be caused by a synchronization issue or it might have to do with your Windows Time service.
Since there are a lot of things that might be casing this, there are a lot of methods listed below. Try everyone until the problem is solved.
Tip
The issue might be caused by conflicting operating systems if you have Ubuntu or Linux operating systems running on the same machine. It is a known issue that multiple operating systems mess up the time. Basically, your Windows uses the Local Time while the Linux or Ubuntu uses UTC. So, try changing the time in the other operating system and make sure the other operating system, e.g. Linux, doesn’t use UTC (set its UTC = no).
In Linux, you can go to ![]() and change the UTC settings.
and change the UTC settings.
Method 1: Synchronization with Internet Time
Synchronizing your time with the Internet Time Server is a very good way to make and keep your time updated. Follow the steps below to synchronize your time.
- Hold Windows key and press R
- Type control panel and press Enter

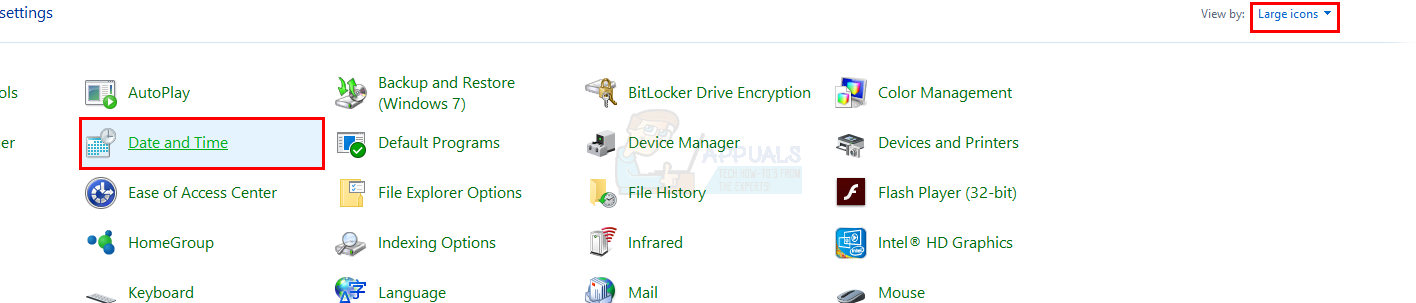
- Select Large icons from the drop down menu under View By
- Select Date and Time

- Select Internet tab and click Change settings…
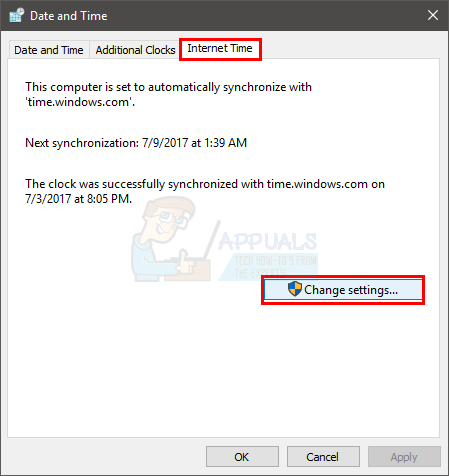
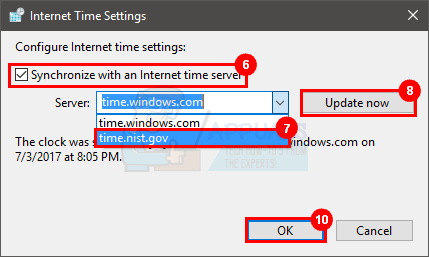
- Check the option Synchronize with an Internet time server
- Select nist.gov from the drop down menu in Server
- Click Update now
- Press the Update now button again if you see and error
- Select Ok
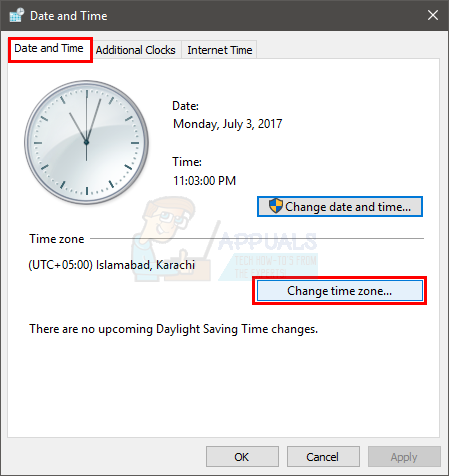
- Select tab Date And Time
- Select Change Time Zone
- Select your time zone
- Click OK and OK to save it all
This should fix your time and synchronize it with the internet time. You should be good to go now.
Method 2: Windows Time Service
Sometimes, the issue might simply be because your Windows Time Service is either stopped or isn’t set to automatic startup. Starting the Windows Time Service solves the issue if its cause by this specific service.
- Hold Windows key and press R
- Type services.msc and press Enter
- Locate the service Windows Time
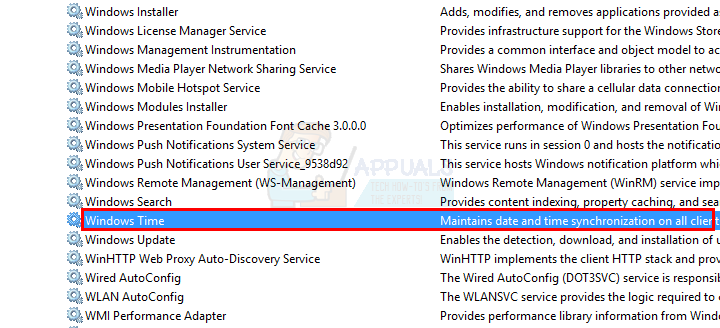
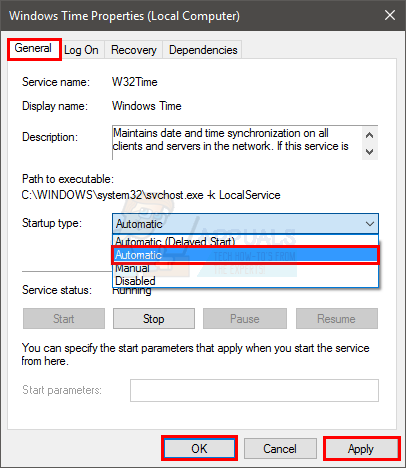
- Double click Windows Time service
- Select Automatic from the drop down menu in Startup Type
- Click Start if the Service Status is Stopped
- Click Apply then Ok
Now your time should be fine and correct.
Method 3: Changing Log on Settings
Changing the settings of Log on from “This Account” to “Local system” also solves the issue. There are many users who fixed the wrong time issue with this method.
- Hold Windows key and press R
- Type services.msc and press Enter

- Locate the service Windows Time
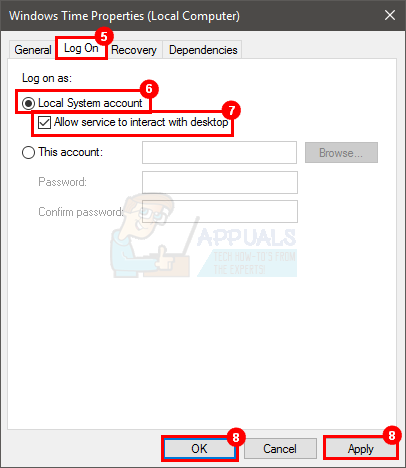
- Double Click Windows Time service

- Select Log on tab
- Select the option Local System Account
- Check the option Allow service to interact with Desktop
- Click Apply then ok
Now your time should immediately fix itself.
Method 4: Registering RealTimeIsUniversal
Adding the RealTimeIsUniversal in your registry and setting its value to 1 solves to problem especially if you have a dual operating systems machine. But, even if you have a single operating system, try this method as it takes only a few minutes.
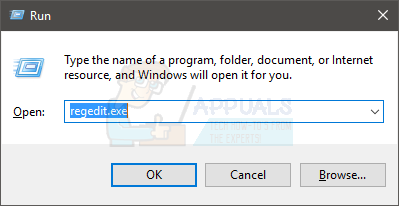
- Hold Windows key and press R
- Type regedit.exe and press Enter
- Go to this address HKEY_LOCAL_MACHINE\SYSTEM\CurrentControlSet\Control\TimeZoneInformation\. If you don’t know how to navigate to this address then follow the instructions below
- Double click HKEY_LOCAL_MACHINE from the left pane
- Double click SYSTEM from the left pane
- Double click CurrentControlSet from the left pane
- Double click Control from the left pane
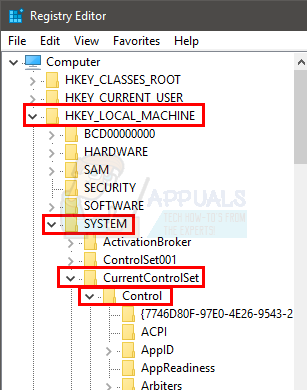
- Click TimeZoneInformation from the right pane
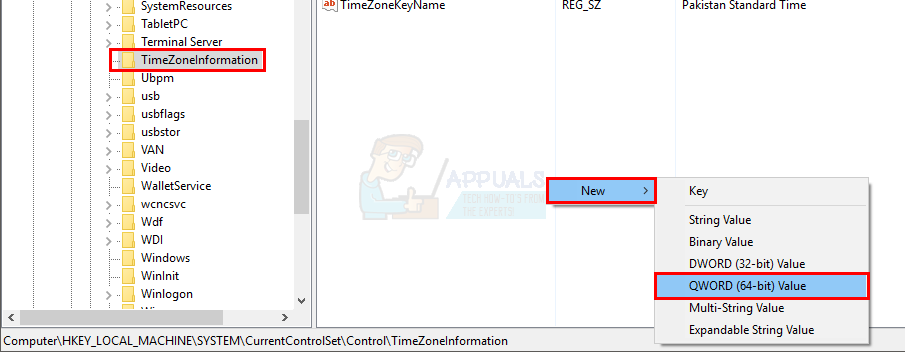
- Right click on empty space (in the right pane) and select New
- Select DWORD (32-bit) value if you have a 32-bit system or select QWORD (64-bit) value if you have a 64-bit system
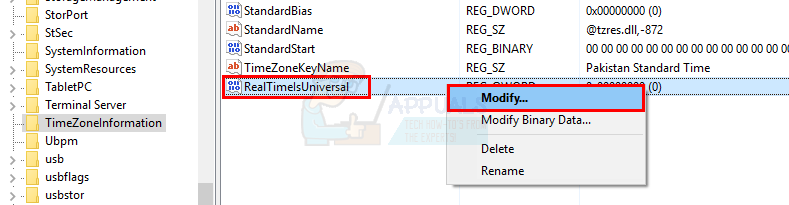
- Write RealTimeIsUniversal as its name and press Enter

- Right click the newly created entry (RealTimeIsUniversal) and select Modify…
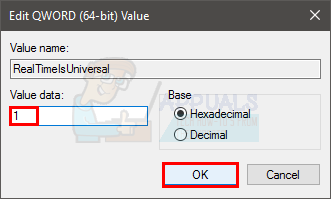
- Enter 1 as its Value and press Enter
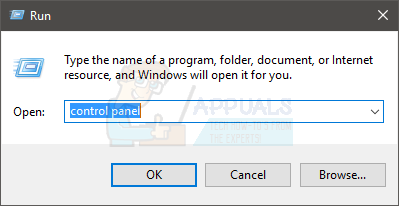
- Hold Windows key and press R
- Type control panel and press Enter
- Select Large icons from the drop down menu under View By
- Select Date and Time
- Select tab Date And Time
- Select Change Time Zone
- Select your time zone
- Click OK and OK to save it all

- Reboot your computer
Once your system is rebooted, your time should be fixed and synchronized.
Method 5: Re-registering Via PowerShell
You can use the Windows PowerShell to resync the time. This will solve the problem if the issue was caused by a syncing problem.
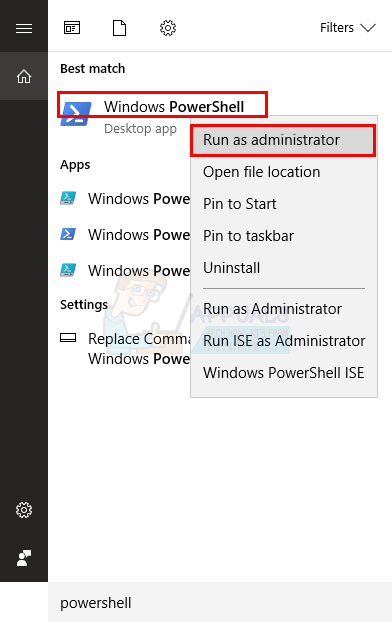
- Press Windows key once
- Type powershell in the Start Search box
- Right click PowerShell from the results and select Run as administrator
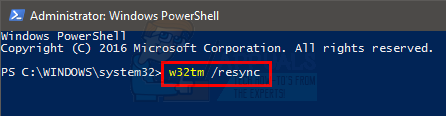
- Type w32tm /resync and press Enter (If you are logged in as an administrator) otherwise type net time /domain and press Enter
Method 6: Re-Registering W32Time
You can unregister and then re-register the W32Time on your Windows. The steps for unregistering and re-registering the W32Time are given below.
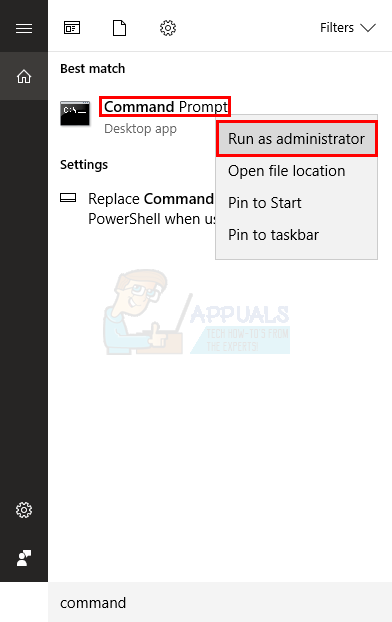
- Press Windows key once
- Type command prompt in the Start Search box
- Right click Command Prompt from the results and select Run as administrator
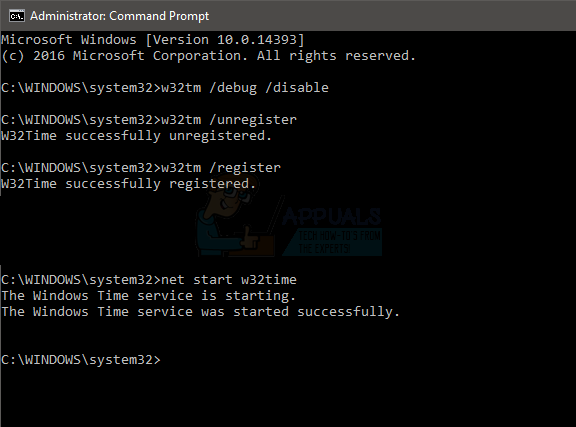
- Type w32tm /debug /disable and press Enter
- Type w32tm /unregister and press Enter
- You should see a message W32Time successfully unregistered on the screen now
- Type w32tm /register and press Enter
- You should see a message W32Time successfully registered on the screen now
- Type net start w32time and press Enter
- Hold Windows key and press R
- Type services.msc and press Enter
- Locate the service Windows Time
- Double click Windows Time service

- Select Automatic from the drop down menu in Startup Type.
- Click Start if the Service Status is Stopped. If you get an error, try again until the service is set to automatic and is started.
- Click Apply then Ok

Method 7: CMOS Battery
If nothing else works then it is time to check your CMOS battery. Since the CMOS battery is used to keep your system clock running when your system is turned off, it is highly likely that the CMOS battery might be causing this issue. The CMOS battery is a small battery that you will easily recognize on the motherboard. The battery can die because of old age, if your computer is really old, or because of a power surge.
Since we know that the problem is mostly caused by the CMOS battery, your first solution should be to check the battery or replace it with a new one. But, before you buy a new battery to replace the old one, it’s worth checking your time from the BIOS because it will confirm the issue. If the time isn’t correct in your BIOS then the CMOS battery is a confirm issue.
Sometimes, the problem gets solved if you fix the time from the BIOS and select the settings that says “Restore BIOS to Default”. These are the steps to fix your time from the BIOS
- Turn on your computer
- Once the error is shown, press F1 or Del or F10. You will also see the button mentioned on the screen as well. The button you press to open BIOS depends on your manufacturer so it varies from manufacturer to manufacturer.
- Once you are in the BIOS, locate the Time and Date settings. Again, depending on your manufacturer, these settings can be anywhere. So, use the arrow keys to navigate through the menus and look for the Time Settings.
- Check if the Time and Date are correct. If they aren’t, then you need to change the CMOS battery
Now, it’s time to replace your CMOS battery.
- You can get a CMOS battery from any computer shop (they are not that expensive).
- Open the casing of your computer and you will be able to see a small CMOS battery on the motherboard. It should look like a round wrist watch cell fitted into a round walls around it.
- Take out the old CMOS battery out and Replace that with the new one and then turn on your computer. The problem should be solved now.
If you aren’t confident enough to do this on your own, you can simply take your computer to a technician and he/she will be able to replace the CMOS battery.
Note: If you don’t know where the CMOs battery is, refer to the manual of your model. You can find a manual of your specific model from your manufacturer’s website.
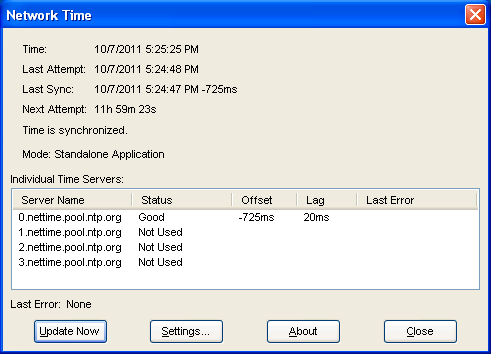
Method 8: NetTime Tool
If nothing else works then the last option for you is to use a 3rd party time syncing tool. Go here and download the installer for your Windows. You can use this tool for time syncing until a new solution comes up for this problem.
One of our Server 2016 installs has the problem that it changes the time 2 hours back every once in a while.
We still have not found a solution for this, so we will check this out.