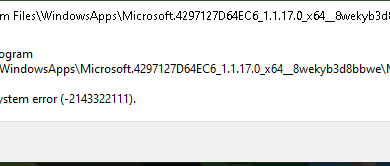
How to Fix HP PC Hardware Diagnostics UEFI Opening at Startup?
HP PC Hardware Diagnostics UEFI can open instead of the Windows sign-in screen every time an HP computer starts. Exiting may let Windows load normally, only for the same menu to return on the next startup.
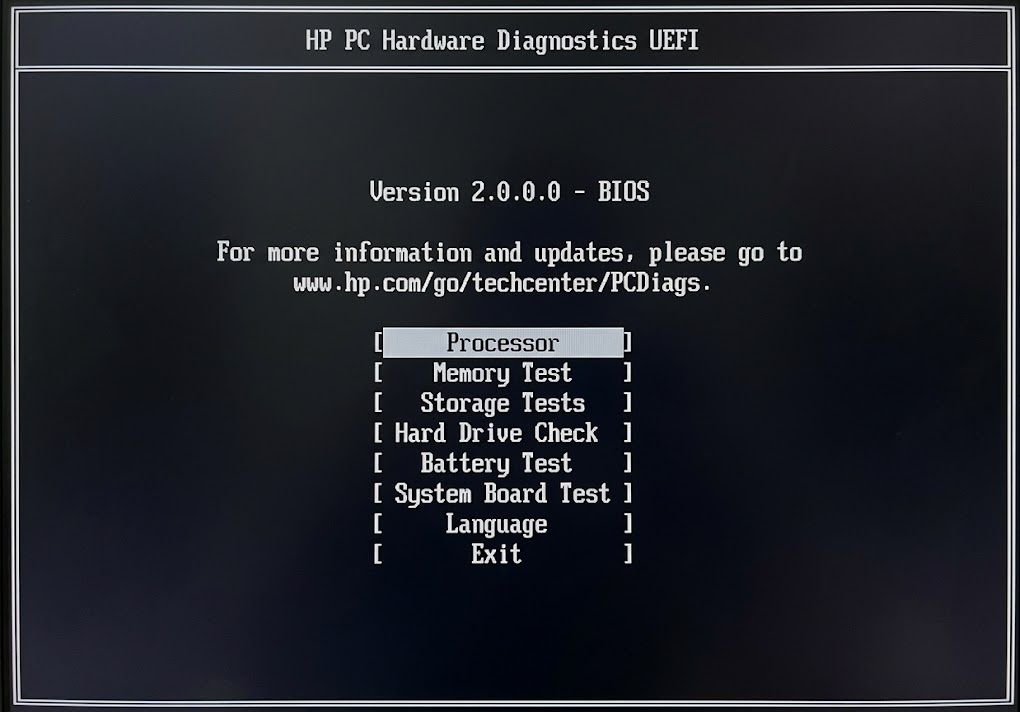
This is HP’s hardware-testing utility, not a failure message by itself. HP opens it with F2 during startup, so a key sending unwanted input can repeatedly bring up the menu even when Windows still works.
A separate Boot Device Not Found (3F0) message or a failed component test needs attention of its own. The menu appearing does not prove that the drive has failed, and running a test does not repair Windows.
1. Disconnect External Keyboards and Optional USB Devices
Windows loading after you exit diagnostics makes an unwanted startup-key press worth checking. Removing optional external devices lets you compare startup without their input, rather than changing BIOS settings or deleting the diagnostics tool.
On a work or school PC, involve IT before changing the hardware setup.
- Choose Exit on the diagnostics main menu and confirm. On the black basic menu, use the arrow keys and Enter; the mouse and touchpad do not work there.
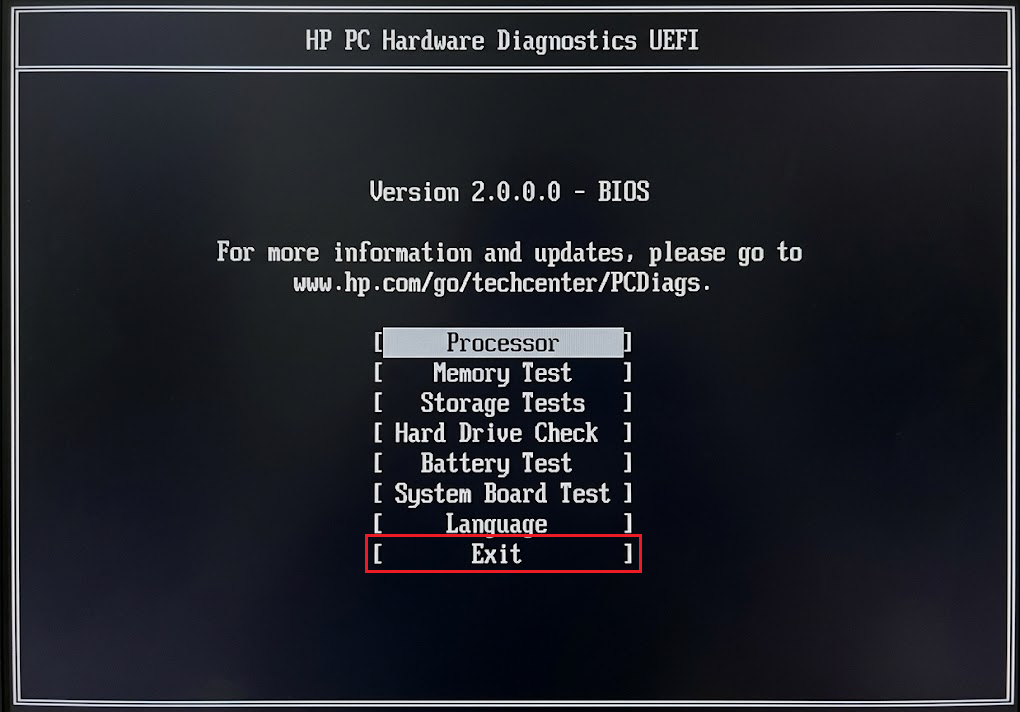
Continue Startup or Continue Boot is offered on some HP startup menus; labels vary. If the HP Startup Menu follows, choose Continue Startup or Continue Boot where offered. Note whether Windows opens, diagnostics returns or a different error appears.
- Shut down. Disconnect optional external keyboards, USB receivers, mice, hubs, docks and diagnostics USB sticks. Keep essential power, display connections and any drive that normally contains your operating system.
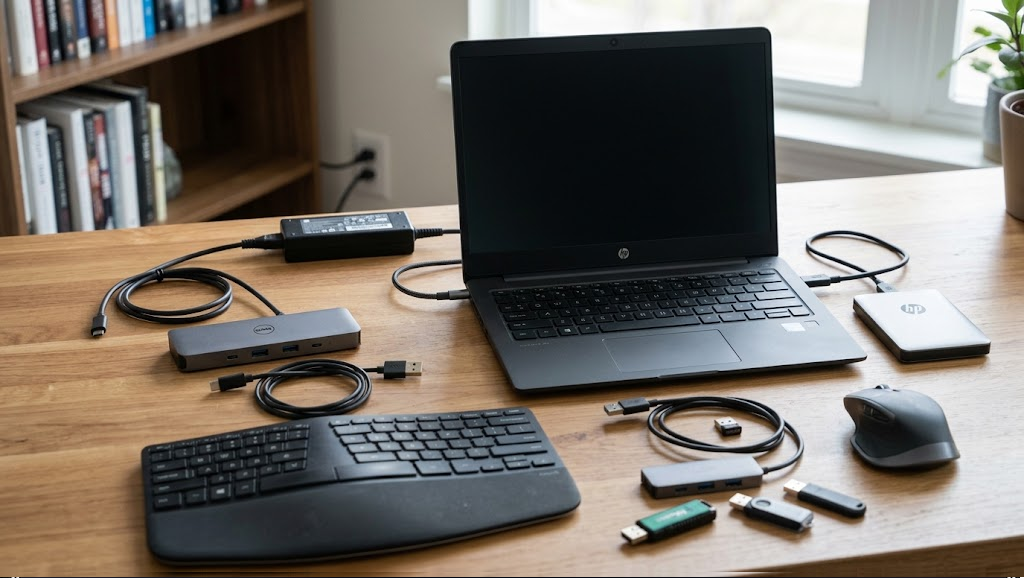
Keep necessary power connected and preserve any drive that the computer normally boots from. If a dock supplies power, connect the correct charger directly. Leave the built-in laptop keyboard connected; no disassembly is needed.
- Turn on the PC with its power button and leave the keys untouched. On a desktop that requires keyboard input, use a known-working wired keyboard instead of the suspect one. Check whether Windows starts directly.
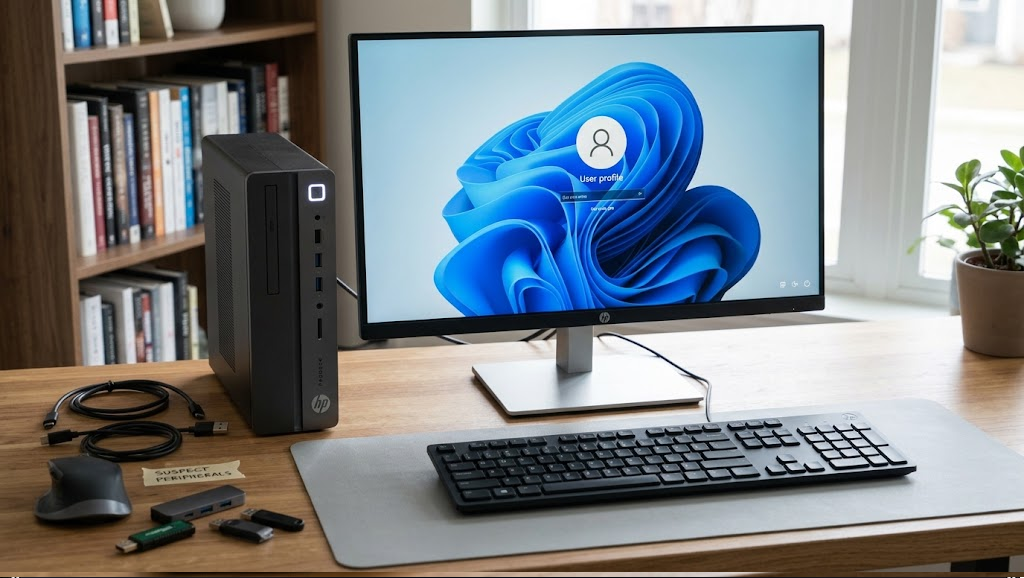
Capture the actual result; a Windows sign-in screen is appropriate only if it was reached. - If startup works, shut down and reconnect one optional device, then start again. Repeat separately for the others. Leave a device disconnected if reconnecting it consistently brings the diagnostics menu back.
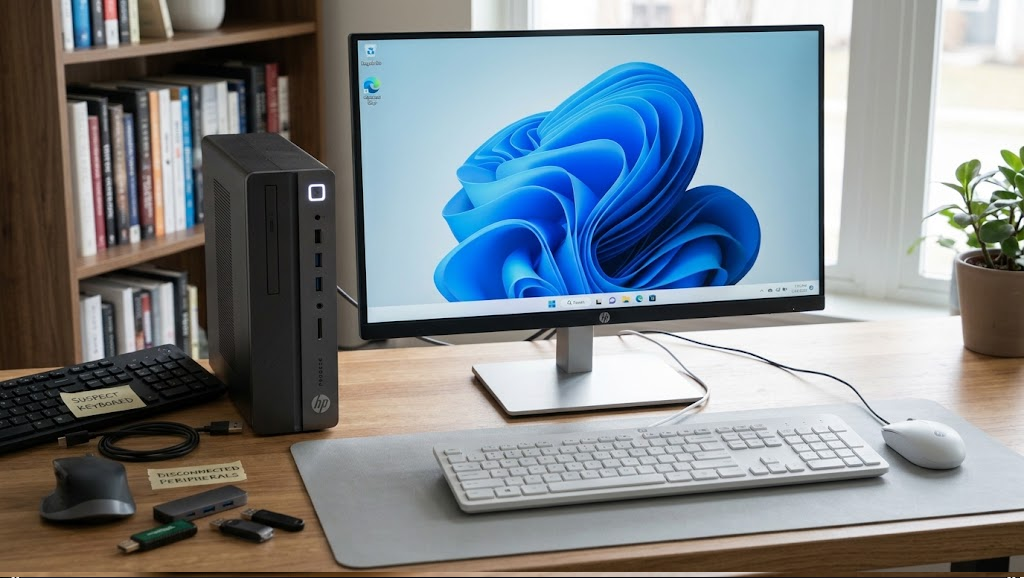
Reconnect one device between shutdowns so the comparison has a clear result.
Normal startup without a particular device gives you a useful repair or replacement lead. If diagnostics still opens with optional devices removed, check the remaining keyboard, including the laptop’s built-in one.
2. Check F2 and Run HP’s Keyboard Test
F2 can send unwanted input without looking physically stuck. A working USB keyboard does not disable a faulty built-in keyboard, and passing memory or storage tests does not test the keys.
Leave keycaps and the laptop casing in place. A key that stays depressed, feels damaged or has suffered a liquid spill needs service, not force. Stop using a liquid-damaged keyboard and arrange an inspection.
- With the PC off, inspect F2 for an object or displaced keyboard cover pressing on it. Remove that pressure. If the key moves freely, gently press and release it once; do not pry it loose.
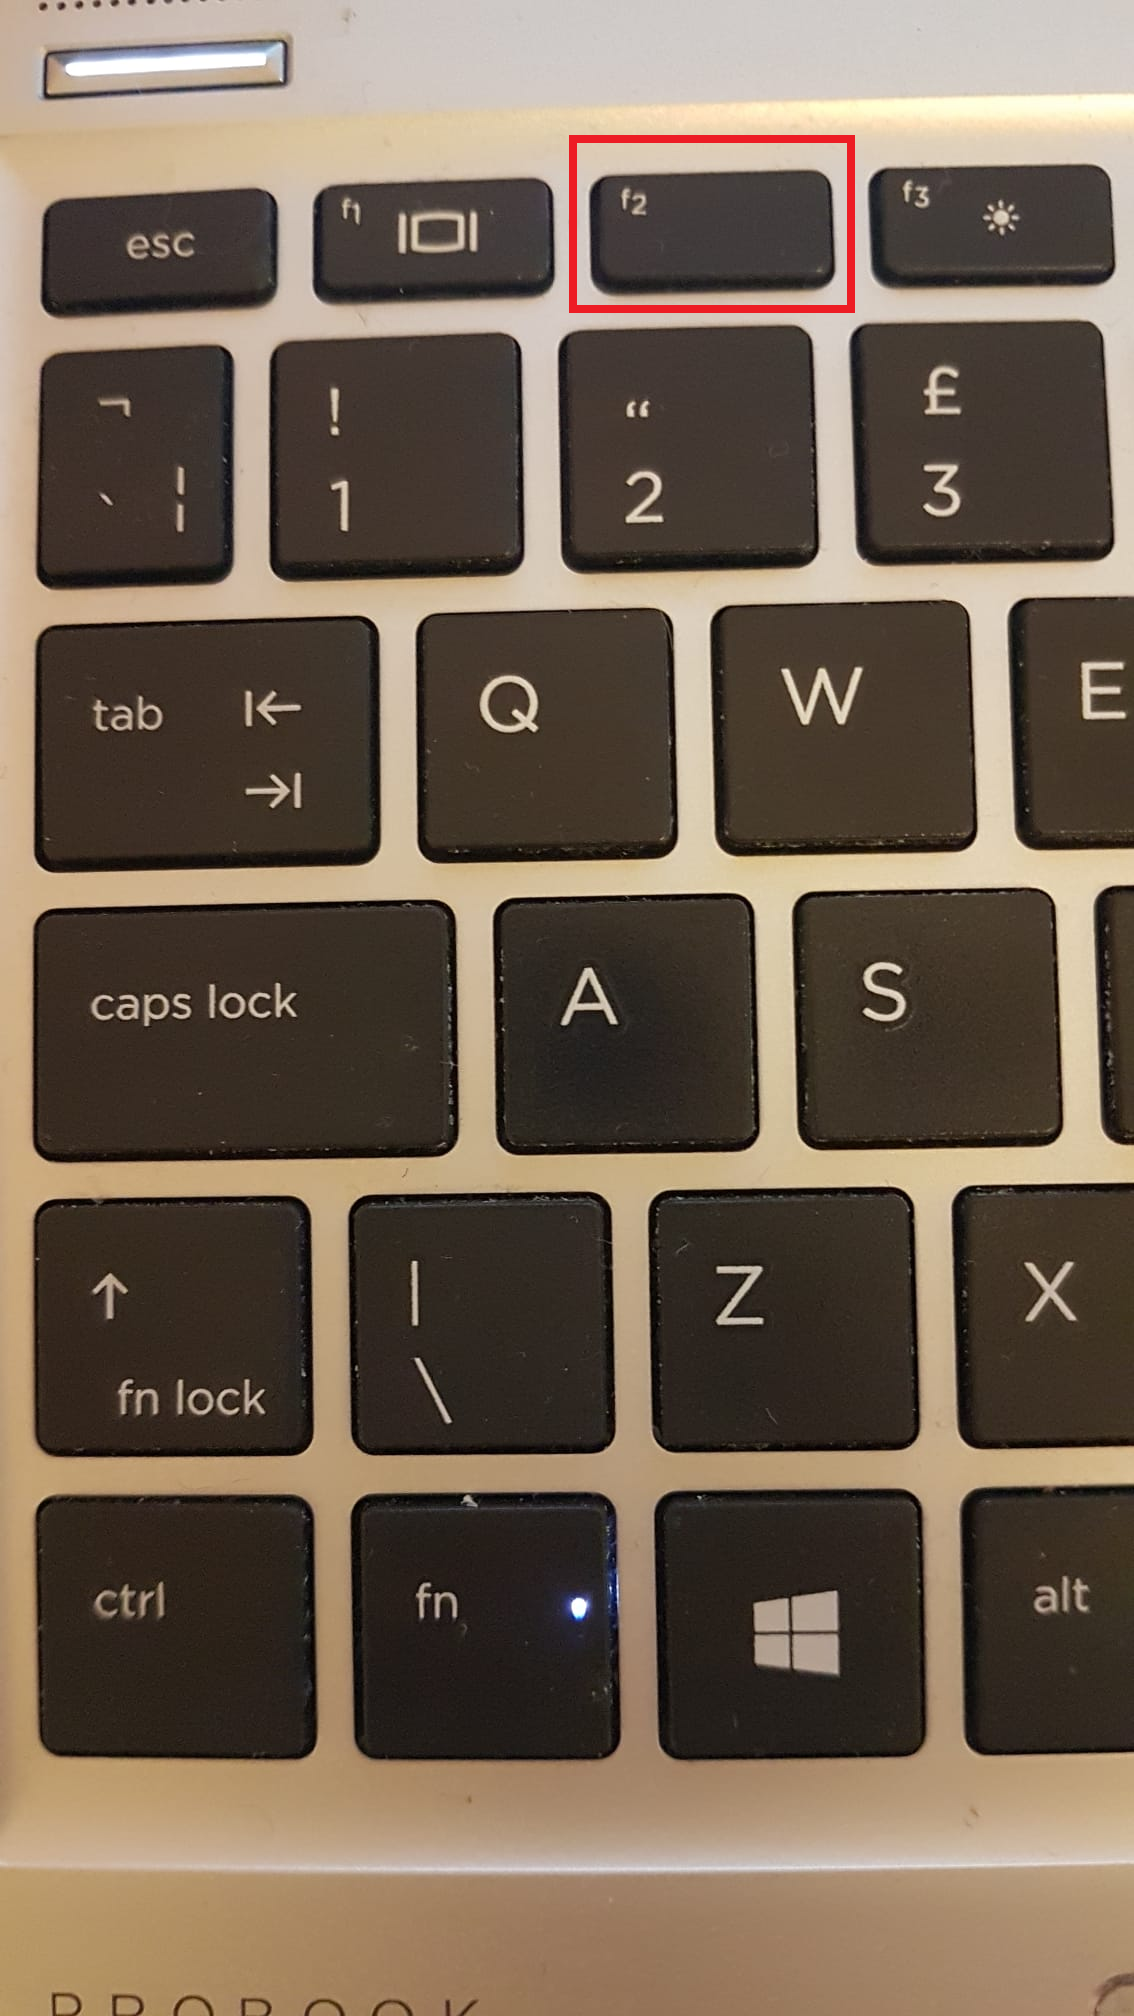
Look for pressure from a cover or a key that does not return normally; do not pry off laptop keycaps. - In the full diagnostics menu, open Component Tests. To enter deliberately, turn on the PC, tap Esc repeatedly until the Startup Menu appears, then press F2. Stop pressing keys once diagnostics opens.
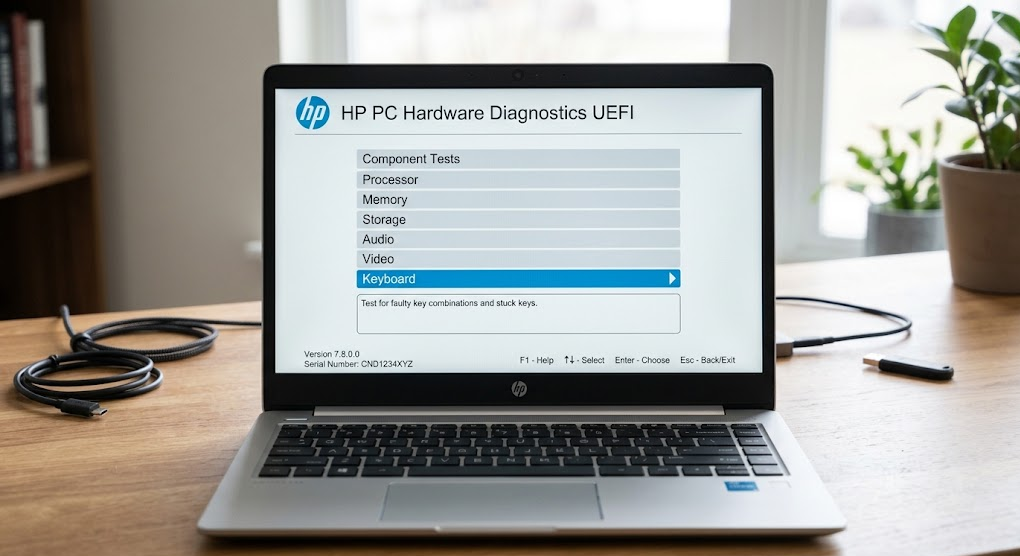
The basic diagnostics menu may not offer this test. The black basic menu pictured earlier has fewer tests. If Component Tests or Keyboard is absent, the missing-test section below explains the alternative.
- Select Keyboard > Run once, where available, and follow the displayed key prompts. Test the built-in keyboard with optional keyboards disconnected, or the intended wired keyboard on a desktop.
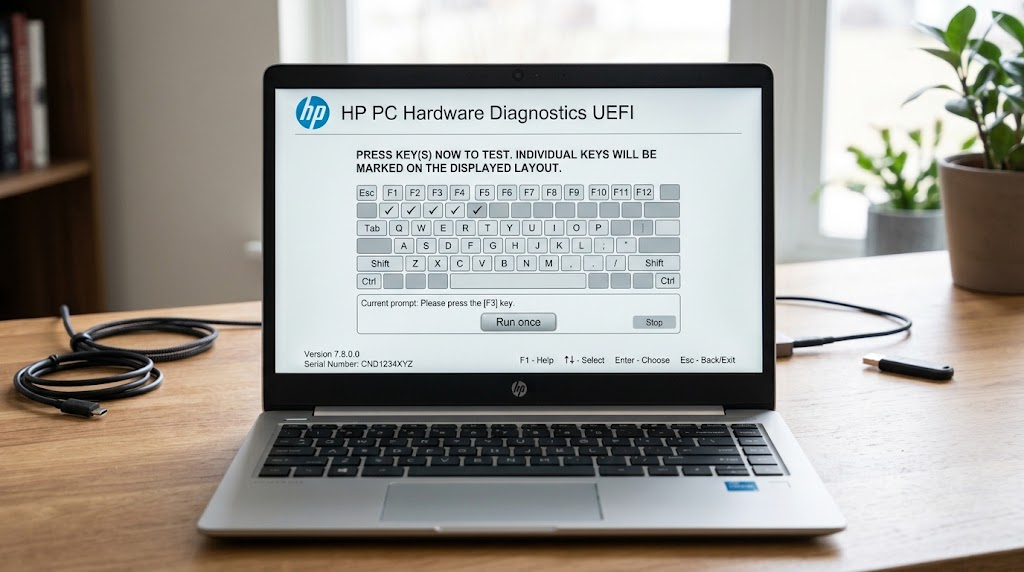
Follow the displayed key prompts and test the intended keyboard; Bluetooth keyboards are not supported by this test. HP’s UEFI keyboard-test instructions exclude Bluetooth keyboards and multimedia buttons. Follow the function-key prompts, not just the brightness or volume symbols printed on the keys.
- Record how F2 responds and save the result, including any failure ID. An incorrectly completed interactive test or a missed prompt alone does not establish a faulty keyboard.
- After removing an obstruction or having a faulty keyboard repaired or replaced, shut down and power on without touching the keys. Check that Windows starts directly, then repeat once to confirm the improvement persists.
A repeated held-key indication or keyboard-test failure warrants assessment of that keyboard. Keep a suspect external keyboard disconnected while using a working replacement; have HP or a qualified technician assess a built-in one.
If the keyboard passes but automatic entry continues, keep that result for support rather than treating it as proof that the whole computer is healthy. For typing trouble only after Windows loads, our Windows laptop-keyboard troubleshooting addresses that separate symptom.
If the Keyboard Test Is Missing or Diagnostics Freezes
The basic interface does not include every component test. Missing Keyboard or Component Tests is not a hardware failure. HP’s diagnostics download page separates the Windows application from UEFI diagnostics for testing outside Windows.
The full UEFI tool can provide additional tests on supported models, but installing it is not a general cure for automatic entry. Use HP’s model-appropriate instructions or ask IT for help rather than deleting the diagnostics partition.
If the tool freezes before its menu opens, note the version and where it stops. That is a loading problem, not a keyboard test you can complete by repeating the same steps.
If Windows Still Will Not Start
| What appears after Exit or testing | What needs attention |
|---|---|
| Boot Device Not Found (3F0) | Follow HP’s 3F0 boot-error guidance. Protect your files before recovery or reinstallation work. |
| A storage failure ID or SMART warning | Record the result and seek hardware/data-recovery advice. Repeated tests or Windows reinstallation do not repair a failing drive. |
| BIOS Setup rather than diagnostics | Our PC keeps opening BIOS guide covers that different screen. Preserve security and storage settings until the cause is clear. |
If tests pass but Windows never opens, a Windows startup problem can still remain. Do not change Secure Boot, storage-controller mode or partitions just to hide the diagnostics screen.
For a recurring menu or an unresolved startup failure, contact HP Support or your organization’s IT team with:
- The model, diagnostics version, and screens shown before and after Exit.
- Whether Windows starts, which accessories were removed, and the keyboard-test result.
- Any failure ID and the component test that produced it.
Back up important files while Windows is accessible. Keep the diagnostics utility available; its presence alone is not a reason to erase the PC or reinstall Windows.