How to Fix AutoCAD Installation or Setup Not Starting on Windows?
AutoCAD setup shows Preparing for installation, then closes without opening the installation window or explaining what went wrong. An Autodesk process may remain in Task Manager, but the screen with the installation options never appears.
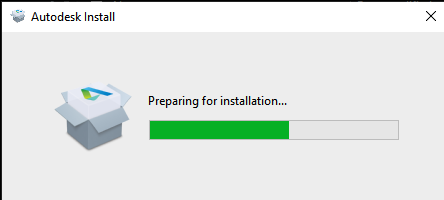
The newer AutoCAD installers use Autodesk’s shared installer component, called ODIS, to prepare setup. Damaged ODIS files or a blocked process can stop it here. An incomplete download can cause the same symptom without requiring removal of an existing AutoCAD installation.
Before Repairing the Installer
Allow a minute or two for the setup window to appear before starting another copy. These steps cover ODIS-based AutoCAD installers on Windows, not an installed copy of AutoCAD crashing.
- Open Settings > Windows Update. Complete pending updates and any requested restart, then try AutoCAD setup again.
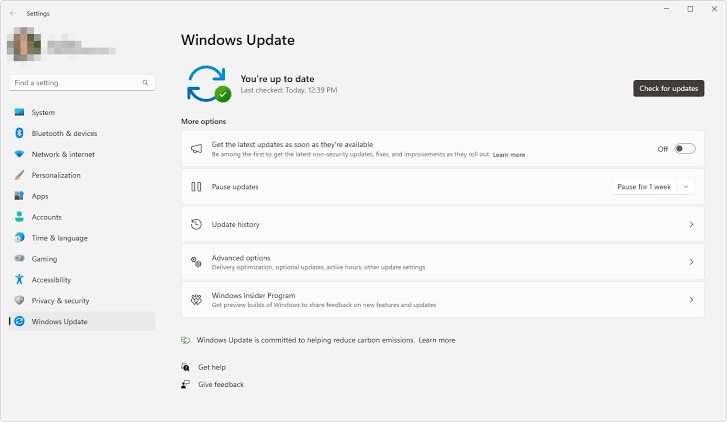
Show the real Windows Update status. Hide device names, organization messages and account details. - Press Windows + R, enter
services.msc, and find Autodesk Access Service Host. If stopped, right-click it and choose Start. Record any error, including Error 2; it does not identify the cause by itself. - Keep the installer on a local drive. Check free space on C: for extraction and temporary files as well as the installation drive. Confirm your release’s AutoCAD system requirements.
1. Reinstall the Autodesk Installer Component (ODIS)
ODIS starts the full installer; damaged files can prevent its window from opening. Reinstalling this shared component replaces those files without uninstalling AutoCAD or deleting its licensing data.
- Save your work and close Autodesk applications and installers. In Task Manager, end only a clearly stuck Autodesk setup process, not an active installation.
- Open File Explorer and go to
C:\Program Files\Autodesk\AdODIS\V1. If this folder is absent, go straight to the ODIS download in step 4.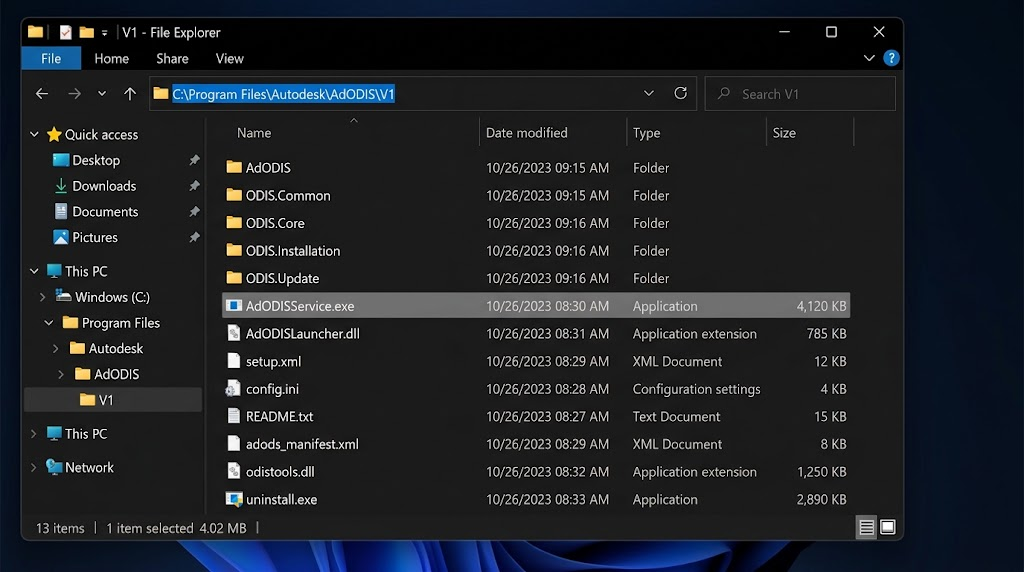
Capture C:\Program Files\Autodesk\AdODIS\V1 with RemoveODIS.exe visible. Do not delete product folders for the screenshot. - Right-click RemoveODIS.exe and select Run as administrator. Approve the prompt for this Autodesk utility and wait for removal to finish.
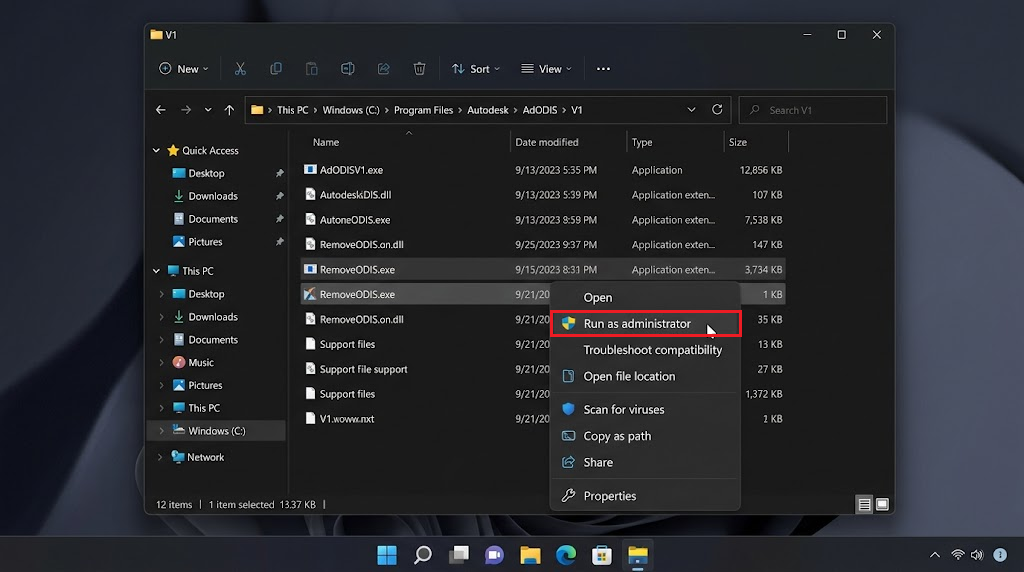
Show the context menu or UAC prompt for the real RemoveODIS.exe file. Do not expose the Windows user name. - Download AdODIS-installer.exe from Autodesk’s latest ODIS page. Save it locally.
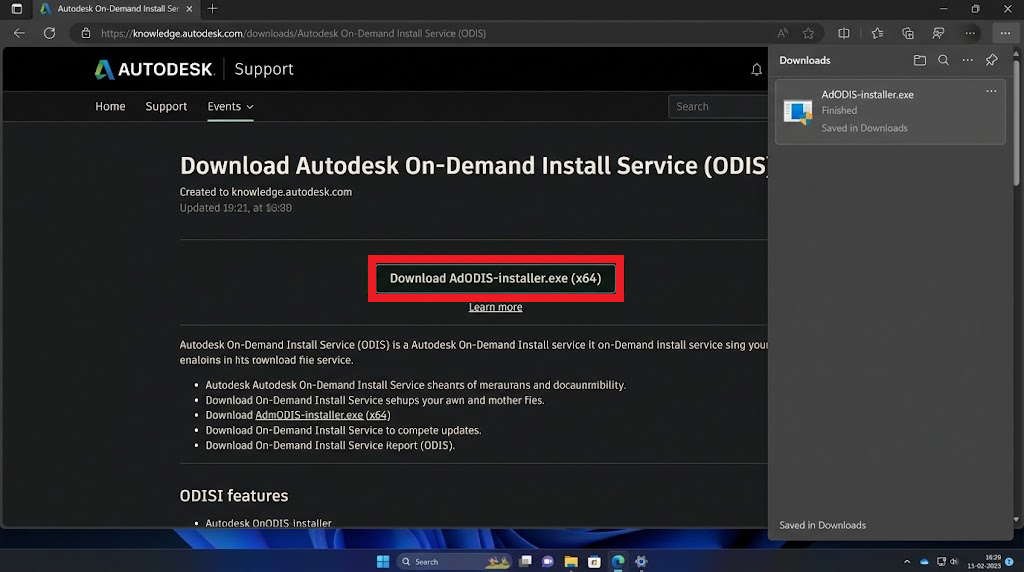
Use Autodesk’s official support page or download endpoint. Avoid third-party mirrors and hide signed-in account details. - Right-click the downloaded AdODIS-installer.exe and select Run as administrator. Let it finish, then restart Windows.
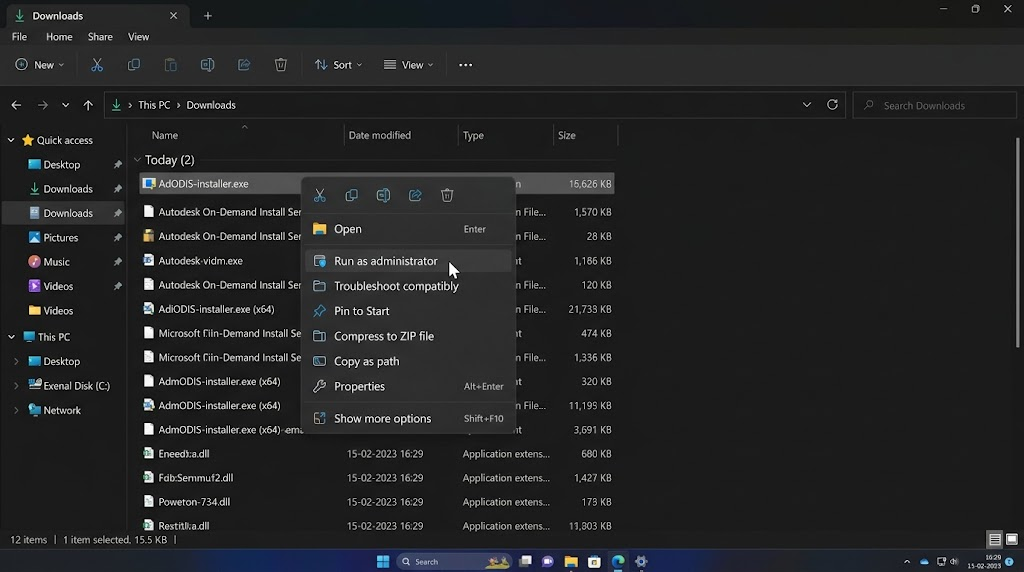
Capture the downloaded AdODIS-installer.exe being run as administrator from a local folder - Open the AutoCAD installer again. If the installation options appear, continue with setup. On an unmanaged PC, try Run as administrator if opening it normally still does nothing.
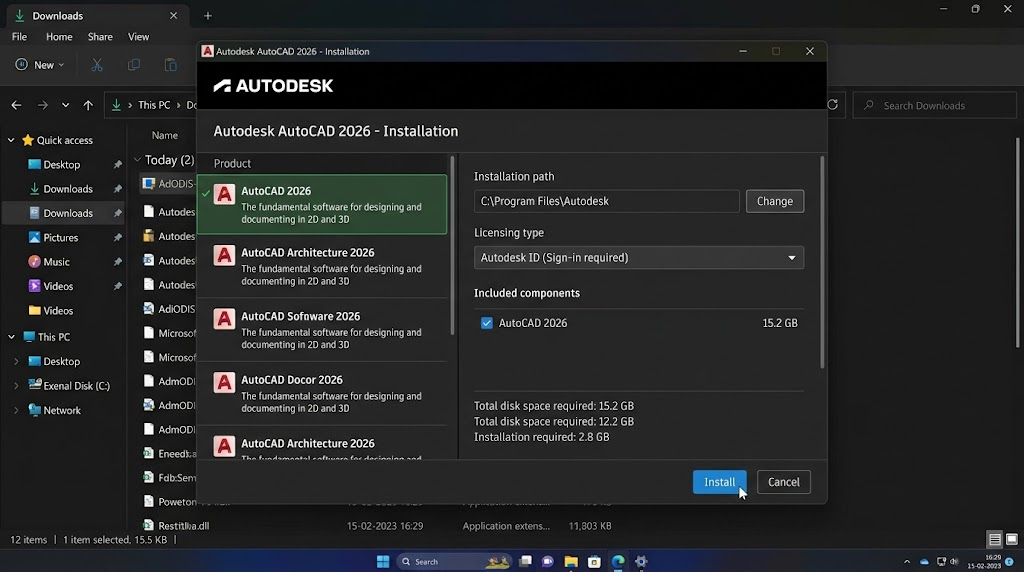
Show the installer moving past the earlier no-window state. Keep serial numbers, email addresses and license details out of view.
If RemoveODIS.exe is missing or the repair is blocked, do not substitute another uninstaller or delete the folder manually. Ask IT or Autodesk Support to check the component.
If setup still closes after the repair, replace the download with a complete local package as described below.
A later license manager is not functioning message is a separate activation problem. Repeating the installer repair is not the next step for that message.
2. Download the Complete AutoCAD Installation Files
When the small web installer closes without opening setup, downloading the complete package separates the download from installation. It also replaces incomplete media. The local package still uses ODIS; it does not bypass Windows permissions or licensing.
- Sign in to Autodesk Account at manage.autodesk.com. Under All Products and Services, select AutoCAD, its version, language and platform. Choose Direct Download where available.
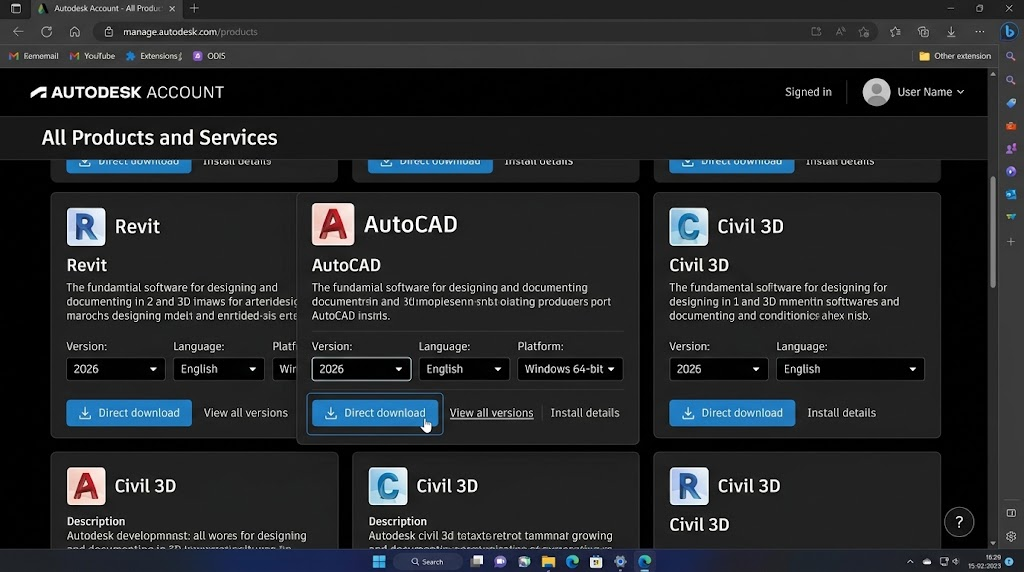
Capture Autodesk Account with the AutoCAD product, version and Direct download option visible. Hide personal and organization information. - Wait for every file to finish downloading and keep all parts together in one local folder. Some releases include an .exe and .7z archive; older packages may have numbered parts.
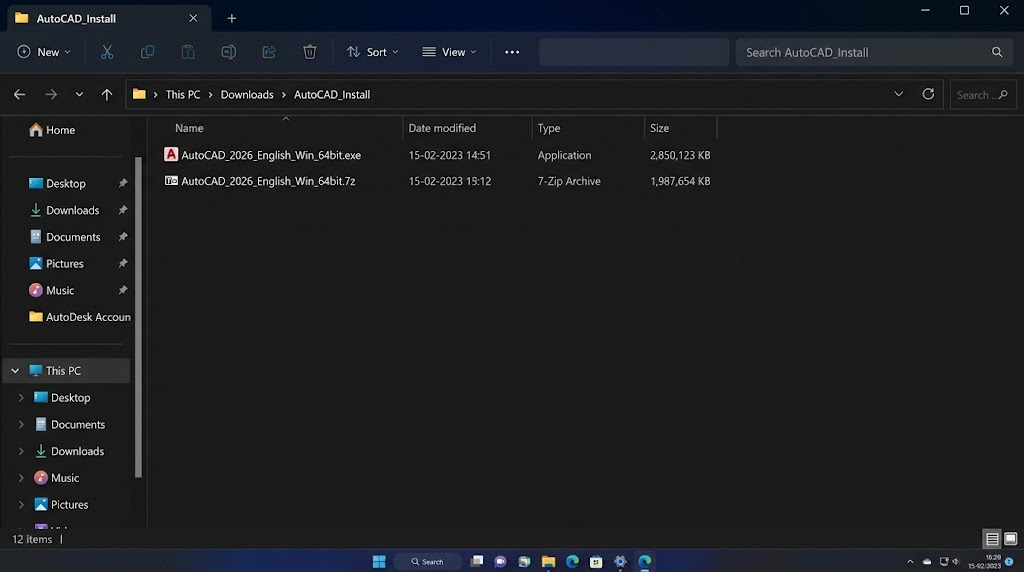
For current releases, show the EXE and archive file in the same local folder. For older releases, show all numbered parts together. - Run the downloaded .exe to extract the package. Note its extraction folder; it may be under
C:\Autodesk, but the exact location varies.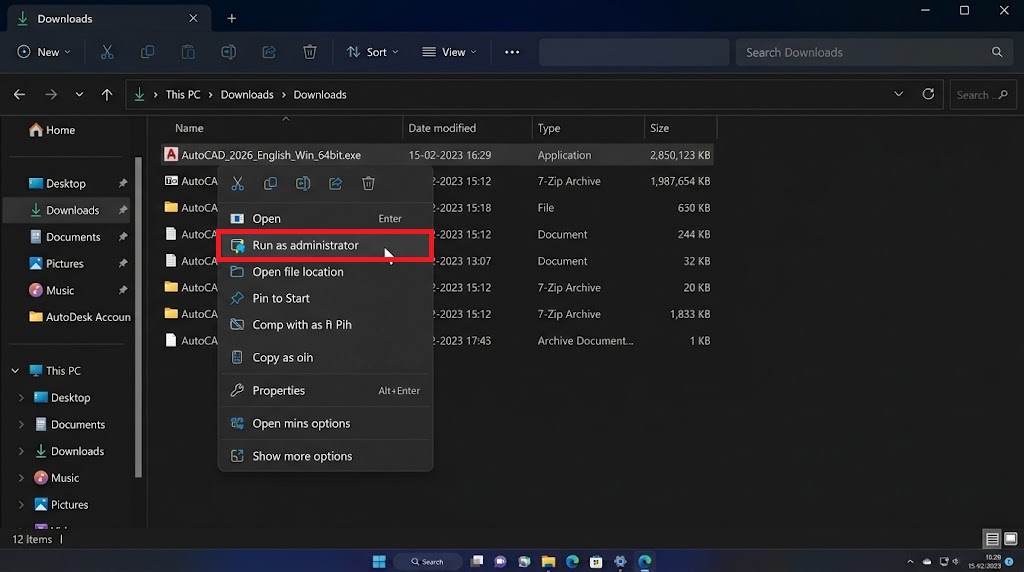
Show the extracted installation folder created by the official Direct download package. Do not expose unrelated files. - If setup does not start automatically, open that extracted folder and run Setup.exe. Use Run as administrator for a permissions failure on an unmanaged PC, not to override a security block.
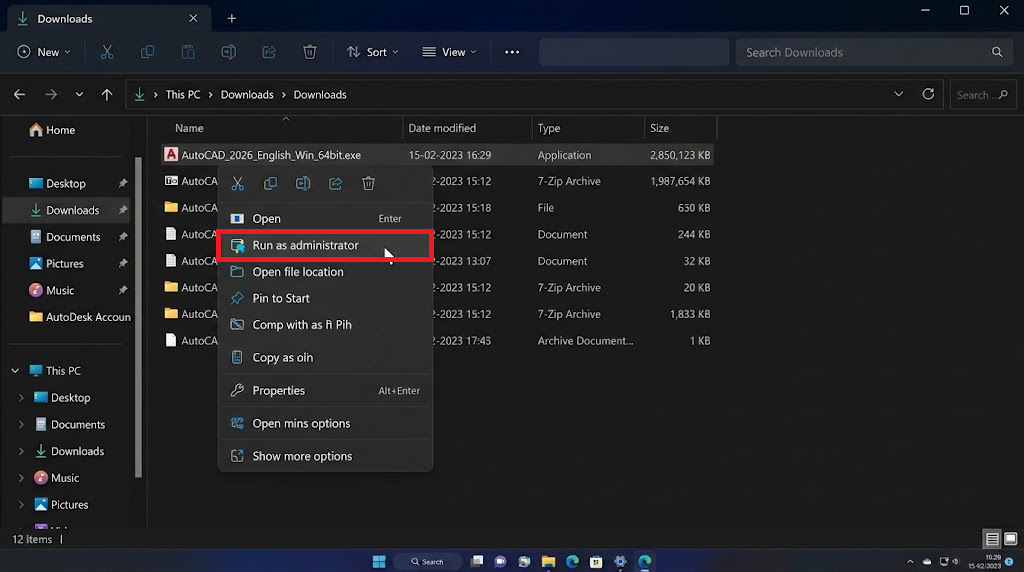
Capture Setup.exe being started from the local extracted package, not from a network share or cloud-only folder. - Once the installation options open, continue with your product choices. Keep the extracted files until installation finishes successfully.
Download choices vary by product and account; Autodesk’s download-methods comparison explains the alternatives. If AutoCAD is not listed in your account, resolve product access with your administrator or Autodesk before downloading another version.
An installer that now opens but reports Error 1308: Source File Not Found has reached a different problem. Check that the package finished downloading and all its parts remain together.
3. Start Local Setup Without Its Startup Update
The extracted package can still stop while Autodesk Installer tries to update itself. Starting Setup.exe with --noupdate skips that update attempt and uses the local files. The small web installer cannot be used for this test.
On a managed PC, have IT approve this test and the command session. It does not remove application-control restrictions or repair missing package files.
- Open the extracted folder containing Setup.exe and copy its location from File Explorer’s address bar.
- Search Windows for cmd, then choose Run as administrator for Command Prompt.
- Change to that folder. Replace this example with the location you copied:
cd /d "C:\Autodesk\AutoCAD_Installer"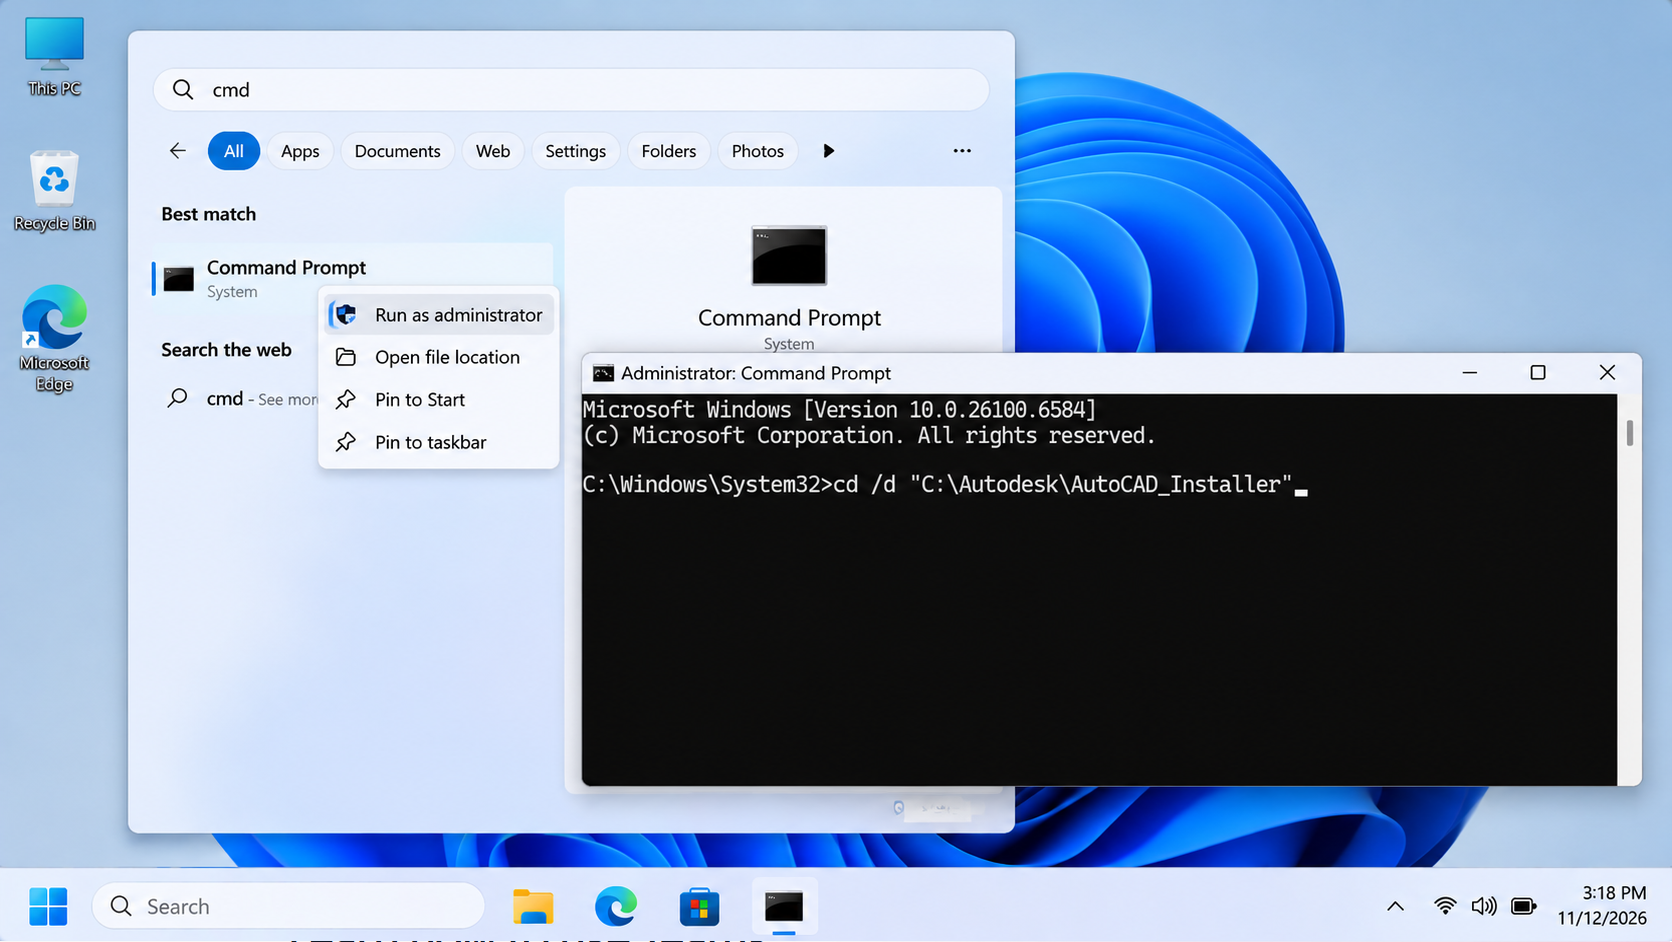
- Enter the following command, then press Enter:
Setup.exe --noupdate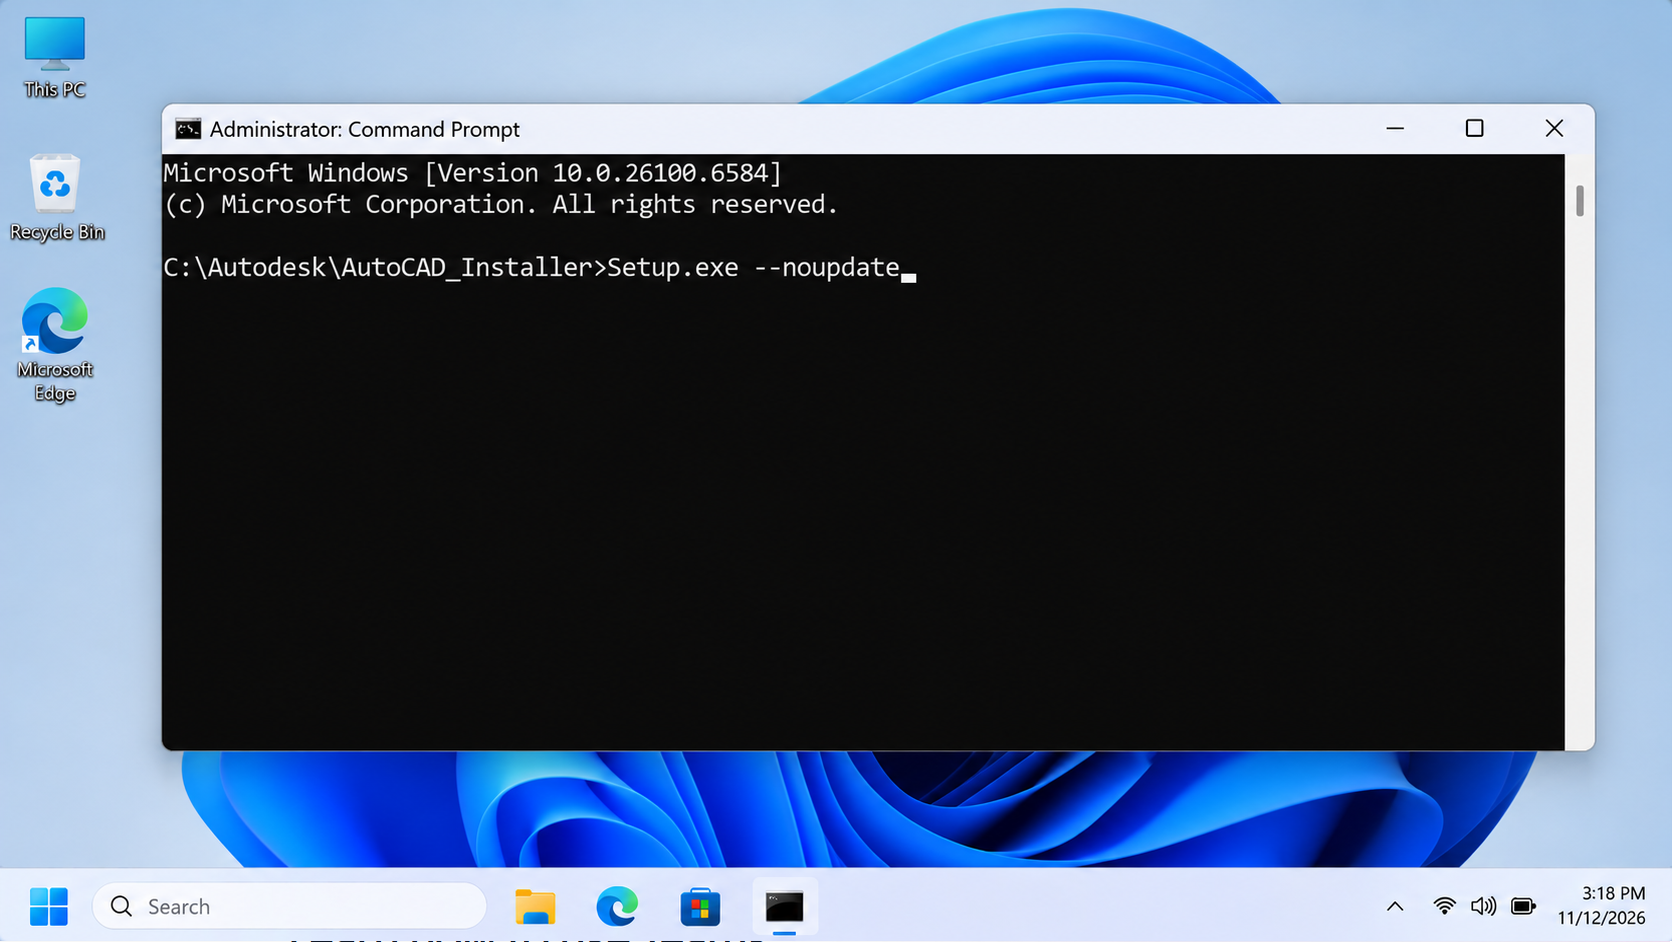
If the setup window opens, complete installation and apply product updates afterward through Autodesk Access or Autodesk Account. Autodesk’s Preparing for installation guidance covers this command. If setup still closes, collect the failure details below rather than repeating it.
If Setup Still Closes Without an Error
Note the time of one failed attempt. Open Event Viewer from Windows Search, and paste %LOCALAPPDATA%\Autodesk\ODIS into File Explorer to find installer logs. Keep Setup.log, DDA.log and Summary.log when present.
| What the records show | What to do next |
|---|---|
| A crash under Windows Logs > Application. | Record the faulting application, module and timestamp. Give these to Autodesk Support with the installer logs. |
| AppLocker event 8004 names an Autodesk executable. | Under Applications and Services Logs > Microsoft > Windows > AppLocker > EXE and DLL, save the matching event for IT. It identifies an application-control block. |
| DDA.log reports ProcessManager failed to start or ShellExecuteEx error 2. | Ask IT or Autodesk to investigate missing or blocked installer components. These entries alone do not prove a registry problem. |
Autodesk’s blocked-installer guidance also covers a Debugger value set to Blocked under Windows Image File Execution Options. Have support confirm the affected Autodesk executable and why that entry exists before any registry change. Do not delete whole keys or unrelated entries.
Use Autodesk’s Installation Log Collection Tool for a support case. Include the AutoCAD release, Windows version, download method and what happens after Preparing. Share logs privately with support; they can contain account, device and installation details.