Fix: The License manager is not functioning or is improperly installed
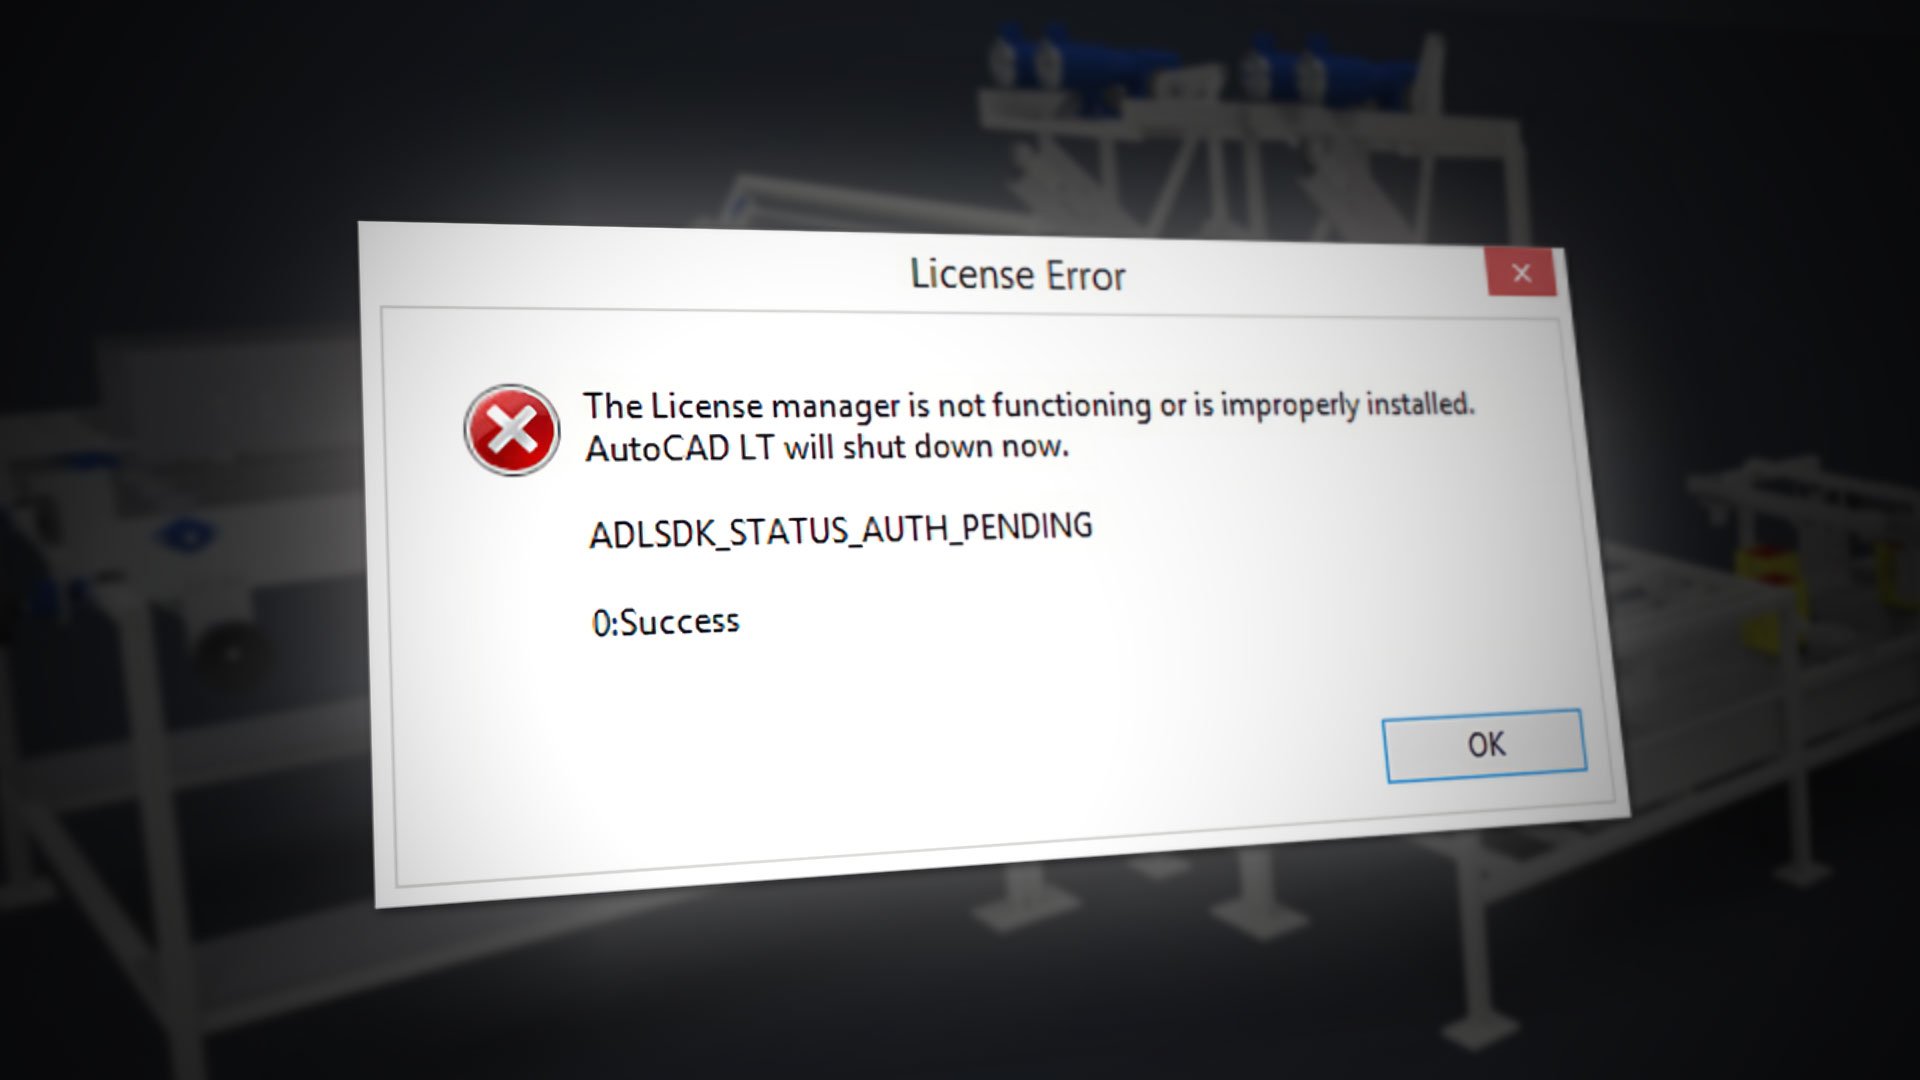
When starting an Autodesk software product, you can face a License error. This error mainly occurs due to an outdated Autodesk Desktop Licensing Service. This causes your system to receive the “The License manager is not functioning or is improperly installed. AutoCAD LT will shut down now” error message.
In this guide, we will be showing you the methods to fix this Autodesk License Error.
1. Change the Time Zone
If your Time Zone is not set correctly, you can face License error when opening the Autodesk Software. Therefore, you must Sync your computer’s time with the internet by following the steps listed below:
- Open the Windows Settings by pressing the Win + I keys together.
- Navigate to Time and Language > Date and Time.
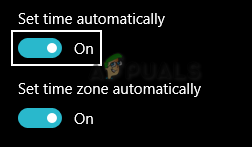
- Now, set the time zone to match the internet time by switching the “Set time automatically” and “Set time zone automatically” buttons to On.
Setting time automatically - Now launch Autodesk again and check.
2. Verify User License Assignment
If you some reason your Autodesk License is revoked, you can face this issue. If that’s the case you have to use their License Support Tool, Please visit their official support page here.
3. Delete Corrupted License Files
If the License files are corrupted or missing, they will prevent any Autodesk Software product from launching. Thus, prompting the License error. Therefore, you must delete the corrupted License files before running the program. Below are the steps to help you delete the Corrupted License files:
- Open the FLEXnet folder by copying and pasting the following path into the File Explorer’s search bar:
C:/ProgramData/FLEXnet
- Now select all the unwanted files by pressing the Ctrl + A keys together.
- Delete all the files by pressing the Delete button on the keyboard
4. Adjust the Autodesk License Service Properties
If the Autodesk License Service is not configured properly, you can face this issue as this service is responsible for License verification. Follow the steps below to correctly configure the Autodesk License Service Properties:
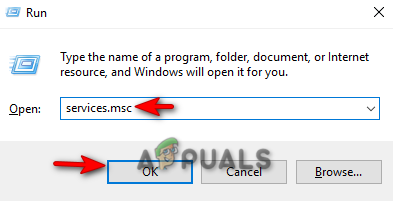
- Open the Run command by pressing the Win + R keys together.
- Type “services.msc” in the search box and click OK to open the Windows services.
Opening the Windows Services - Search for the Autodesk Desktop Licensing Service.
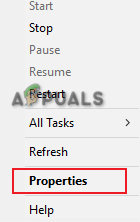
- Open its properties by right-clicking on it and selecting the properties option.
Opening the service properties - Open the “Log On” tab and change the properties by clicking on the “Local System account” option.
- Check the “Allow the service to interact with desktop” box.
- Confirm the changes by clicking on Apply and OK.
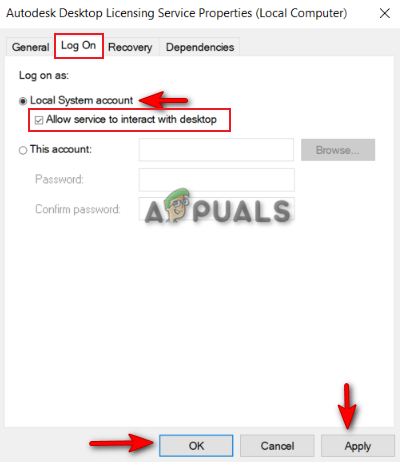
Allowing the service to interact with the desktop - Now, Restart the service and re-launch the software.
5. Temporarily Disable Third-party Applications
Third-party Applications such as Avast Antivirus can block Autodesk product’s access from the internet causing License issues. Therefore, you must verify if your device is running such Applications. If it is, then you must disable them. Below we have given steps to disable Avast Antivirus from your system:
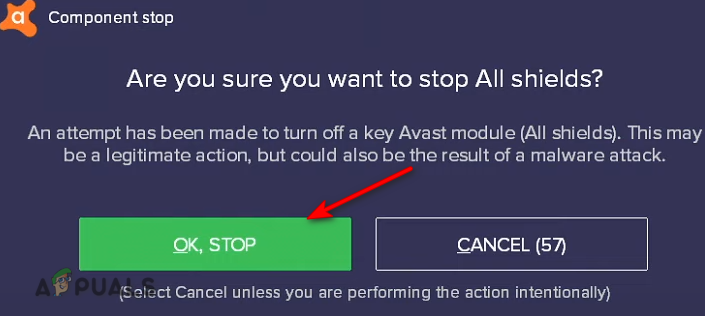
- Open the Avast Antivirus Software and navigate to Menu > Settings > Protection > Core Shield.

Turning on Avast Core Shield - To disable the security feature, turn off the Core-Shield toggle switch.
- Select the duration till you want to disable this feature and select OK to confirm the action.
Confirming feature disabling
6. Disable Windows Protection
Windows protection like the Windows Defender and Firewall and known to interfere with Autodesk software products and prevent you from opening them. Therefore, ensure that these protections are disabled on your system when using Autodesk products. With the instructions below, you can disable Windows Protection:
- Open the Windows Settings by pressing the Win + I keys together.
- Navigate to Update and Security > Windows Security > Firewall and Network protection.
- Turn off all the active firewalls on the page.
- Open the Network with an active Firewall by clicking on them.
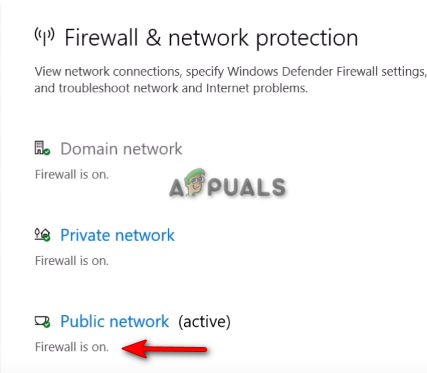
Opening the active Firewall Network - Disable the Windows Firewall by clicking on the “On” button under “Windows Defender Firewall.
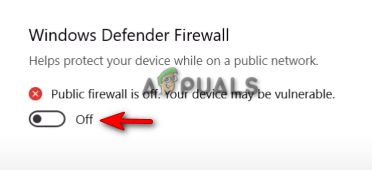
Turning off Windows Defender - Confirm the action by clicking “YES” on the User Account Control prompt.
- Open the Windows Start Menu by pressing the Win key.
- Now you must disable the Windows Defender from the Command Prompt.
- Type “cmd” in the Windows Search bar.
- Run the command prompt as an administrator by right-clicking on the app and selecting the “Run as an administrator” option.
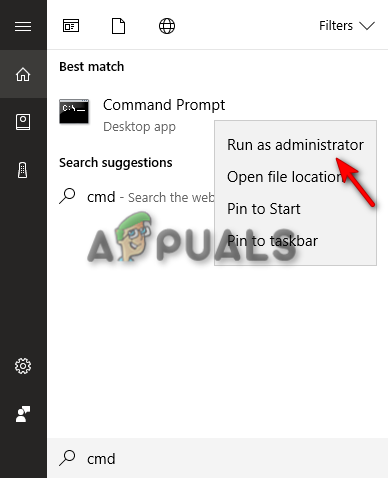
Running the Command Prompt as an administrator. - Disable the Windows Defender by copying and pasting the following command into the Command Prompt and pressing the Enter key.
etSh Advfirewall set allprofiles state off
- Now, Restart the service and re-launch the software.
7. Update Your Windows
Make sure your Windows is up to date before launching the program. To update your Windows, follow the instructions given below:
- To update Microsoft Edge, you must update Windows entirely.
- Open the Windows Settings by pressing the Win + I keys together.
- Navigate to Update and Security > Windows Update.
- Click on the “Check for Updates” option.
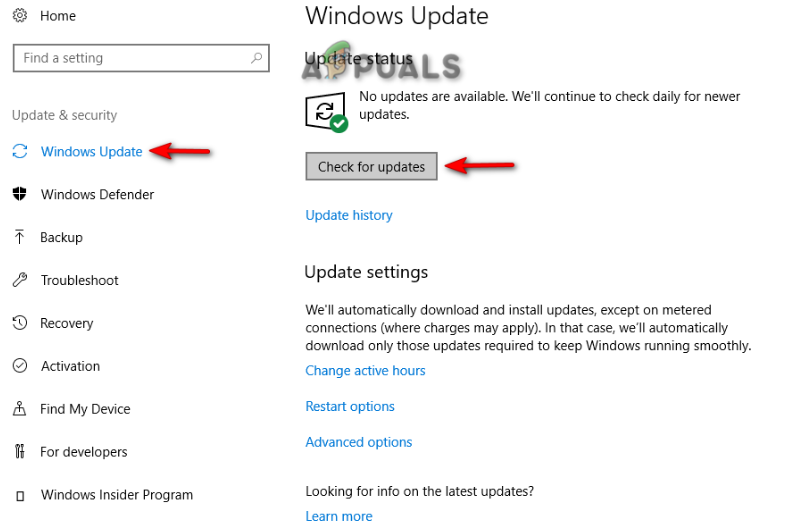
Checking an available Windows Update - Select the Download option to download the latest Windows update.
- Restart your computer after updating to the latest version of Windows.
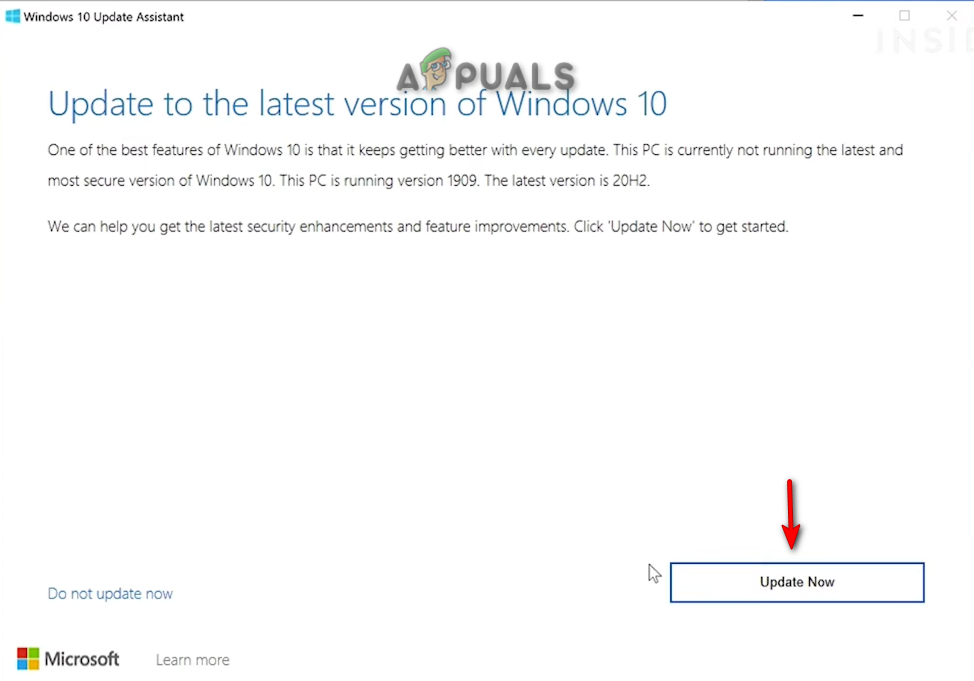
- Go to the Official Microsoft Web Page.
- Download the latest Windows Update by clicking on the “Update Now” option.

Downloading the Latest Windows Update - Install the latest update by clicking on the “Update Now” option.
Installing Windows Update - Restart the system by clicking on the Restart Now option after the installation is completed.

Restarting the Computer - Lastly, relaunch the program at fault.
8. Update the Autodesk Desktop Licensing Service
The Autodesk Desktop Licensing Service provides security and performance and can cause an error to occur if it’s not up-to-date. Therefore it is always recommended that you install the latest available Autodesk Licensing Service update before launching Autodesk products. Below we have listed the steps to update the Autodesk Licensing Service:
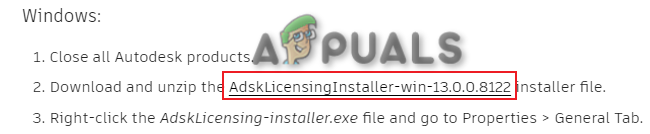
- Open the Official Autodesk Licensing Service Update Website.
- Download the installer by clicking on the installer file under “Windows.”
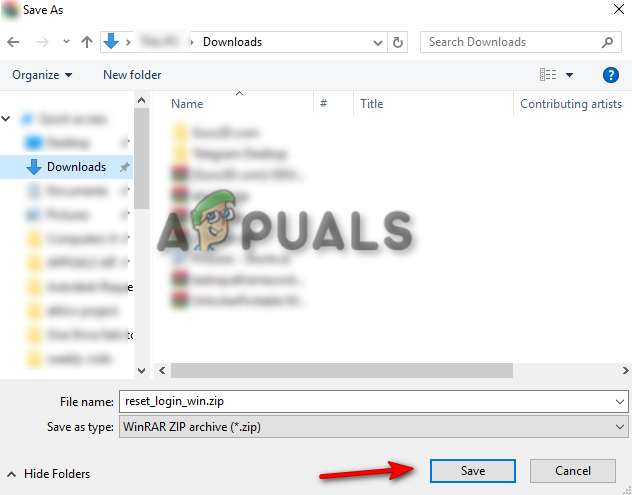
Downloading the Autodesk License Service Update - Save the file by clicking the “Save” option.
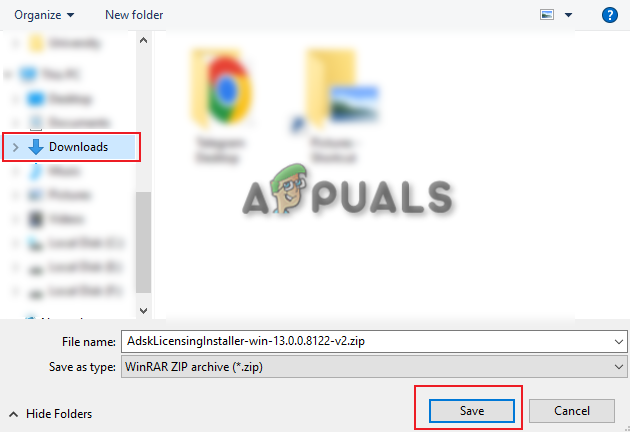
Saving the file in the folder - Click on the three dots at the top right section of the browser and open the Downloads options.
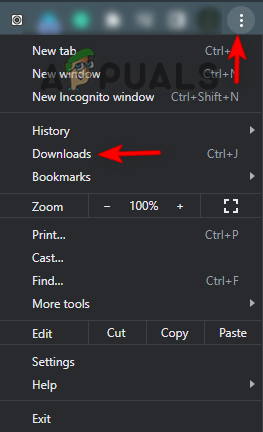
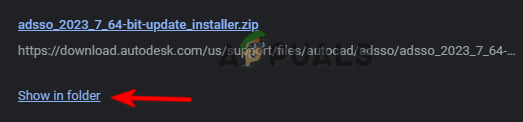
Opening the Downloads tab - Open the file location by clicking on the” Show in Folder” option.

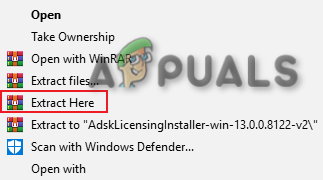
Showing the file in the folder - Right-click on it the file and select “Extract here” to extract the file.
Extracting the file - Install the setup by right-clicking on the extracted file and selecting the “Open” option.
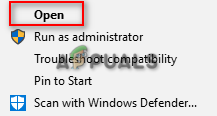
Opening the setup File - Allow the action by clicking on “Yes” on the User Account Control prompt. and start the installation process.
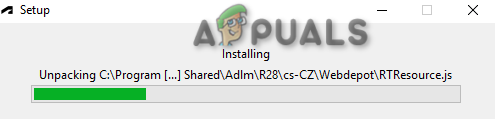
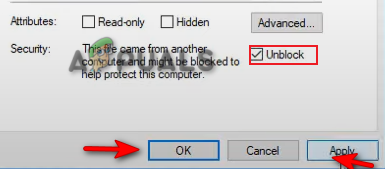
Installing the Autodesk License Service Setup - After installing, open the file’s properties by right-clicking on it and selecting the properties option.
- Check the “Unblock” box in the “Security” section below.
- Confirm the changes by clicking on Apply and OK.
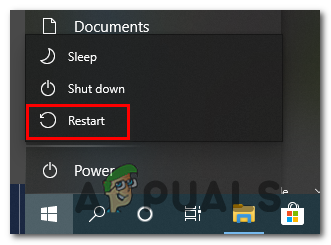
Unblocking the file - Open the Windows Start Menu by pressing the Win key.
- Click on the Power option and Restart your computer by clicking on the “Restart” option.
Restarting the Windows computer
- Open the Run command by pressing the Win + R keys together.
- Type “services.msc” in the search box and click OK to open the Windows services.
Opening the Windows Services - Search for the Autodesk Desktop Licensing Service.
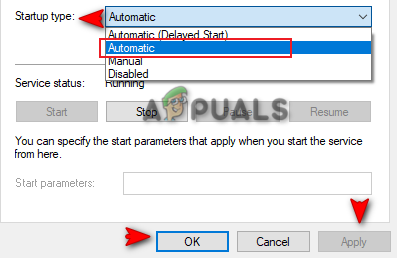
- Open its properties by right-clicking on it and selecting the properties option.
Opening the service properties - Set the Startup type to Automatic and apply the changes by clicking on Apply and OK.
Setting Startup type to Automatic
9. Update the Autodesk Single Sign-On Component
An outdated Autodesk Single Sign-on Component will also cause issues with the program leading to an error to occur. Therefore, you must manually update the AdSSO and prevent the error from occurring. After following the steps below, you can manually update the AdSSO components:
- First, you must manually close all Autodesk tasks running in the background.
- Right-click on the Start Menu and select the “Task Manager” Desktop app.
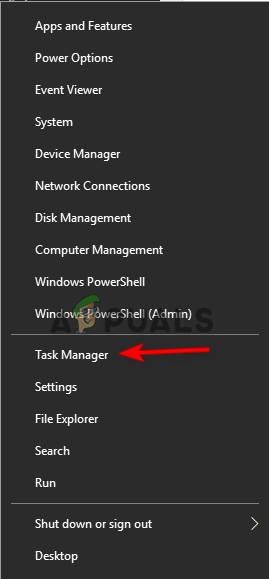
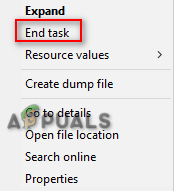
Opening the Task Manager - Click on the “Process” tab and end the Autodesk applications running by right-clicking on them and selecting the “End task” option.
Ending the Task - Open the Autodesk app to sign into the account and navigate to the Updates tab.
- Update the AdSSO by clicking on the update notification titled “Single Sign On Component-V13.7.7-2020.7 SecurityFix English-US 64-Bit”.
- Restart the program after the update is completed.
Automatic Autodesk Single Sign-In Update Installer
- Download the Autodesk Single Sign-In Update Installer.
- Save the file by clicking the “Save” option.
Saving the file in the folder - Click on the three dots at the top right section of the browser and open the Downloads page.
Opening the Downloads tab - Open the file location by clicking on the” Show in Folder” option.
Opening AdSSO Installer in the folder - Extract the file by right-clicking on it and selecting the “Extract here” option.
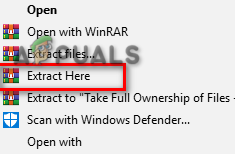
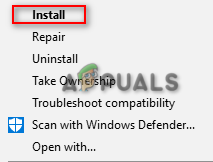
Extracting the File - Start the Installation process by right-clicking on the file and selecting the “Install” option.
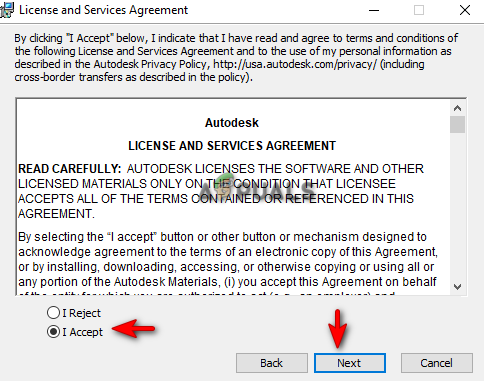
Installing the Setup - Accept the License agreement by selecting the “I Accept” option and clicking on the “Next” option.
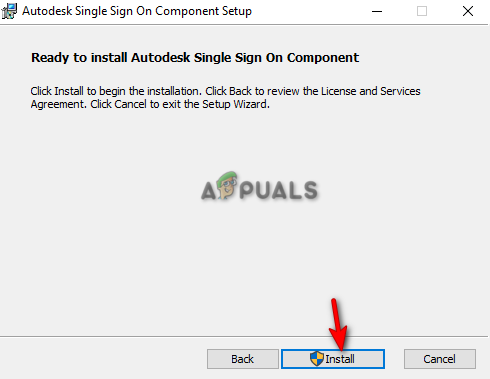
Accepting the License and Services agreement - Start Installing the Autodesk Single Sign-in component setup by clicking on the “Install” option.
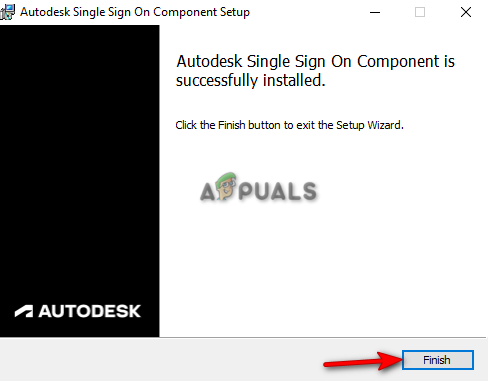
Installing the AdSSO Component setup - After all the AdSSO components are installed and updated, end the process by clicking the “Finish” option.
Finishing the installation
10. Perform a Clean Install
If the Autodesk Program still continues to show the License error, then you must perform a Clean Install on your system. Clean Install is a process in which the previous version of your Windows is eradicated and instead a new system partition is created.


