How to Monitor your Virtual Systems using Virtualization Manager?
Computing is way more cost-effective than it has ever been and it keeps getting better. Many inventions led to this, one of them being virtualization. Virtualization has revolutionized the computing process and all the network and system administrators use it now. Something that used to require multiple physical servers can now be done virtually on a single system. All of that is thanks to the virtual systems. Another great impact of virtualization is the overall management of the network which has been made drastically easier. Managing different physical servers is hard and time-consuming as you require physical access to the servers, however, with the help of virtual systems, that is not the case anymore. You can run multiple operating systems on a single device at a time using virtual machines which means you have multiple servers at a single place and you can easily manage them.
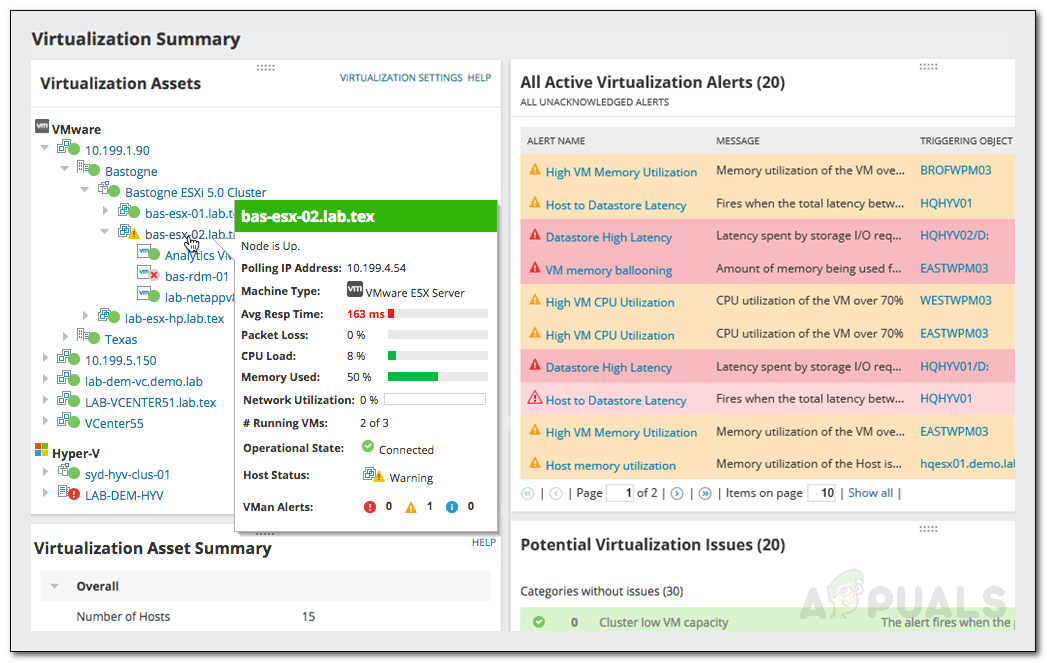
However, one of the things that we all forget while utilizing virtual machines is that they require management themselves. Virtual machine software like VMware or Citrix comes with its management tool. However, these management tools are nothing when compared with the features that are provided by third-party Virtualization Managers. Virtualization management is important to prevent virtual systems from bottlenecking, eating away resources for nothing or just to keep an overall eye on its performance. All of this cannot be done with the integrated management tools as they lack the features required for this purpose. Therefore, in this article, we will be covering the Virtualization Manager tool by Solarwinds. Virtualization Manager enables you to resolve issues quickly through comprehensive monitoring. It provides a clear image of what virtual machines are linked to along with their storage and other system resources usage. Thus, without any further ado, let us get into it.
Installing Virtualization Manager
With the help of Orion Installer, the installation process of the Virtualization Manager is pretty simple and straightforward. To install the tool on your system, head to this link and download the tool by clicking the respective button. This will download the Orion Installer. Once you have downloaded the installer, do the following to initiate a successful installation of Virtualization Manager:
- Run the Orion Installer and wait for it to open up.
- Once the installer has opened up, choose the type of installation you want. You have two options, Lightweight Installation which will install all the required components on your system including an SQL Server so that you can evaluate the product and Standard Installation where you will have to use an existing SQL Server. To change the installation directory of the tool, just click Browse.
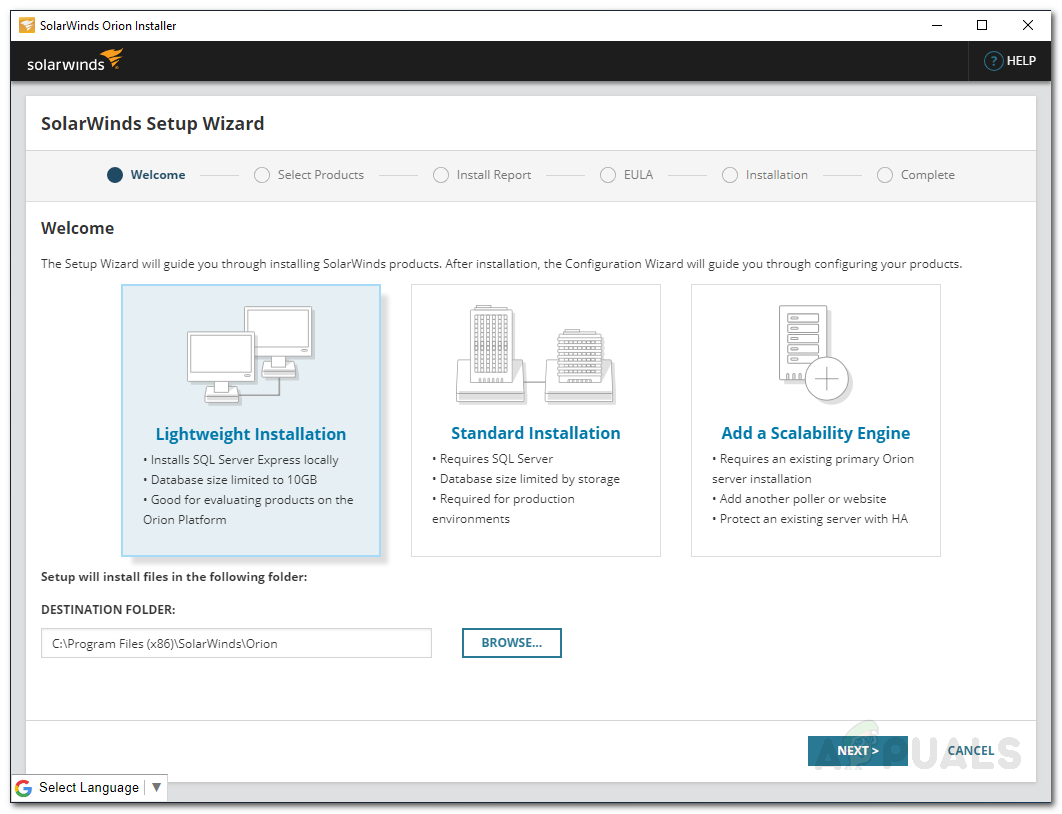
Orion Installation - On the Select Product page, make sure the Virtualization Manager is selected and then click Next.
- Wait for the Orion Installer to run a few system checks for installation compatibility.
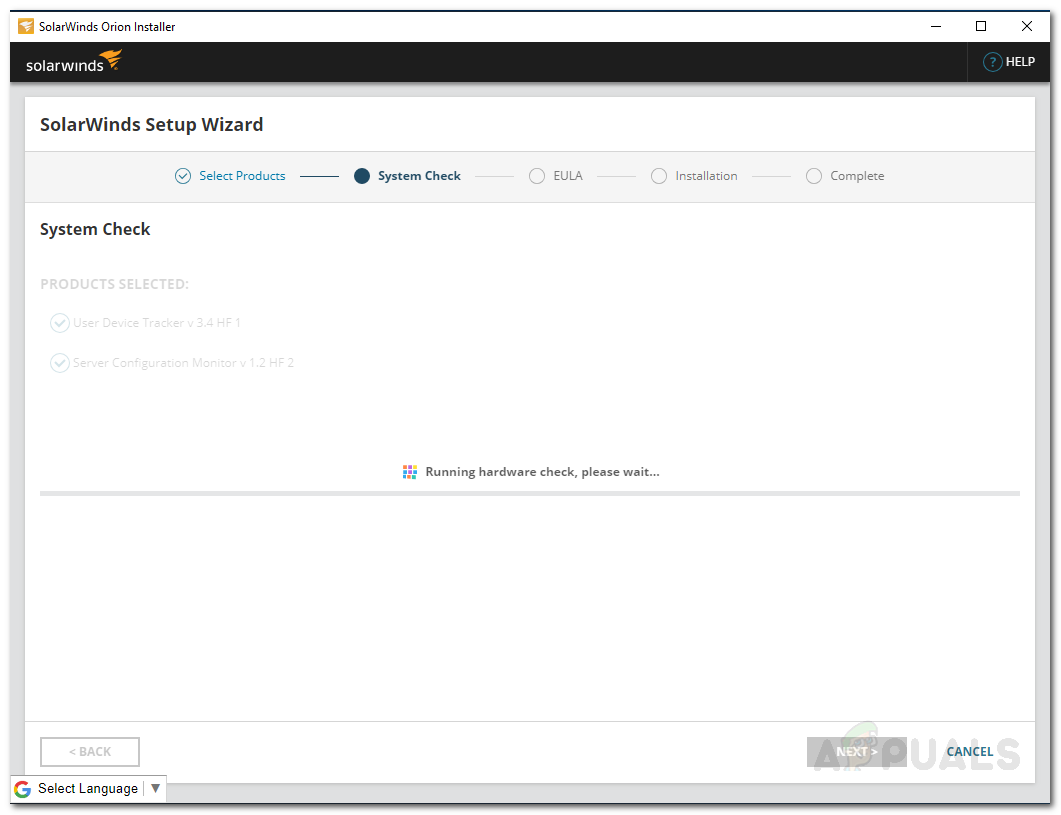
Orion System Checks - After that, agree to the license agreement and click Next.
- The installation process should begin. Wait for the installer to download the required files for the Virtualization Manager.
- Once the installation has finished, the Configuration Wizard for the Virtualization Manager will start automatically. Click Next.
- Make sure the services are ticked on the Service Settings page and then click Next.
- If you performed a Standard Installation, you will be asked to provide the credentials for the existing SQL Server Database so that the product can interact with it.

Database Settings - Once you have done that, the configuration wizard will begin. Wait for it to finish configuring the Virtualization Manager for your system.
Adding Virtual Systems
Now that you have carried out a successful installation of the product on your system, you will have to add the virtual machines that you want to monitor to the product. Once you have done that, the Virtualization Manager will take a while to collect sufficient data before it shows you the summary. This can be done pretty easily using the Orion Web Console which is a web-interface developed by Solarwinds for a variety of its products. Here is how to do it:
- To access the Orion Web Console, type in “YourIPAddressorHostname:Port” in a web browser and hit Enter. The default port used by Orion Web Console is 8787.
- When you access the web console for the first time, you will be asked to create a password for the admin account. Do so and then click Save & Login.

Orion Web Console - After that, on the toolbar, navigate to Settings > All Settings > vCenter or Hyper-V Devices.
- Now, select the type of virtual machine you would like to add and then click Next.
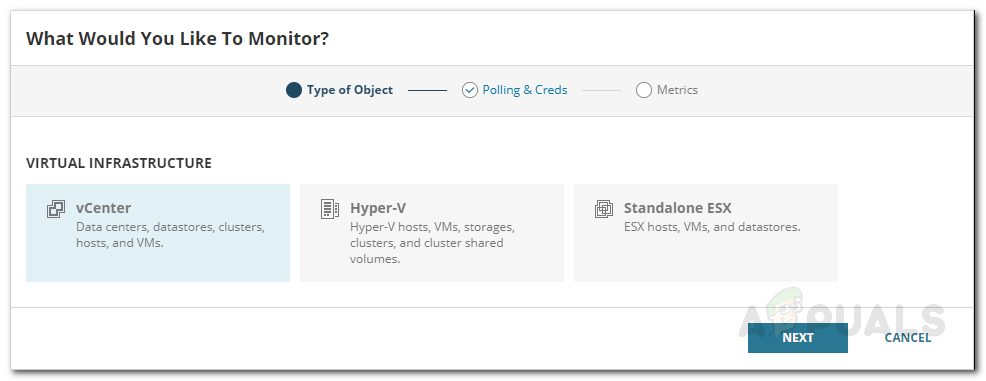
Adding a Virtual Machine - Provide the IP address of the virtual machine and the credentials. To enter new credentials, just use the <New Credential> button. Then, click Next.
- The Metrics tab will show you what the Virtualization Manager will monitor. Click Finish to finalize the addition of the device.
- Please note that if you add vCenter for monitoring, the Virtualization Manager will also add its child virtual machines as nodes.
Start Monitoring
With that done, you are ready to start monitoring the virtual machines that you have added into the product for monitoring. To view the monitoring summary, just navigate to My Dashboard > Virtualization Summary where you will be shown all the machines that you have added along with its nodes. You can use the information provided by the Virtualization Manager to troubleshoot issues with your devices and more.

