How to Monitor your Storage Resources using Storage Resource Monitor?
We all know the importance of storage management. Most of the IT environments have their storage management software. However, that usually is not sufficient. Why is that? Because as the network becomes bigger and more complicated, it is near impossible to manage your storage resources with that. As a network grows and gets larger, you will have to add more arrays per your needs which makes managing all of the arrays difficult. For this purpose, most of IT environments prefer third-party storage monitoring software. Storage resources monitoring is essential as a single array malfunction can impact your network significantly and you probably do not want that as a business. It is a time of competition and a small mistake can leave you way behind your competitors.
So how do you tackle this? First off, you will have to deploy a third-party storage resource monitoring tool on your network so that you can keep tabs on your storage resources. This will help you pinpoint any issues with your storage arrays and fix issues before they cause massive damage. For this purpose, we will be using the Storage Resource Monitor tool. SRM or Storage Resource Monitor is developed by Solarwinds which is not a new name to network and server administrators. Solarwinds is a huge name in the network and system management market and the users know that they can trust the tool when it comes from Solarwinds. SRM has a multi-vendor storage support system so no matter what vendor storage devices you are using, you are most likely to be covered. With that said, let us jump into the various processes of deploying the tool on your system.
Installing Storage Resource Monitor
To start, you will have to download the Storage Resource Monitor tool from Solarwinds’ website. The link can be found here. Head to the link and click on ‘Download Free Tool’ to start your 30 days fully functional evaluation. Please make sure you download the Orion module. If you like the software, which you surely will, you can buy a license from the website. Once you have downloaded the tool, follow the below instructions to install the tool on your system:
- Run the tool after it has finished downloading.
- Wait for the Orion Installer to load up. Once the installation wizard is up, choose Lightweight Installation and click on Browse to change the installation directory of the tool should you wish to do so. Click Next.
- Make sure Storage Resource Monitor is selected on the Products page and then click Next.
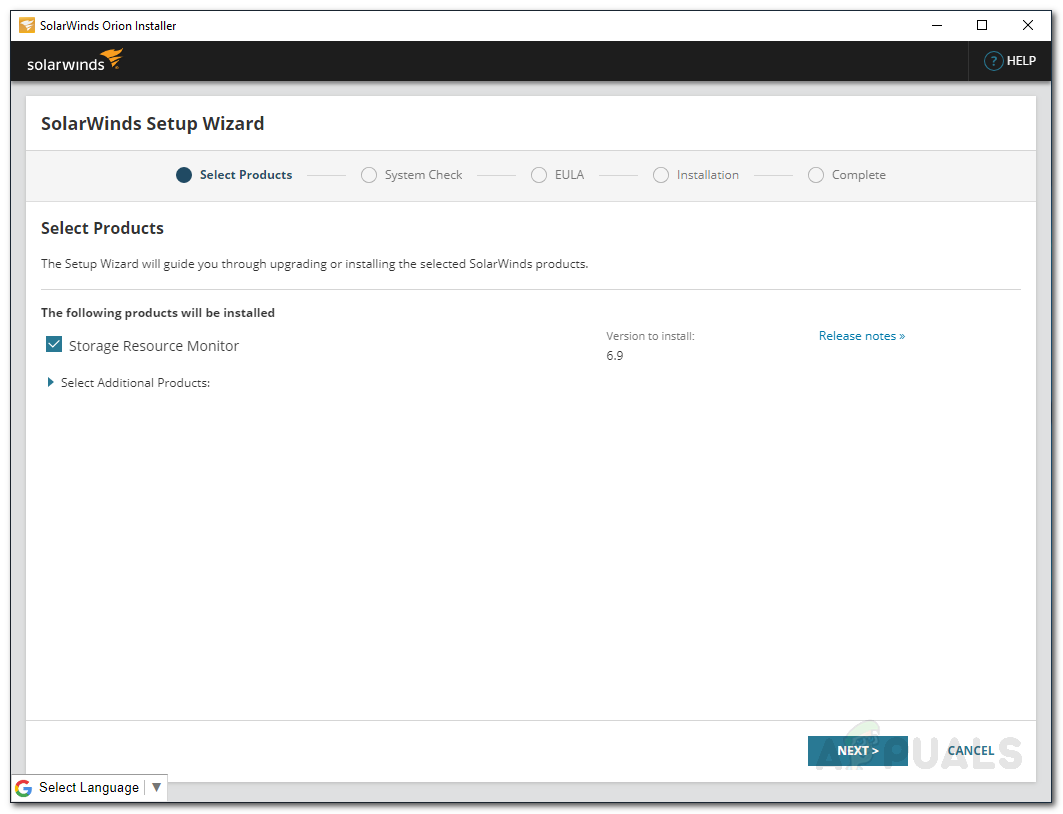
SRM Installation - Wait for the installer to run a few system checks. Once done, agree to the license agreement and then click Next.
- The installer will begin downloading installers for Storage Resource Monitor. Wait for it to finish installing the tool.
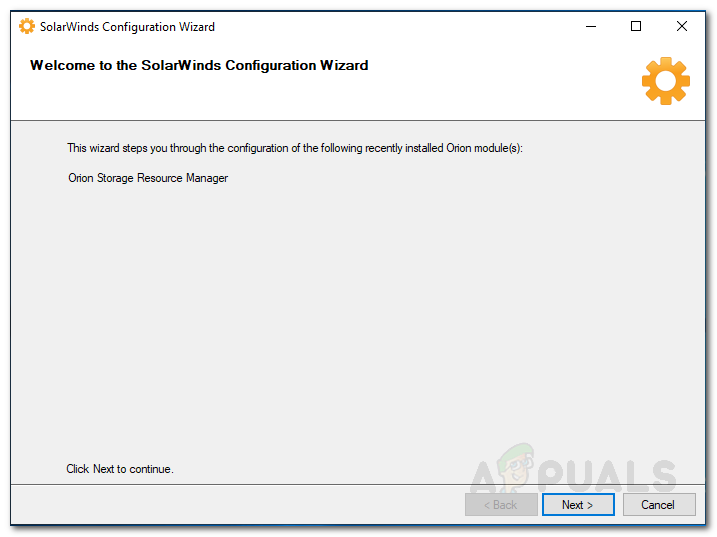
- Once the installation has finished, the Configuration Wizard will start automatically where it will install the required services and configure the tool for your system. Click Next.
Configuration Wizard - On the Service Settings, make sure the services are selected and click Next.
- Hit Next once again to begin the configuration wizard. Wait for it to finalize.
Enabling Array
Now that you have installed the tool on your system, you can start by adding your storage arrays to the Storage Resource Monitor and then start monitoring. However, to do this, you will first have to enable your storage arrays. Now we can’t show you how to enable your storage arrays as different vendors have different methods of enabling an array. However, thanks to Solarwinds efforts, you can learn how to do so from their website. Just head to this link, find your vendor and then head to the link provided in front of your respective array. By doing this, you will be able to enable your array without any issues.
Adding an Array
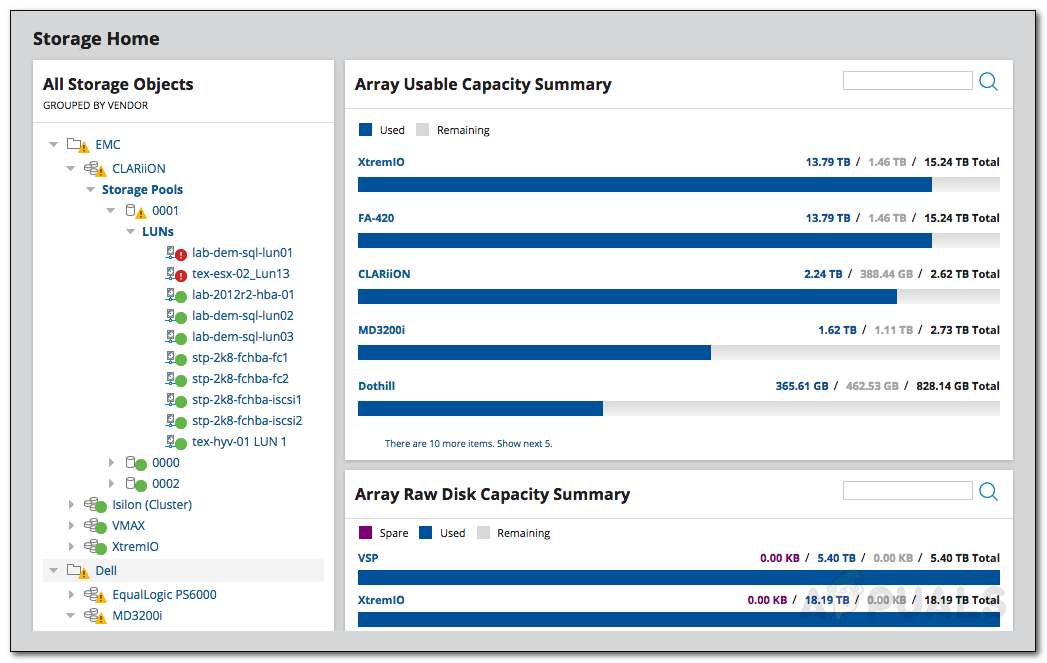
Once you have enabled your arrays, you can now start adding them to the Storage Resource Monitor. After adding your arrays, you can monitor using the SRM Summary page. To add an array, follow the instructions below:
- Open up the Orion Web Console. You will be asked to create a password for the admin account if it is your first time opening the console. Login into Orion Web Console.
- After that, navigate to My Dashboard > Storage Summary.
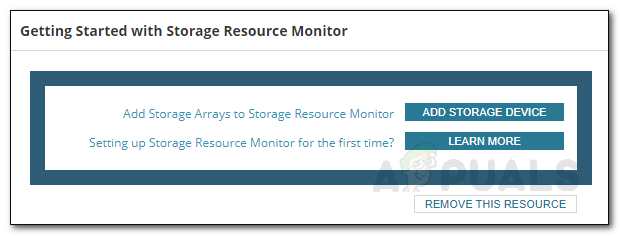
- There, click on the Add Storage Device button under Getting Started with Storage Resource Monitor.
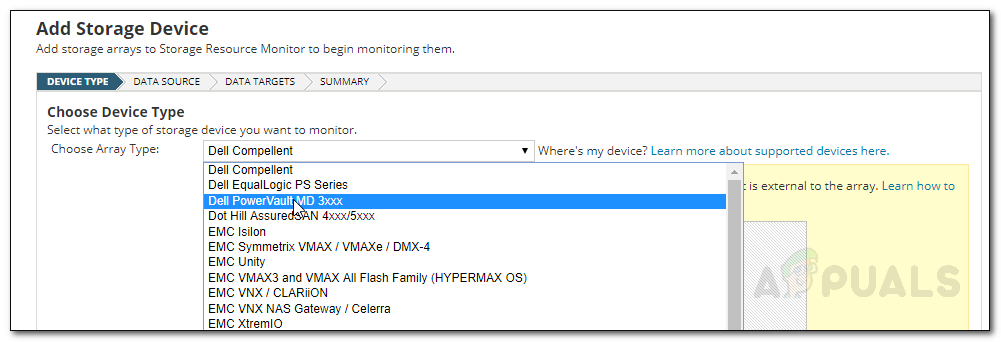
Adding Storage Device - From the Choose Array Type drop-down menu, select your array type and then click Next.
Choosing Device Type - Now, on the Data Source page, click on Add SMI-S Provider. Provide the IP address and other requested fields.
- If you click Advanced, you will be able to change the default protocol ports and namespaces.
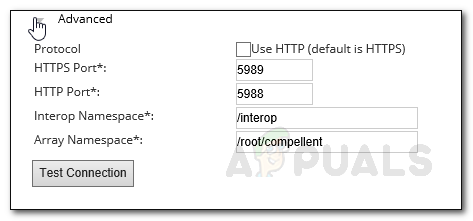
Provider Advanced Options - To check your credentials, click Test Credential. After that, click Next.
- Now, select the array type that you wish to monitor on the Data Targets page and then click Next.
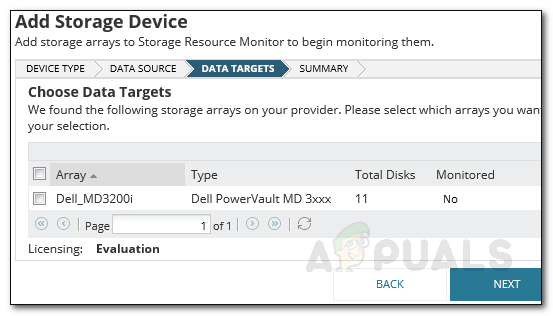
Data Targets - Click Finish when the Results page is displayed listing the licensing and additional information.
- To start monitoring, just navigate to the My Dashboard > Storage Summary page.
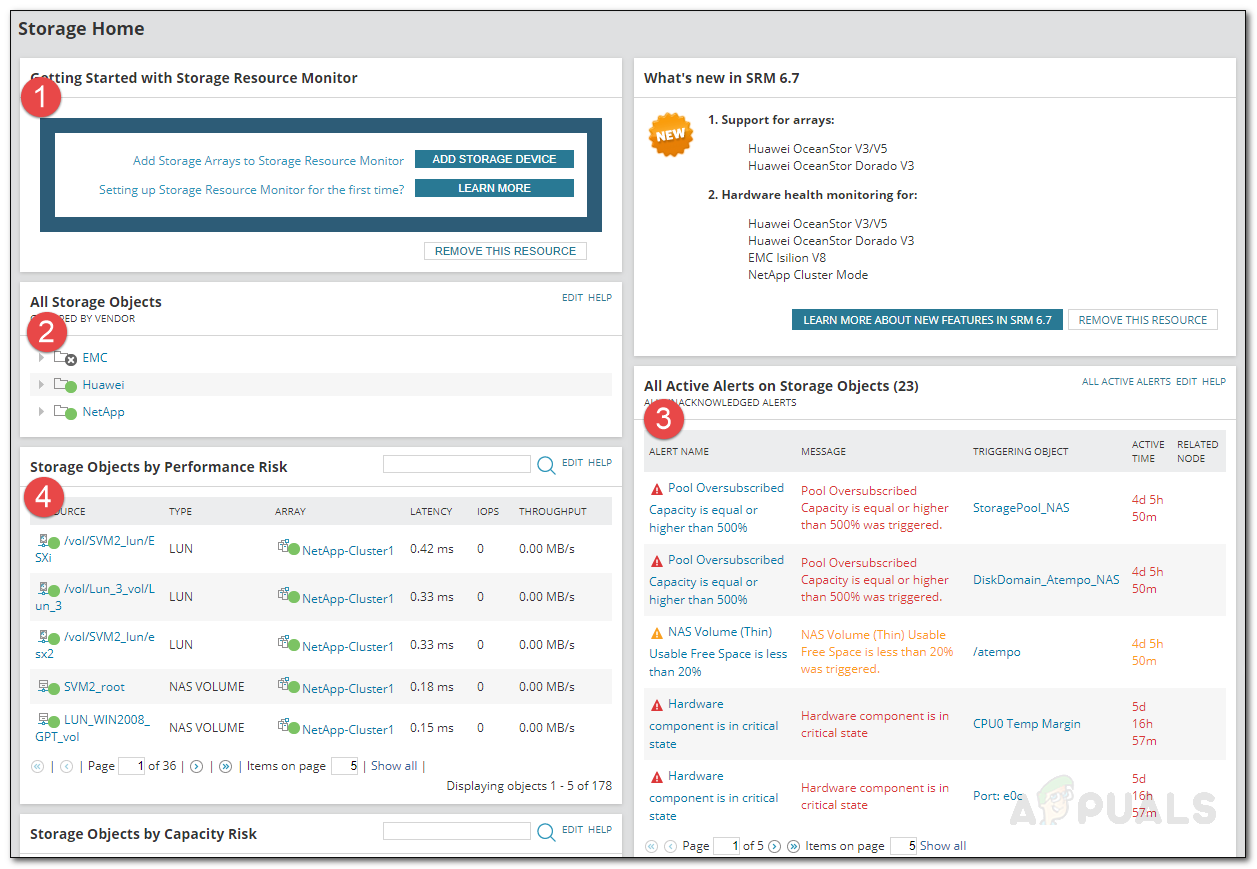
The Storage Resource Environment
Now that you have added your storage arrays, you can start monitoring them. When you navigate to the Storage Summary page, there are four main things that you need to know about. First off, you can add more storage devices by clicking the Add Storage Device button. Under All Storage Objects, all of your added devices will be listed that you can view. Under that, you will find the devices that have the most serious performance issues. Click on one of the entries to view more details about the object. On the left-hand side, you will be able to view the alerts triggered by the Storage Resource Monitor tool. You can view the details by clicking on each alert.