How to Monitor and Manage DNS Severs in IP Address Manager
DNS servers are present in every large network that exists. It is where the IP addresses that are to be assigned to the connected devices are stored. Dynamic Host Configuration Protocol is responsible for the allocation of the available addresses, also known as a DHCP server. Networks are getting larger by the day and we are all aware of the importance of speed. Network connectivity speed is now in the highest demand than it has ever been. In the network world, one downtime or network outage to the end-users already puts you at a disadvantage when compared to your competitors. Therefore, monitoring of your IP address infrastructure is of colossal significance and shall continue to be. To help in making this easier for the network administrators, there are tons of automated tools present out there that makes your job a lot easier than it would have been had it to be done manually.
DNS and DHCP servers can sometimes come at conflict as both are unaware of the actions of the other. This means that a DNS server does not know which IP address has been assigned to which device in the entire network as well as what are the available IP addresses. In the same fashion, DHCP is unaware when DNS (Domain Name System) is running out of IP addresses. This way, IP address conflicts due to duplicate IP addresses tend to arise most of the time. Therefore, this is where an IP address management software or IPAM tools chime in. It helps you track the IP addresses that have been assigned to the various devices connected as well as identify unauthorized nodes that might have slipped in. It also helps network engineers to ensure that the IP address assignment procedure goes smoothly. Solarwinds IP Address Manager offers you that along with much more functionality that you can take advantage of. Other than tracking the IP addresses on your network, it also lets you monitor and manage a DHCP server as well as a DNS server separately. An IP address management system also alerts you of any issues that pop up along with a whole lot of integrated suite of tools. This is one of the advantages of using an IP address management solution.
What do you need?
To be able to follow this guide through, you will have to deploy the Solarwinds IPAM tool (download here) in your network. IP Address Manager integrates with the Network Performance Monitor to offer enhanced insight into your network. If you do not know how to do that, do not worry, we have an article already published on our site that will guide you through every step. Follow the “Track and Manage IP Addresses using IP Address Manager” article on our site to get going.
Another thing to note here is that you have to ensure that you have the DNS server that you want to monitor separately added to Solarwinds IPAM as a node. This means you will have to add it to IPAM as a separate IP address as shown in the article above after which you will be able to monitor the node or DNS server individually. The DNS servers that are supported by IP Address Manager are Windows DNS servers 2008, 2003, 2012, 2012R2 and 2016. Other than that, Bind DNS 9.1 till 9.11n are also supported.
Adding a DNS Server
Now that you have deployed the IP address management tool in your network and added the DNS server as a node in IPAM, you can start to add the node as a DNS server. This is fairly easy to do via the very user-friendly interface Solarwinds provides through its Orion platform. Once you add the DNS servers, the DNS entries in Solarwinds IPAM will automatically be updated. Here’s how to do it:
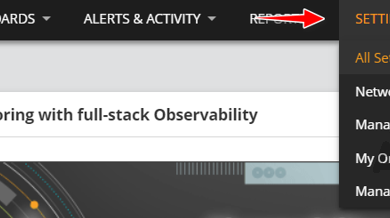
- Log in to the Orion web console as an administrator.
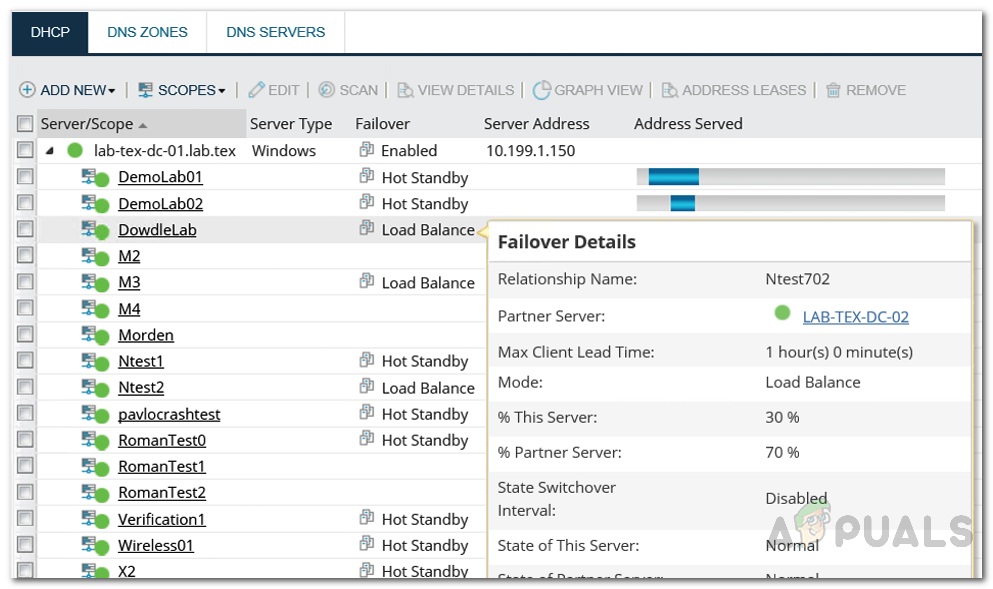
- After you have logged in, move your way to My Dashboard > DHCP and DNS Management.
- Switch to the DNS Servers tab which will show you the list of current DNS servers added. It will empty as you currently haven’t added any DNS servers.
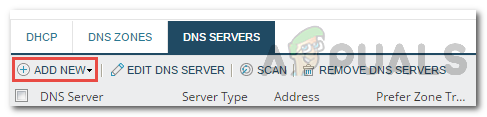
- To add a DNS server, click on the Add New option and then hit the DNS Server option from the drop-down list.
Adding DNS Server - Select the node that you want to add as a DNS server under the Choose DNS Server section.
- After that, select the credentials method for the server which will be used to access it. Make sure to click the Test button to confirm that the credentials provided are correct.
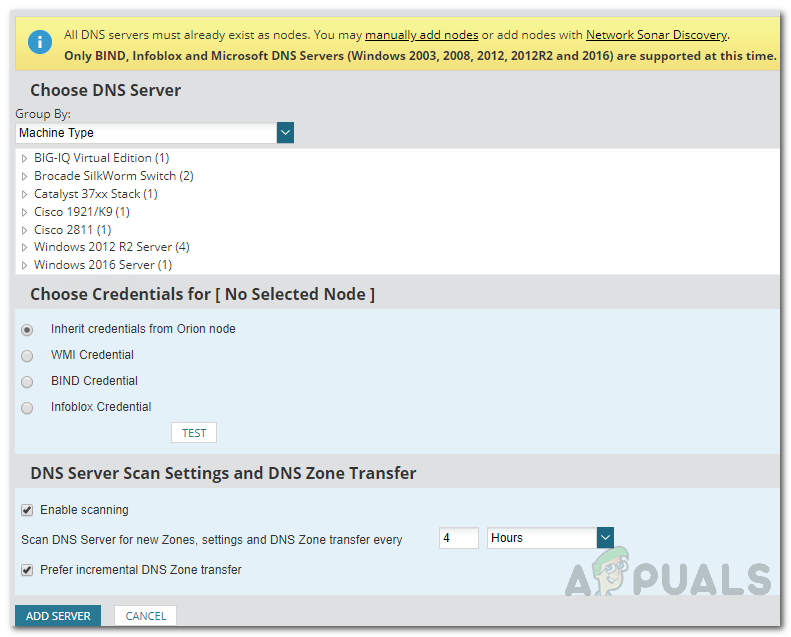
Adding DNS Server - Tick the Enable Scanning option to enable DNS Zone transfers. IP Address Manage will scan the DNS server for new zones and other settings based upon the provided interval.
- Finally, click the Add Server button to add the node as a DNS server.
Adding a DNS Zone
If you have a DNS server that has a DNS zone and the server has authority over the zone, you can add the DNS zone to IPAM as well. One single DNS server can have authority over multiple DNS zones. Three types of DNS zones are supported by IPAM i.e. Primary zone, secondary zone, and stub zone.
Follow the below instructions to add a zone:
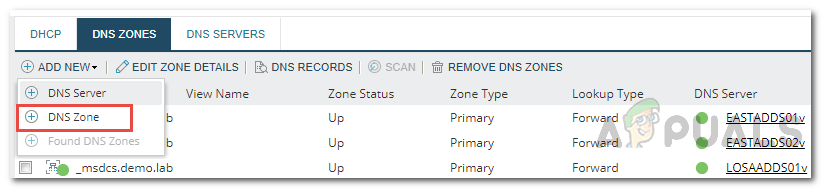
- On the Orion web console, navigate to My Dashboards > IP Addresses > DHCP and DNS Management.
- Switch to the DNS Zones tab. Now click the Add New button and then select DNS Zone from the drop-down list.
Adding DNS Zone - On the Choose DNS Server page, choose the DNS server to which the zone will be applied from the drop-down list and then click Next.
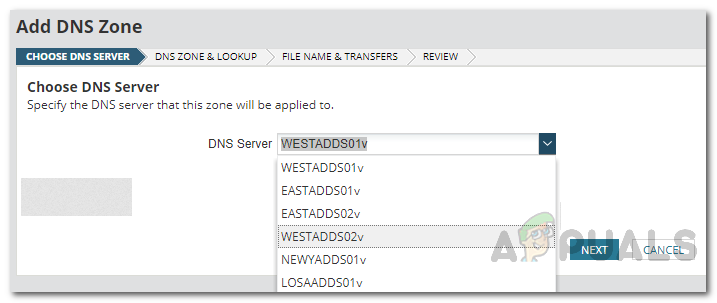
Choosing DNS Server - After that, choose the type of zone. If you select Primary Zone, you can store the zone in Active Directory if the DNS Server is a domain controller if you wish to. For Secondary and stub zones, you will have to specify a Master DNS Server.
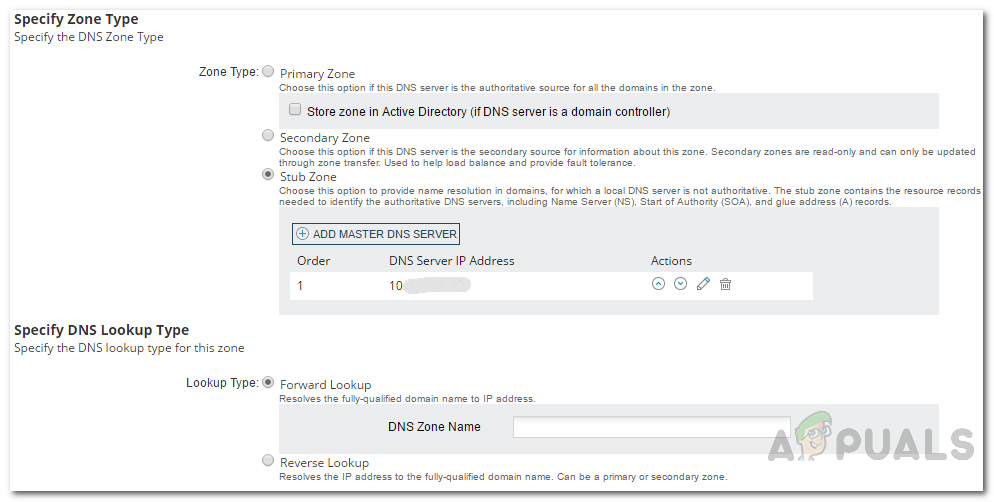
Adding DNS Zone - Once done, choose the DNS Lookup type. If you choose Forward lookup, you will have to provide a DNS name for the zone. For Reverse lookup, you will have to provide the Network IP or the reverse lookup zone name. Then, click Next.
- Provide a name for the zone file or you can just use the default name. This is where the DNS zone data will be stored on the DNS server computer.
- You can choose to enable Zone Transfers as well as provide an interval for the transfer. Zone transfers are basically used for synchronizing secondary and stub zones with the master DNS server.
- You can also choose to enable incremental zone transfers which will only pull changes that are needed to synchronize it with the source.
- After that, click the Next button.
- Finally, review the information that you have provided and make sure everything checks out. Then, click the Create Zone button. Click OK once the confirmation dialog box appears.
Editing and Removing DNS Servers or Zones
Once you have added DNS servers and the zones that you want to, you can change the details anytime you want to by accessing the DNS and DHCP Management page. From there, you can also choose to remove a DNS zone or server should you want to later down the road.