Fix: “Something Went Wrong in the Login Process” Error in Minecraft
When trying to log into Minecraft using their Microsoft accounts, many users often encounter an error message that reads “Something went wrong in the login process. If the process persists, check your internet connection“. This error completely prevents the users from accessing their accounts and launching the game.
This error has been around for a long time, and the most common reasons behind it are a faulty internet connection, an outdated version of Minecraft, and inactive Xbox Services. So for most users, ensuring that their internet connection is working, updating their Minecraft app to the latest version, and starting the important Xbox Services will resolve the issue.
However, there are many more factors that can be the potential cause of this error. By following this guide, you’ll be able to pinpoint the root cause of the error and take the necessary steps to resolve it.
1. Check your Internet Connection
When you encounter this error, the first thing you should do is check if the internet connection is working properly on your device. A faulty internet connection has proven to be the most common cause of this error.
Open your web browser and try to load a web page to see if your internet connection is active. If the page loads, the next step is to check the speed of your connection. If your connection is experiencing very low download/upload speeds, it is more than likely the cause of the login issue.
To check that, simply type “Internet Connection Speed Test” in your browser’s search bar and press enter. Select the top result and perform the speed test. If your download and/or upload speed is extremely low (for example, <1 Mbps), there is likely something wrong with your internet connection.
But if the download and upload speeds are normal, your internet connection is not the cause of the issue. In this case, you can move on to the next solution in this guide.
1.1 Troubleshooting your Internet Connection
The first thing you should do to troubleshoot your internet connection is to restart your router and modem (if you have one in your home). Restarting or “Power Cycling” these devices can solve your issue by resetting your connection to your Internet Service Provider (ISP) and restarting all the processes inside the devices.
Follow the steps below to restart your router and modem:
- Turn off your router and modem by unplugging the power bricks from their sockets.
- Leave them unplugged for 3 minutes.
- Plug the power bricks back into their sockets.
- Wait for the devices to start up and establish a stable connection.
Be sure to wait for at least three minutes to allow the devices to discharge any lingering electric charge before reinserting the power bricks. Failing to do so may lead to additional connection issues.
After Power Cycling your router and modem, check if your internet connection is fixed. If it still isn’t fixed, you should try connecting to your router using an Ethernet Cable if you’re currently using Wi-Fi. For a more reliable and high-speed internet connection, Ethernet is the way to go.
Connect your device to the router using an Ethernet cable by plugging one end into the Ethernet port on the back of your device and the other end into the port on the back of your router. Make sure to disable Wi-Fi on the device after doing so.
If you’re already using an Ethernet Cable, the final way to solve this internet issue is to switch over to another internet connection. If you only have one internet connection available in your household, you can try connecting your device to your phone’s data using Hotspot.
Follow the steps we’ve written below to connect your device to your phone’s data:
- Turn on the Mobile Data on your phone.
- Open your phone’s settings app and turn on the “Portable Hotspot” feature.
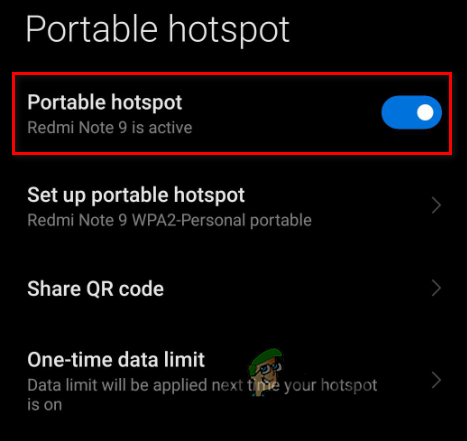
Enabling Mobile Hotspot - Go to your device’s Wi-Fi menu and disconnect from the current connection.
- Connect to your phone’s Hotspot.
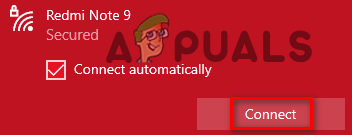
Connecting to Mobile Data
After fixing your internet connection, open the Minecraft launcher and check whether you’re able to log into the game. If the error continues to occur, try the next solution we’ve listed below.
2. Update the Minecraft Launcher App
If the Minecraft Launcher application on your device is not updated to the latest version, it could be the leading cause of this issue. Therefore, the next solution to this error is to update the Minecraft launcher to the latest version.
Follow the steps listed below to update your Minecraft app:
- Press the Windows key on your keyboard, type “Microsoft Store” and press the enter key.
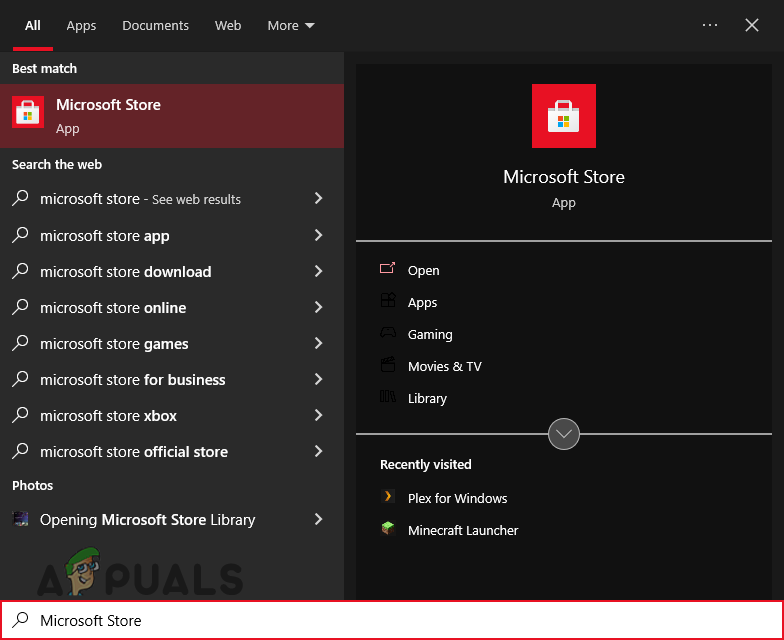
Opening Microsoft Store - Click on the “Library” option in the bottom-left corner of the Window.
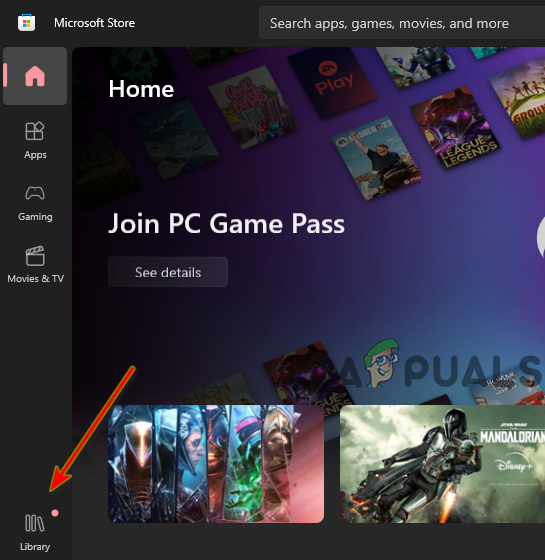
Opening Microsoft Store Library - Click on the “Get updates” button in the top-right corner.
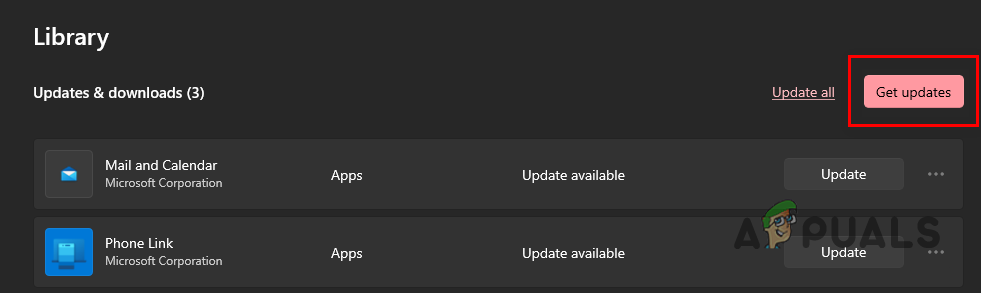
Updating Minecraft
After you click on this button, the Microsoft Store app will begin checking for updates in your library. If the Minecraft app has updates available, you’ll get the option to update it.
After Minecraft has finished updating, launch the game and check if the error is still occurring. If the error persists, continue to the next solution.
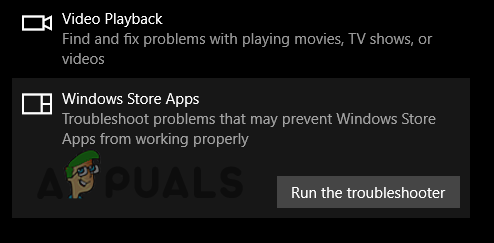
3. Run the Windows Store Apps Troubleshooter
Windows has a native troubleshooter that allows you to troubleshoot the Windows Store Apps. This can help fix any problems that may prevent Windows Store Apps, such as Minecraft, from working properly. Running this troubleshooter has a high chance of solving the login issue.
Follow the steps listed below to run the Windows Store Apps Troubleshooter:
- Press Windows Key + I at the same time to open Settings.
- Select the “Updates & Security” option.
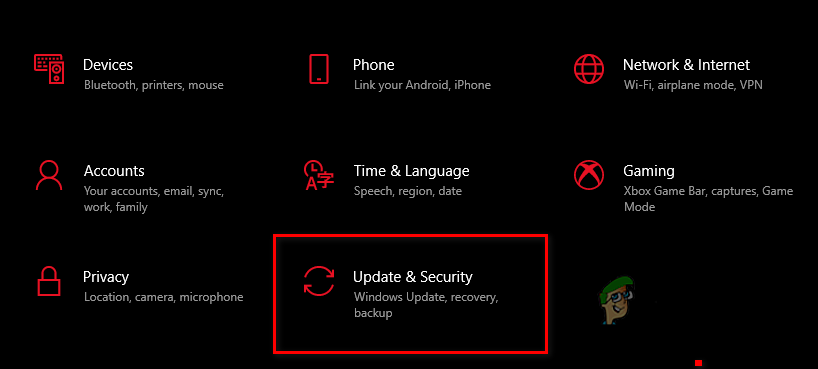
Opening the Updates and Security Menu - Click on the “Troubleshoot” option on the left.
- Click on the “Additional troubleshooters” option.
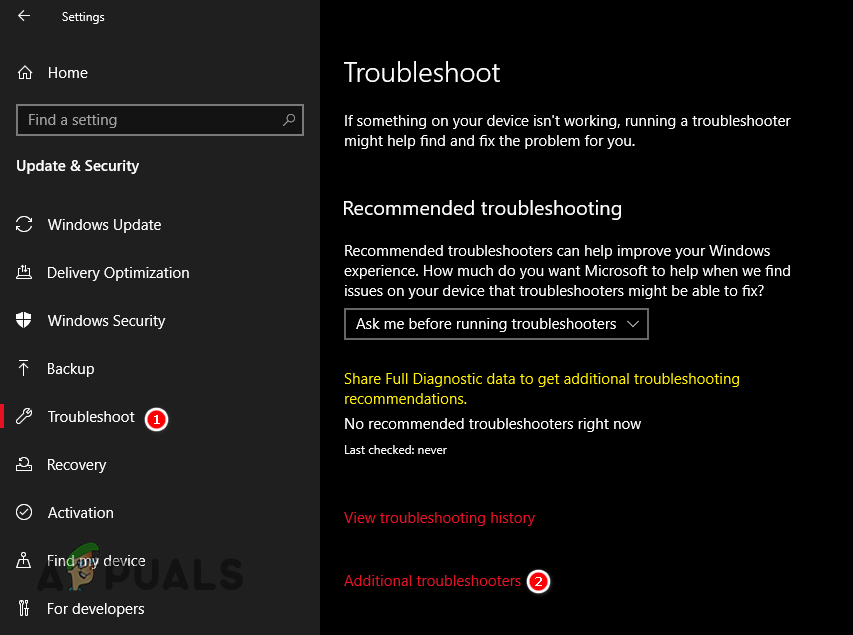
Opening Troubleshooting menu - Scroll down to the bottom and click on “Windows Store Apps.”
- Press the “Run the troubleshooter” button.
Running the Windows Store Apps Troubleshooter
4. Reset the Microsoft Store and Repair Minecraft Launcher
The Microsoft Store app itself on your system could be corrupted. A corrupted store can cause errors in the apps downloaded from the store, which would explain why you’re encountering this error in Minecraft.
To ensure that there is no issue with your Microsoft Store app, you must reset it by following the steps written below:
- Press Windows Key + R at the same time to open the Run dialog box.
- Type “WSReset” in the search bar and press enter.
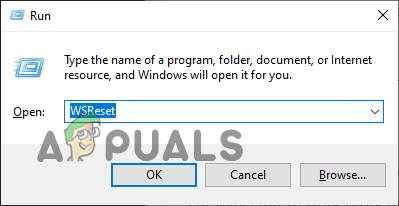
Entering the store reset command
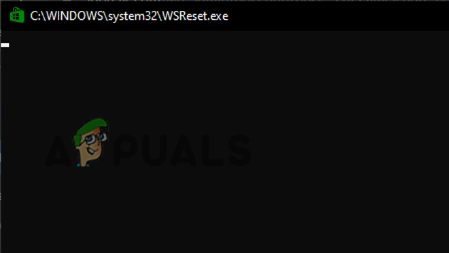
After you press enter, a blank Command Prompt Window will appear on your screen. It will stay there for a minute or two and then close itself. When it closes, it means that the store has been reset. You can then open Minecraft to check the status of the error.
If this doesn’t fix the error, the next step of this solution is to repair the Minecraft Launcher application. To do this, follow these steps:
- Press Windows Key + I at the same time to open Settings.
- Select the “Apps” option.
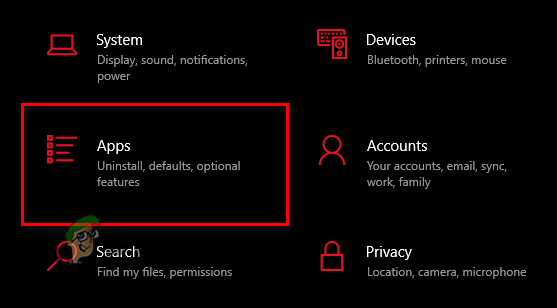
Opening the Apps menu - Click on Minecraft Launcher in the list of apps.
- Select “Advanced Options.”
- Press the “Repair” button.
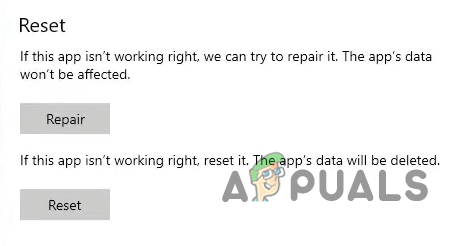
Repairing Minecraft
If repairing the launcher does not fix the issue, you can try the reset option in the same menu. However, keep in mind that this will reset the app to its default settings, so you will lose your mods, texture packs, and saved worlds.
So before resetting the app, make sure to open your Minecraft data folder and create a backup of all the important files.
5. Start the Necessary Services
For Minecraft to work properly on your system, you need to have the following services running:
- IP Helper.
- IKE and AuthIP IPsec Keying Modules.
- Xbox Live Networking Service.
- Xbox Live Auth Manager.
- GamingServices.
If any one of these services is not active, you will not be able to log into your Minecraft account. To ensure that all of these services are running, follow the steps listed below:
- Press Windows Key + R at the same time to open the Run dialog box.
- Type services.msc and press enter.
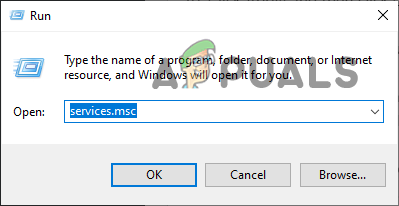
Opening Services - In the Services Window, scroll down the list of services and look for the services mentioned above. Let’s start with IP Helper.
- When you find the service, check what’s written under its status.
- If its status says “Running”, move on to the next service.
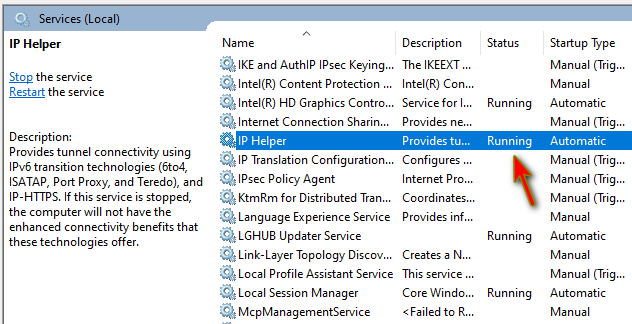
Checking the status of the Service - If there’s nothing written under its status, double-click on the service, set the Startup type to “Automatic”, press the Start button, and click Apply.
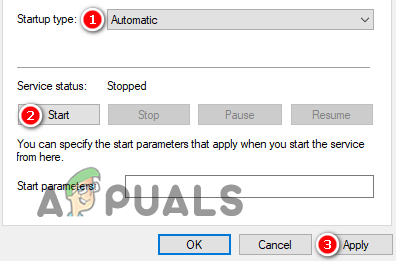
Starting the Service - Repeat this process for all services.
- Restart your device.
6. Add Antivirus and Firewall Exceptions for Minecraft
The Antivirus and Firewall programs we have installed on our computers often mistakenly flag safe and trusted apps as unsafe and prevent them from working properly.
If the Minecraft Launcher app on your system gets flagged as unsafe by your Antivirus and/or Firewall program, it will have its internet access restricted. And this will cause all types of issues, such as the login error you’re facing.
To ensure that this issue isn’t being caused by your Antivirus and/or Firewall program, you must create an exception for the Minecraft Launcher in their menu.
If you’re only using Windows Firewall, follow the steps below to add an exception for Minecraft:
- Press the Windows key on your keyboard, type “Windows Security” and press the enter key.
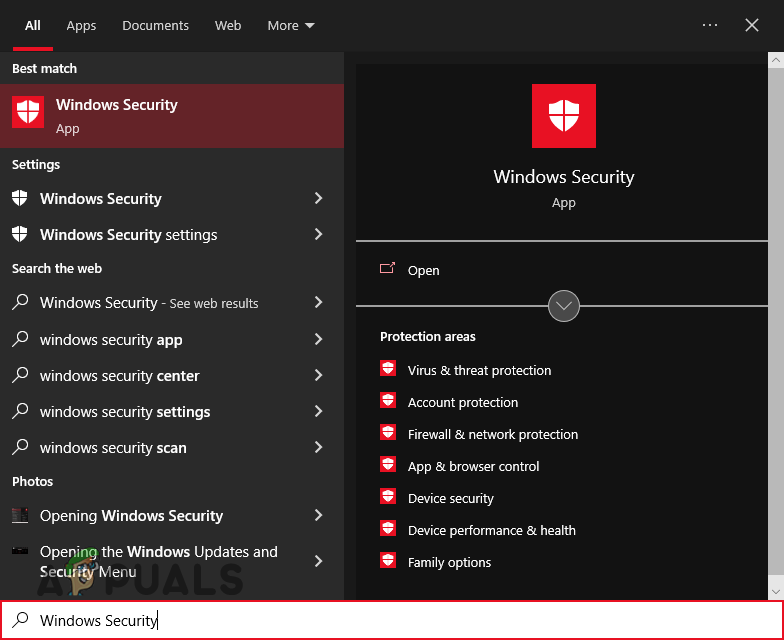
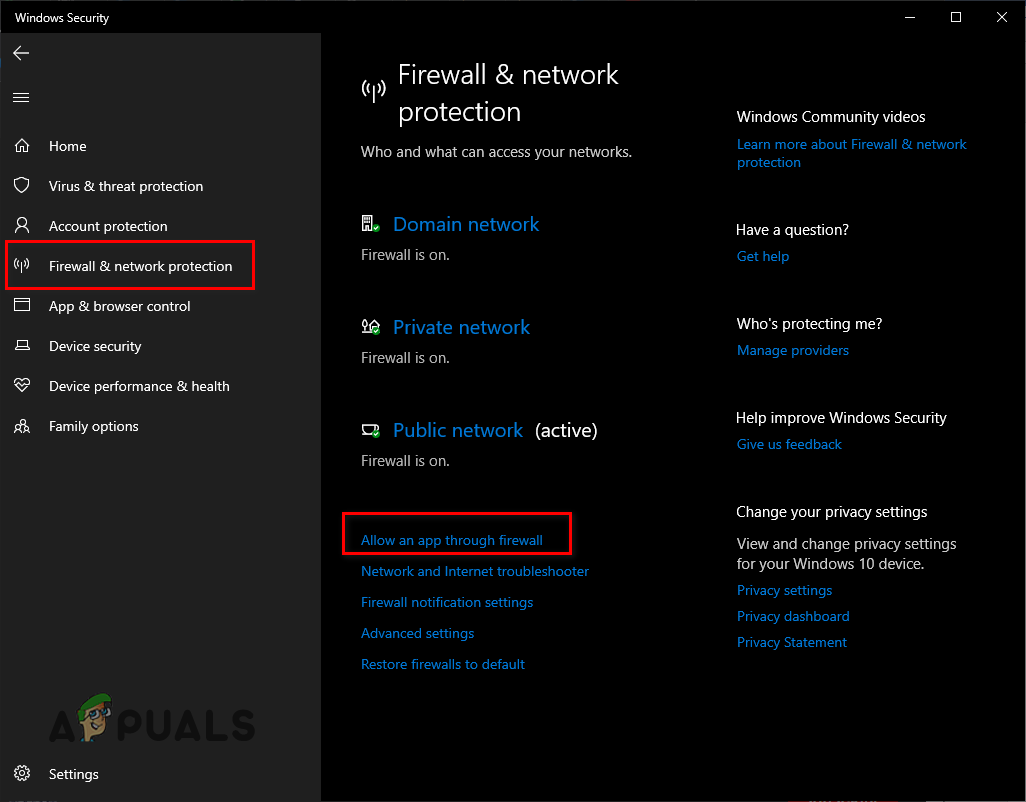
Opening the Windows Security menu - In the Windows Security menu, navigate to the “Firewall & Network Protection” section.
- Press the blue “Allow an app through firewall” button in the menu.
Opening Firewall Settings - Press the “Change Settings” button at the top-right of the Allowed Apps menu.
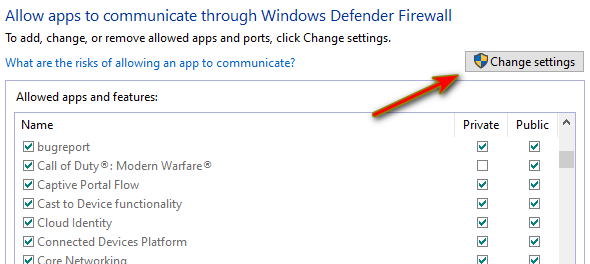
Pressing the Change Settings button - Add checkmarks next to Minecraft in the list of apps (for both Private and Public).
- Click OK.
Do note that if you don’t see Minecraft in the list of apps, you will have to click the “Allow another app…” button at the bottom right to manually add Minecraft to the list.

Another thing to keep in mind is that if you’re using a Firewall program other than the native Windows Firewall, you will have to create an exception for the game in its menu too.
After that, you must open your Antivirus menu and add an exception for the game there as well. You can open this menu by following these steps.
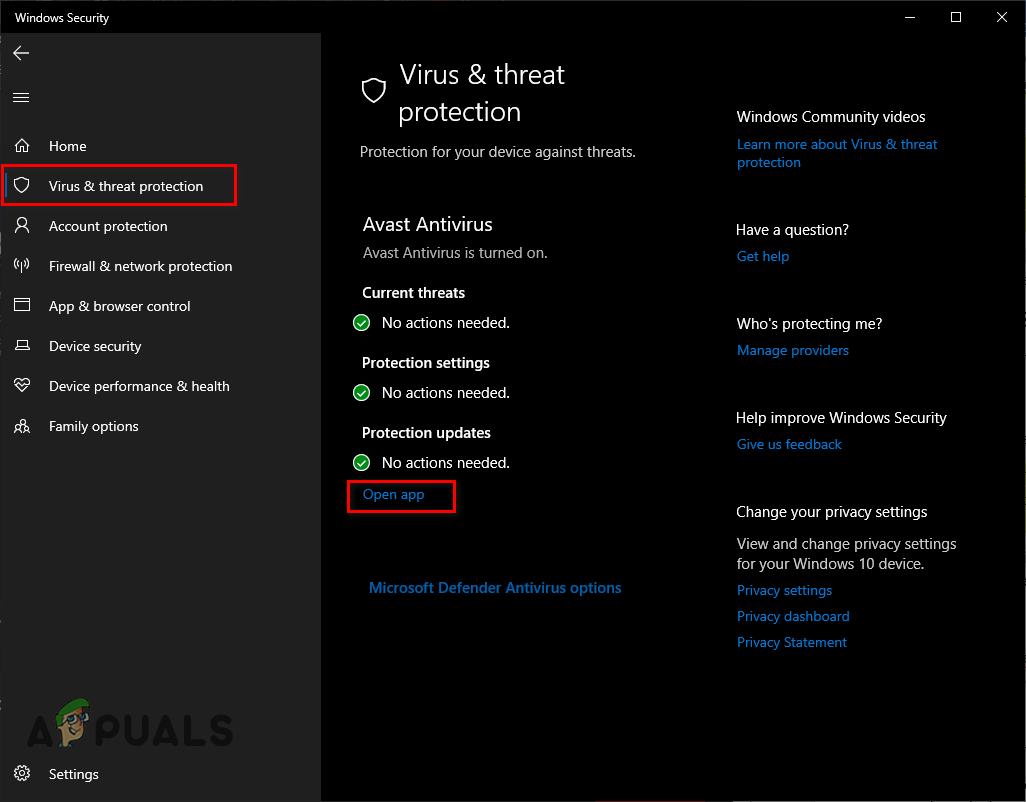
- Open the Windows Security menu.
Opening the Windows Security menu - Navigate to the “Virus Threat & Protection” section.
- Click on the blue “Open App” button in the menu.
Opening Antivirus interface
When you click the “Open app” button, your Antivirus program’s interface will open up. Navigate to the Settings menu and add an exception for the game.
If you’re unable to create the exception, or if you can’t find the option to do so, you can try temporarily disabling the Antivirus instead. This will allow you to figure out whether the Antivirus is the cause of the issue. Remember to not permanently disable the program, as that can cause a security concern.
If it turns out that your Antivirus is the source of the error, you can try installing a different Antivirus program on your device. If you need help figuring out which program to install, take a look at our guide where we list the top 5 best Antivirus programs available.
7. Install the Xbox App and Download the Dependencies
Since Minecraft is now a product of Microsoft, you need to have some Xbox dependencies installed on your system for the game to work properly. Dependencies refer to software components or libraries that are required by another application to function properly. In the case of Minecraft, these dependencies are software components that enable certain features of the game, such as online multiplayer, to work seamlessly with Xbox Live.
The three necessary dependencies are:
- Xbox Live In-Game Experience
- Xbox Identity Provider
- Feedback Hub
Xbox Live In-Game Experience allows players to access online multiplayer features in Minecraft, while Xbox Identity Provider is used to authenticate your Microsoft account when you log in to the game. Feedback Hub is a Microsoft tool that allows players to report issues and provide feedback to Microsoft about their experience with Minecraft.
As per Microsoft support’s own suggestion. the easiest way to check whether you have these dependencies installed is to download the Xbox app. This app will automatically scan your system for missing dependencies and give you the option to easily install them on your device.
To download the app, visit this link and install it. When you open the app, it will show you some error messages if it finds any missing dependencies or applications on your system. Follow its instructions to install the necessary dependencies and then launch Minecraft to check if the error is solved.

If you open the app and you do not see any error messages, it means that you likely already have all the required dependencies installed. However, if you want to confirm this, click on your account name in the upper left corner of the Xbox app menu, and go to Settings > General. If you have some missing dependencies, they will be shown in this menu.
8. Use a Different Minecraft Launcher
If you’ve tried all of the solutions above and you are still unable to log into your account, there could be some sort of bug with the Minecraft Launcher itself. Ever since Microsoft’s acquisition of Minecraft, there have been many confirmed issues with the launcher, such as login issues, slow loading times, and crashes.
Therefore, the next solution to this issue is to try a third-party launcher for the game. Some popular and trusted third-party launchers in the Minecraft community are MultiMC, ATLauncher, and Technic Launcher.
One thing to note before installing third-party launchers is that not all launchers are created equal, and some may have their own bugs or compatibility issues. It’s recommended that you do some research and read reviews before downloading and using a new launcher.
9. Reinstall Minecraft
The final solution to this login problem is to uninstall Minecraft from your system and perform a fresh install of the game. Since none of the solutions above have worked for you, the final possible cause of the error is that your Minecraft launcher is corrupted and the erroneous launcher files are preventing you from logging into your Microsoft account.
Reinstalling Minecraft will ensure that there is no problem with the launcher itself. And this will most likely resolve the issue for you. While reinstalling the launcher, ensure that your internet connection is perfectly stable, as an unstable connection can cause corruption and other errors during the download process.
To reinstall Minecraft, you have to first uninstall it from your system by following the steps written below:
- Press Windows Key + R at the same time to open the Run dialog box.
- Type “appwiz.cpl” in the search bar and press enter.
Opening the Programs and Features menu - Find Minecraft Launcher in the list of applications.
- Right-click on Minecraft Launcher and press “Uninstall.”
After the game has been successfully uninstalled from your system, open the Microsoft Store and go to your library and reinstall the launcher from there. Once the game has been reinstalled, you should finally be able to log into your Microsoft account.


