How to Remove Installed Programs on Windows 11
Windows 11 will let you uninstall the games you’re no longer playing in several different ways, and they’re also several third-party programs that can also rid your hardware of games that you’ve completed or lost interest in. Let’s take a list of your options.
Just as Windows 10, Windows 11 includes a built-in uninstaller easily accessible through the Start menu and the Settings screen. And for those of you that are nostalgic about the Windows XP era, the classic Programs and Features menu is still buried inside Control Panel and can be used to uninstall games & programs.
Note: From our own testing, it turns out that removing games using Windows 11’s built-in options still runs the risk of leaving behind leftover folders, files, and Registry entries. If you want to ensure that doesn’t happen, you still need to use a third-party uninstaller.
Let’s go over all your options and walk you through every potential way of uninstalling a game on Windows 11.
Uninstall via the Start Menu
This is hands down the easiest way to uninstall a game from Windows 11.
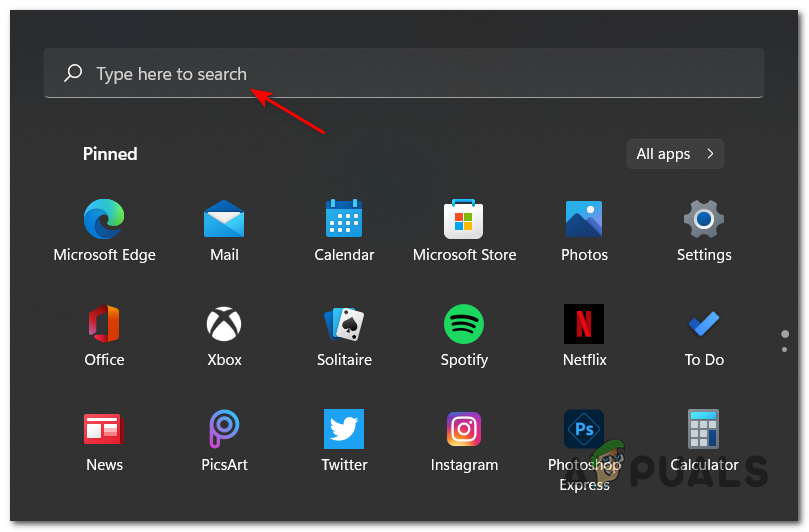
All you have to do is pop-open a Start button and look for the game you wish to remove via the search option at the top (if the game is not already featured among the pinned items).
Next, from the list of results, right-click on the game that you wish to uninstall from Windows 11 and choose Uninstall from the context menu that just appeared.
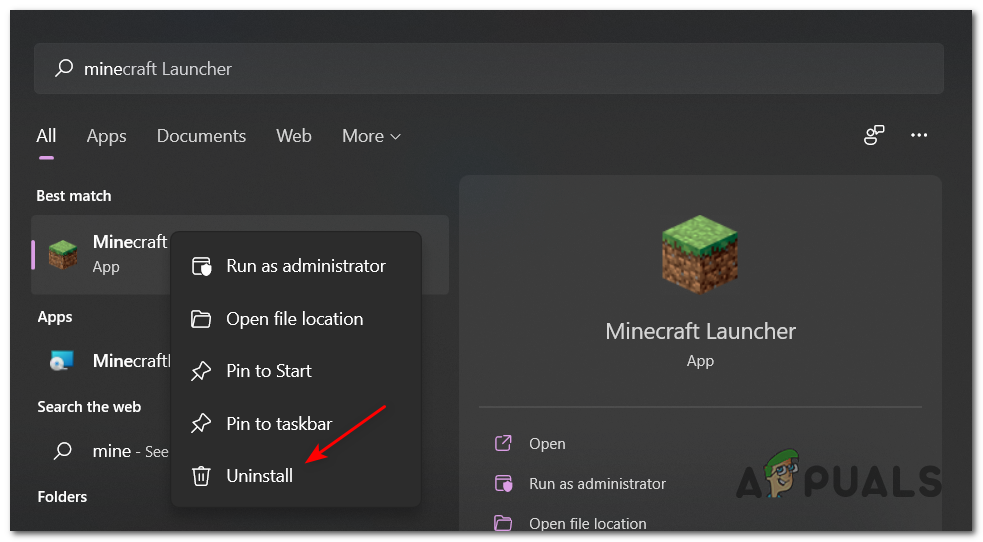
Note: Unlike on Windows 10, clicking the Uninstall button from the context menu on Windows 11 will take you directly to the Programs and Feature menu. Once inside, follow the on-screen prompts to complete the uninstallation.
Uninstall via Programs and Features Menu
If you’re an old-school Control Panel person (like me), you’ll be happy to know that the Programs and Features interface is available since Windows XP makes its return on Windows 11.
You’ll be able to access it via Control Panel or by running a Run command that will take you directly to the familiar uninstallation window.
Follow the steps below for instructions on how to uninstall Windows 11 games from the Programs and Features menu:
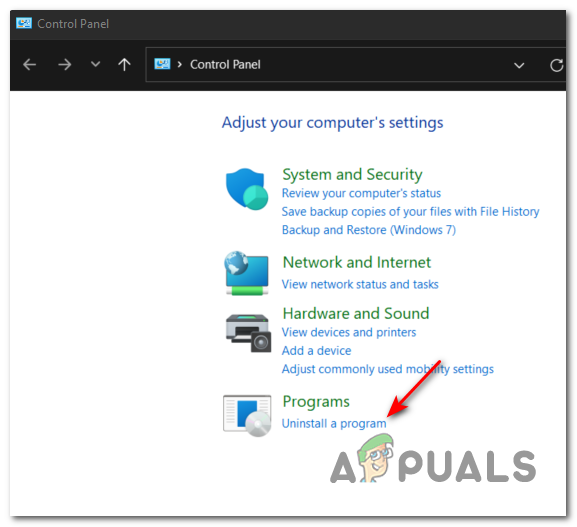
- Press the Start key, type ‘control’, and double-click on Control Panel from the list of results.
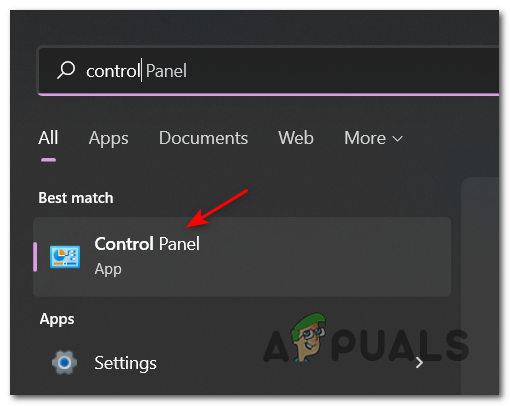
Accessing the classic Control Panel menu on Windows 11 - Once you’re inside the classic Control Panel interface, click on Uninstall a program (under Programs).
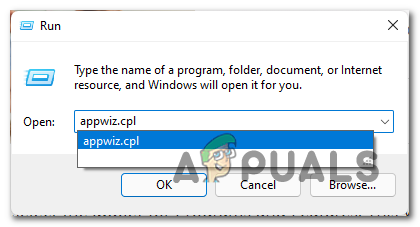
Accessing the Programs and Features screen Note: You can skip these first two steps and land directly into the Programs and Features menu by pressing Windows key + R, typing ‘appwiz.cpl’, and pressing Enter.
Opening the Programs and Features on Windows 11 - Once you’re inside, scroll through the list of available programs and locate the game that you want to uninstall.
- When you see it, right-click on it and choose Uninstall from the context menu that just appeared.
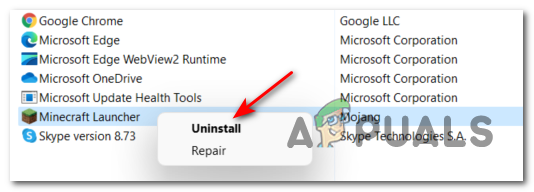
Uninstalling the Minecraft launcher - From the uninstallation screen that just appeared, follow the on-screen prompts to complete the uninstallation.
Note: Keep in mind that this uninstallation method (as well as the one above) is prone to leaving behind leftover game files and registry keys.
Uninstall via App Settings
If you want to use the new & revamped uninstaller, you should uninstall your Windows 11 games from the Apps & Features interface.
In my opinion, this is the best native uninstalling option on Windows 11 since it gives you an easy view of all the programs you can uninstall – This includes both Windows Universal Platform Apps (UWP) and standard (traditional) desktop applications.
Note: Keep in mind that the Apps & Features uninstaller is also prone to leave behind leftover files. If you want to ensure that the game is completely removed, a 3rd party uninstaller is currently your only option.
If you want to uninstall your Windows 11 games via the Apps & Features uninstaller, follow the instructions below:
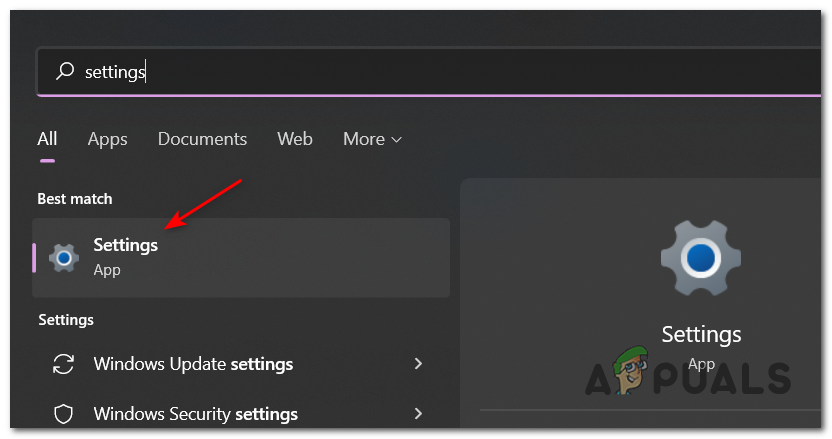
- Press the Start button and use the search button at the top to find and access the Settings interface.
Accessing the Settings menu - Once you’re inside the Settings app, click on the action icon in the top-left section of the screen, then click on Apps from the context menu that just appeared.
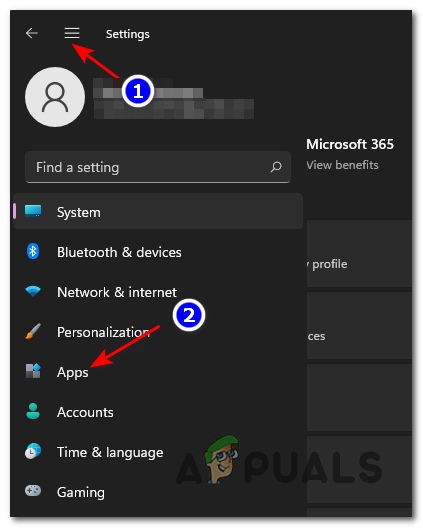
Accessing the Apps Settings - Next, from the Apps menu, click on the Apps & Features submenu.
Note: You can reach this menu directly without having to go through the Settings app menus by hitting Windows key + R key to open up a Run box, then typing ‘ms-settings:appsfeatures’ and press Enter.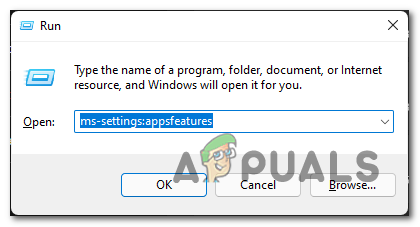
Opening the Apps & Features screen - Once you reach the correct menu, scroll down through the list of programs and locate the game you wish to uninstall Windows 11.
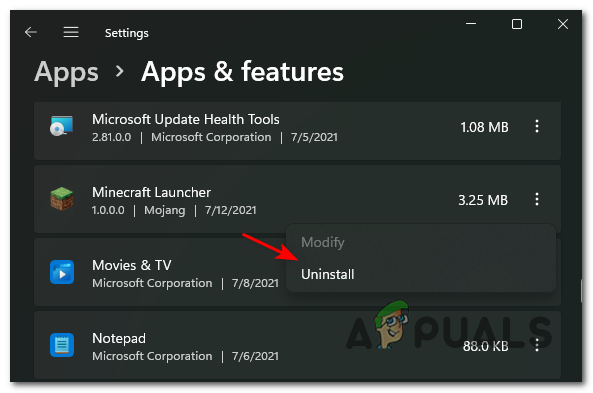
- When you see it, click on its associated action icon and then click on Uninstall from the context menu that just appeared.
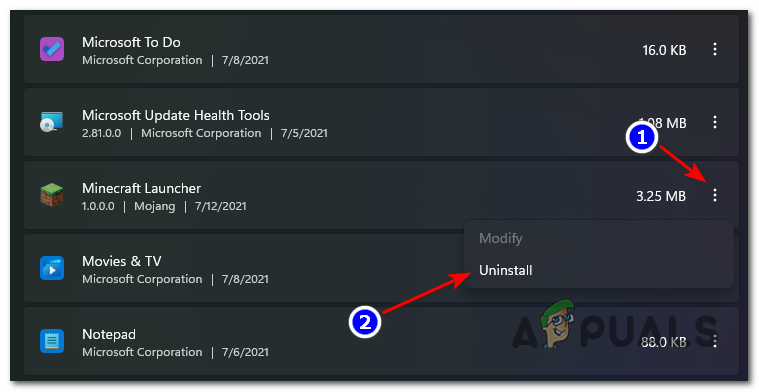
Uninstalling the game on Windows 11 - Finally, confirm your intention of uninstalling the game by clicking on Uninstall once again from the confirmation prompt.
Uninstall via 3rd party Uninstaller
Windows 11 (just like its predecessor) it’s not good at keeping track of every file that gets generated after you initially install a game or application on your PC.
This creates a slight issue when you need to uninstall something because as you’ll often see, the uninstallation handled by the native module will often leave behind leftover files or settings that will remain long after you’ve uninstalled the parent application.
Fortunately, if you’re a PC ‘clean freak’, there are several 3rd party options that will allow you to fully remove a game from Windows 11.
There are a lot of 3rd party uninstallers that can get the job done, but we recommend using one of the following since they’ve already been updated for Windows 11:
If you’re looking for specific instructions on how to use a 3rd party uninstaller to uninstall a game on Windows 11, follow the instructions below. We’ve shown you how to do it using Revo Uninstaller:
- Start by visiting the download page of Revo Uninstaller and download locally the latest build of Revo Uninstaller.
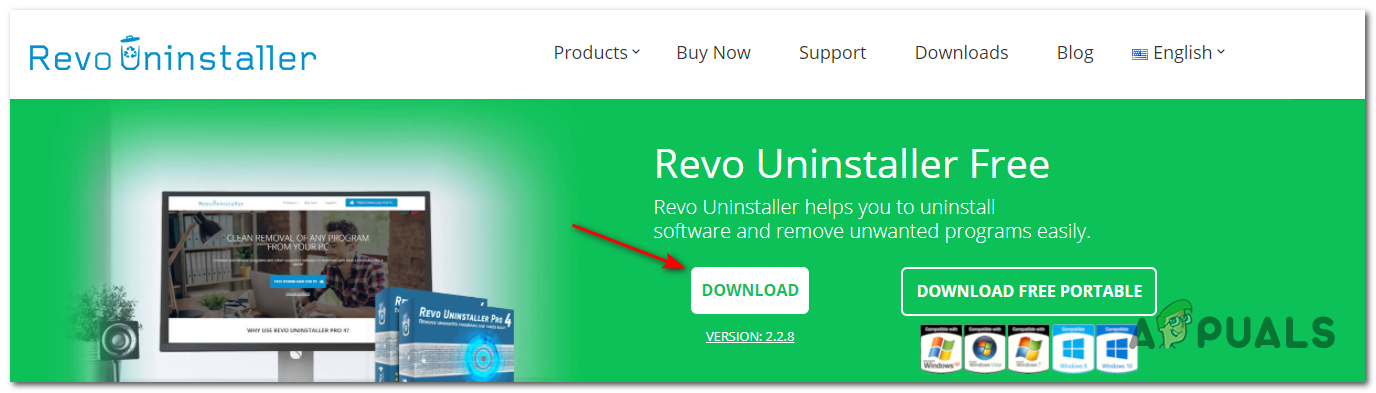
Downloading Revo uninstaller Note: Don’t download the portable version because it’s not as good as the regular version and we haven’t gotten it to work properly on Windows 11.
- After the installer is downloaded locally on your computer, open it and accept the UAC prompt before following the on-screen prompts to complete the installation.

Installing the Revo Uninstaller Note: If asked to do so, hit Yes at the User Account Control window to grant admin access to the installer.
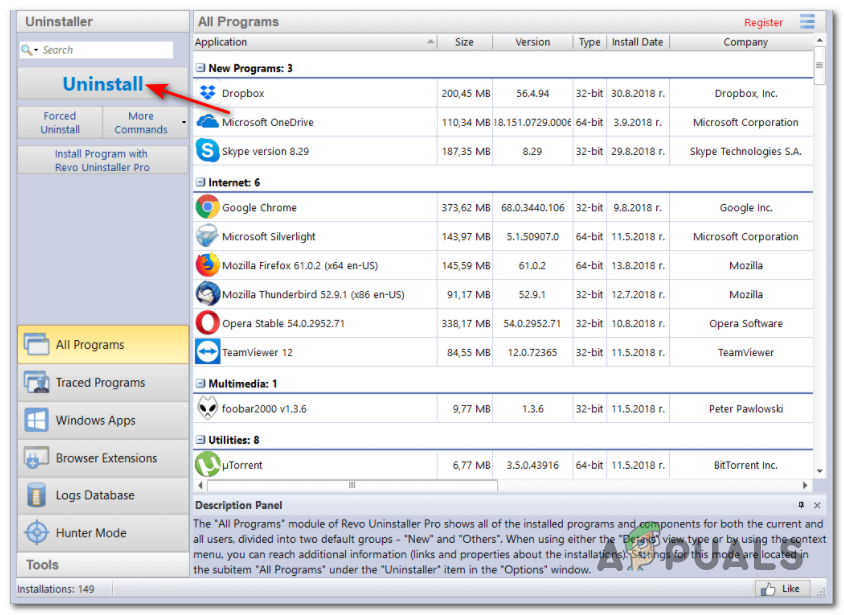
- Next, open the Revo Uninstaller app and access the Uninstaller.
- From the Uninstaller tab, scroll down through the list of installed applications.
- Next, locate the game that you wish to uninstall and click the Uninstall button at the top of the app to commence the uninstallation process.
Uninstalling the game on Windows 11 via Revo Uninstaller - Confirm the operation by clicking the Uninstall button in the confirmation prompt.
- Wait until the process is finished, then go to Advanced from Scanning modes and click on Scan to remove every leftover file.
- Follow the remaining prompts to complete the uninstallation, then restart your computer manually and you should see the game along with every remnant file completely removed from your Windows 11 computer.


