How to Delete Broken Registry Items on Windows?
Microsoft’s Windows is one of the most used operating systems and it has many features that most certainly assert its dominance over the competition. Everything that is done on the computer, be that installing an application, visiting a webpage, etc. is stored in the registry. The Registry is the digital footprint of the user on Windows. It also contains numerous entries that are vital for Windows and shape the way it runs on a daily basis.

There can often be certain “Broken Registry Items” in the registry. These items are most usually corrupt/deleted registry entries that can be left as a residue after the uninstalling/deleting of a file. They can sometimes slow down the computer and cleaning them up is certainly a good thing to do. In this article, we will teach you some of the easiest methods to get rid of the Broken items in the registry.
How to Delete Broken Registry Items on Windows?
There are many different ways to get rid of the junk in the registry, while there are many applications out there who claim to solve the problem but they can sometimes end up creating even more problems for you. Therefore, below we have compiled a list of the easiest methods you can follow to manually get rid of broken registry items.
Method 1: Performing Disk Cleanup
The Disk Cleanup feature has been integrated into almost all versions of Windows. It can conveniently delete the unnecessary files on your computer and conserve space. n order to run a Disk Cleanup:
- Press “Windows” + “S‘ to open the search.
- Type in “Disk Cleanup” and select the first option.
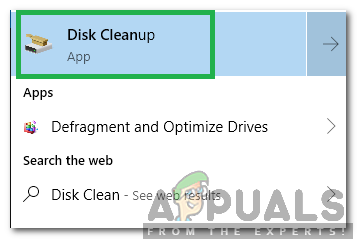
Selecting Disk Cleanup - Select the drive on which Windows has been installed.
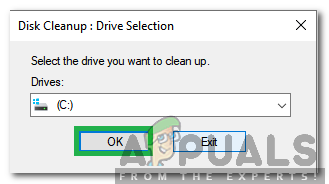
Selecting the “C” drive - Click on the “Clean Up System Files” and select the drive again.
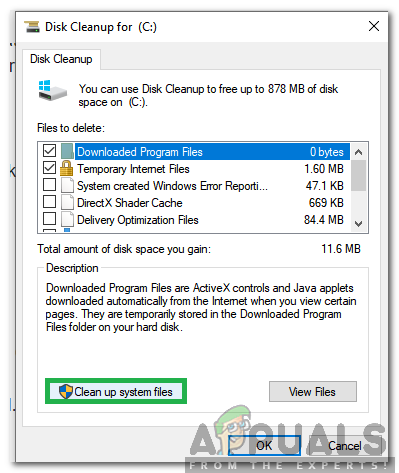
Selecting “Clean up System Files” - Check all the options and click on “OK”.
- This will get rid of all the unnecessary files on your computer and help speed it up.
Method 2: Running DISM
Another method to automatically find and repair broken items in the registry is to run the DISM command in the command prompt. For that:
- Press “Windows” + “R” to open the run prompt.
- Type in “cmd” and press the “Shift” + “Ctrl” + “Enter” keys simultaneously to provide administrative privileges.
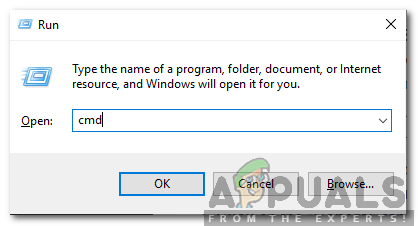
Typing cmd in the Run Prompt and pressing “Shift”+ “Ctrl” + “Enter” - Type in the following command and press “Enter”
DISM /Online /Cleanup-Image /ScanHealth
- Wait for the process to be completed and check to see if the broken items are removed.
Method 3: Refreshing Computer
If the above method didn’t delete the broken registry items for you, you can always refresh your computer by using the restore option without losing any personal files/applications. For that:
- Press “Windows” + “I” to open settings.
- Click on the “Update & Security” option and select “Recovery” from the left pane.
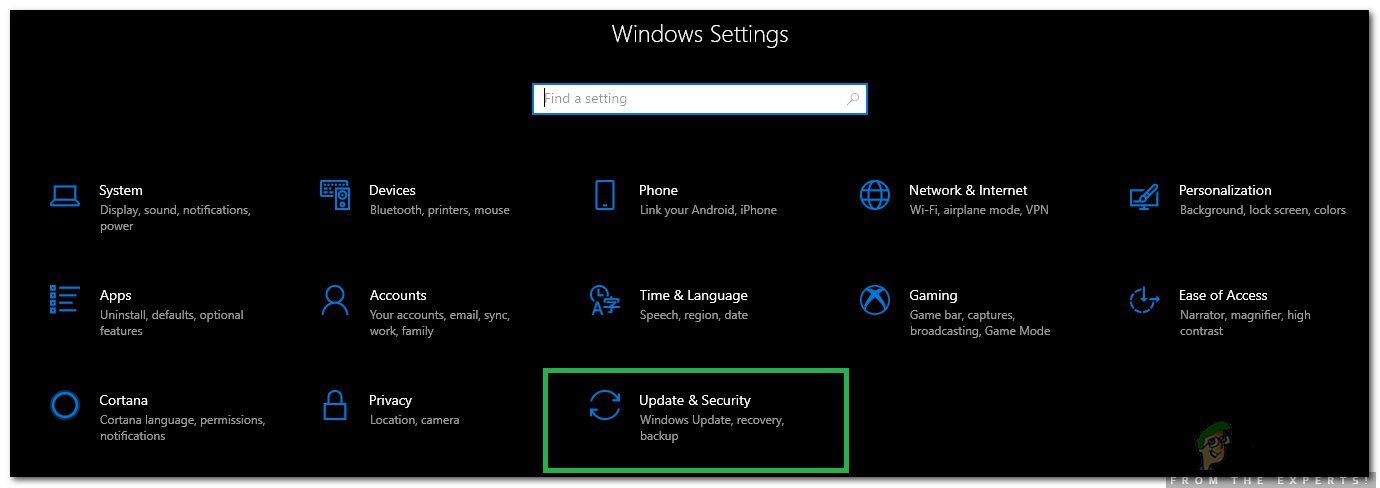
Selecting the Update & Security Option - Click on the “Get Started” option and select the “Keep My Files” button.
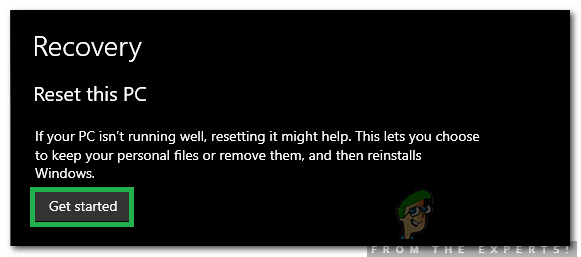
Clicking on the “Get Started” option - Follow the on-screen instructions to completely refresh Windows which will automatically reset the registry and the broken items will be removed.


i recommend this api