How to Reset Local Group Policy Settings to Defaults in Windows 10
Windows 10 allows for customization and configuration throughout the system. For a normal user, all the changes that he may require can be easily achieved from the Settings app. This app is becoming more common and thus is more and more used as Microsoft integrates almost all of the common configuration into it. Other than that, the Control Panel is also utilized for certain changes such as power options and more. While these two are mostly used for common configuration, there are things that you may want to change that simply cannot be done through these apps.
It is for this purpose that the Local Group Policy Editor exists. It is basically a Microsoft Management Console, also known as MMC, that enables users to manage the configurations of the whole system. Group Policy Editor allows for two types of configuration, Computer Configuration and User Configuration. To give you a brief insight on these; Computer Configuration enables administrators to set different policies that are applied to the computer itself regardless of the user using the system. This can be really beneficial in institutions like Education and more. The second type of configuration that is User Configurations allows admins to set different policies that are applied to the users of the computer regardless of the PC that they are on, like in a network.
It often happens that system admins make changes to various policies found in the editor which helps them to configure the system appropriately. However, in some cases, if you mess around with too many policies, it can trigger unwanted system behavior and if you aren’t keeping track, you won’t be able to pinpoint the cause of the issue. Therefore, in such scenarios, you’ll have to reset the group policies to their default values.
In this guide, we will be taking you through the process of resetting the policies to their default values via two different ways.
Resetting Local Group Policy Settings
Now, by default, the state of every policy in the editor is “Not Configured“. As you go along and edit different policies, their state is changed from “Not Configured” to “Enabled” or “Disabled”. Because of this change, the policies that have been changed can be easily tracked. You will simply have to sort the policies by the State column and that will enable you to see all the policies that you have changed.
This way is especially helpful if you want to change some policies to their default behavior and not all of them. You can do the latter as well, however, we have a much easier way of doing that down in the guide. Follow the instructions down below to reset the values:
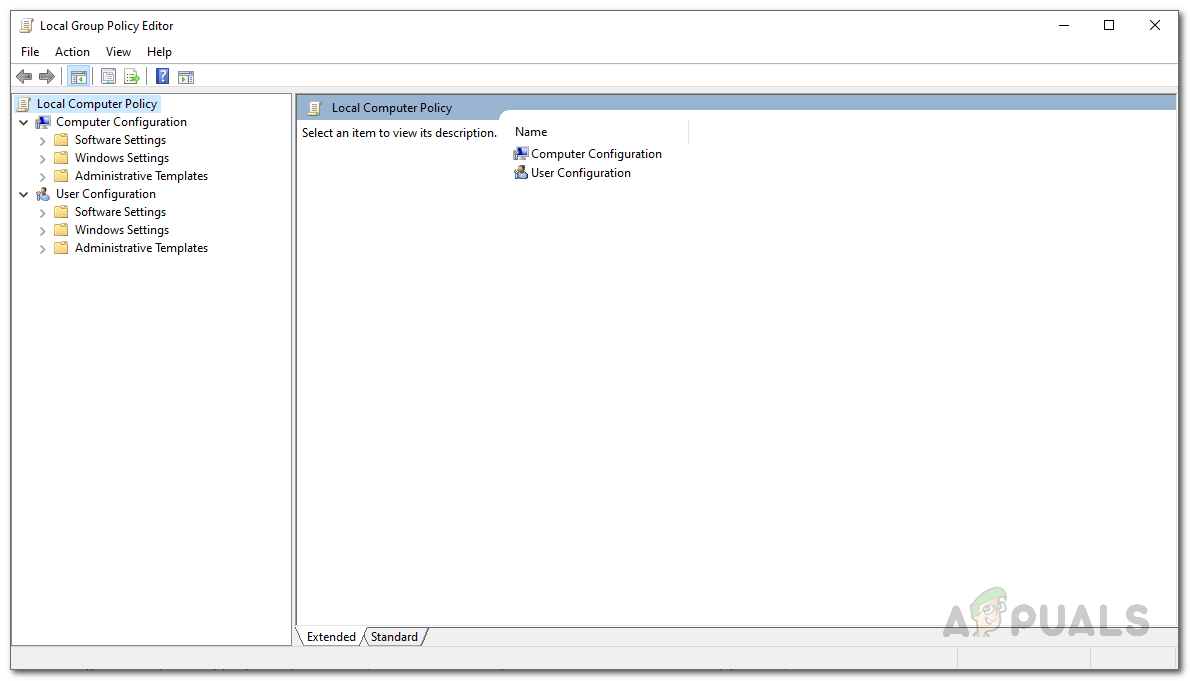
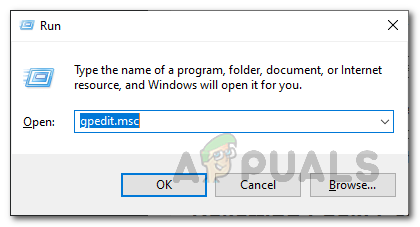
- First of all, open up the Local Group Policy Editor. To do this, open up the Run dialog box and then type gpedit.msc. Finally, press the Enter key to launch the editor.
- On the Local Group Policy Editor, navigate to the path given down below:
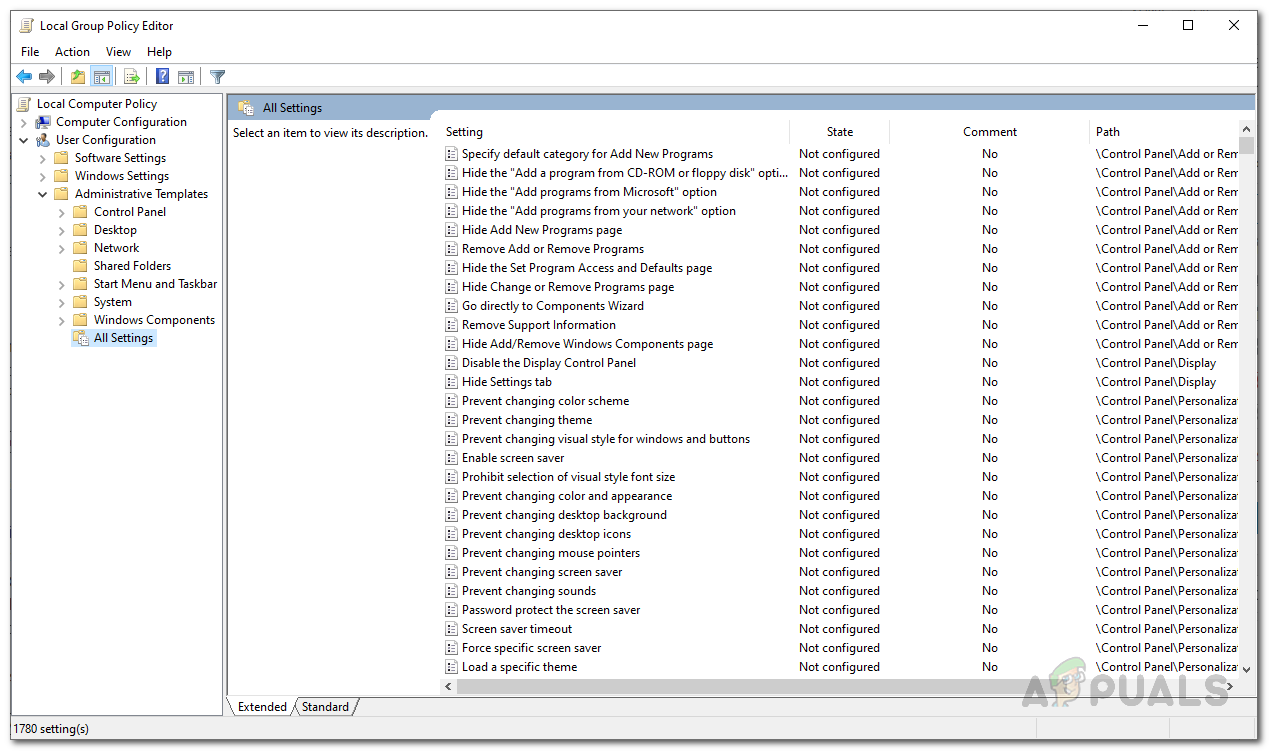
Computer Configuration > Administrative Templates > All Settings
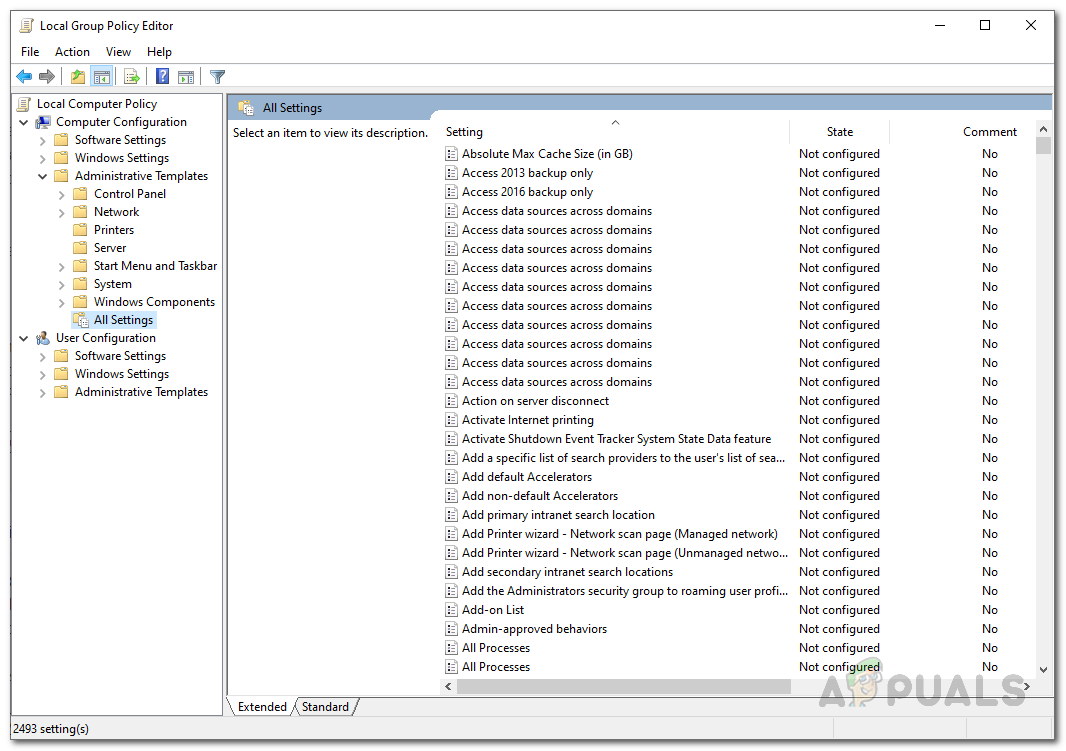
- There, you will have to sort the policies by their state. To do this, click on the State column on the right-hand pane.
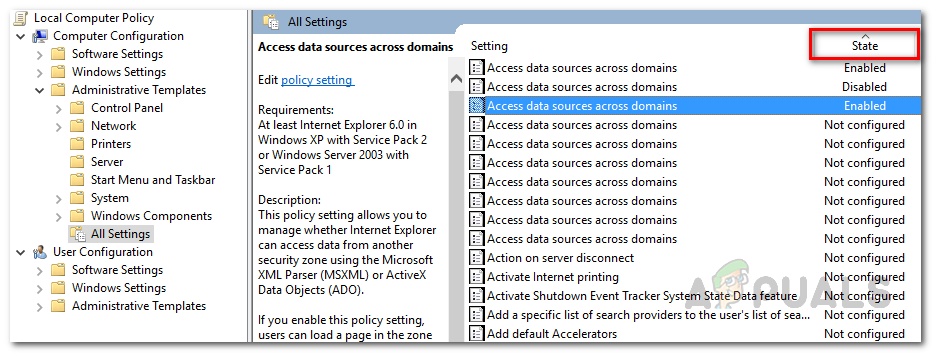
Sorting Policies by State - After doing so, you will be able to see the policies that you have changed.
- Double-click the policy to be able to modify it.
- Finally, choose the Not Configured option and then hit Apply. Finally, click the OK button.

Editing Group Policy - You may have to do this for all of the policies that you have modified.
- Once you have edited the Computer Configuration policies, we can move on to the User Configuration policies.
- To reset those policies, make your way to the following path:
User Configuration > Administrative Templates > All Settings
- Once you are there, sort these policies by the State column as well so that you can view the modified ones.
- After that, simply double-click on them and choose the Not Configured option.
- Once you have done all of this, you may need to restart your system so that all the changes can take effect.
Resetting Local Group Policy Settings using Command Prompt
Another way of resetting the policies is through the command prompt. With the help of the command prompt, we can reset all of the policies at the same time so you don’t have to go through the trouble of modifying each modified policy again. This will require the use of an elevated command prompt, however. To do this, follow the instructions given down below:
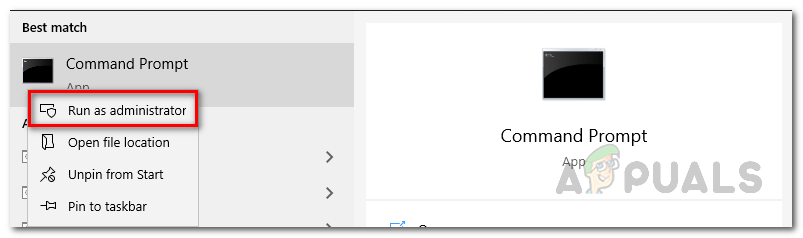
- First of all, open up the Start Menu and then search for the command prompt.
- Right-click on the result shown and choose Run as an administrator from the drop-down menu.
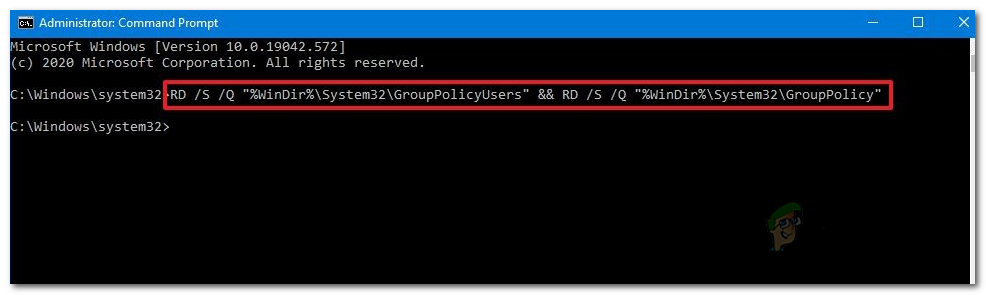
Running CMD as an Administrator - Once the command prompt launches, copy the following command and paste it in there. This will reset all of the Local Group Policy objects.
RD /S /Q "%WinDir%\System32\GroupPolicyUsers" && RD /S /Q "%WinDir%\System32\GroupPolicy"
- After you have done that, finally enter the “gpupdate /force” command without the quotes and press Enter.
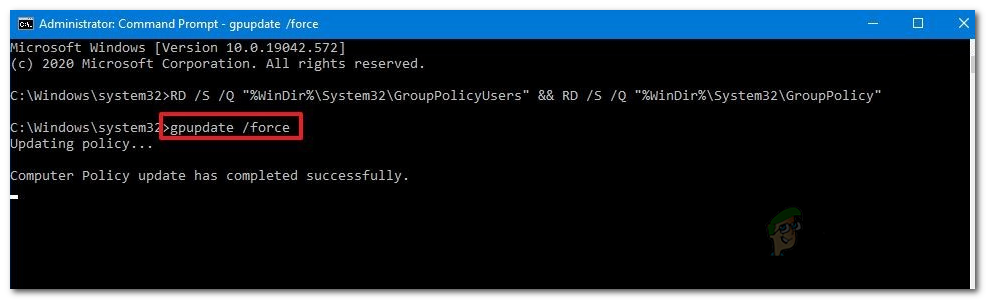
Updating Group Policies - Once done, restart your system for the changes to take effect.
After your computer reboots, all of the policies will be back to their default values.


