How to Fix HP ‘Service Error 79’
Some Windows and macOS users are encountering the service error 79 whenever they attempt to initiate a printing job on their HP (Hewlett Packard) printer. This issue is confirmed to occur with multiple macOS iterations and it’s confirmed to occur on Windows 7, Windows 8.1, and Windows 10.
After investigating this particular issue, it turns out that this problem can occur due to several different documented causes. Here’s a shortlist of potential culprits:
- Printer queue glitch – If your HP printer is connected to a Windows 10 computer, you might expect to see this error due to a queue glitch. If this scenario is applicable, you should be able to fix this problem by running the Printer troubleshooter utility and applying the recommended fix.
- Firmware glitch – Under certain circumstances, this problem can also occur due to a case where the native firmware available on your printer glitches out and refuses to take on new printer jobs. In this case, a power cycle operation should fix the issue automatically.
- Outdated printer firmware – As it turns out, this problem can also occur if your printer is waiting to install a critical firmware update before it can resume the active printing jobs. You can do this manually, from your printer menu of using the HP Smart App.
- Underlying hardware issue – Under certain circumstances, this problem can be caused by some type of hardware problem that cannot be resolved by a non-technical. In this case, you should get in contact with an HP Live agent for the guidance of getting your printer fixed.
Method 1: Running the built-in printer Troubleshooter (Windows 10 Only)
Before you try any of the other fixes below, you should troubleshooter to make sure that the problem doesn’t originate from a problem with the way your Windows 10 computer is queuing your printing jobs.
This glitch is fairly common on Windows 10 and has been confirmed by several affected users that were previously encountering the 79 error code with their printing HP.
Fortunately, you should be able to fix this problem by running the built-in printing troubleshooting utility. This contains a selection of automated repair strategies that will successfully resolve the majority of port-related issues with Windows-connected printers.
If you haven’t tried this fix yet, follow the instructions below to run the Printer Troubleshooter and see if it ends up fixing the 79 error code:
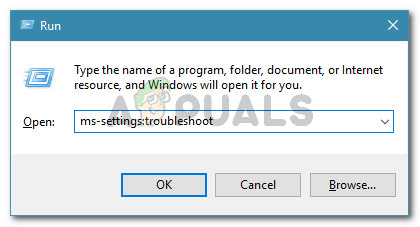
- Open up a Run dialog box by pressing Windows key + R. Next, type ”ms-settings:troubleshoot” inside the text box and press Enter to open up the Troubleshooting tab of the Settings app in Windows 10.
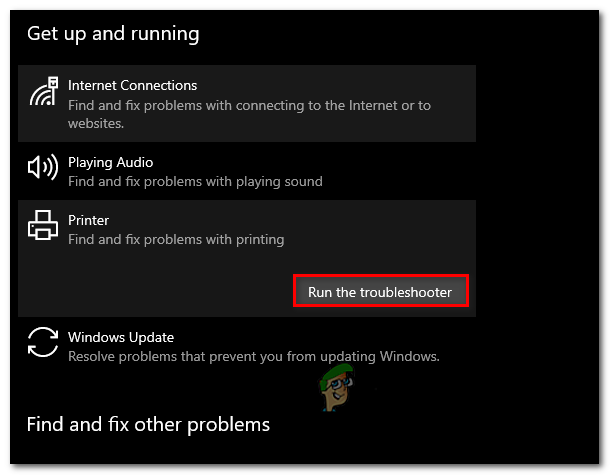
Accessing the Troubleshooting tab - Once you’re inside the Troubleshooting tab, move rightwards, then scroll down to the Get up and running section. Next, click on Printer, then click on Run the Troubleshooter from the newly appeared context menu.
Running the Printer Troubleshooter - Once you start this utility, wait patiently until the initial scan is complete and see if any of the fixes get recommended. If a viable repair strategy is found, click on Apply this fix and wait for the operation to complete.
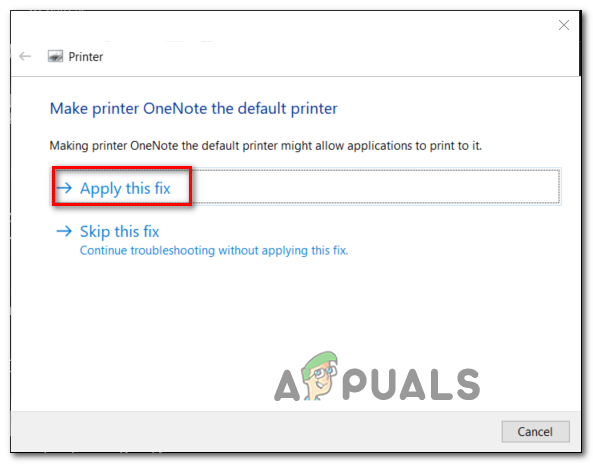
Applying the Fix Note: Depending on the fix that gets recommended for your particular situation, you might need to follow a series of manual steps.
- Once the recommended repair strategy is successfully deployed, reboot your computer and see if the problem is fixed.
If the problem is still not fixed, move down to the next potential fix below.
Method 2: Disabling IPv6 Protocol
If the methods above didn’t work out for you, you can try disabling IPv6 as it can be the culprit as well. However, if it doesn’t work for you I suggest you turn it back on as it can cause several issues to other programs that use IPv6 protocol. Follow these steps, to disable IPv6:-
- Press and hold the Windows Key and Press I. This shortcut should open Windows Settings app.
- Once Windows Settings are opened Navigate to “Network & Internet”
- Press the option named “Change adaptor options”
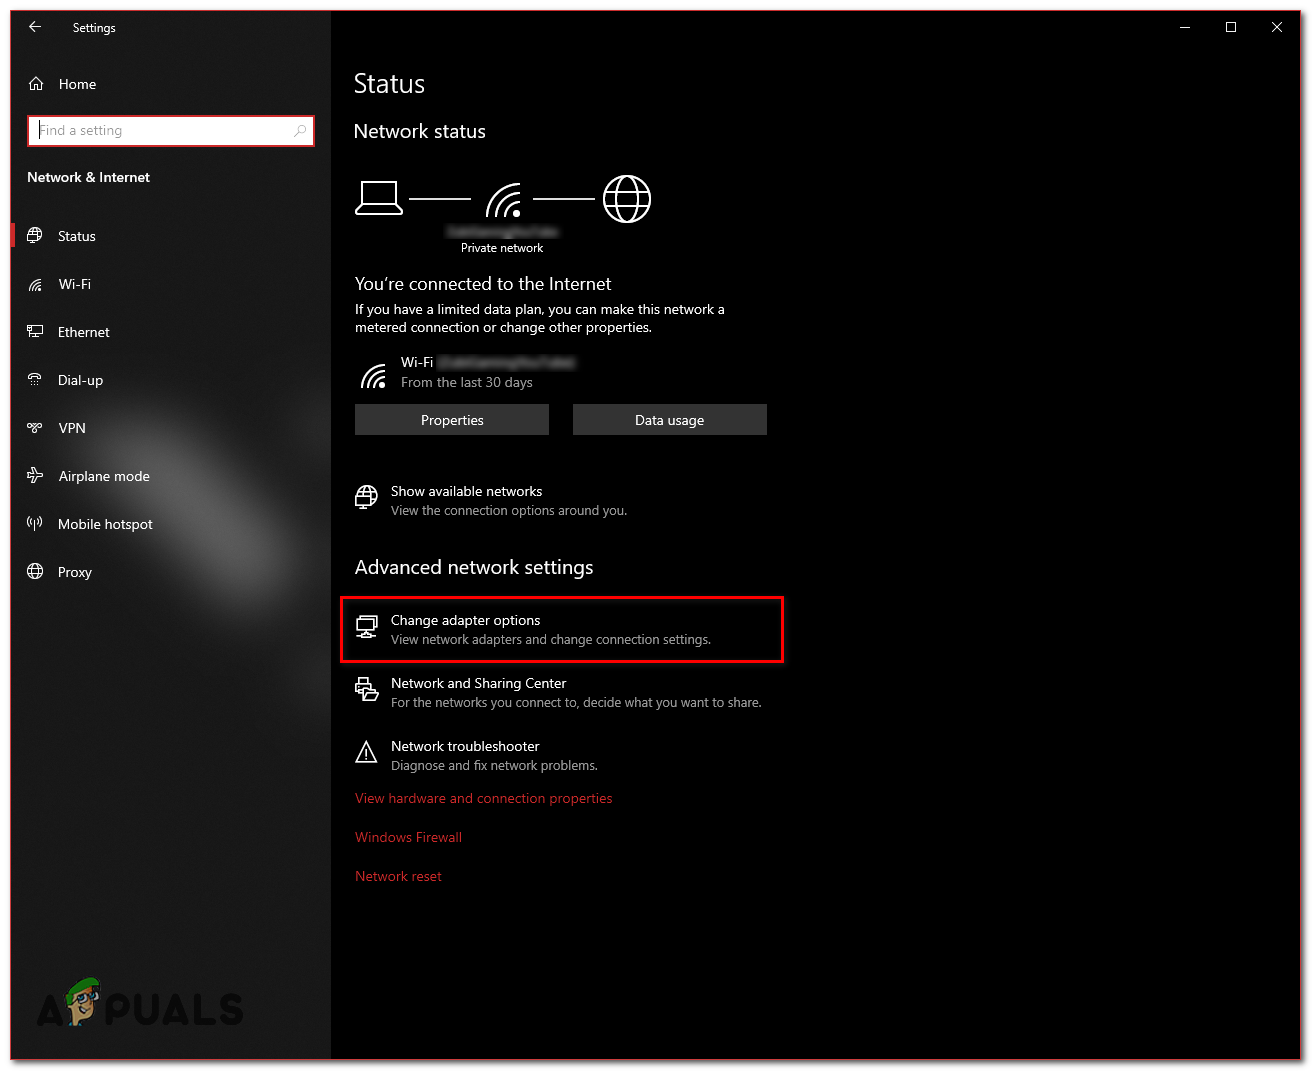
Disabling IPv6 - Now right-click on your Network Adaptor and press go to “Properties”
- Untick the checkbox in front of “Internet Protocol Version 6 (TCP/IPv6)”
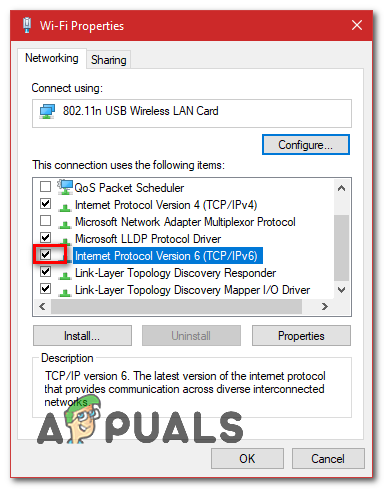
Disabling IPv6 - Restart your computer and check to see if the issue persists.
Method 3: Power Cycle the HP Printer Device
According to some affected users, this problem can also due to some kind of glitch with your printing device. In this case, the first thing you should do is reset the entire printing mechanism – The procedure of doing so is universal and will be applicable to any HP printer model you might be using (LaserJet and OfficeJet).
This operation is by no means technical and will not expose you to the risk of damaging your printing device. This is the equivalent of doing a factory reset on other devices.
If the problem is firmware-related, the procedure below should resolve it swiftly.
Here’s a quick guide on power cycling your HP printer device:
- Start by ensuring that your printer is fully turned on and in idle mode (no job currently active).
Note: If you can still hear noises coming from your printer, don’t move forward! Instead, wait patiently until the machine becomes silent before moving down to the next step below. - After you ensure that your printer is running in idle mode, the next step is to disconnect the power code from the rear of your printer. After you do this, ensure that you’ve also removed the power cord from the wall outlet.
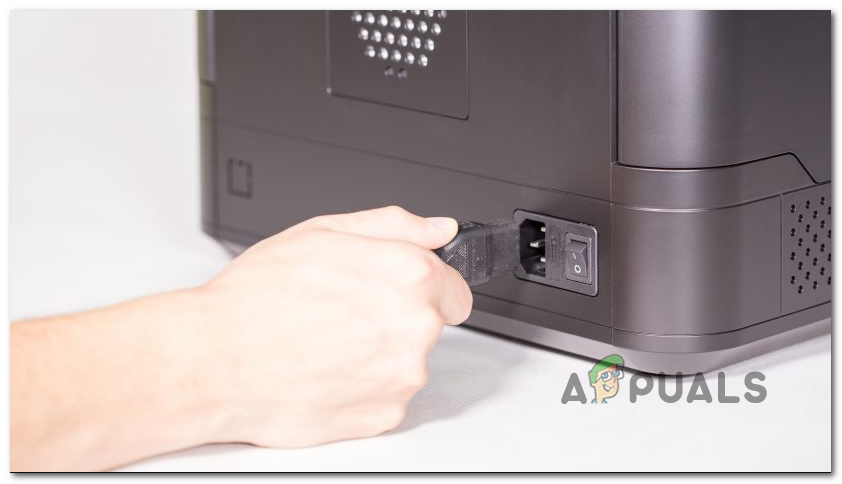
Unplugging printer - After you have successfully unplugged the printer, wait for at least 60 seconds before plugging the cord back in in order to ensure that the power capacitors are completely drained.
- After this period has passed, reconnect the power cord and start your printer conventionally.
- Once the warm-up period is finished, initiate another printing job, and see if the problem is now fixed.
In case you are still seeing the same 79 error code, move down to the next potential fix below.
Method 4: Update Printer Firmware
As it turns out, this problem is also confirmed to occur in those instances where a new firmware version is available for the printer that is triggering the 79 error code.
Keep in mind that HP regularly releases new printer versions aimed at improving quality of life and fixing bugs and glitches. But every once in a while, they end up releasing a mandatory update that is required in order to make the printer compatible with the OS build that it’s currently connected to.
If the reason why you are seeing the printer service 79 error code is that you’re missing a critical update, updating your printer firmware should take care of the issue.
When it comes to updating your Hewett Packard printer driver to the latest, you have 3 ways forward. Feel free to follow any of the following guides (if supported by your printer) below to bring your printer build to the latest.
A. Update directly from the Printer
The instructions below will only work as long as you’re using a printer released after 2010. In order to be able to update directly from the printer, your device needs to support Web Services and have access to the Internet.
The exact instructions on installing a pending firmware update on your printer will be different from model to model. However, we’ve created a general guide that should make it easier for you to install the pending update:
- On printers with an ePrint button or icon touch or press the HP ePrint icon, then access the Setup (Settings menu). Next, look for a setup entry named Product Update or Check Product Updates.
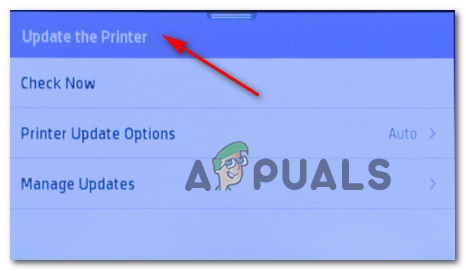
Update the driver Note: On printers with text-based menus, access the Setup / Settings / Service. Next, access the Preferences / Printer Maintenance / Tools menu, then choose Web Services / Printer Update / LaserJet Update.
- If you’re prompted to accept the Terms of Service or sign in with your account, follow the instructions and enable Web Services if required.
- Wait until the update procedure is complete, then restart your printer manually if it doesn’t do so by itself and see if the problem is fixed at the next system startup.
B. Download newer Firmware Manually
If you’re using an older HP printer that doesn’t support web services, you’ll need to download & install the latest firmware update manually from the HP Customer Support download page – this is applicable on both Windows and macOS computers.
Here’s a quick guide on how to download & install newer printer firmware manually:
- Start by making sure that your printer is connected to your local network (via ethernet or USB cable).
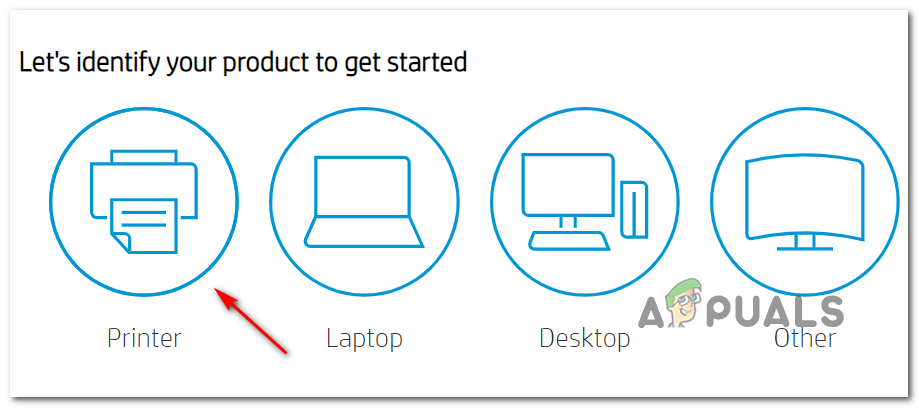
- Next, on your PC or macOS, open up the HP Customer Support Download Page, click on Let’s identify your product to get started, click on Printer and follow the on-screen instructions to identify the latest firmware update for your printer.
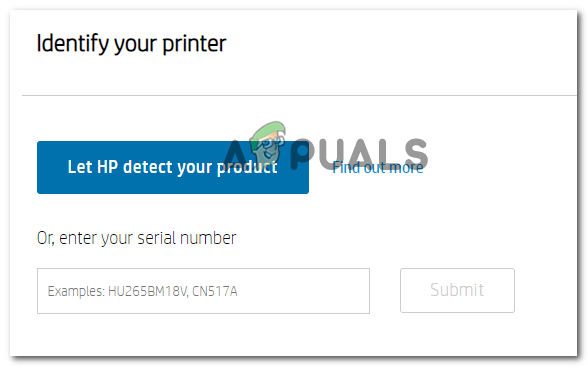
Identifying the correct firmware update - Next, you’ll need to type in your printer model. After you do so, click on Submit, then ensure that you select the operating system (Windows or macOS).
- Finally, click on Firmware, then click on Download and wait for the download to complete.
- Once the file is finally saved on your computer, open it to start the firmware updating process.
- Inside the installation window, follow the on-screen instructions to complete the installation of your printer’s firmware.

Updating Printer Firmware - Once the installation is complete restart both your computer and your printer, then see if the problem is resolved.
C. Using the HP Smart App
If your HP printer supports the HP Smart app, you can easily install any new firmware update via the HP Smart app – available on Windows, macOS, Android, and iOS.
In case this application is supported, follow the instructions below to download, install & use the HP Smart App to update your printer firmware version to the lastest:
- Download the HP Smart app version according to the platform that you plan on using it on:
Windows Computers
macOS Computers
Android
iOS
- Once the installation of the app is complete, open it and click on your Printer Name to start the initial setup.
- Once the initial setup is complete, go to Settings (Advanced) and click Advanced Settings.
- Finally, click on Tools (Web Services) and click on Printer Updates (Product Update) and click on Check Now to make the app search for new available firmware.
- In case new firmware is indeed available, follow the on-screen prompts to install the pending update, then restart your printer and see if the problem is still occurring.
In case you’re still seeing the service error 79 on your HP printer, move down to the final potential fix below.
Method 5: Contact HP Support
If none of the potential fixes above have worked for you, the only viable thing you can do by now is to get in contact with HP support. Several affected users that went to this router have reported that a technical successfully troubleshot the issue for them remotely.
By all accounts of users that went this route, HP support is fairly responsive as you can expect to reach a live agent without much trouble. The way it usually goes is they’ll offer support over the phone through a series of troubleshooting steps and if the problem still persists, you’ll be asked to send the device in for repairs.
Here’s a quick guide on getting in touch with an HP live agent:
- Open up your default browser and visit the official support page of HP.
- From the list of available options, click on Printer at the top of the page.
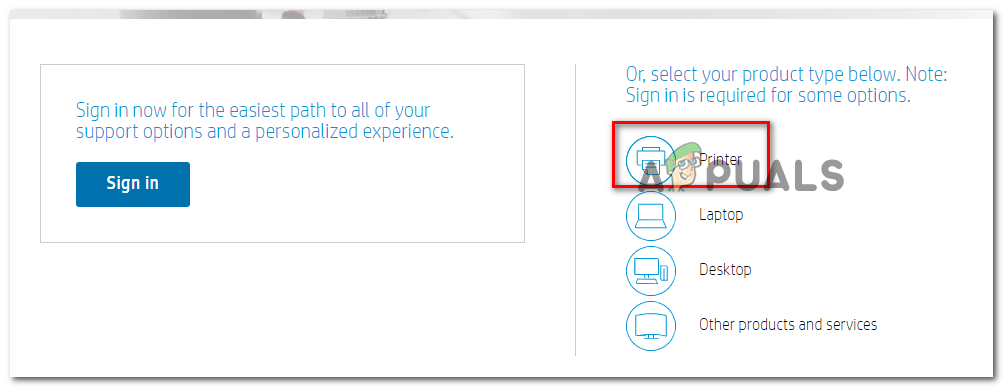
Accessing the Printer Contact menu - Once you get to the next screen, enter your printer serial number inside the Serial Number box and click on Submit.
Identifying your printer - Once you have successfully managed to identify your HP printer model, you can advance to the menu by navigating through HP Contact Forms > Get phone number.
- Use the recommended phone number to get in contact with a qualified technician, then follow through with the recommended troubleshooting steps.
I did all this…no dice. what finally worked was turning off the ipv6 on one of the network config menus.