[FIX] Explorer.exe not Starting when Windows 10 Starts
Explorer.exe might not work at the Windows startup if the essential system files are corrupt. Moreover, outdated system drivers may also result in the error under discussion.
The issue arises (usually, after a Windows update) when the user boots his system but the File Explorer of the system fails to launch with Windows & the user encounters a black screen (or a Command Prompt on the screen) but can start Explorer manually.
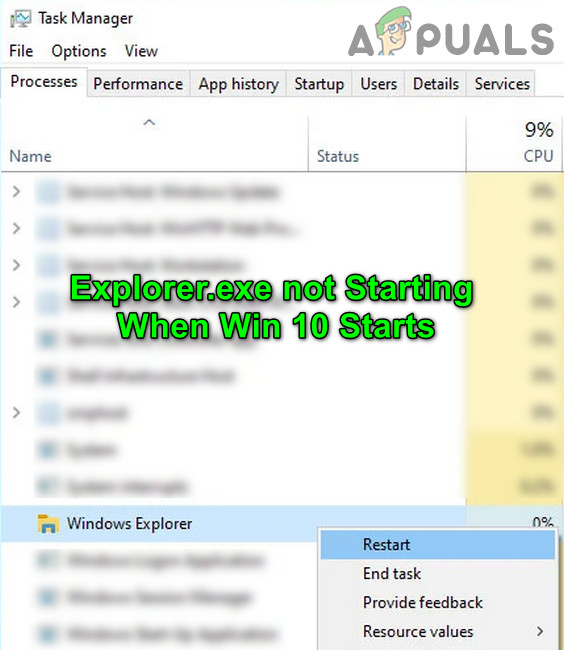
Before moving on with the solutions to enable Explorer.exe on startup, you may have to launch a New Task of Explorer.exe from the File Menu of the Task Manager (so that you can try the solutions easily).
If you are part of a corporate/domain network, then check if any of the group policy or startup scripts of your organization is causing the issue. Moreover, check if booting the system with the bare minimal peripherals & without any mapped drivers resolves the issue (make sure to disconnect the network & speakers). If so, then adding the peripherals one by one till you find the problematic one. Last but not least, perform a malware scan to rule out any of the malware causing the issue.
Solution 1: Use the SFC and DISM Commands
You may encounter the error at hand if the files essential for the operation of the OS are corrupt. In this context, performing SFC or DISM scans may solve the problem.
- Perform an SFC scan in an elevated Command Prompt & check if the Explorer issue is resolved.
- If not, then check if executing the DISM commands resolves the Explorer issue.
Solution 2: Disable Fast Startup and Rename the Computer
Fast Startup helps to boot your system quite fast but your system is not completely shut down but it is put in a mixed state of hibernation & power off. Despite its usefulness, it can break the operation of certain OS modules (especially, the startup items) & thus cause the Explorer issue. In this scenario, disabling the Fast Startup may solve the problem.
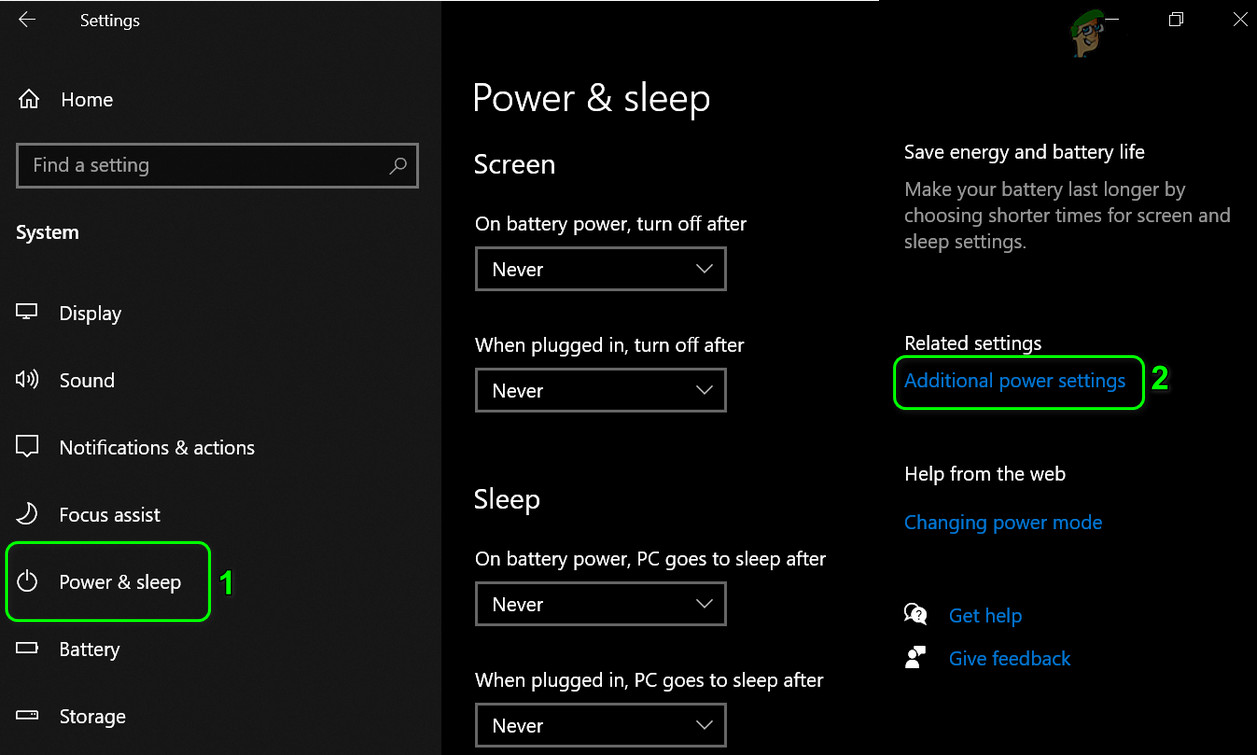
- Hit the Windows key & type Power & Sleep Settings. Then select Power & Sleep Settings.

Open Power & Sleep Settings - Then select Additional Power Settings (in the right pane of the window) & click on the option of Choose What the Power Buttons Do.
Open Additional Power Settings - Now click on Change Settings That Are Currently Unavailable & then uncheck the option of Turn on Fast Startup.
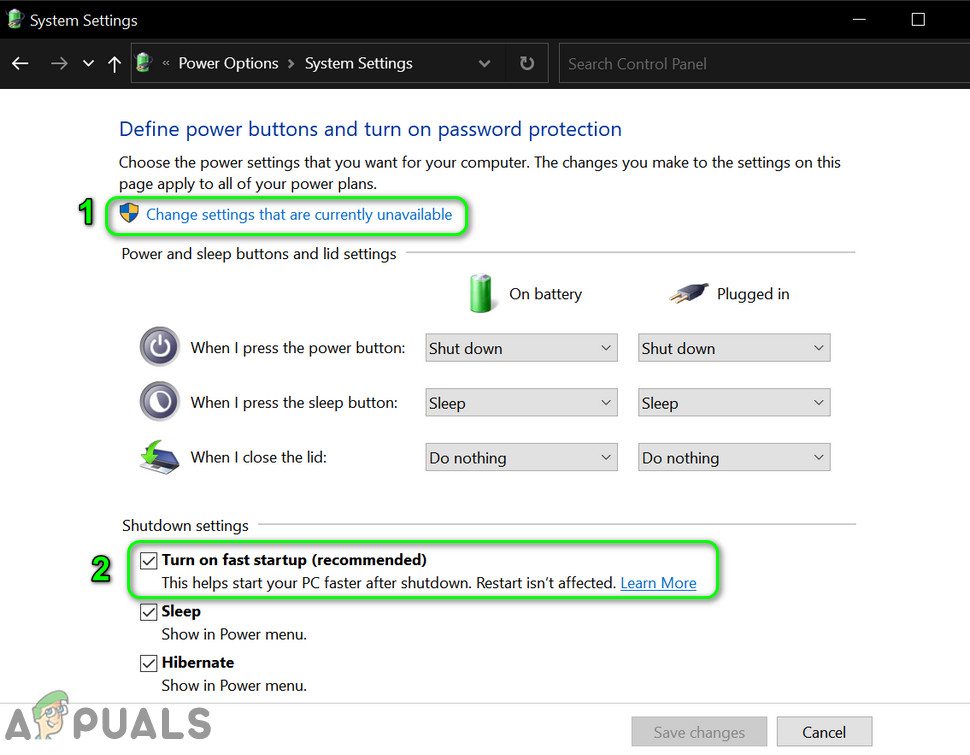
Disable Fast Startup - Then save your changes and reboot your PC.
- Upon reboot, check if the Explorer issue is resolved.
- If not, hit the Windows key and type PC Name. Then select View PC Name.
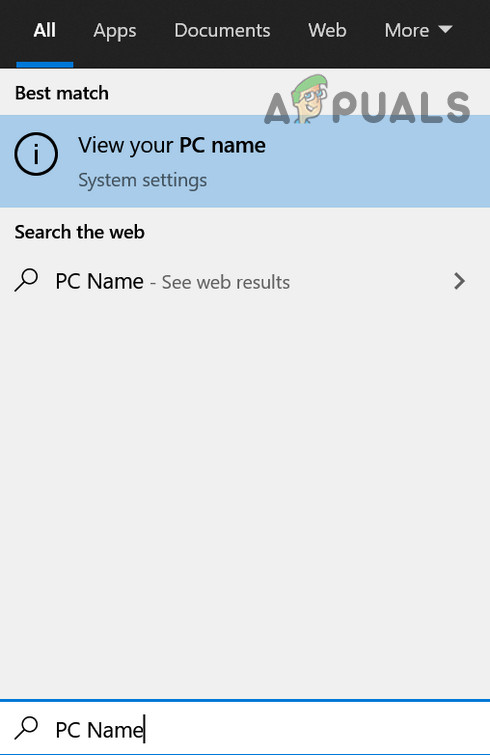
Open View Your PC Name - Then click on Rename this PC and enter the new name for your PC.
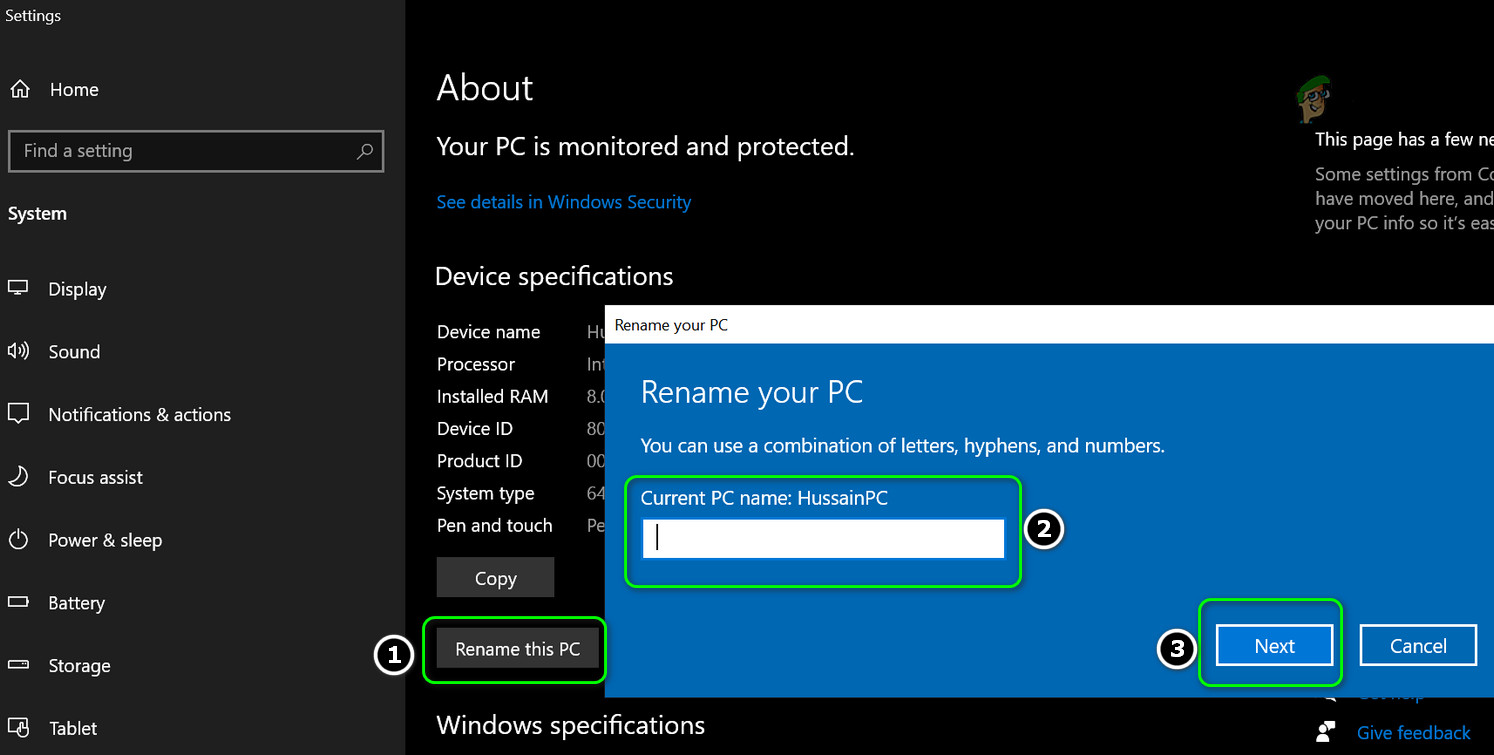
Rename This PC - Now click on Next (you may have to enter your credentials) and then reboot your PC.
- Upon reboot, check if the Explorer issue is resolved.
Solution 3: Edit Display Settings and Update/Reinstall Drivers
You may encounter the error at hand if the drivers (especially the display/video drivers) are corrupt. In this context, editing the display settings or updating/reinstalling drivers may solve the problem. Before proceeding, check if removing the desktop background image resolves the issue.
- Launch the Run command box (by pressing Windows + R keys) and execute the following:
control update
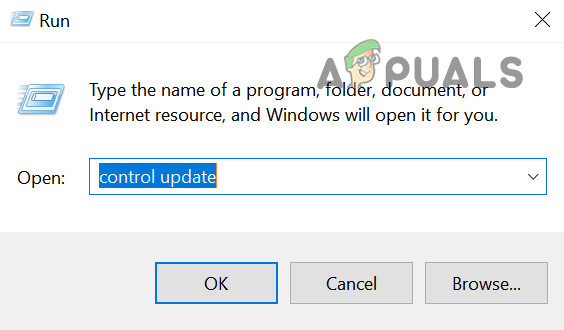
Run the Control Update Command - Now click on the Check for Updates button and if updates are available, then apply these updates.
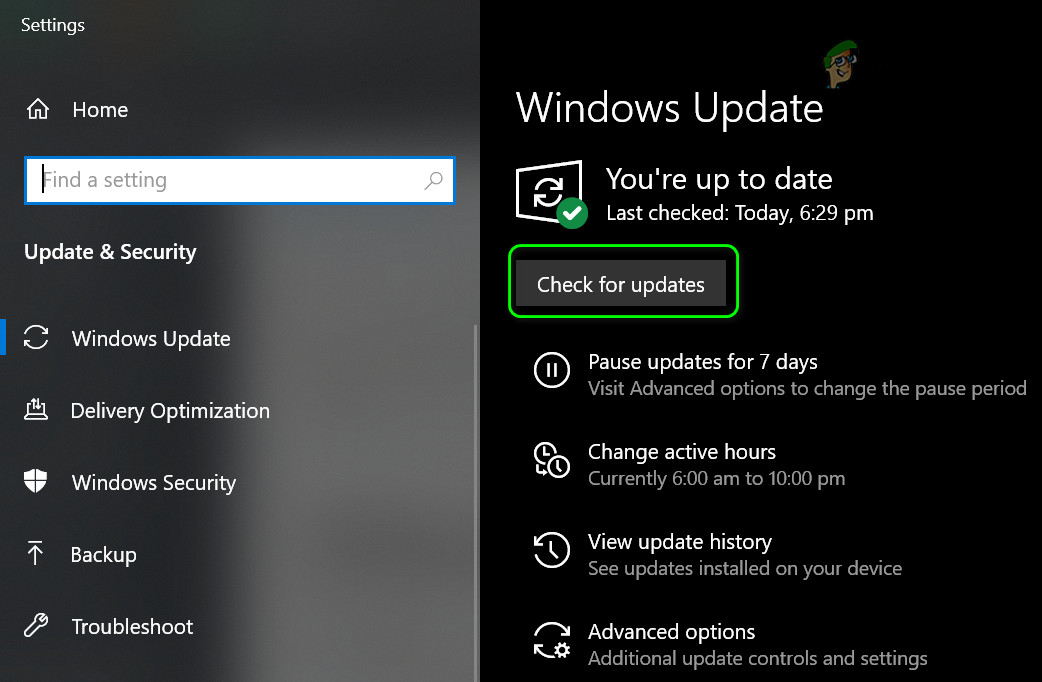
Check for Windows Updates - Now reboot your PC and launch the Run command box (step 1) to execute the following
devmgmt.msc
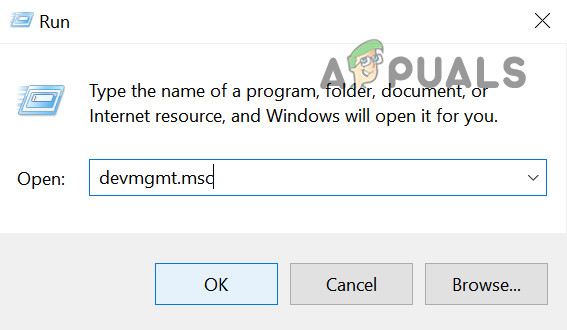
Run the devmgmt.msc Command - Now update your device drivers and check if the Explorer issue is resolved.
- If not, launch the Run command box (step 1) and execute the following to open the Display Settings:
desk.cpl
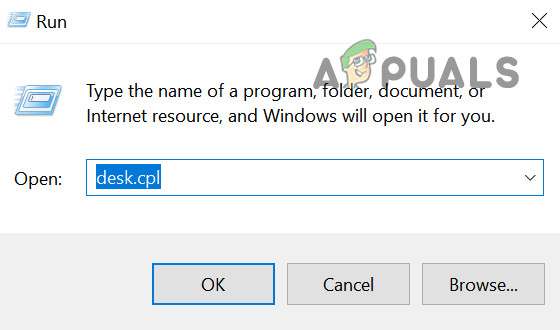
Run the desk.cpl Command to Open the Display Settings of Your System - Now change the Display Resolution and check if the issue is resolved.
- If not, then check if setting the Scale and Layout to 100% resolves the issue.
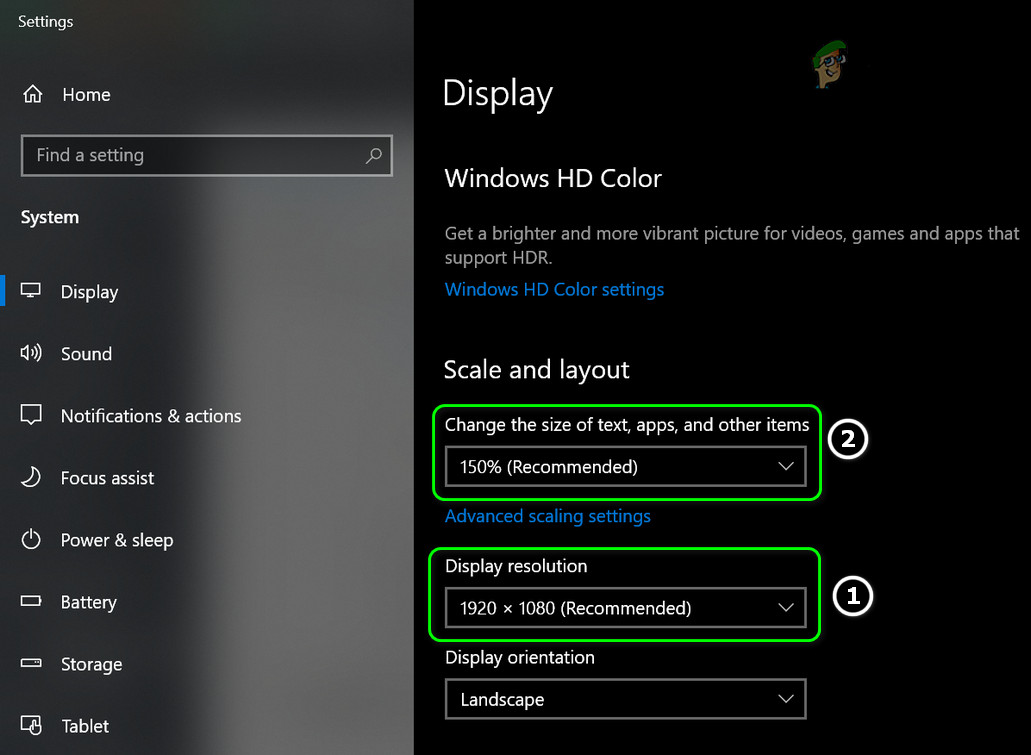
Change the Display Resolution and Scale & Layout
If the issue is resolved, then most probably the issue is caused by a corrupt display/video driver. In this context, reinstalling the display/video driver may solve the problem. Before moving on, make sure you have downloaded the latest display/video driver from the OEM website.
- Launch the Device Manager (step 3) and expand the Display Adapters.
- Now, right-click on your display adapter and choose Uninstall Device.
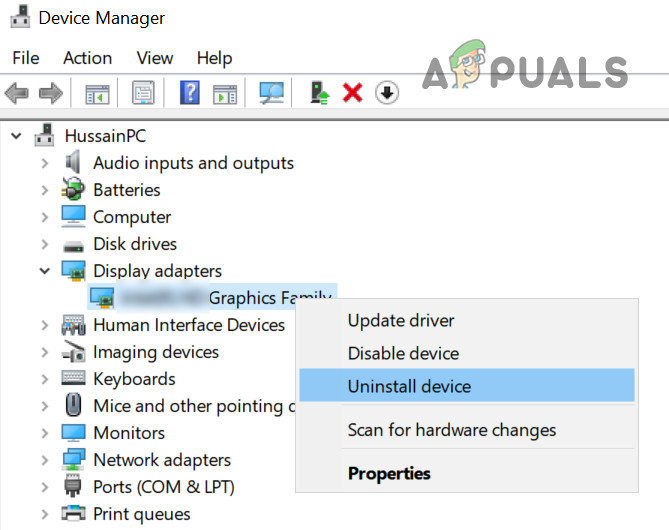
Uninstall the Graphics Adapter - Then, check-mark the option of Delete the Driver Software for This Device and click Uninstall.
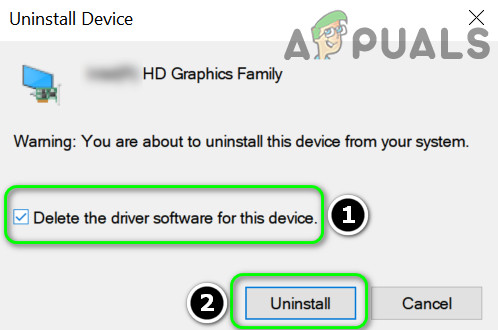
Delete the Driver Software for This Device for the Graphics Driver - Now, repeat the same to uninstall the video driver (under Sound, Video, and Game Controllers).
- After uninstalling the driver, reboot your PC and check if the Explorer issue is resolved (Windows will apply its default drivers).
- If not, then check if installing the latest display/video driver resolves the Explorer issue.
Solution 4: Disable App Readiness Service and Start Shell Infrastructure Host Process
Explorer might not work if any of the system services (App Readiness service is reported to cause the issue) is hindering the operation of GUI modules of the system. In this context, disabling the service may solve the problem. You can check the Event Viewer of your system to find out the problematic service.
- Hit the Ctrl + Alt + Delete (or Ctrl + Shift + Esc) to bring out the Task Manager of your system.
- Now navigate to the Services tab and click on Open Services (near the bottom of the window).
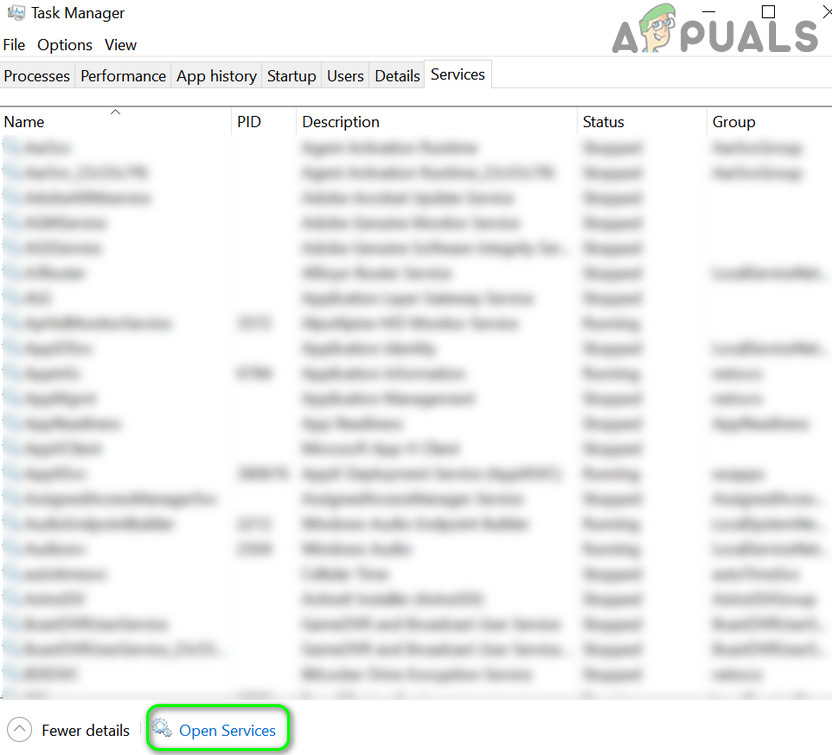
Open Services Through the System’s Task Manager - Then right-click on the App Readiness service and choose Properties.
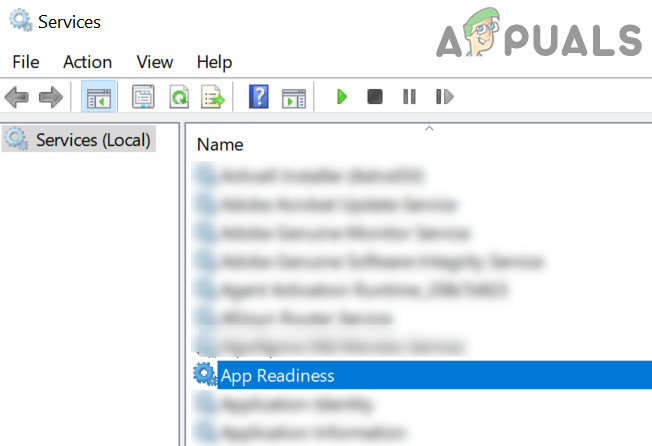
Open App Readiness Service - Now change the Startup type to Disabled and click on Apply/OK (keep in mind that disabling the App Readiness service may badly impact Microsoft Store and its apps along with future Windows updates).
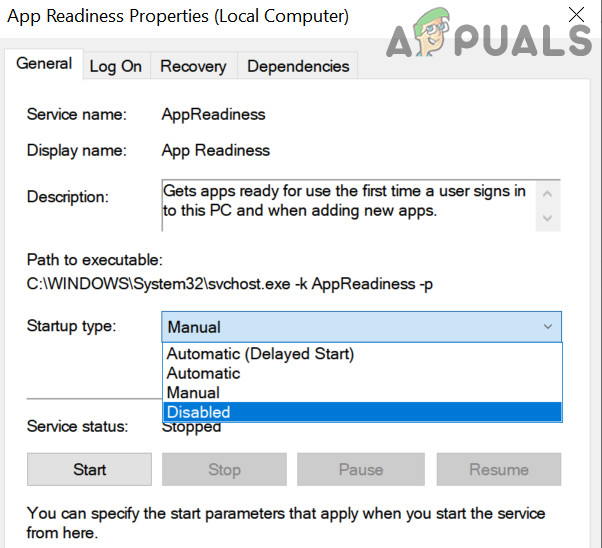
Disable App Readiness Service - Then reboot your PC and check if the Explorer is working fine.
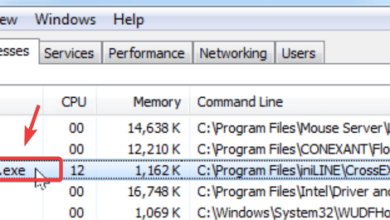
- If not, then open the Task Manager of your system (step 1) and in the processes tab, End Task of the Shell Infrastructure Host (it will automatically restart).

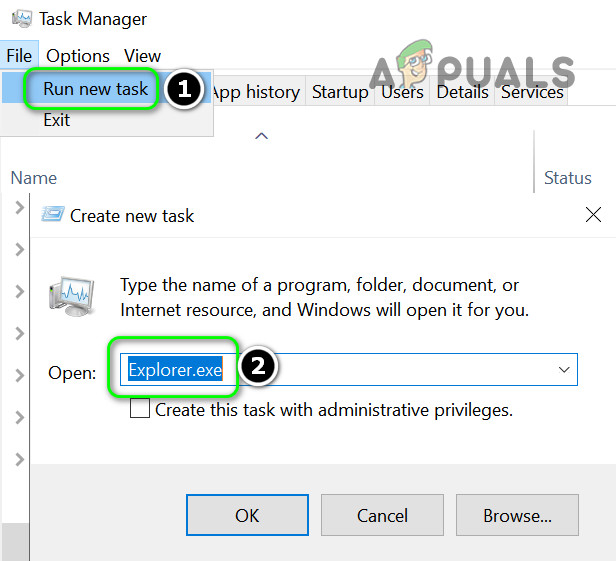
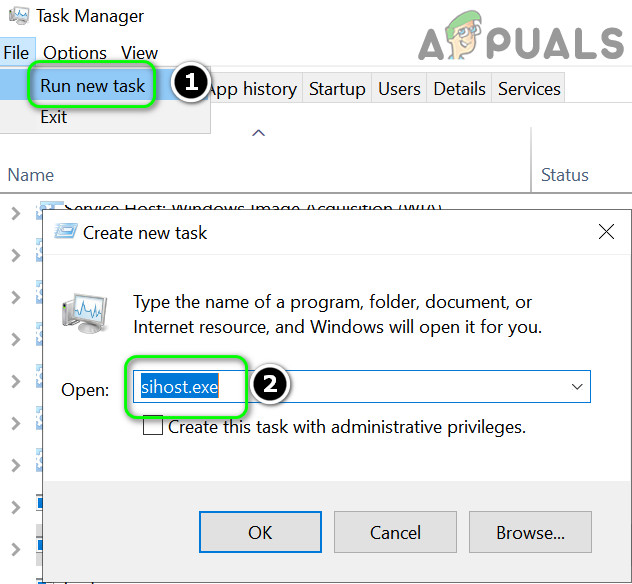
End Task of the Shell Infrastructure Host - If there is no Shell Infrastructure Host, then open the File menu of the Task Manager and select the Run New Task.
- Then type sihost.exe and click on the OK button.
Run New Task of sihost.exe - Now reboot your PC and check if the Explorer is working fine.
Solution 5: Create Another User Account
The File Explorer may not work if the user account is corrupt. In this scenario, creating another user account and using that account may solve the problem.
- Create a new user account (make sure to be an administrator account) and log out of the current user.
- Now login with the newly created user account and check if the Explorer issue is resolved.
If so, and you want to use the old user account, then check the permissions/ groups (in the Local Users and Groups tab in the Computer Management) of both the accounts and copy the permissions/groups from the working user account to the problematic account to check if that resolves the issue.
Solution 6: Clean Boot and Uninstall Conflicting Applications
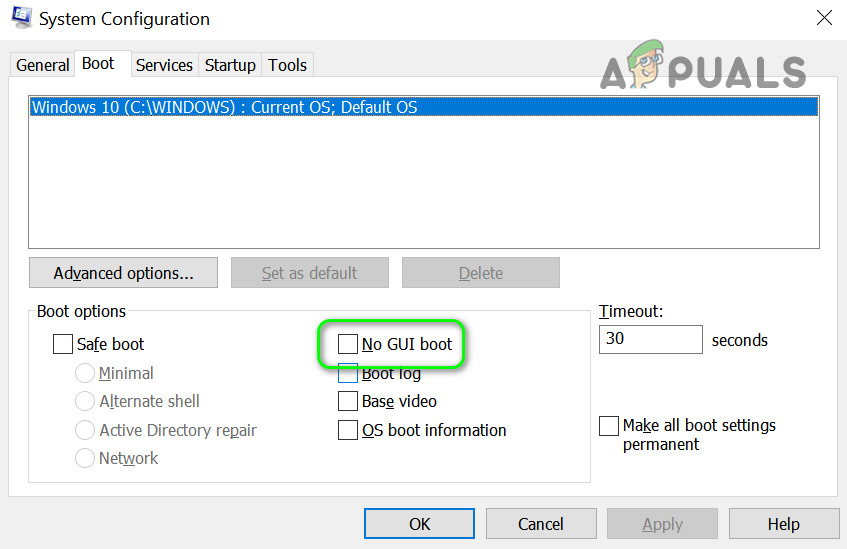
You may encounter the error at hand if any of the installed applications are interfering with the startup processes or Explorer.exe. In this context, clean booting your system and then disabling/uninstalling the conflicting applications may solve the problem. Before proceeding, make sure that No GUI is unchecked in the Boot tab of the System Configuration.
- Clean boot your system and then check if the Explorer issue is resolved. If not, then check if booting the system in the safe mode resolves the issue.
- If so, then enable the startup items one by one till you find the problematic one (you can check the Event Viewer of your system to find out the problematic application). Once found, either disable or reinstall the problematic application (you may have to use the Safe Mode). Users have reported that the following applications have caused the issue for them:
- OneDrive
- UXStyle
- 360 Extreme Browser
- Trend Micro Antivirus
- Open Office Quickstarter
- Dell SupportAssist
- Symantec SEP
- Classic Shell
- AVG Antivirus
You can also check which applications/processes are performing the maximum disk read/writes operation in the Task Manager and check if disabling/uninstalling that application solves the problem. If the issue is still there, then you can check if changing UEFI to legacy BIOS (or vice versa resolves) the issue.
Solution 7: Use the Registry Editor
If none of the solutions has worked for you, then some registry edits may let an affected user overcome the Explorer issue.
Warning: Proceed at your own risk as editing the system’s registry requires a certain level of expertise and if not done properly, you may cause non-recoverable damage to your system/data.
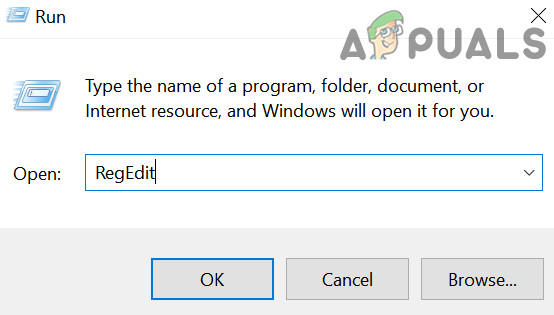
Firstly, you should create a backup of your system’s registry. Then launch the Run command box (by pressing the Windows + R keys) and enter “RegEdit”. Then press Ctrl + Shift + Enter keys to launch the Registry Editor as administrator and check if any of the following registry edits resolve your problem.
Set the Shell Key to Explorer.exe
- Navigate to the following:
Computer\HKEY_CURRENT_USER\SOFTWARE\Microsoft\Windows NT\CurrentVersion\Winlogon
- Then, in the right pane, double-click on the Shell key and set its value to the path of Explorer.exe. Usually, the path mentioned below (if the key is not there, then create a New > DWORD (32-bit) Value and set its name to Shell and set its value to the undermentioned path):
C:\Windows\explorer.exe

Set the Shell to the Explorer Path in HKCU - Now reboot your system and check if the Explorer issue is resolved.
- If not, then launch the Registry Editor and navigate to the following path:
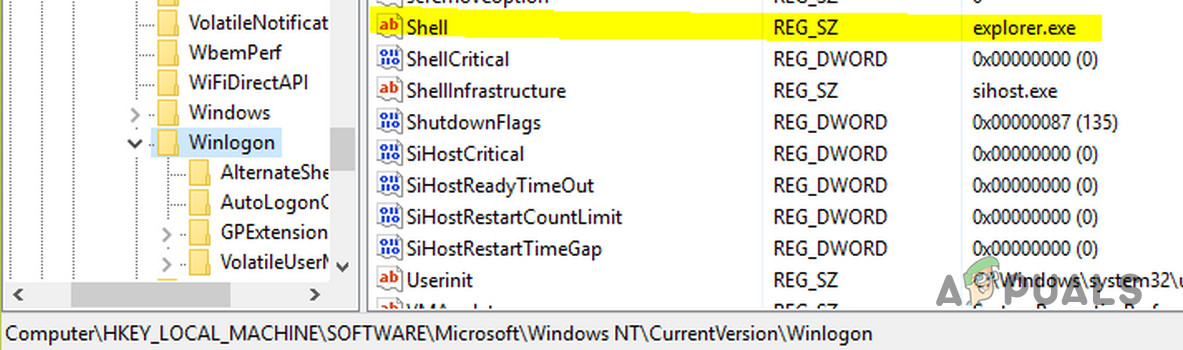
Computer\HKEY_LOCAL_MACHINE\SOFTWARE\Microsoft\Windows NT\CurrentVersion\Winlogon
- Now, in the right pane, make sure that the value of the Shell key is set to explorer.exe, and then reboot your PC to check if the Explorer issue is resolved.
Set the Shell Value to Explorer.exe in HKLM - If not, then launch the Registry Editor and navigate to the following:
Computer\HKEY_CURRENT_USER\SOFTWARE\Microsoft\Windows NT\CurrentVersion\Winlogon
- Now, in the right pane, delete the Shell key and reboot your system to check if the issue is resolved.
Delete the Explorer.exe Key
- Navigate to the following:
Computer\HKEY_LOCAL_MACHINE\SOFTWARE\Microsoft\Windows NT\CurrentVersion\Image File Execution Options
- Then, in the left pane, right-click on the Explorer.exe folder and select Delete.
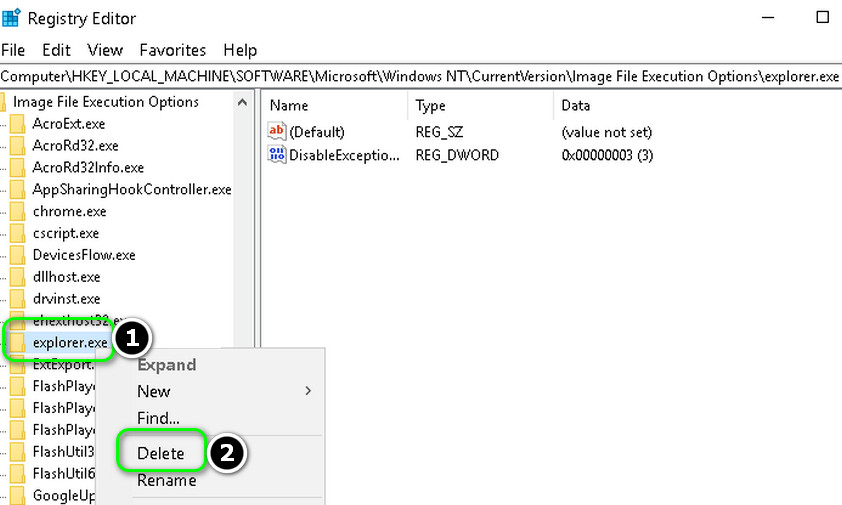
Delete the Explorer.exe in the Image File Execution Options - Now confirm to delete the key and reboot your PC to check if the Explorer issue is resolved.
Delete the Load Key
- Navigate to the following:
Computer\HKEY_CURRENT_USER\SOFTWARE\Microsoft\Windows NT\CurrentVersion\Windows
- Now, in the right pane, right-click on the Load key and select Delete.
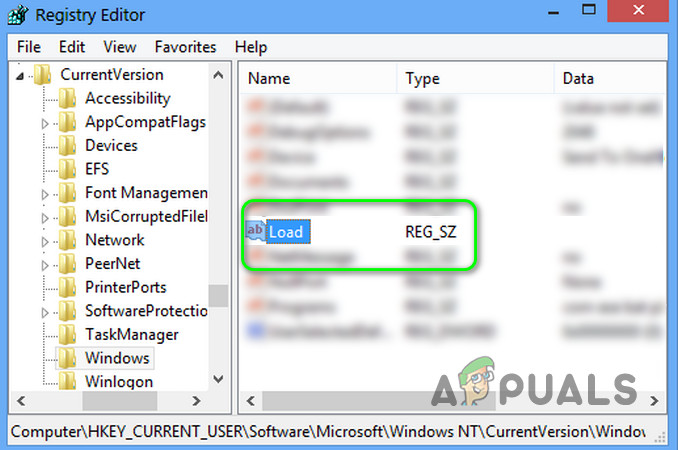
Delete the Load Key in HKCU - Then confirm to delete the key and reboot your PC to check if the Explorer is working fine.
Use an Elevated Command Prompt to Add the Registry Keys
- If none of the registry edits resolved the issue, then execute the following one by one in an elevated Command Prompt:
reg add "HKLM\Software\Microsoft\Windows NT\CurrentVersion\Winlogon" /v "Shell" /t REG_SZ /d "explorer.exe" /f

reg add "HKLM\Software\Microsoft\Windows NT\CurrentVersion\Winlogon" /v "Userinit" /t REG_SZ /d "C:\Windows\System32\userinit.exe," /f

reg add "HKLM\Software\Wow6432Node\Microsoft\Windows NT\CurrentVersion\Winlogon" /v "Shell" /t REG_SZ /d "explorer.exe" /f

reg add "HKLM\System\CurrentControlSet\Control\Session Manager" /v "BootExecute" /t REG_MULTI_SZ /d "autocheck autochk *" /f

reg add "HKLM\System\CurrentControlSet\Control\Session Manager" /v "SETUPEXECUTE" /t REG_MULTI_SZ /d "" /f
- Then reboot your and check if the Explorer is working fine.
If the issue is still there, then check if adding the Explorer.exe (from the location of C:\Windows) to the Startup folder (%appdata%\Microsoft\Windows\Start Menu\Programs\Startup) resolves the issue. If not, then check if performing the repair install (or repair upgrade) of your system resolves the issue. If not, then you may have to Reset your PC or perform a clean installation of Windows.


In the “Set the Shell Key to Explorer.exe” paragraph, by opening the Registry and going to the path “ComputerHKEY_CURRENT_USERSOFTWAREMicrosoftWindows NTCurrentVersionWinlogon”, if the “Shell” key is not there, you need to make it by right clicking and adding “New > String Value”, not “New > DWORD (32-bit)”. What my problem was, I manually updated to Windows 11 via the Microsoft tool, but the explorer proccess was not working properly and I had to restart the “explorer.exe” on every boot through the task manager. After trying most of what you suggested in this article, what finally solved my problem was the registry trick. I didn’t have the Shell key at the above path and by adding it, not only did the explorer.exe proccess work properly, but booting up (from the point where Windows starts loading) is twice as fast now! Thanks for your help!