Enable Call Recording feature in TrueCaller (Complete Setup Guide)
Many countries have banned call recording, so you’ll likely find it difficult to access the call recording feature on your mobile phones. However, Truecaller is a Caller ID and spam filtering app that also allows users to record incoming and outgoing calls.
If call recording is legal in your region, you can record incoming/outgoing calls by enabling the recording feature in Truecaller settings. There is also an option for enabling automatic recording so you won’t have to start recording manually for each call.
You can record calls via Truecaller and save the audio file. This audio file can also be shared with friends. However, we emphasize taking permission from the other person before recording the call.
Below is a step-by-step guide for enabling, saving, and sharing the call recording.
- Open the TrueCaller App.
- Go to Menu > Call recordings > Press Setup now option.
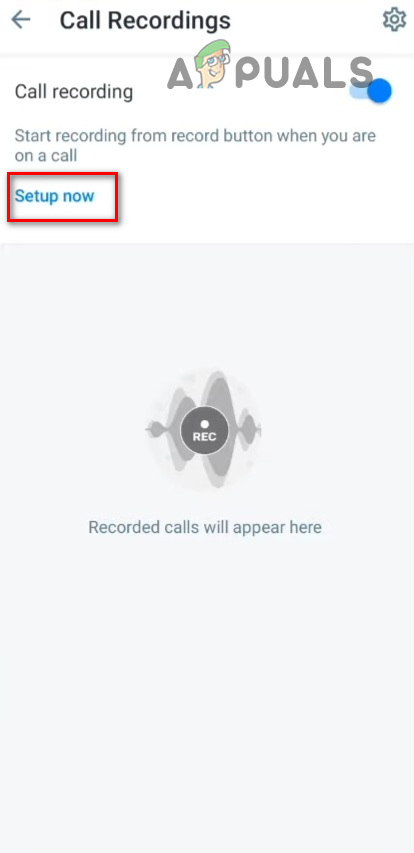
Tap on Set Up Now option - A confirmation message will pop up, here tap Continue.
- Open Settings in the top right corner.
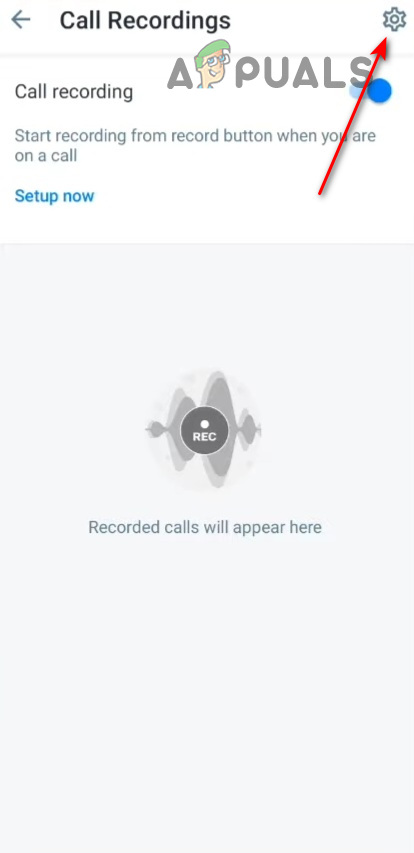
Tap on the Settings icon - In the next prompt, tap Go to Settings.
- Turn on the toggle for Use Truecaller Call Recordings.
How To Record Calls With Truecaller
To record incoming and outgoing calls with Truecaller, you have to set TrueCaller as your default Caller ID app and grant necessary permissions in the app settings. When you are done with the procedure, you’ll see a recording button on your dialer screen.
- Launch the Truecaller app and go to the Hamburger menu.
- Here, go to Settings > Caller ID.

Select the Caller ID option - Select Classic Popup under Choose style option.
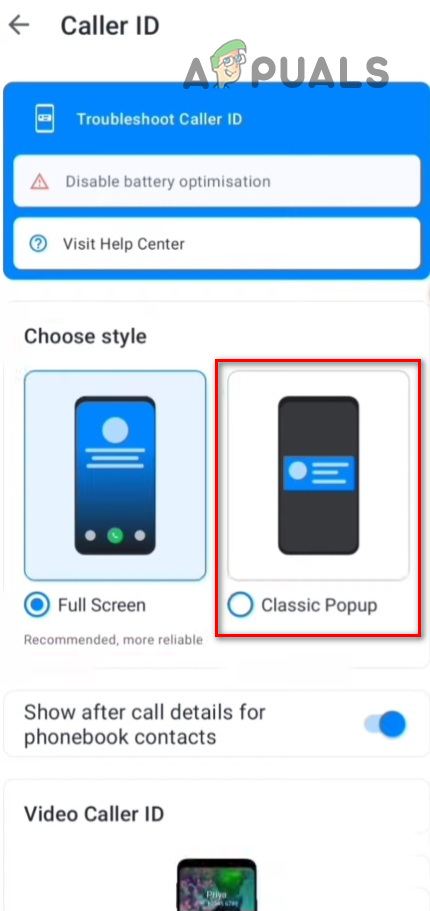
Select Classic popup view - Now whenever you are on the call, a floating record button will appear on the screen. Tap the button to start recording. Tap the record button again to stop recording.
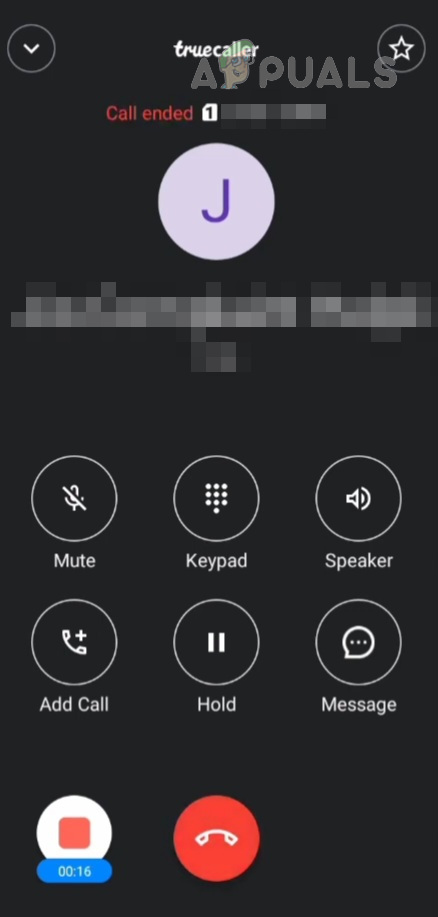
Tap the floating button to record the call
How To Record Calls Automatically With True Caller
If you don’t want to manually start recording every call, you can set the app to record all calls automatically. Follow the steps below to do so.
- Open the app and go to Menu.
- Tap Call recordings and go to Settings.
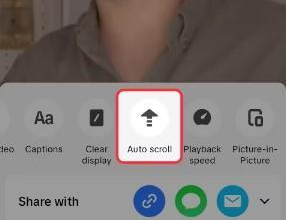
- Once here, turn on the Auto-record toggle.
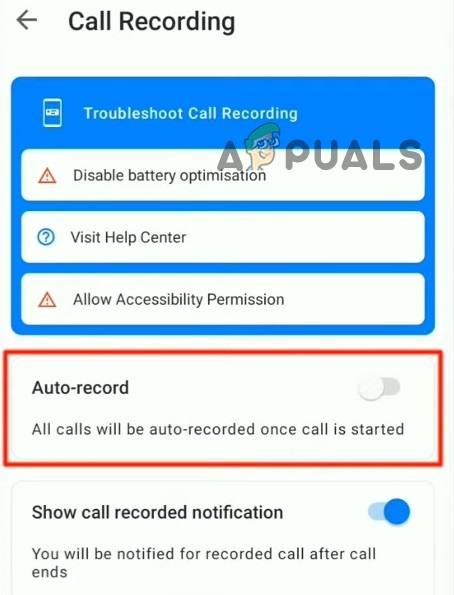
Turn on the Auto-record toggle
Where Are These Call Recordings Saved?
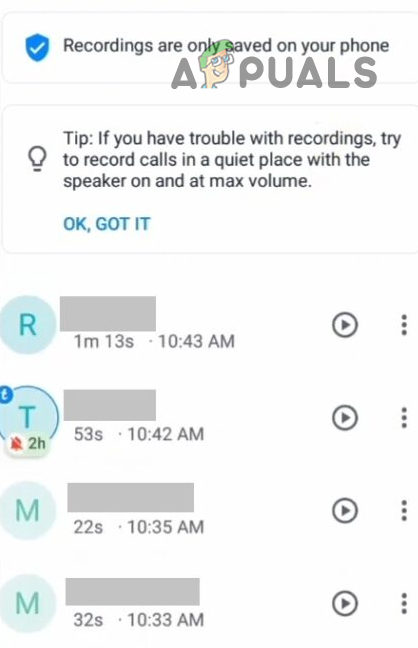
Once a call is recorded, the audio is saved in Truecaller app settings. You can easily access and also share the recording with others. Here is how;
- Open the app and go to Menu.
- Tap Settings and select Call recordings.
- Once here, you can either listen to it or share it with others.
- Tap the three dots next to the audio and select Share.
Tap the Play button to listen to call recordings and tap three dots to share. - Next, you can select the user and the app on which you want to share this audio.