How to Create Network Global Site Map on Solarwinds WorldWide Map
A global site availability map is an essential dashboard for checking the availability of your organization’s branch location status across the globe, all in a single pane. With this availability map, a Network Administrator can understand any location issues, and administrators can be quickly assigned to fix any problems.
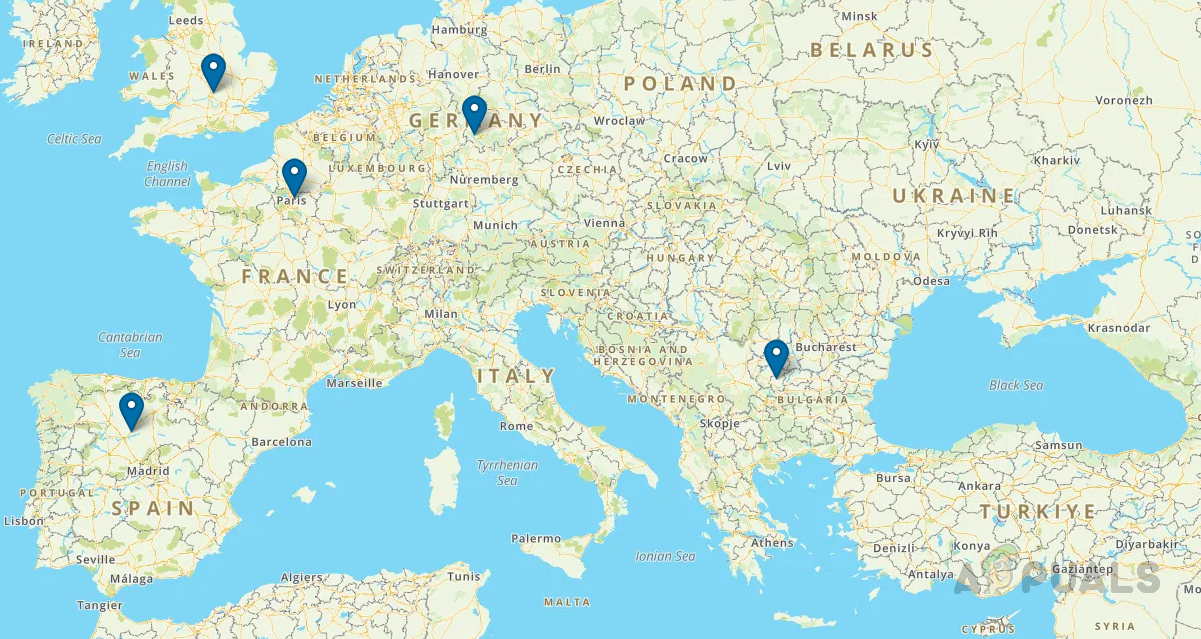
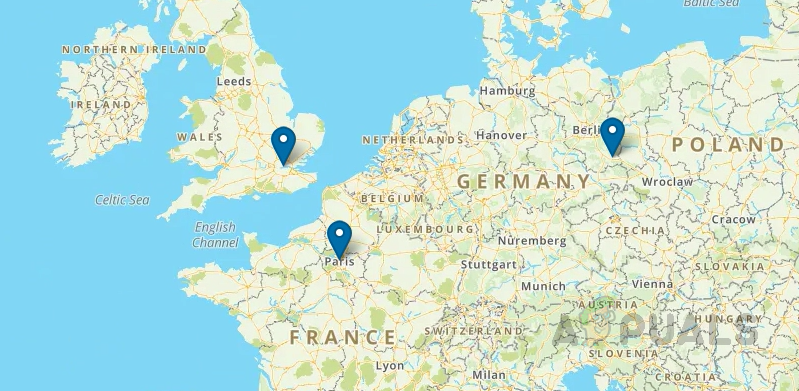
Solarwinds provides a real-world map, powered by Open Street Map, that we can use to create a global site-availability map. We can then use this map to place core devices, or all the devices into a group and in the exact location of each branch location as necessary. Whenever a core device goes down, or any device inside the group goes down, the status on the map will be changed accordingly. We can quickly understand that there is an issue and act accordingly. Click on this link to learn more about Solarwinds Worldwide Map and try it out.
How to Configure Solarwinds Worldwide Map
There are three ways to place the network devices inside the worldwide map.
- Place Network Devices Automatically on Solarwinds Worldwide Map.
- Place the Network Devices Manually in Solarwinds Worldwide Map.
- Place the Network Devices Using Custom Properties.
1. Place Network Devices Automatically on Solarwinds Worldwide Map
The network devices need to be configured with location information to place the nodes automatically on the Solarwinds worldwide map. Below is the Solarwinds recommended format to configure the location details of a network device.
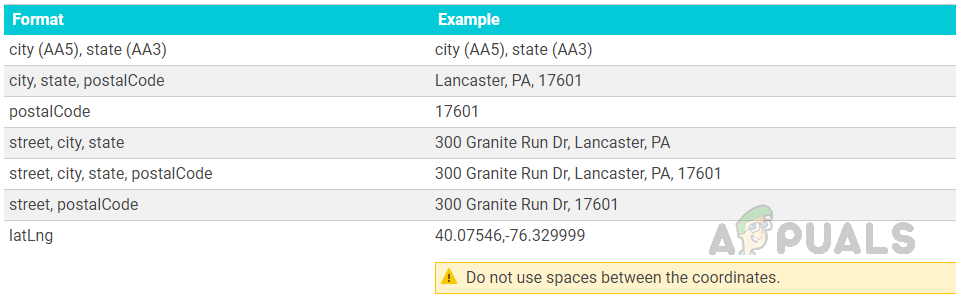
Solarwinds can read the location data if the devices are configured in the above format. To display the nodes on the map, we also change the Worldwide map settings. Follow the steps below to change the settings.
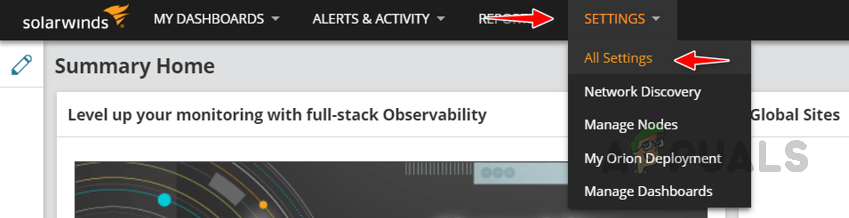
- Go to Settings and then All Settings.
- Click Manage World Map under Node & Group Management.

- Expand More and Select Automatic Geolocation.
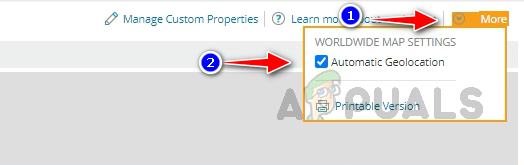
- Once the automatic geolocation is enabled, all the network devices configured with location information will be placed on the map.
- If you cannot see any devices on the map, then the device is not configured with location information, or the location information is not configured correctly. Reconfigure the information appropriately to fix the issue.
Now, let’s see how to place the nodes manually on the Worldwide map.
2. Place the Network Devices Manually in Solarwinds Worldwide Map
Follow the below steps to place the nodes manually on the worldwide map.
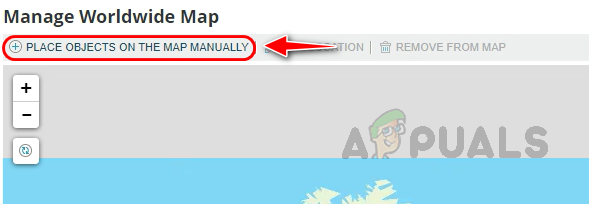
- On the Manage World Map page.
- Click on Place Object on The Map Manually.
- Zoom in on the map and pick the exact location where you wish to place the node. Now select the node and click on Place on Map.
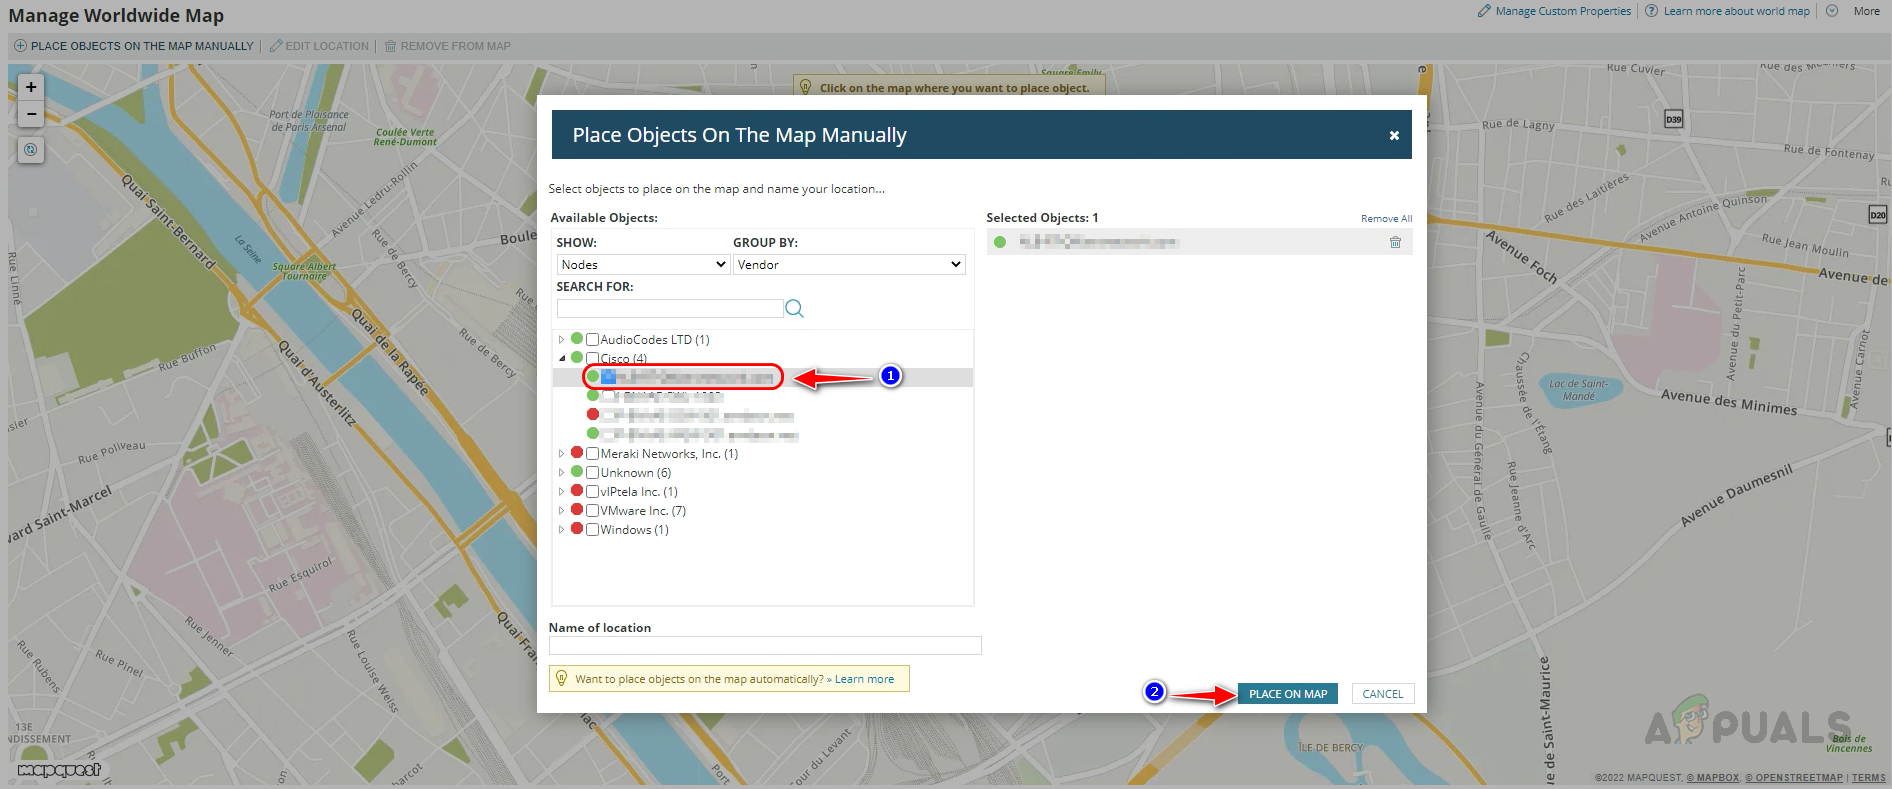
- Follow the same steps to place all the required devices on the map.
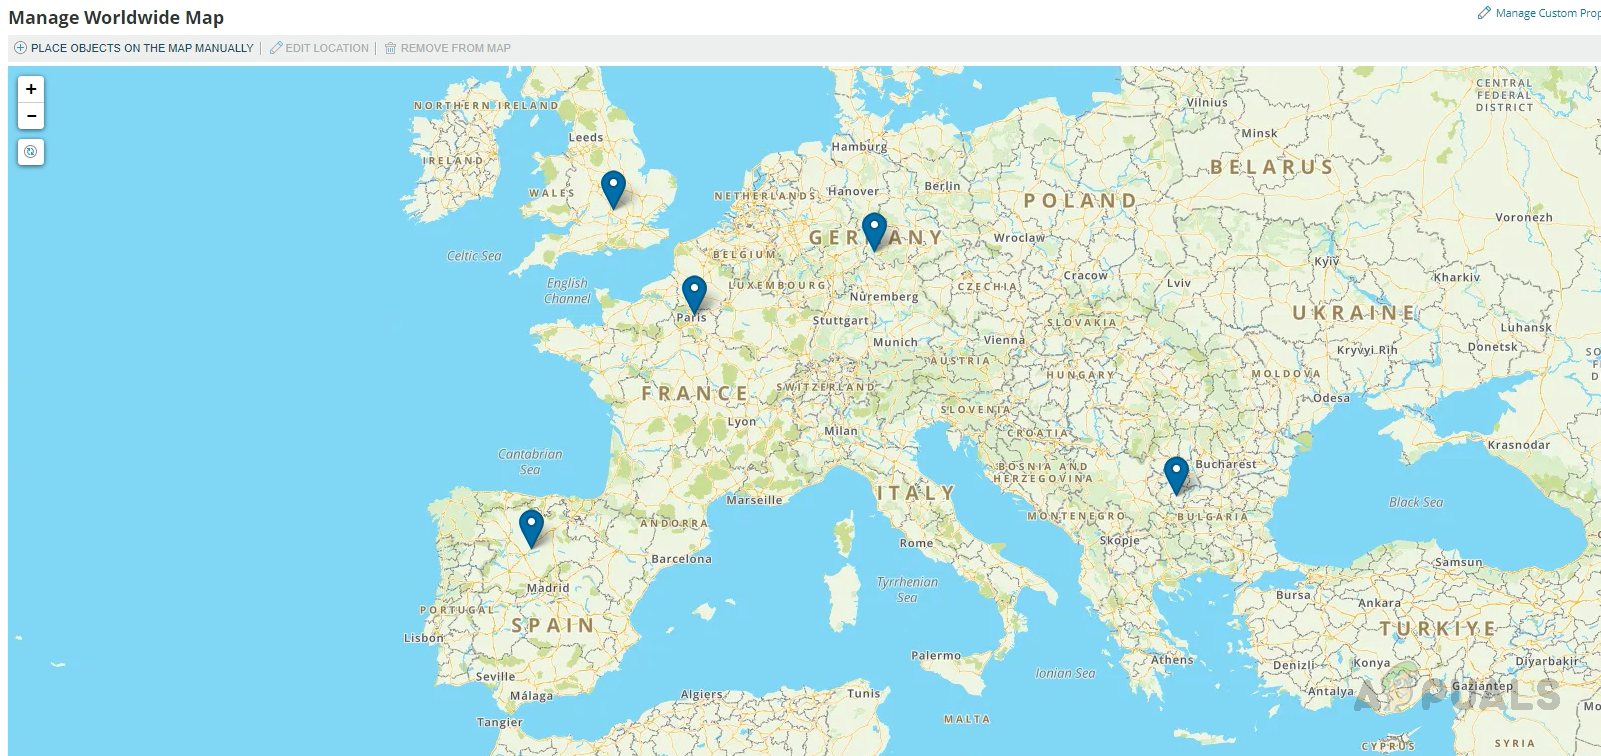
- We have completed placing all the required devices manually on the map.
Now, let’s see how to place the network devices on the map using custom properties.
3. Place the Network Devices Using Custom Properties
To place the network devices using custom properties, first, we need to create two custom properties, Latitude and Longitude, for the nodes or group. If we add values to the custom properties on the node or group, they will be placed on the map automatically. Assigning custom property to the group will help us place a group of devices in the same location. The custom property-creating procedure is the same for nodes and groups. Hence you can follow the same steps for both of them. Let’s see how to use custom properties to place nodes on the worldwide map.
Creating Custom Property for Nodes
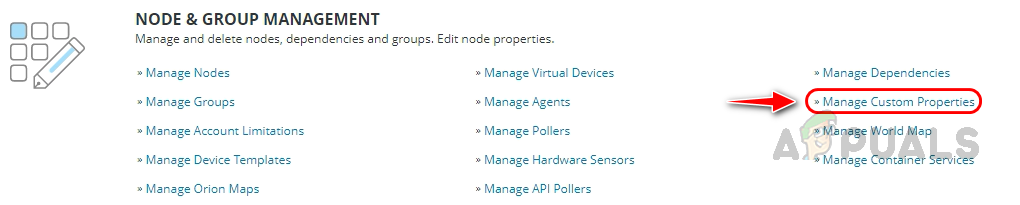
- Go to Settings and then All Settings.
- Click on Manage Custom Properties under Node & Group Management.
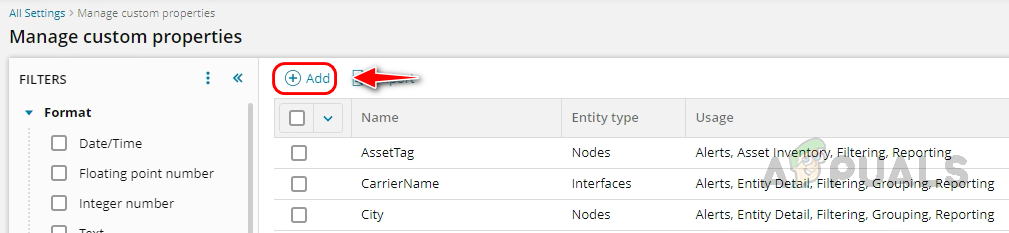
- Click on Add.
- Select Nodes in Entity Type. Latitude is one of the default properties available for nodes. You can choose it from the list. If unavailable, type Latitude on Property Name, choose Floating Point Number in Format and click on Save.
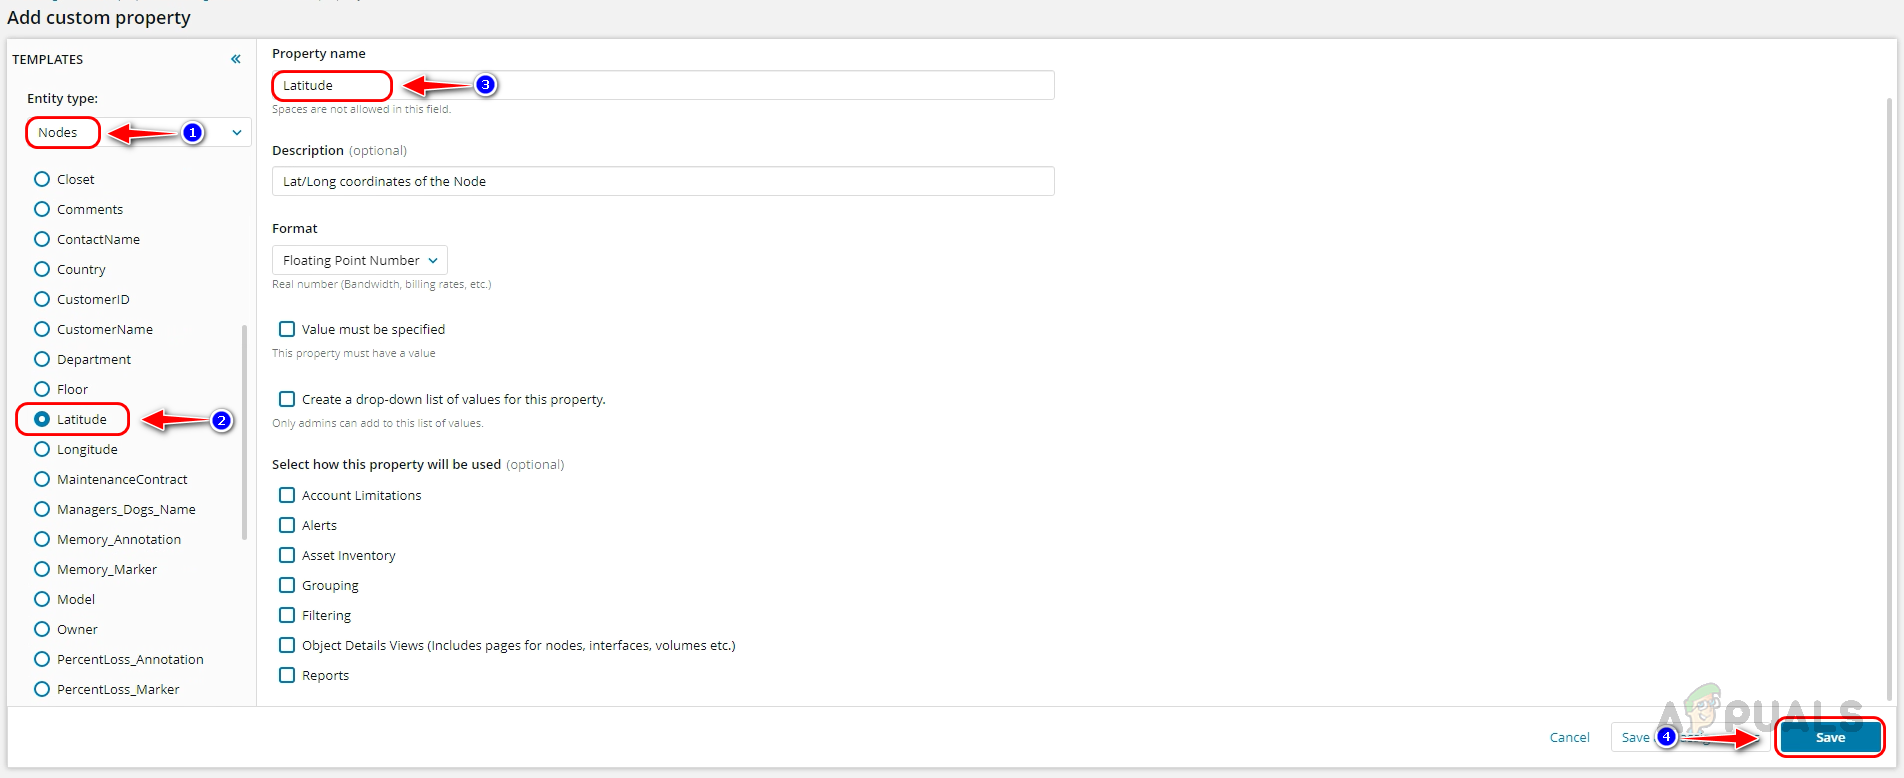
- Now follow the same steps and create a custom property, Longitude.
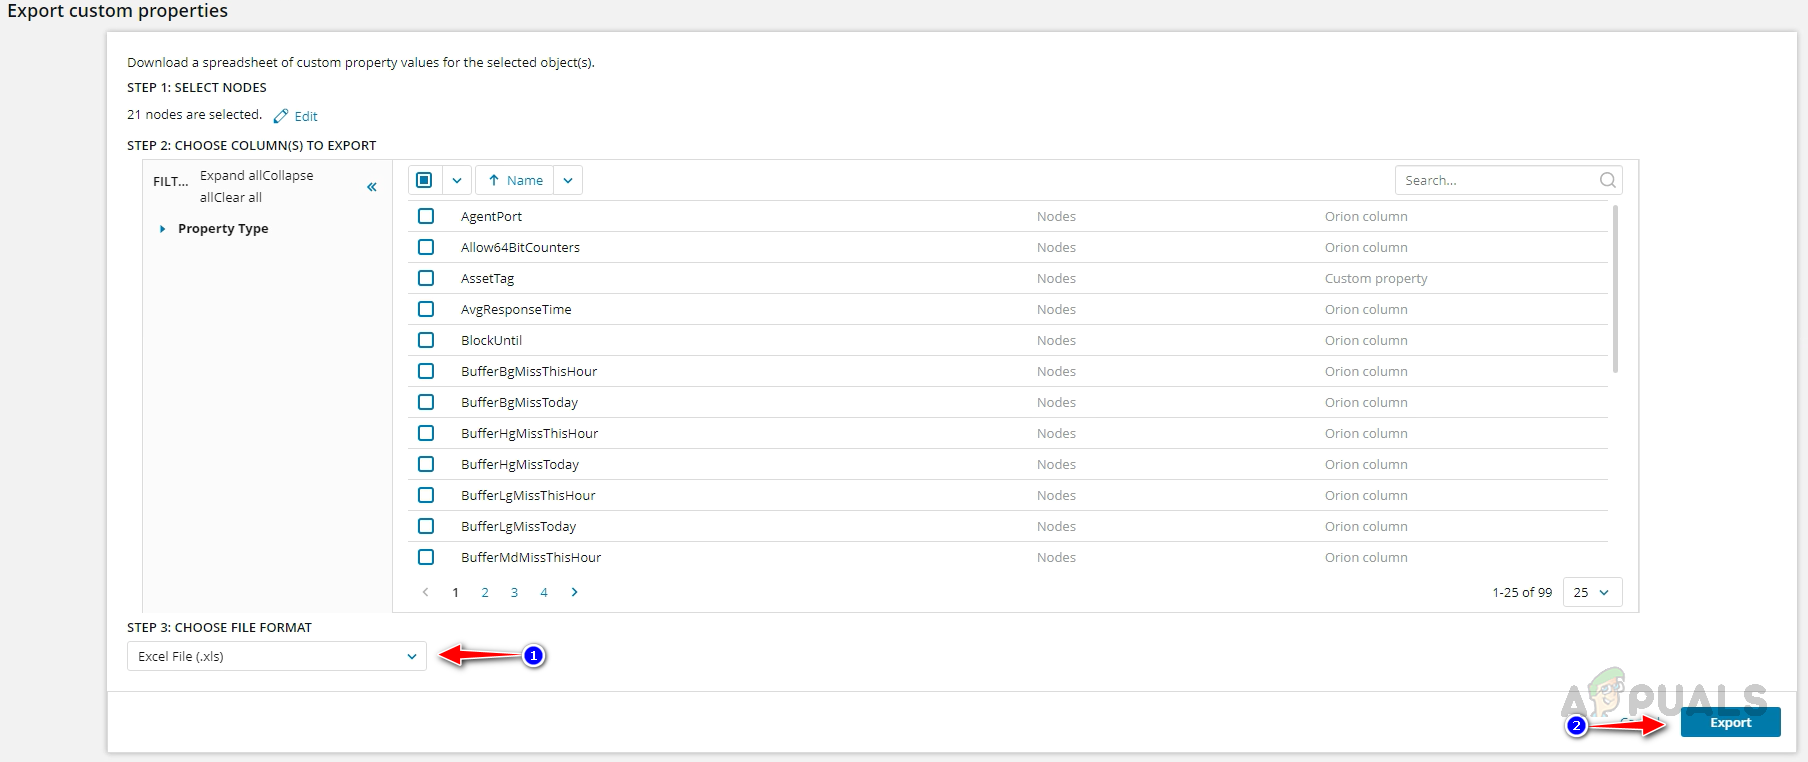
- Select Latitude and Longitude from the list on the Manage Custom Properties page and click on Export.
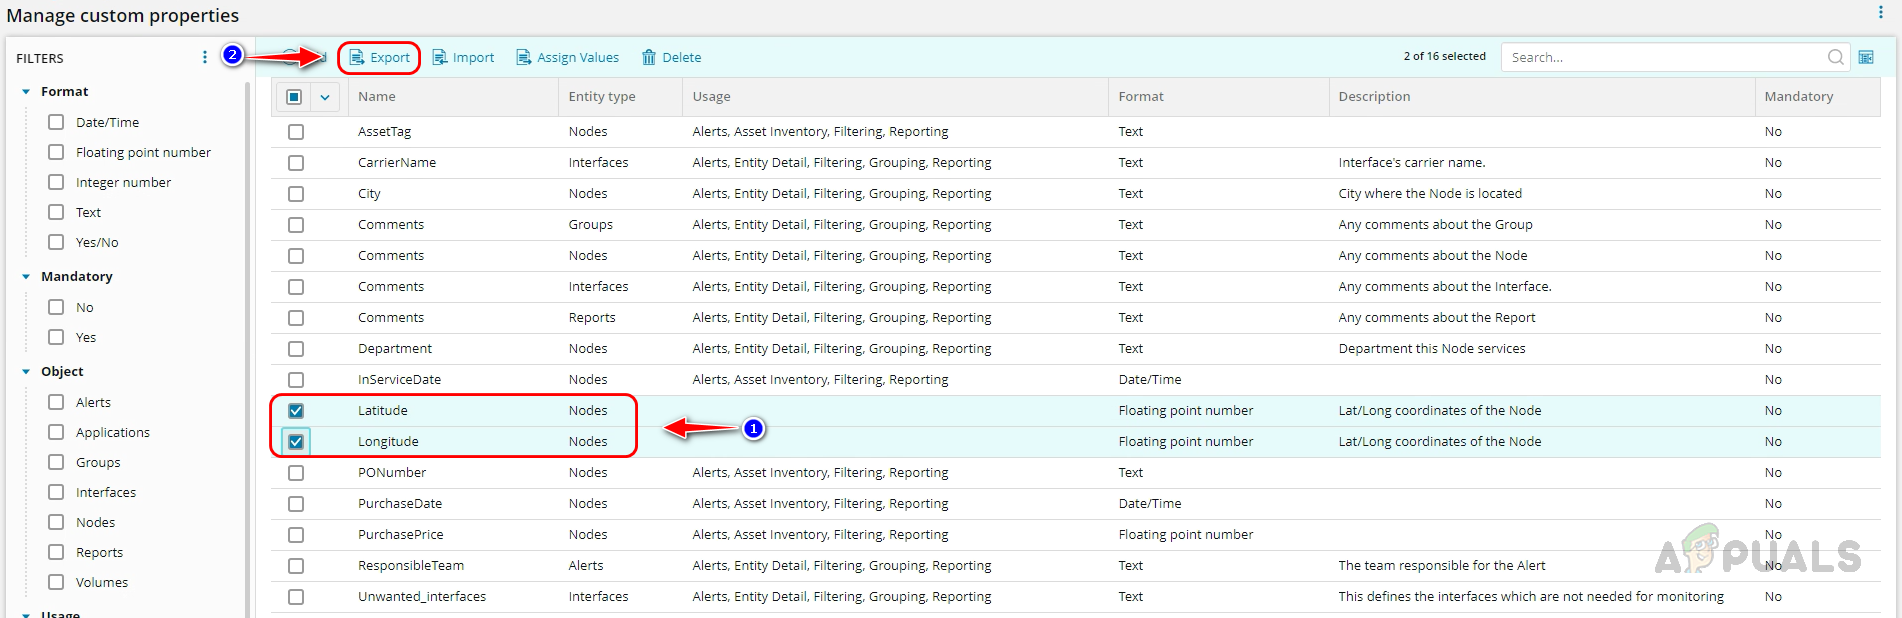
- Select Excel File(.xls) in file format and click on Export.
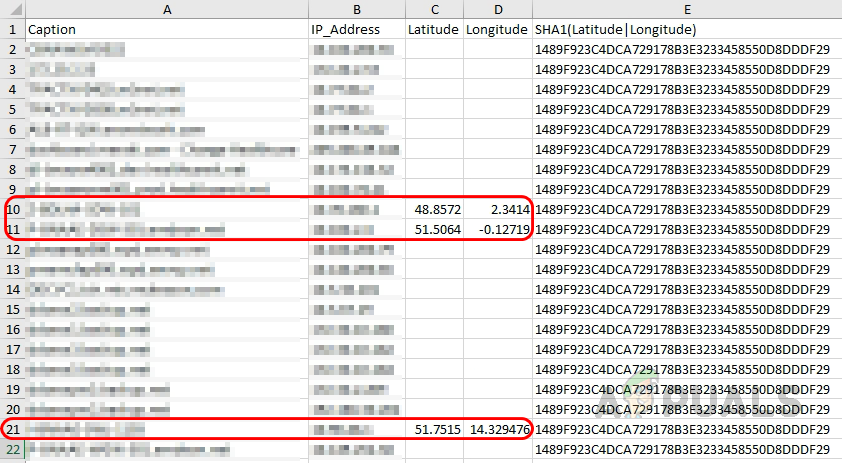
- Open the exported file and fill in the properties for the required nodes with the latitude and longitude of the site location.
- To place the nodes accurately on the map, get the latitude and longitude values from the Mapquest website on this link. Mapquest provides Solarwinds Worldwide map.
- Update the values for the required nodes. Do not change any values in the SHA1 column. It will be validated while importing the values back into Solarwinds.
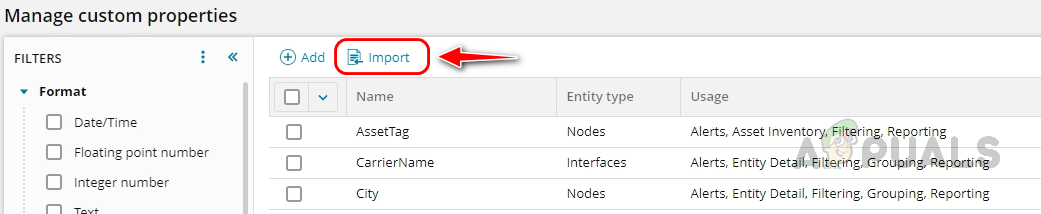
- Now, we need to import the updated sheet to Solarwinds.
- On the Manage Custom Properties page, click on Import.
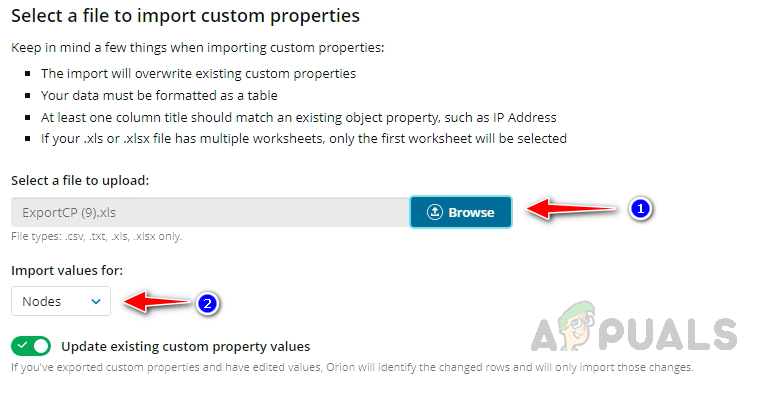
- Browse and select the updated sheet, ensure Nodes is selected in Import values for, and click on Next.
- Now, select Latitude(World Map) from the drop-down list of Latitude. Select Longitude(World Map) in Longitude. If this is not done, nodes will not be placed on the map. Click on Validate Columns. Once the success message is displayed, click on Import.

- After the custom properties are imported, go to the Manage World Map page, and we can see the nodes placed exactly on the provided latitude and longitude.
We have now placed the nodes on the map. You can follow the same steps to create the custom properties for Groups and import custom property values to the groups. Once configured the groups will be placed on the map accordingly.
Now let’s see how to create a dashboard with the map.
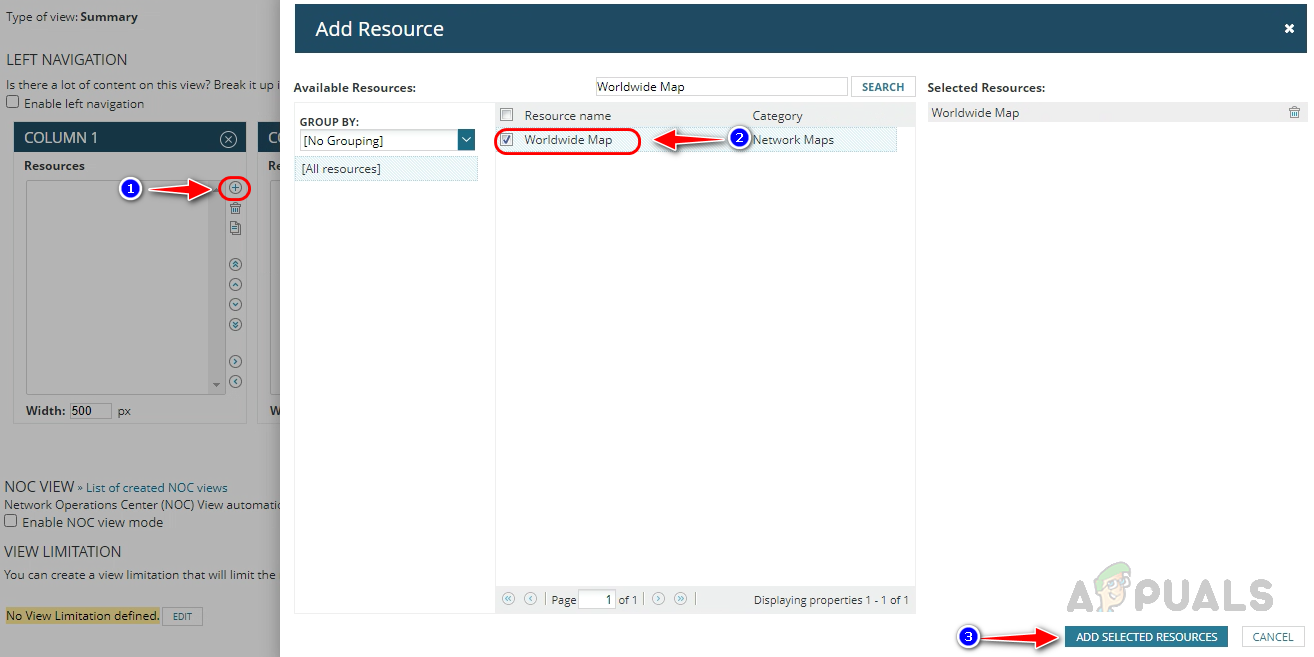
- In the All Settings page, click on Add New View under Views.

- Click on the + icon, search Worldwide Map in the search box, select Worldwide Map, and click on Add Selected Resources.
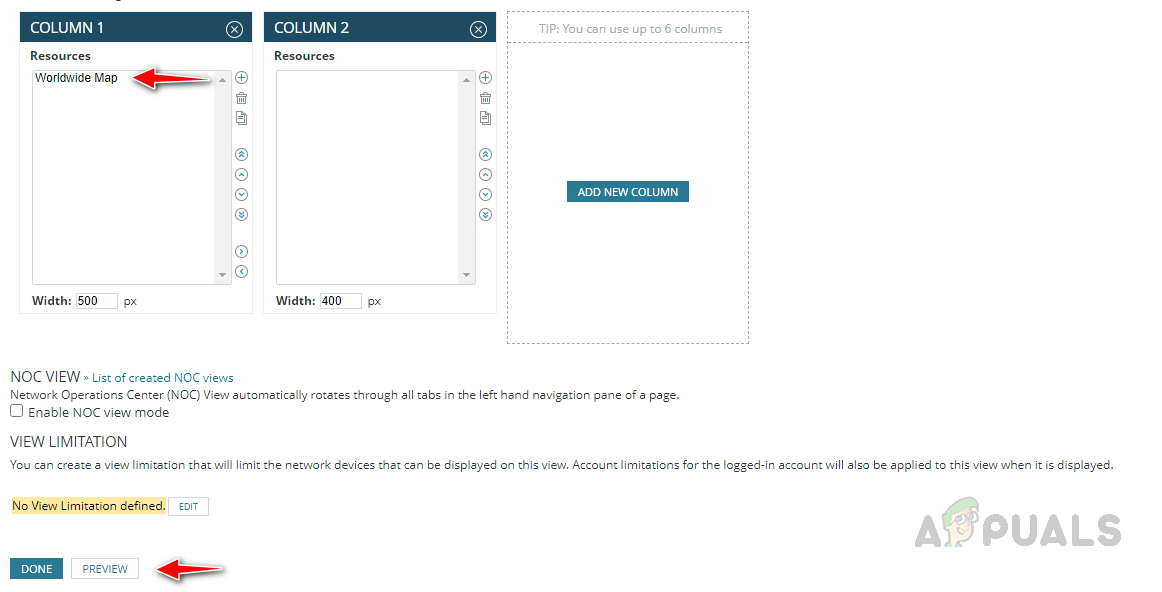
- Once the widget is added, click on Preview to customize it.
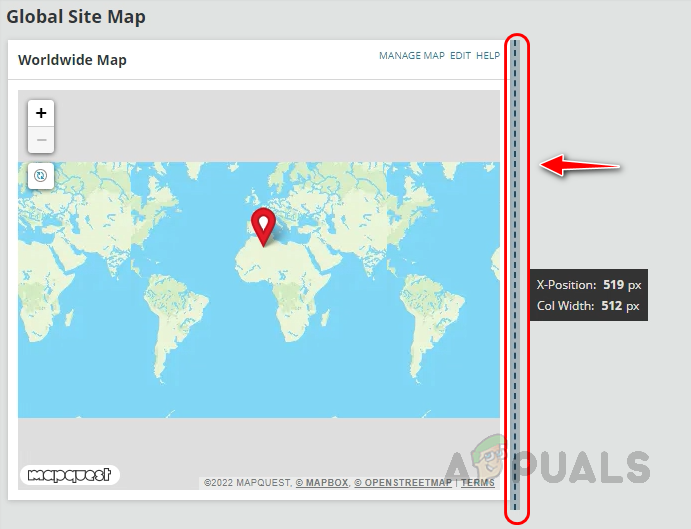
- We can expand the widget length by dragging the column line. Expand the widget to get a better view of the map.
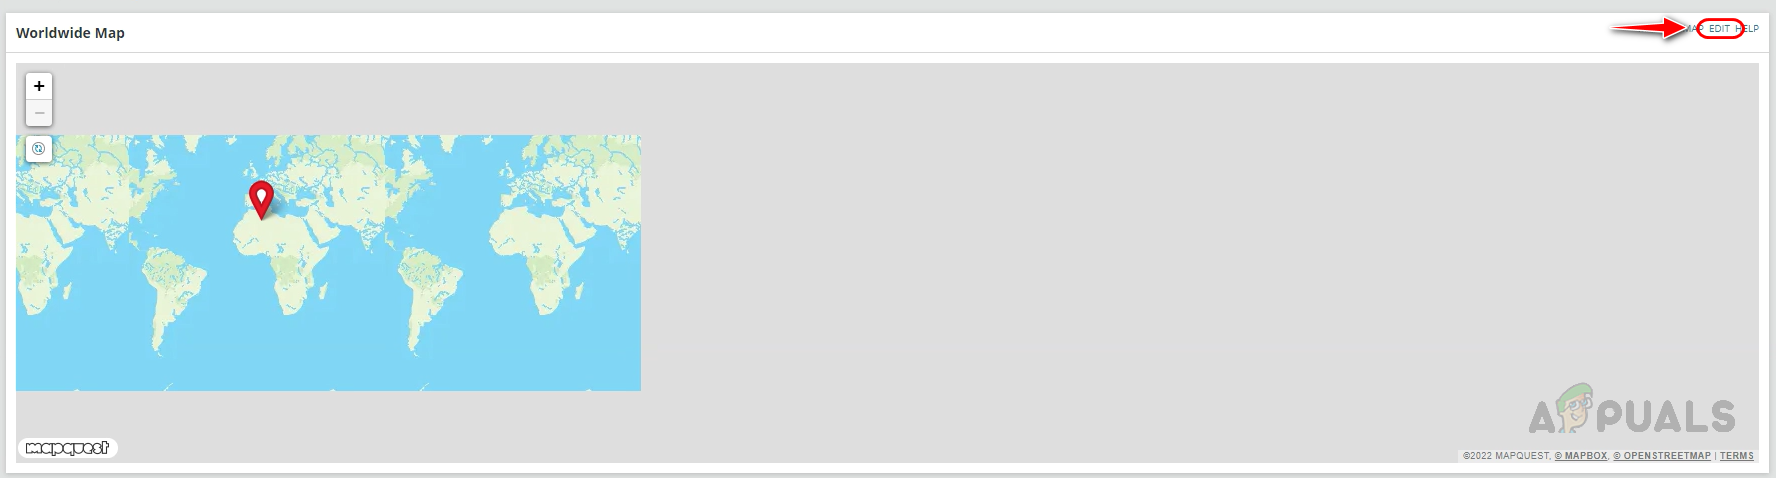
- Click on Edit to customize other aspects of the Map.
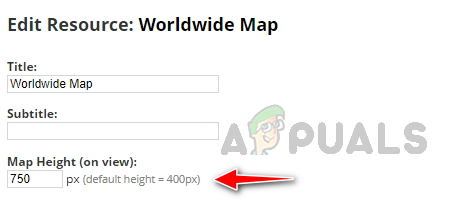
- Change the widget height using Map Height.
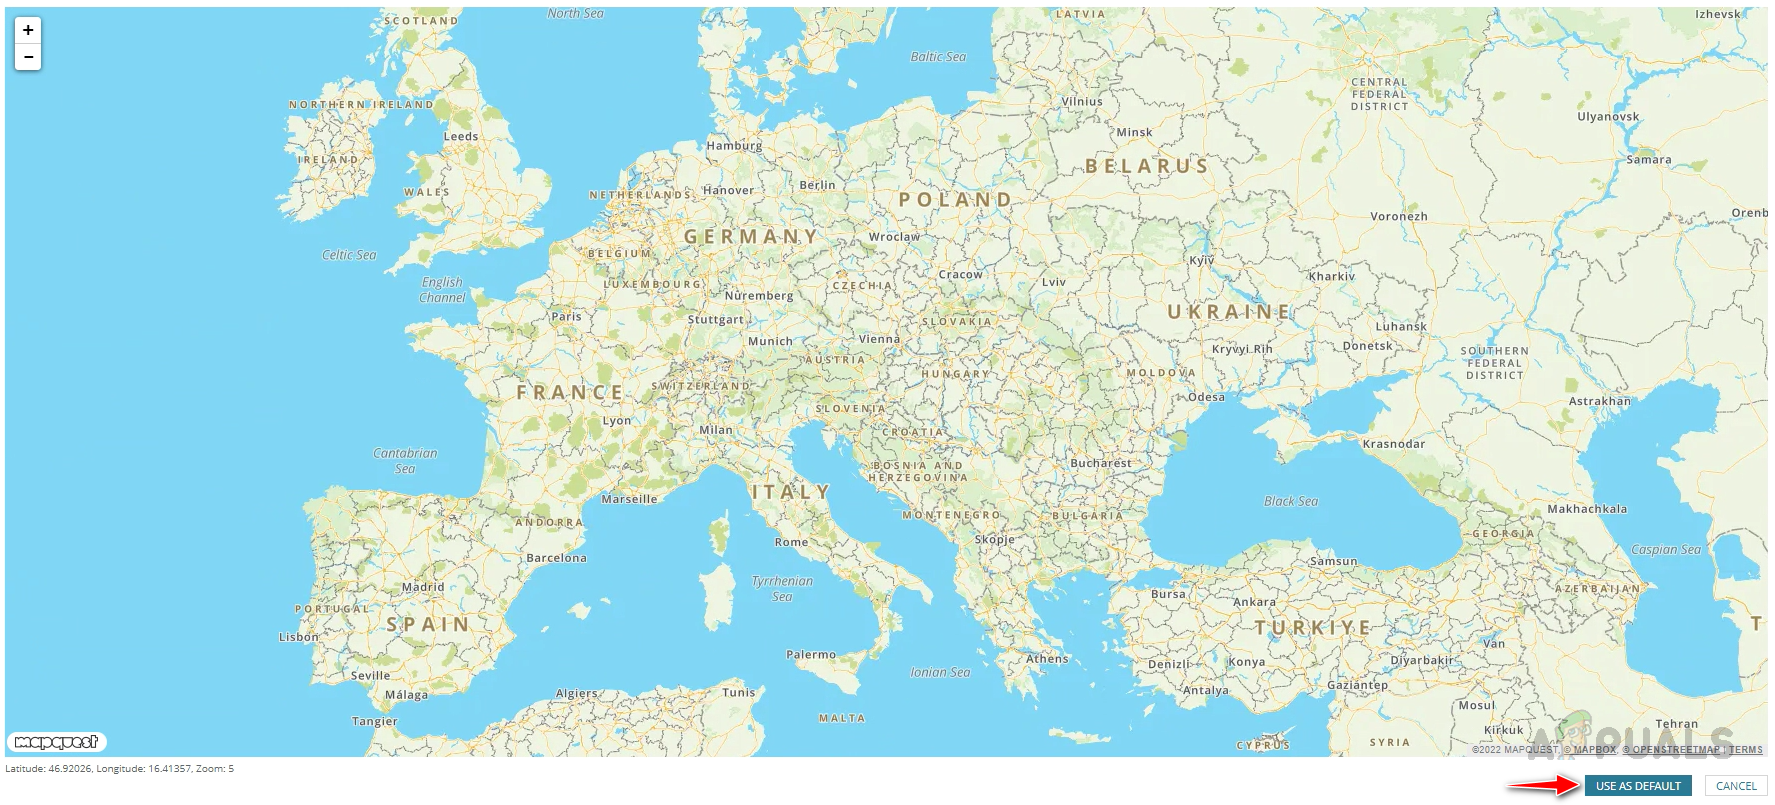
- Click on Set Location And Zoom Level to set up a zoom level for the map.

- Zoom the map as required and click on Use As Default.
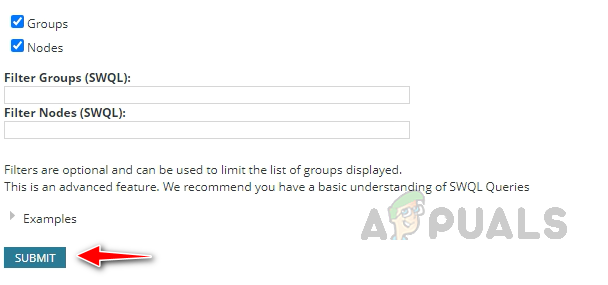
- Select Nodes and Groups and click on Submit. If you would like to exclude any nodes or groups to be displayed on the map, you can use the filter options to exclude them.
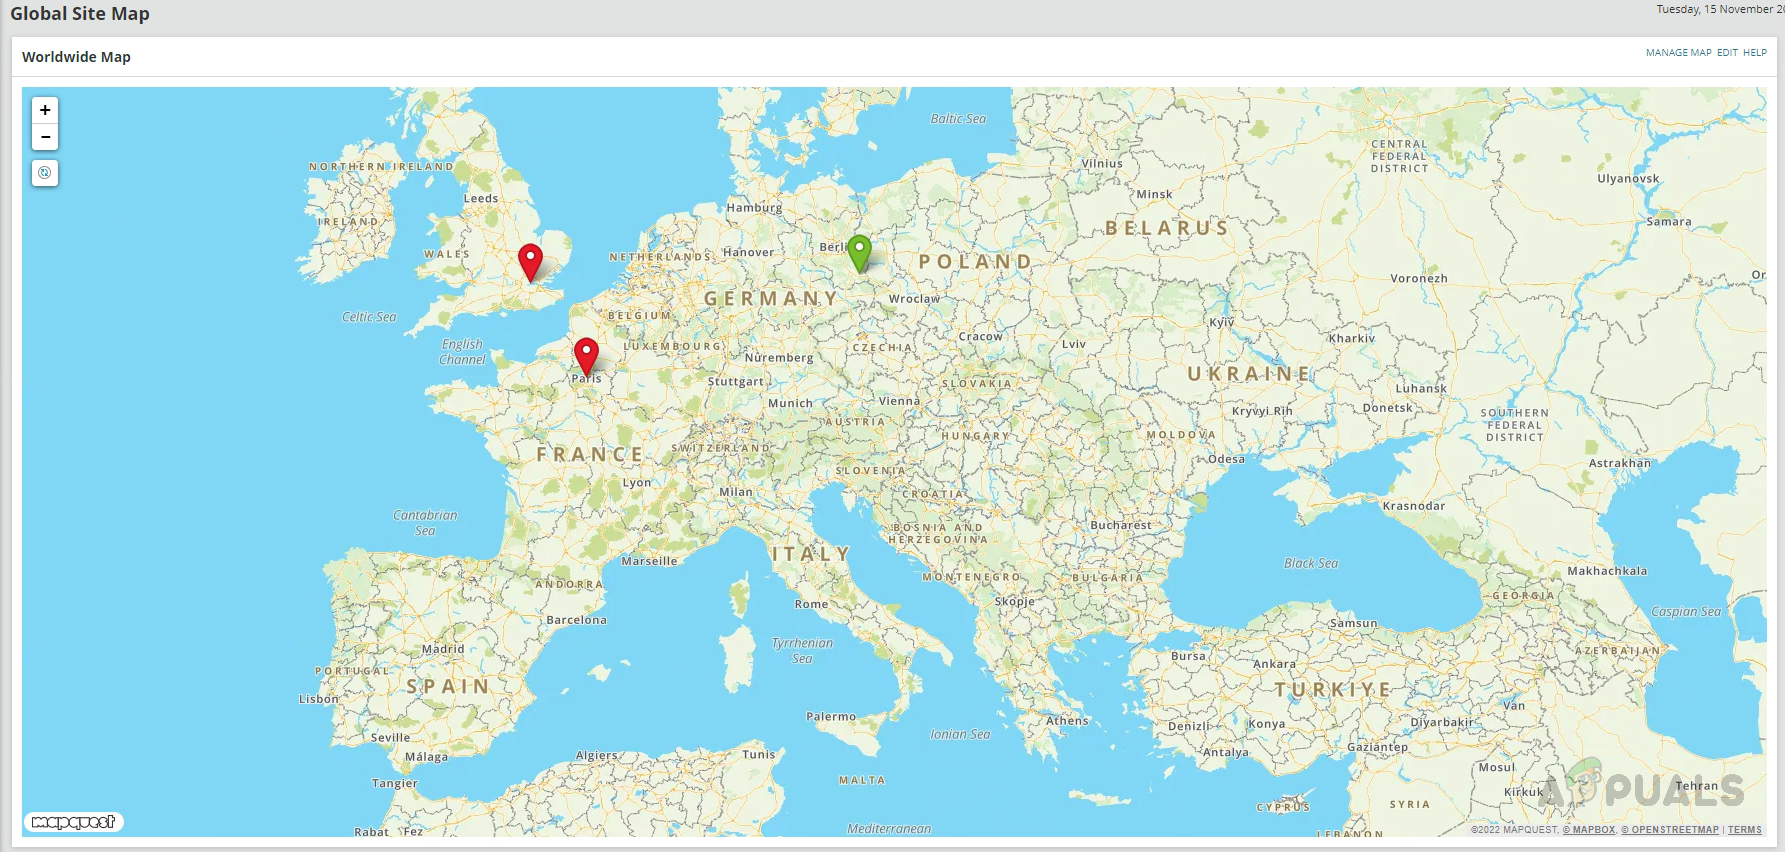
- Now we can see our global site map.
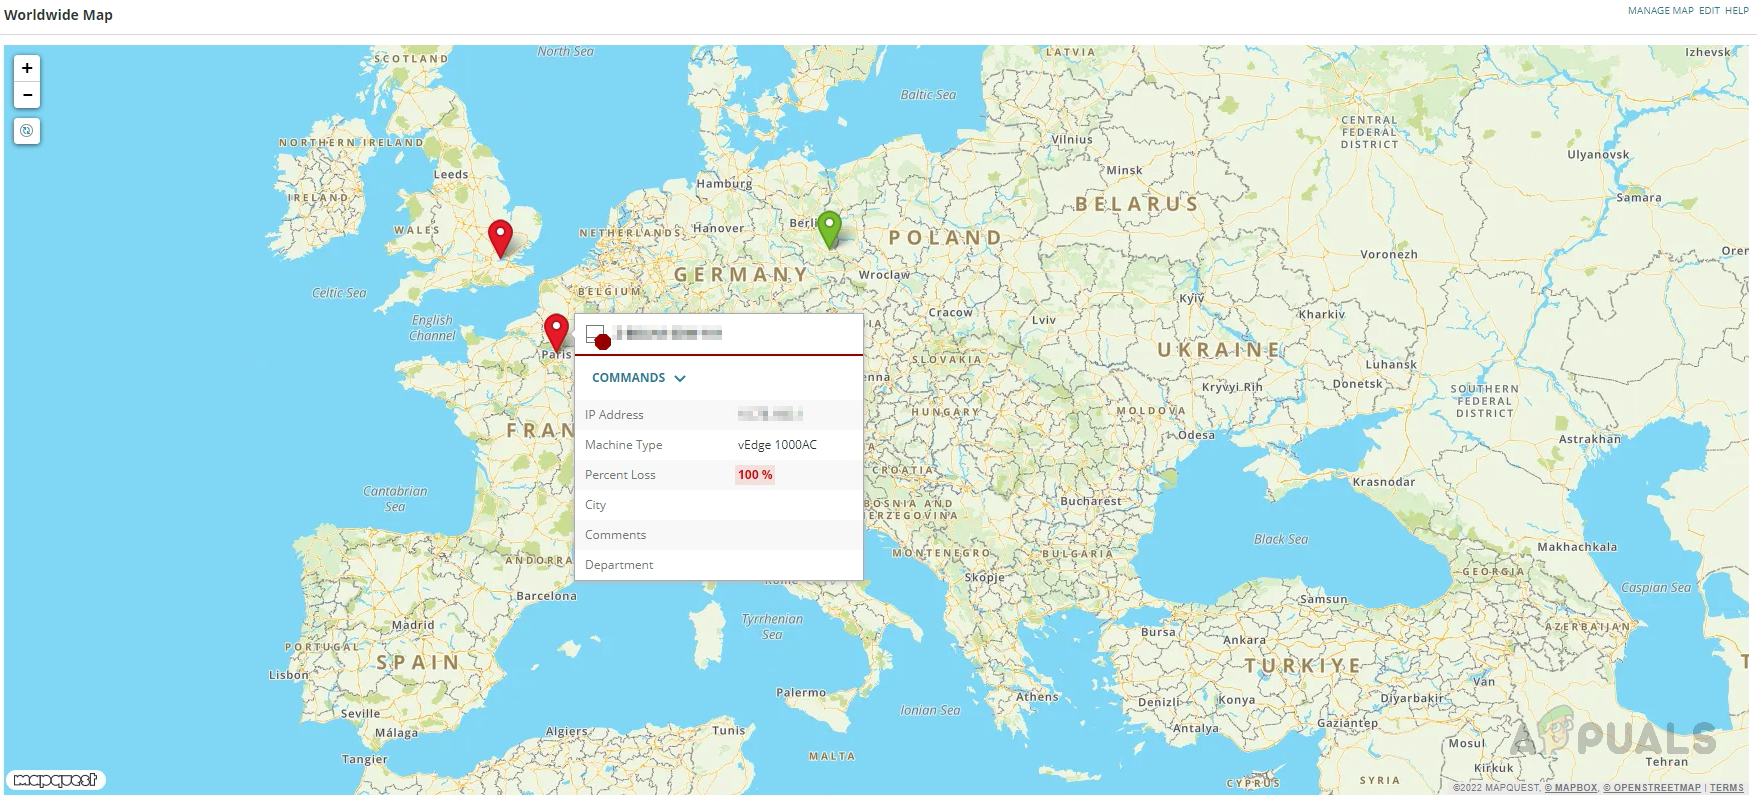
- If we hover over the node, we can see the node-related details.
- If we click on the node, it will take us to the node summary page, where we can see the complete node details.
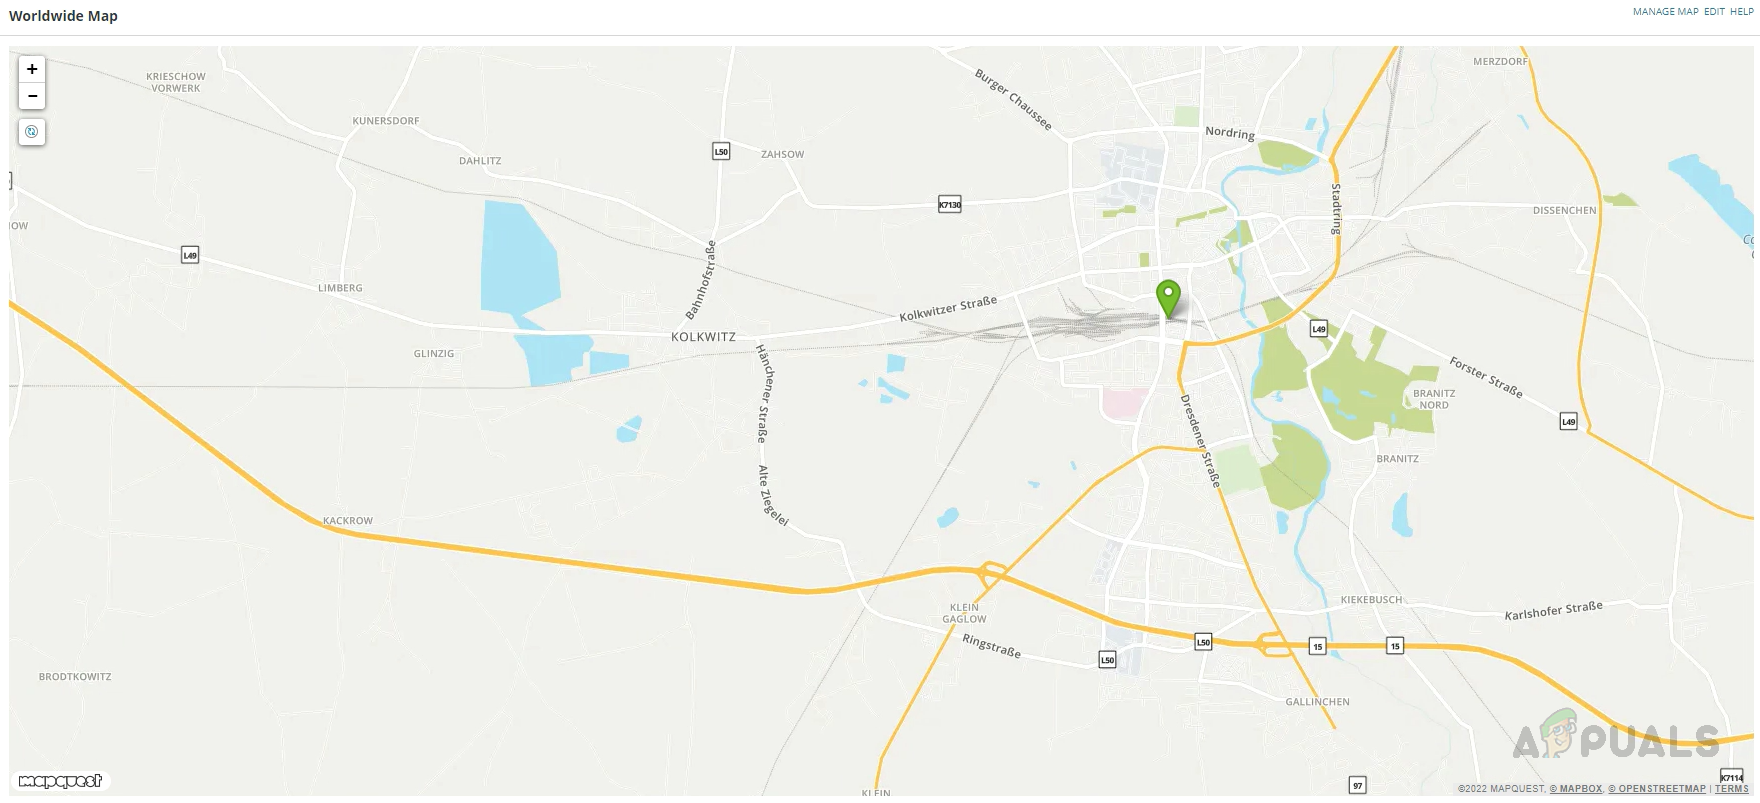
- We can also zoom inside the map to see the exact location of the node.
- We can add this created Worldwide Map view to the Solarwinds navigation menu.
- To learn how to add a view to the Solarwinds navigation menu, click on this link.
This is how we can configure the Solarwinds Worldwide Map to create a global site availability map. We can use this Network Global Site Availability Map to monitor the organization’s branch locations for any issues and act accordingly.