How to Configure and Connect SFTP Server from Windows Command Prompt?
Transferring files over a network is pretty common in this world. Some do it without knowing that they are sharing said data while others have a dedicated server configured for the mentioned purpose. SFTP or Secure File Transfer Protocol is now preferred over the standard FTP or File Transfer Protocol because of the SSH encryption that comes alongside it. If you have used FTP, you would know that the data involved during the transfer such as the usernames, passwords and more are shared through plain text. This would be a nightmare for network admins to deal with but thankfully, there are now different versions available such as FTPS and SFTP as mentioned above.

One of the reasons you might find people preferring FTP is that it does not have a file size limit on the files that are to be transferred. Having an SFTP server in your work network has to be one of the most important things as it gives you secure file transfers to both client applications and the server. When it comes to setting up an FTP server however, things can get a little complicated due to the numerous options available on the internet. Even though there are many choices to choose from, SolarWinds stands on top as usual due to the high quality of their products like the NPM which lets you monitor your network performance along with many other things. The Serv-U FTP Server from SolarWinds is no different from the high standards of their products which is why we will be using it in this article to setup and configure an SFTP server.
Install Serv-u FTP Server
In order to be able to configure your own SFTP server, you will first need to install it naturally. To download the Serv-U FTP server, head over to this link. You can either choose to download the free trial by clicking the respective button or buy the product through the provided button which we would highly recommend.
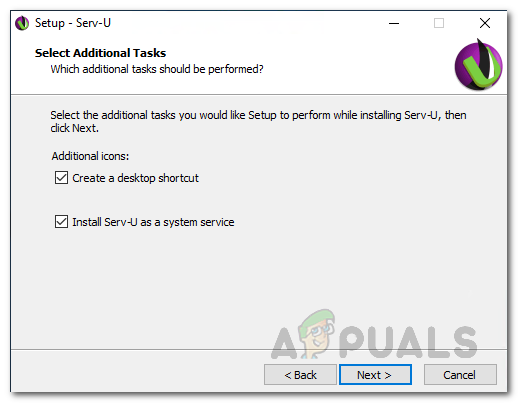
Whatever you decide on, you will get a zip file when the download finishes containing the installer. So, go ahead and unzip and then run the installer. The installation process is rather simple so just follow through the on-screen prompts to get through it. During the setup, make sure the Install Serv-U as a system service option is ticked. At the end, you will be asked to add Serv-U as an exception, make sure the check is ticked and then click Next. Once you have done that, you are done with the installation and have successfully got a SFTP server on your system.
Configuring Serv-U FTP Server
Now that we have gone through the installation, it is time to configure the Serv-U FTP server. The process is pretty and user-friendly thanks to the Serv-U Management Console. Follow through to configure the server.
Creating a Domain
A domain is basically the core of the Serv-U server. For a layman, a Serv-U domain is essentially a number of listeners and user accounts that are basically allowed to connect to the SFTP server and access the files and folders. For further restriction and control, you can configure the domain created to restrict access based on IP address and even limit bandwidth usage so that the server performance remains optimal. With that said, creating a domain is really. Follow the instructions given down below:
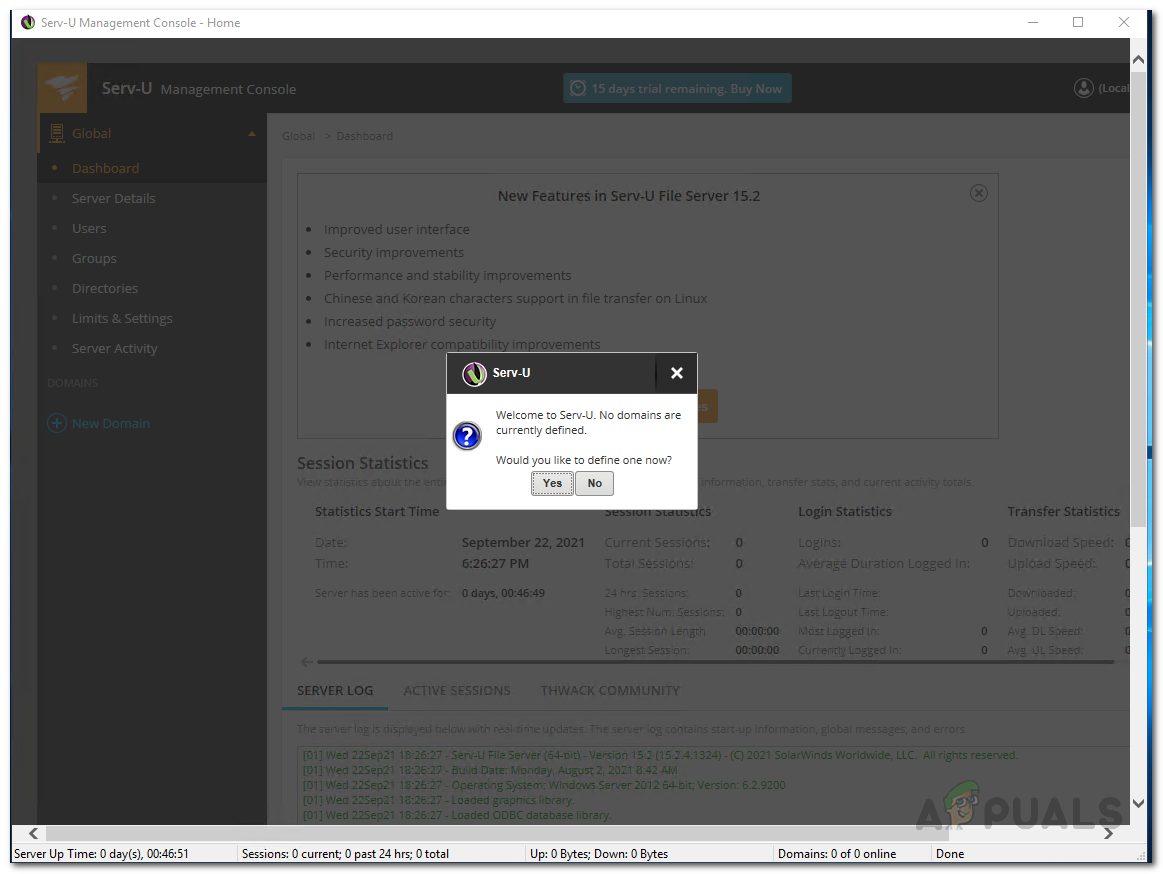
- First of all, when you finish the setup wizard, the Serv-U Management Console should open up automatically. In case it doesn’t, go ahead and open up the Start Menu and search for it.
- When you open the management console for the first time, you will be asked to define a domain. Click on the Yes button.
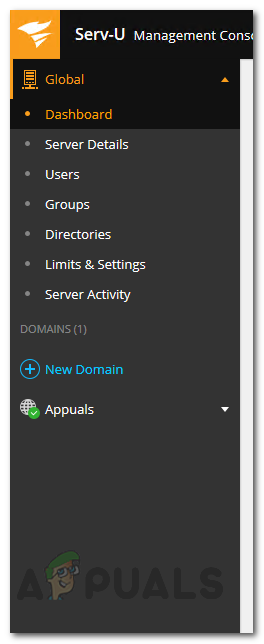
Creating a New Domain - Alternatively, you can click the New Domain button on the left-hand side to define a domain.
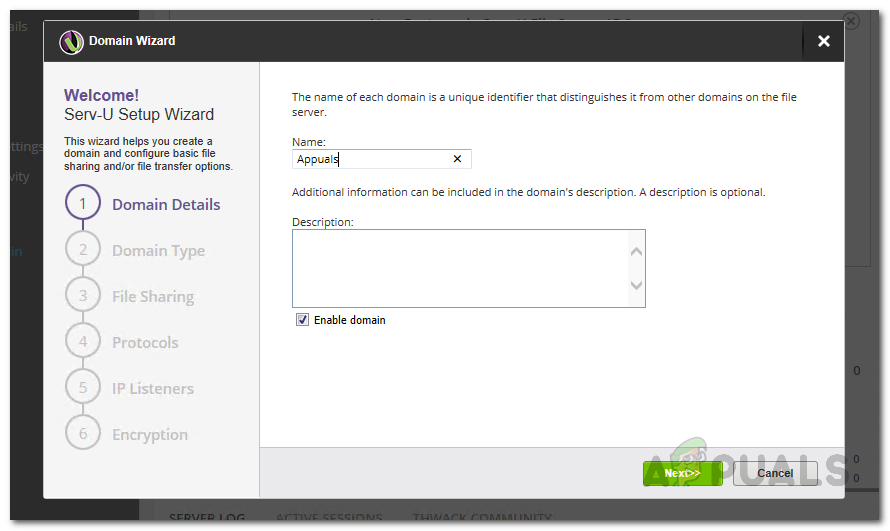
New Domain Button - This will open up the Domain Wizard. First of all, give the domain a name and provide a description.
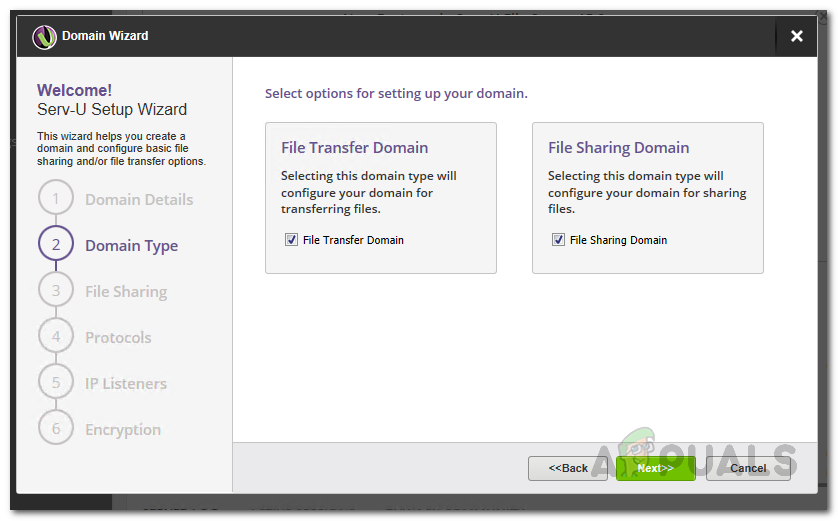
Providing Domain Details - On the Domain Type screen, choose what you want the domain to be used for i.e. file transfer or file sharing. Click Next.
Choosing Domain Type - Now, if you choose the File Sharing option, you will be taken to the File Sharing tab. Here, provide the domain URL that is to be used and then follow it up by choosing the file sharing directory.
- If you wish to use HTTPS, make sure to tick the Use Secure URL checkbox.
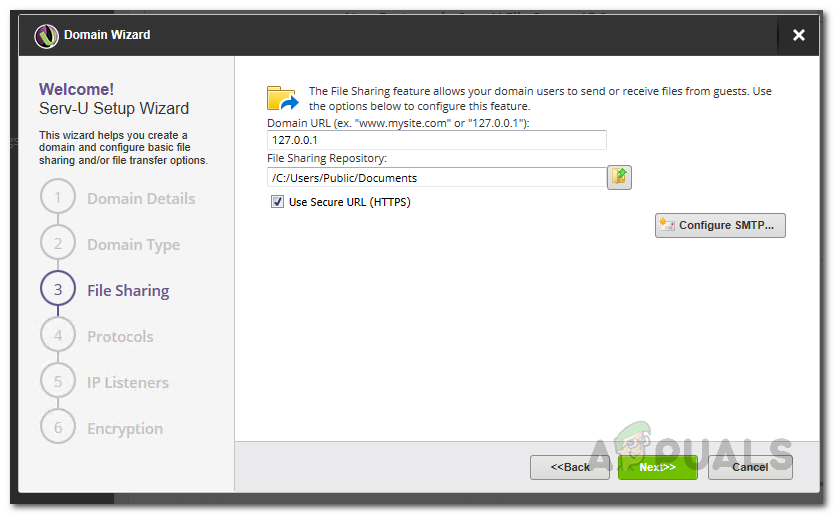
Changing File Sharing Settings - In addition, if you want the server to send emails for email notifications as well as events that use email actions, click on the Configure SMTP button and provide the requested details.
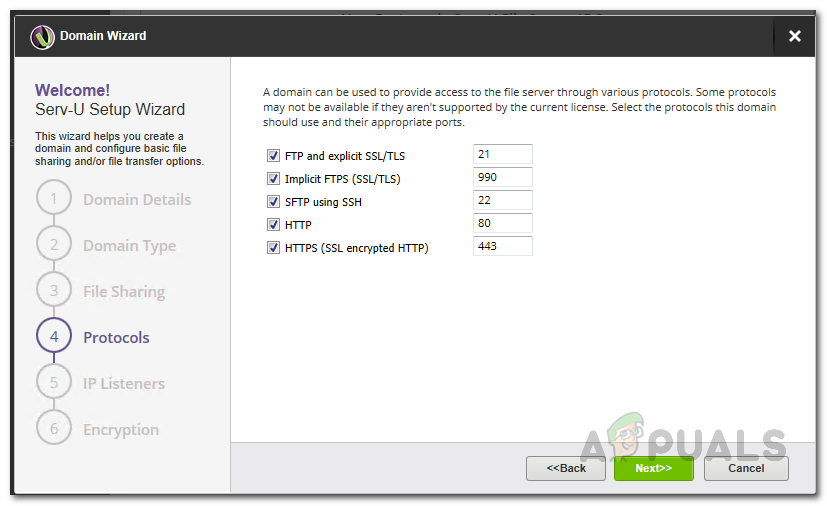
- In case you chose the File Transfer option, you will be seeing the Protocols screen instead. Here, choose the protocols to be used along with the respective ports. Then, click Next.
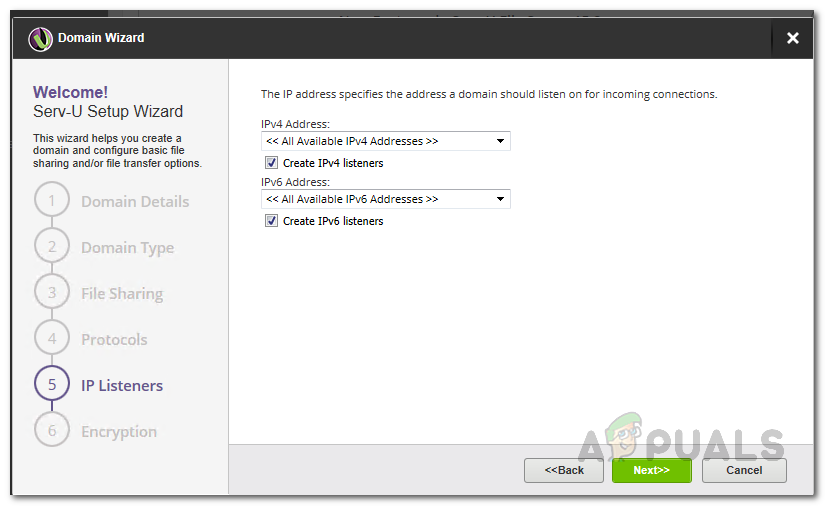
Choosing the Protocols for File Transfer - By default, the SFTP server will listen to connections on all available IPv4 and IPv6 addresses, however, you can change this later on via the Listeners tab that is located in the Domain Details page.
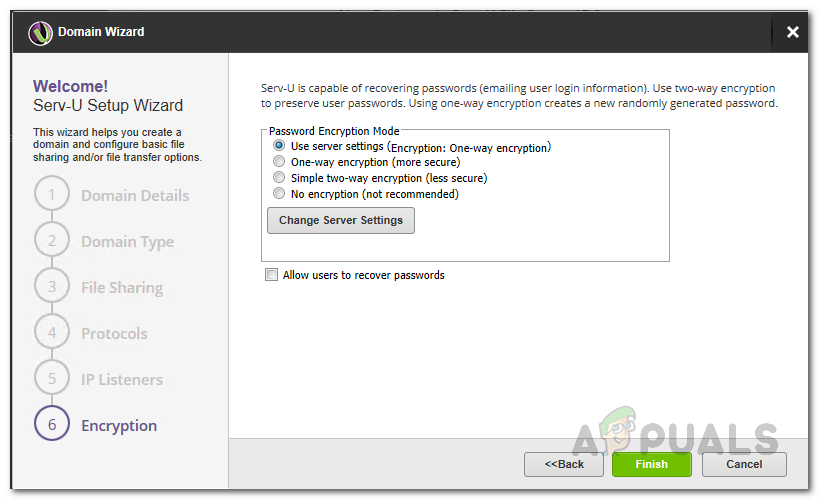
SFTP Server Listeners - If you chose File Transfer, you can choose the password encryption mode on the Encryption screen. In case you want to enable password recovery through the HTTP login page, tick the Allow users to recover passwords option.
Choosing the Encryption Mode - Finally, once you have done all of that, click the Finish button.
Create a User Account
Now that we have created a domain, it is basically useless if there are no created user accounts. Therefore, let us get started and create a user account that will be used to connect to the SFTP server.
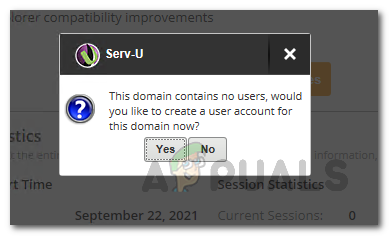
- When you create your first domain, you should be automatically prompted to create a user account. Click the Yes button. When asked to use the wizard, click the Yes button.
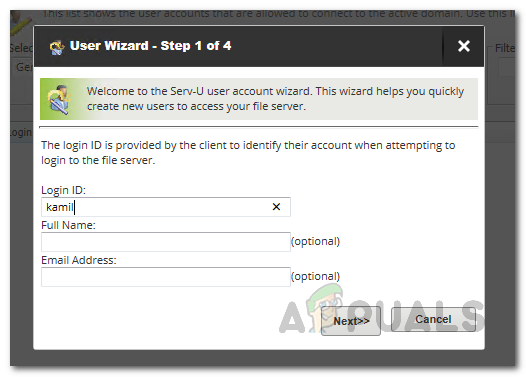
Creating a New User Account - First of all, provide the login ID of the user account. Additionally, you can provide the name and email as well. Click Next.
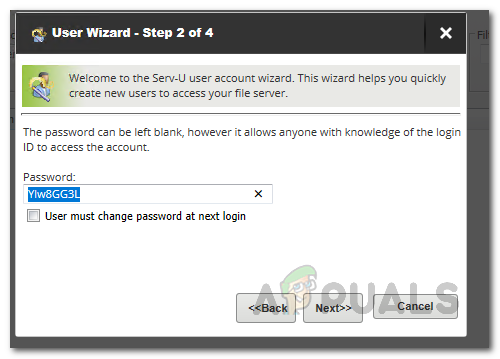
Providing the Login Details - On the next screen, you will be asked to create a password. A password will be generated automatically for you so you can choose to use that or create one on your own. In addition, if you want the user to change their password on their next login, click the User must change password at next login checkbox. Click Next.
Changing the User Account Password - Then, you will have to choose the home directory of the user. This is where the user will be placed after they have successfully logged in. You can also choose to lock the user to their home directory via the option given. While providing the home directory, you can use the %HOME% macro to insert the login ID to the path.
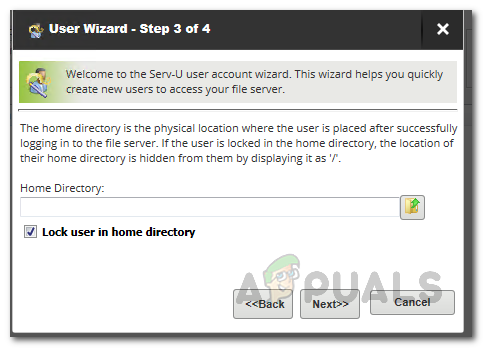
Providing the Home Directory of the User - Finally, on the last screen, you will be asked to choose the Access Rights of the user.
- Give the user Read Only Access if you want him to be able to browse and download files. On the other hand, choose the Full Access option if you wish to grant the user full control of their files and folders in their home directory.
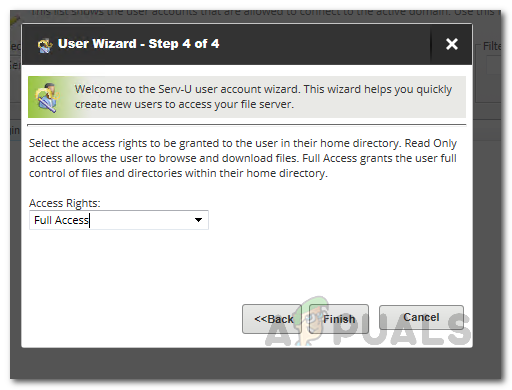
Choosing the User Access - Then, click the Finish button to add the user.
- You can also add more users via the Add button provided on the Users page.
Connect to the SFTP Server from Windows Command Prompt
At this point, we have successfully created a custom domain as well as a user account that we can use to connect to the SFTP server. With the help of this, we will be able to send and receive files depending on the type of domain that you created. You can easily connect to the server via a Windows command prompt window. To connect to the Sftp Server from Windows Command prompt, follow the instructions given down below:
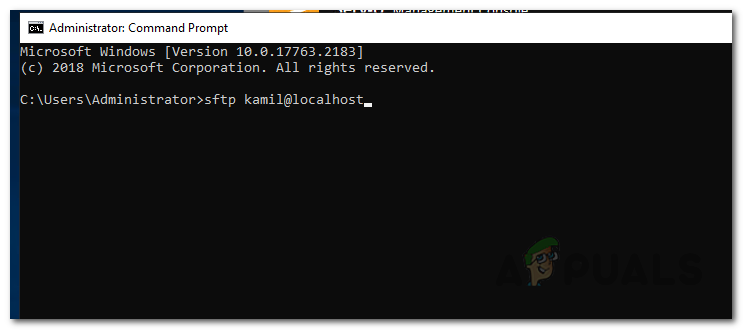
- First of all, open up a command prompt window by searching for it in the Start Menu.
- Once it is open, type in the following command to connect to your SFTP server. Make sure to replace the user and domain with your respective user account and domain name. Once done, hit the Enter key.
sftp user@domain
Connecting to the SFTP Server from Command Prompt - After doing that, you will be asked to enter the password of the user account. Provide the password that you created earlier during the User Account wizard.
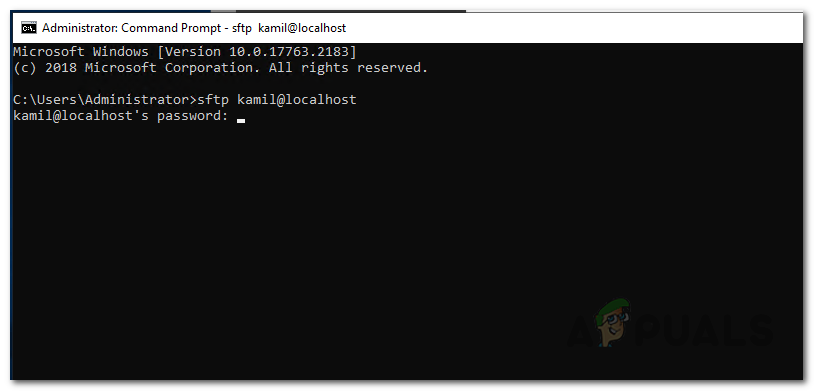
Providing the User Password - Once you connect to the SFTP server, you will see the prompt change to “sftp>“.
- Now, to see a list of all the commands available, type in help and hit Enter.
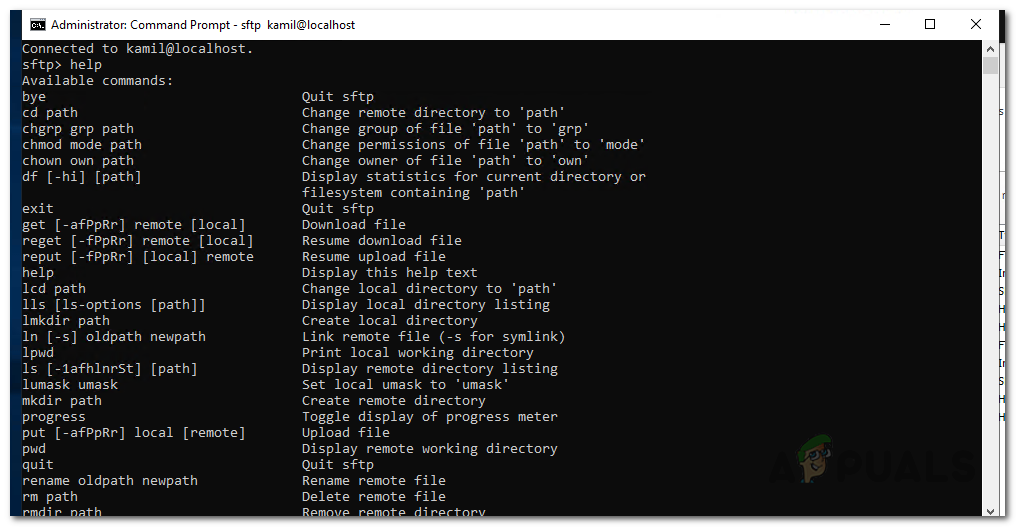
Available SFTP Commands - You can use these commands to interact with the server, for example, to download a file, you can use the get command.