How to Generate Config Files using Network Config Generator?
The modern world of networking is being revolutionized almost daily. The tasks that used to consume most of your time can now be done in mere minutes. That is possible due to the wide variety of automated tools that are now available to every network administrator. There was a time where network administrators had to perform almost every task manually which was an ordeal. Those days, as we all know, are long gone now, fortunately. One of the manual tasks that would take pretty much all of your time was setting up config files for your network devices. The worst part of the job is that at the end of the day, the probability of errors was very high and that would turn off many people. Imagine working on something for almost a whole day or even more at times for naught, pretty disappointing.
Solarwinds is one of the most dominant names when it comes to system and network management. With a ton of tools, Solarwinds aims to enable its users of being in control of everything. Network Config Generator is a free tool that you can use to create a config file for your network device within minutes. The process is completely automatic so you do not have to worry at all. All it requires is the network credentials which is quite obvious.
Installing Network Config Generator
To get started, you will have to install the Network Config Generator tool on your system. To do this, head to this link and download the completely free tool from Solarwinds’ website. Once you have downloaded the .zip file, follow the below instructions to perform an installation which is quite straight forward.
- Extract the downloaded .zip to any folder you like and then navigate to the specified folder.
- Run the SolarWinds-Network-Config-Generator-v1.0.exe file and wait for it to finish configuring the installer.
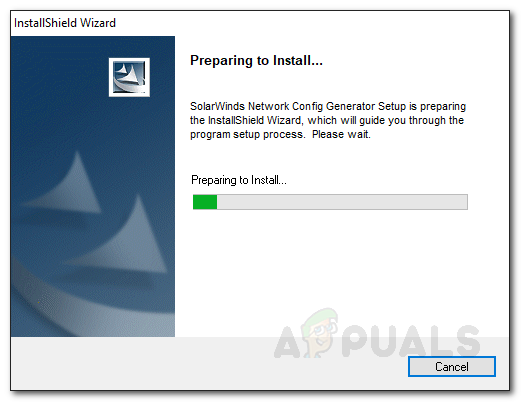
Preparing Installation Wizard - Once the installer has started, click Next to begin the installation process.
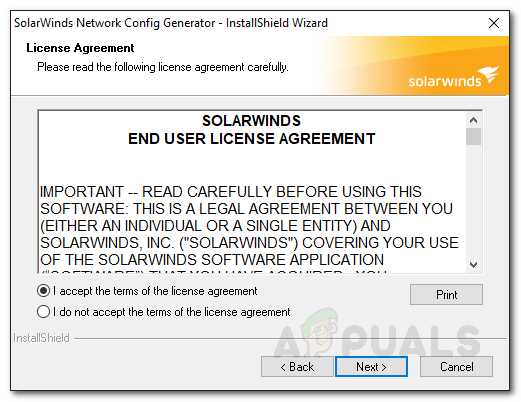
- Agree to the license terms and agreement and then hit Next.
Network Config Generator Installation - Choose where you would like to install the tool and then click Next.
- Finally, once ready, click Install to initialize the installation.
- Wait for it to finish installing Network Config Generator and then click Finish.
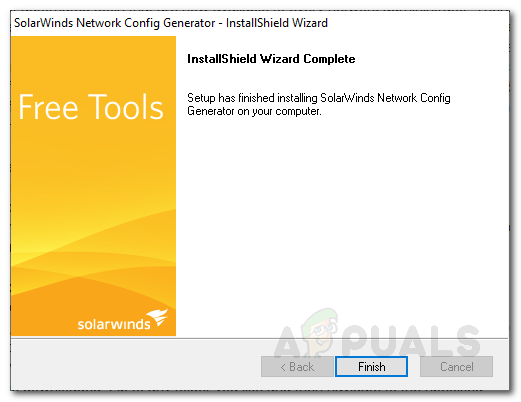
Network Config Generator Installation
Generating Config Files
With the tool now installed on your system, you are ready to generate config files for your network. The tool is very easy to use which enables you to generate a config file within minutes that you can afterward enter into your network using CLI. To generate a config file for your network device, follow the step-by-step procedure provided down below.
- After you close the installation wizard for Network Config Generator, the tool will load up automatically. If it doesn’t, just open it by searching for it in the Start Menu.
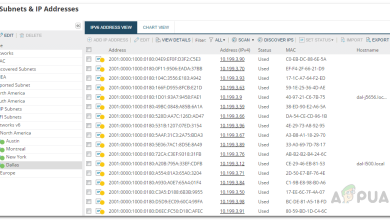
- Now, on the first page of the tool, you will be asked to enter the IP address of the device for which you want to generate a config file and the SNMP community string.
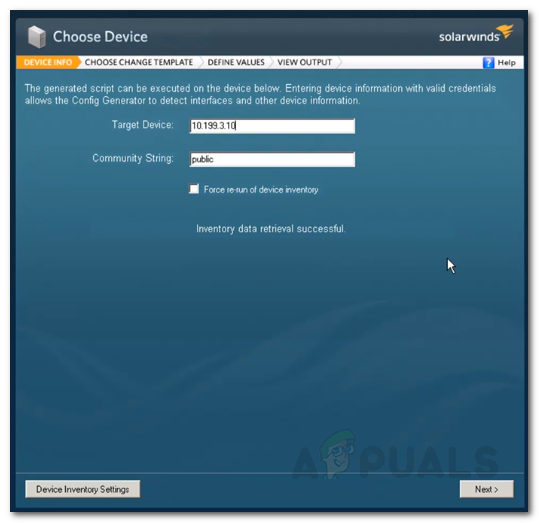
Device Info - You can also gather additional inventories by going to Device Inventory Settings and then choosing from the list provided.
- Once you have entered the required credentials, click Next.
- After that, choose a template from the list of templates provided. If you wish, you can edit the highlighted template by clicking the ‘Edit Selected Template’ button. You can also create a new template per your need by clicking ‘Create New Template’.
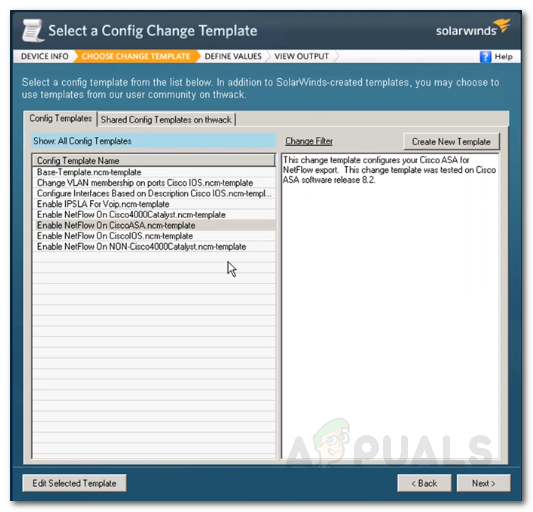
Choosing Config Template - Click Next once you are ready to proceed.
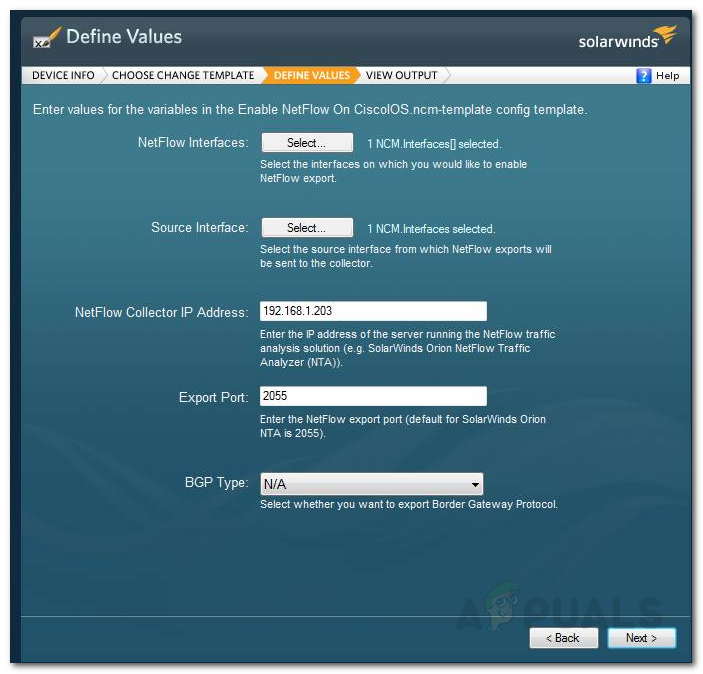
- Now, you will have to provide some values as per your chosen template. Once you have done that, click Next to proceed.
- With that, you have successfully generated a config for the specified network device.
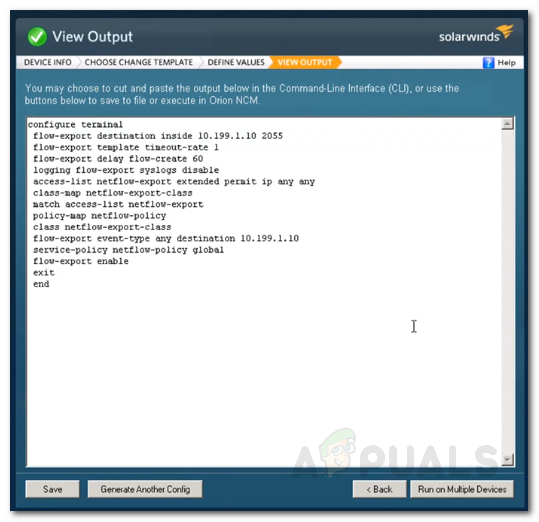
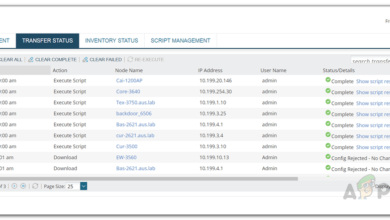
Generated Config - To apply the config to your network device, you will have to copy and paste the provided commands in the Command Line Interface of your network device.
- Other than that, if you wish to save the config file, you can do so by clicking the Save button and then specifying a path for the file.