How to Use Advanced IP Scanner?
As computer networks become bigger and you have hundreds of devices present, keeping track of all the devices that are connected to the network can become difficult, especially without the proper tools and solutions in place. If you are not monitoring the traffic of your network, and the devices that are present, your network can run into multiple issues that include both the performance as well as the security of the network. Without proper scans, you won’t know when unauthorized devices connect to your network which could lead to various security risks. The time of going through a spreadsheet to keep track of the IP addresses in a network is long gone and due to the tools available now, you can deploy a sufficient solution in just a few moments.
One of the advantages of managing your IP addresses is that you are aware of the addresses that are open so that they can be assigned to newer devices. Otherwise, you can run into duplicate IP addresses issues almost all the time. That is why having an IP address scanner in place is always a good option to have. Now, there are multiple tools available that allow you to scan your network, however, none of them would come close to the IP Address Manager by SolarWinds. A name that is not unknown to system and network admins, SolarWinds IP Address Manager is a complete solution that allows you to keep track of your network entirely, monitor and manage DNS servers and so much more.
Download and Install IP Address Manager
In order to be able to scan the devices that are present in your network, we will be using the IP Address Manager tool by SolarWinds. IPAM is a complete solution that brings DNS, IP address and DHCP management together under the same hood. There’s so much that you can do with it and we will be only scratching the surface in this article.
To download the tool, head over to this link and click the provided Download button. You can choose to go with a free trial that lasts for 15 days if you are not so sure about the tool yet. Once you have downloaded it, follow the instructions given down below to install IP Address Manager:
- First of all, run the downloaded Orion Installer on your system.
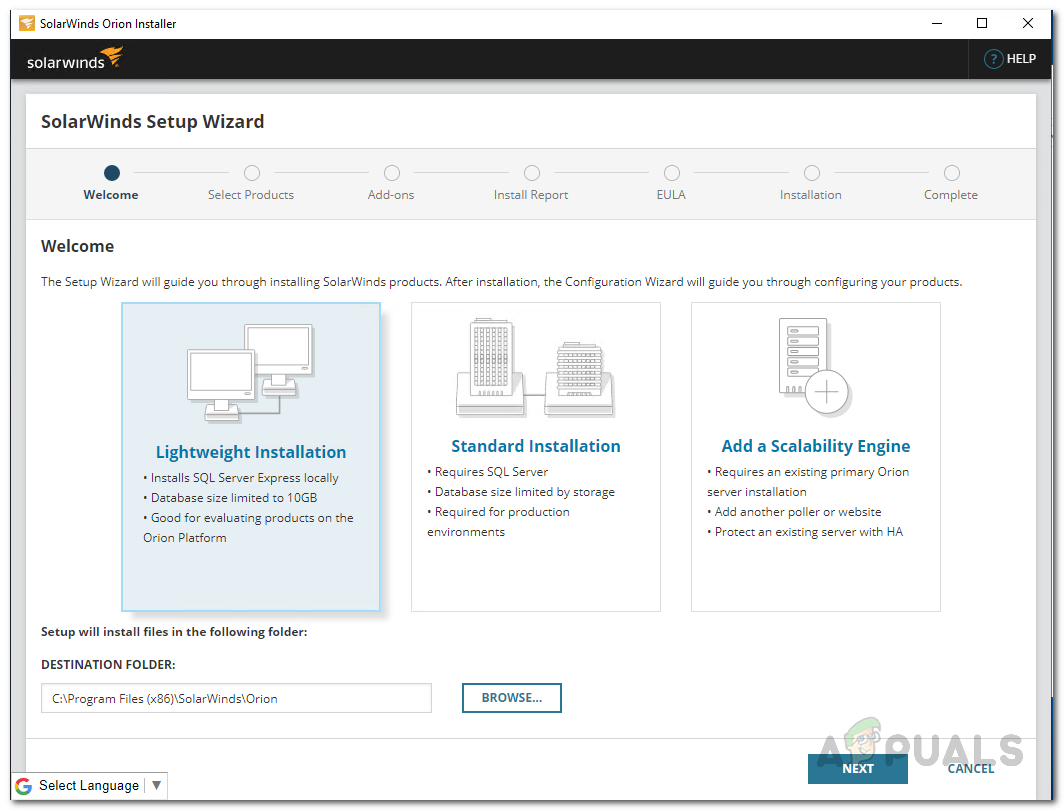
- Once the Orion Installer window is up, you will be asked to choose the installation type on the Welcome page. You can choose Lightweight Installation which is often best for evaluation as it installs all the necessary components. Otherwise, you can go with Standard Installation if you have an SQL server setup that you would like to use. Click Next.
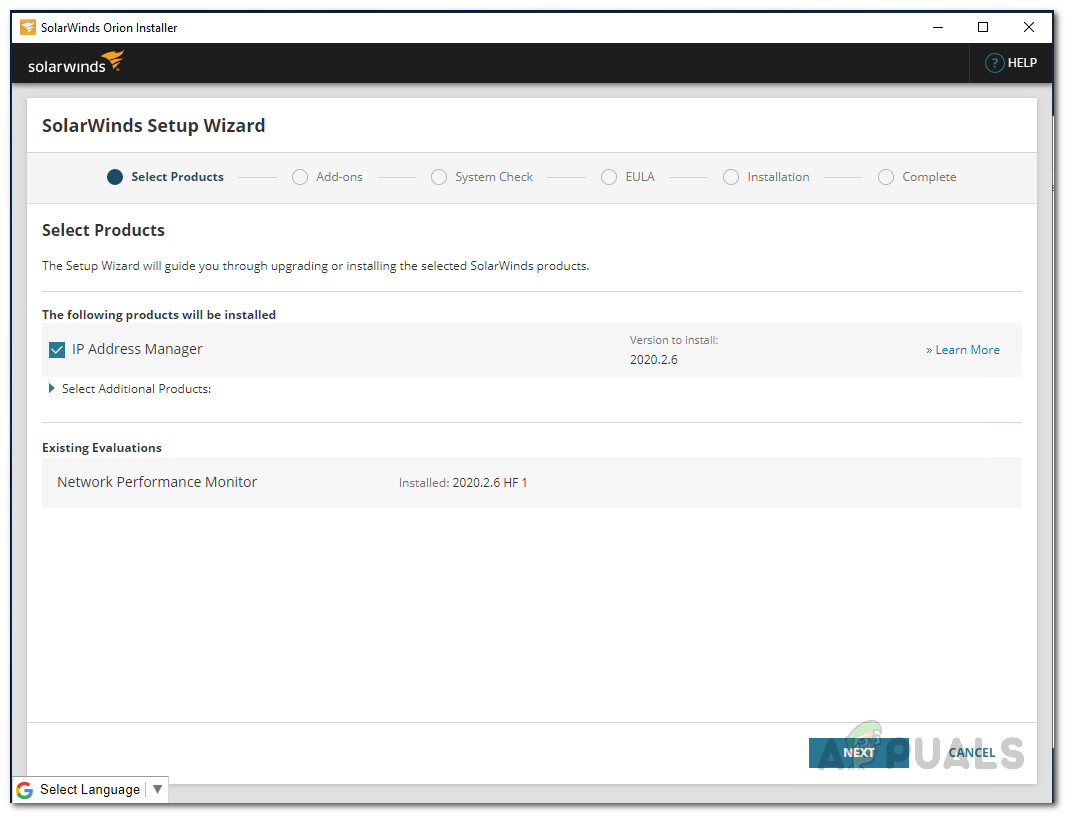
Choosing Installation Type - After that, on the Select Products page, make sure IP Address Manager is selected from the list and then click Next.
Selecting IP Address Manager - Once you have done that, the Orion Installer will run a few tests on your system to ensure compatibility. Wait for them to finish.
- Then, accept the license agreement and click Next. At this point, the installation of the selected product will begin. Wait for the installer to download the required files and install IP Address Manager on your system.
- Once the installation has completed, click the Finish button.
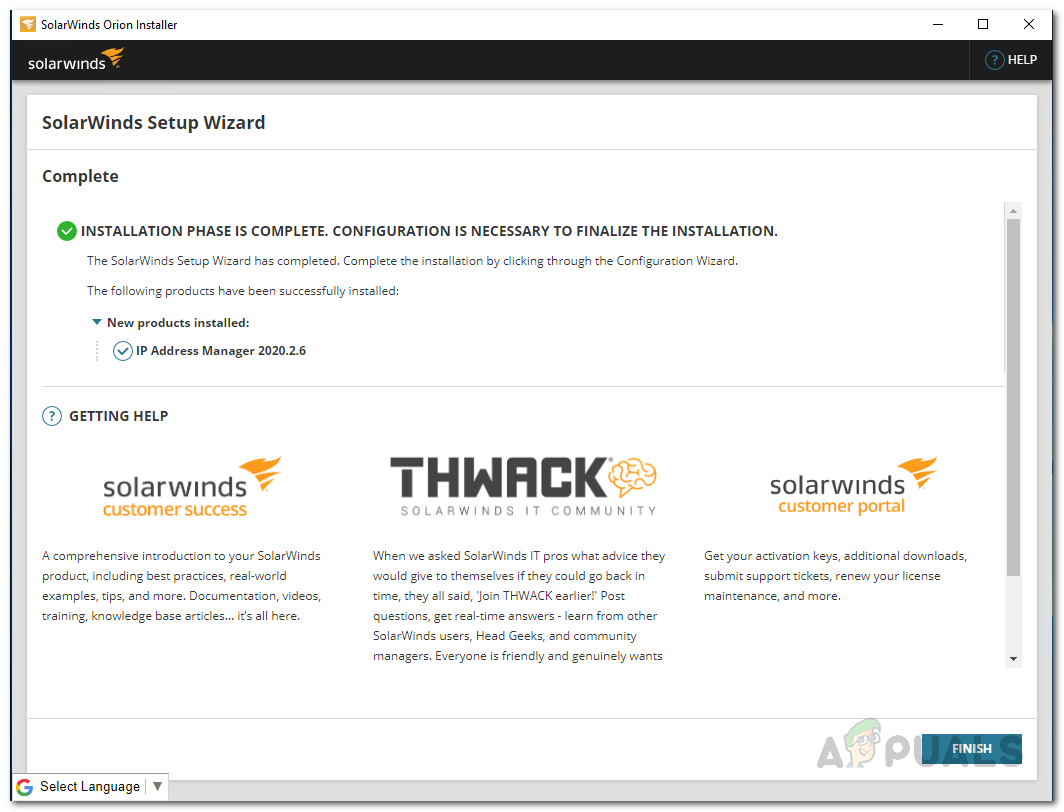
IP Address Manager Installation Completed - After that, the Configuration Wizard should start. Click the Next button to begin.
- On the Service Settings page, make sure that the IPAM services are selected and then click the Next button.

Configuration Wizard Service Settings - Click Next again and wait for the configuration to complete.
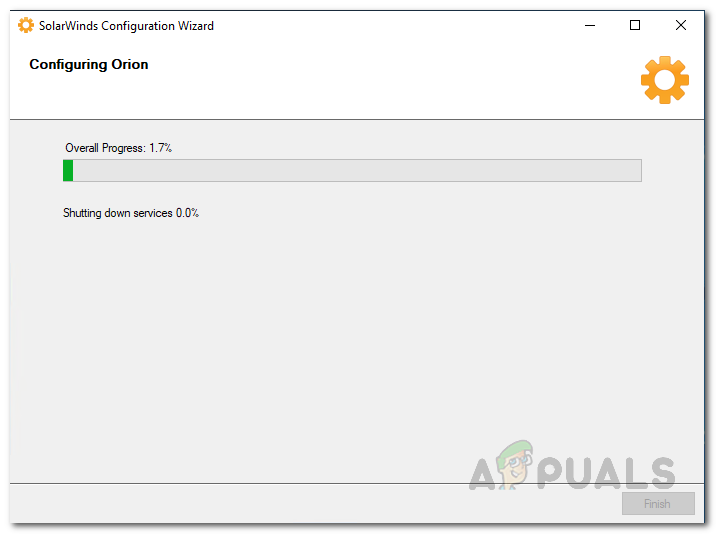
Configuration Wizard Running - After the configuration wizard has finished, simply click the Finish button to close it.
Scanning Network Devices
We have successfully installed IPAM at this point and now, we can get into scanning the network devices. To do this, we will be using the SolarWinds Orion Web Console to actually use the IP Address Manager. The Orion Web Console should automatically open up when you close the configuration wizard. You can also open it up manually via the “hostnameorIPaddress:8787” address. So, go ahead and open up the web console and then follow the instructions down below:
- First of all, if this is the first time you open up the web console, you will be asked to create a password for the admin account. Do that and click the Save and Login button.
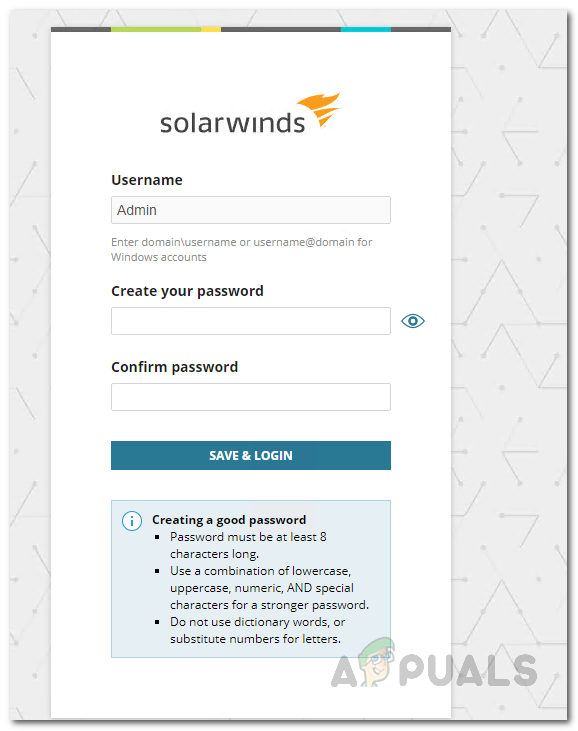
Setting a Password for the Admin Account - Once you are logged in, you should be taken to the Network Sonar Discovery page which can be used to scan your network for devices.
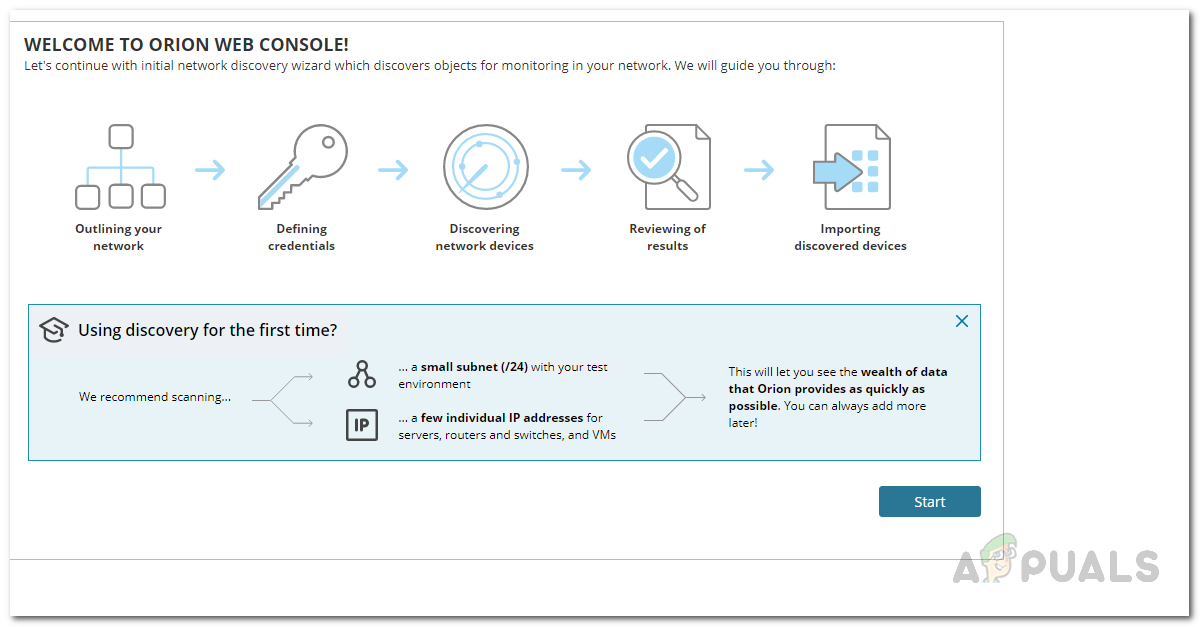
Starting Network Discovery - Alternatively, you can also access it by clicking the Settings menu and then going to Network Discovery. Once there, click the Start button.
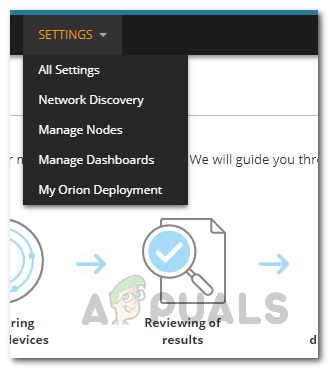
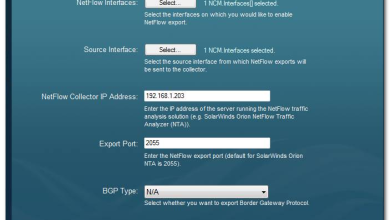
Navigating to Network Discovery Pagea - Now, you have a number of options that you can use to discover your network i.e. you can provide an IP range, you can scan a subnet, provide individual IP addresses or use Active Directory. Choose whatever fits you and then click the Next button.
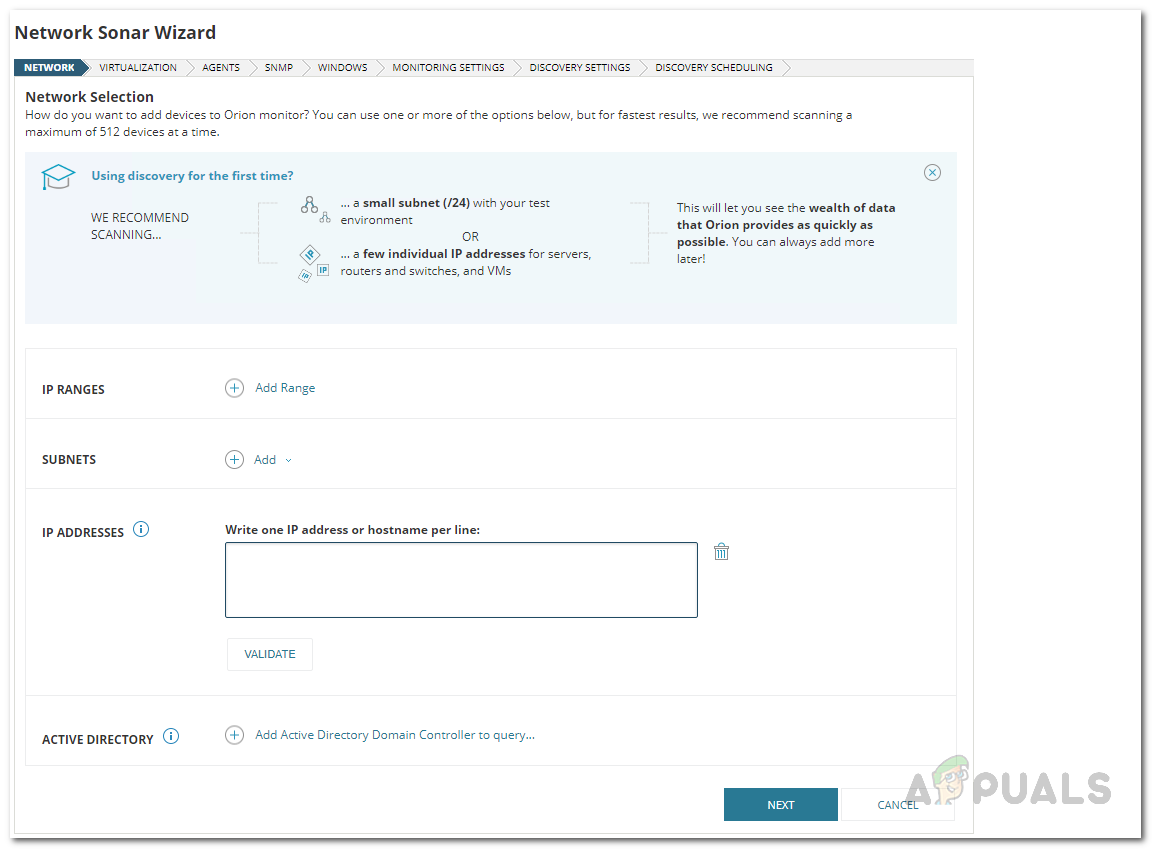
Providing Network Details - After that, on the Virtualization page, you can choose to add any VMware or Hyper-V devices. Click the Add VMware, Hyper-V or Nutanix Entities button to do so. Once done, click Next.
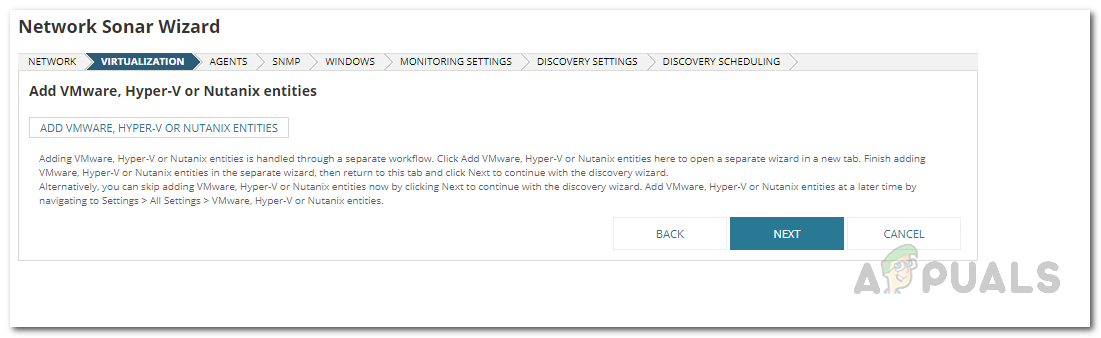
Virtualizaition Tab - Next up, you will be taken to the Agent page. Make sure that the Check existing nodes polled by an agent for node changes and updates checkbox is ticked and then click Next.
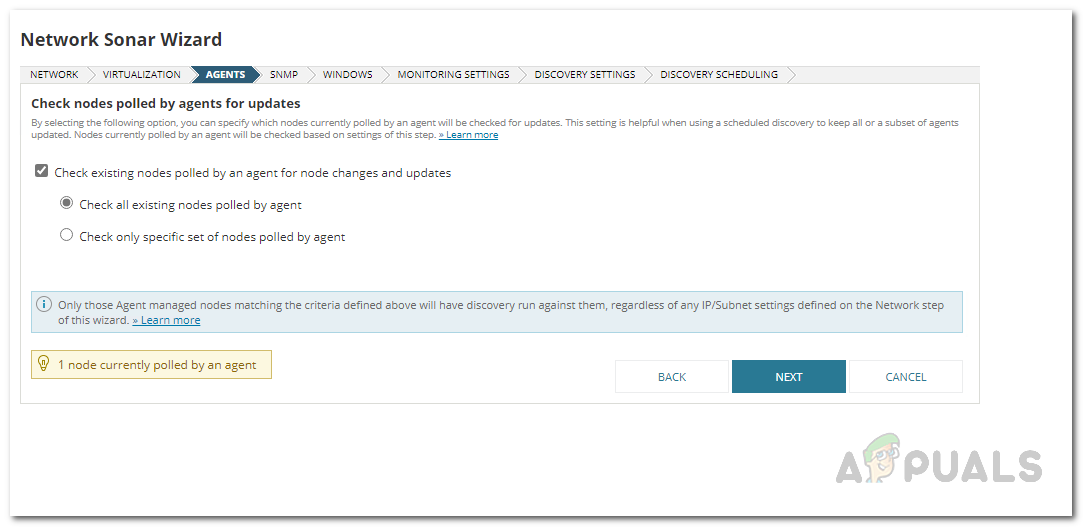
Agents Tab - Then, on the SNMP tab, you can provide any SNMP credentials that are used on your network. Click Next.
- Similarly, on the Windows tab, you can provide any Windows credentials that are used on your network. Then, click Next.
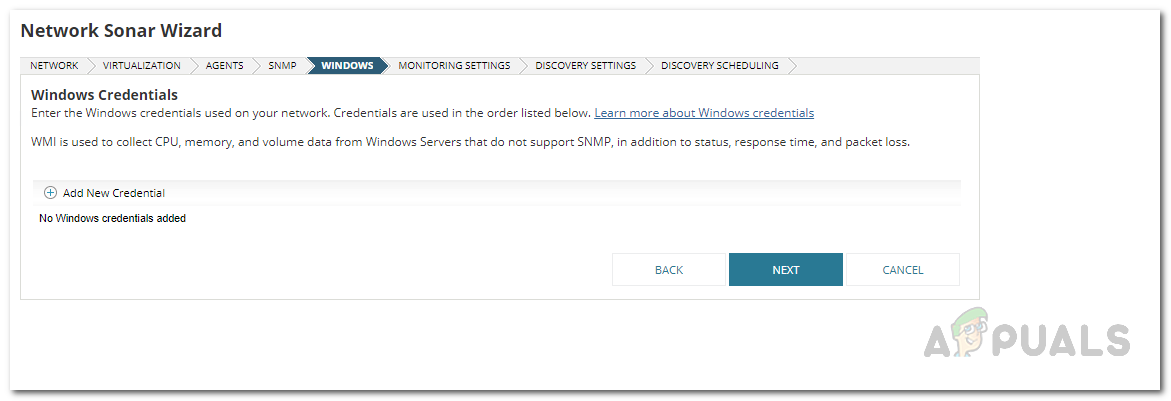
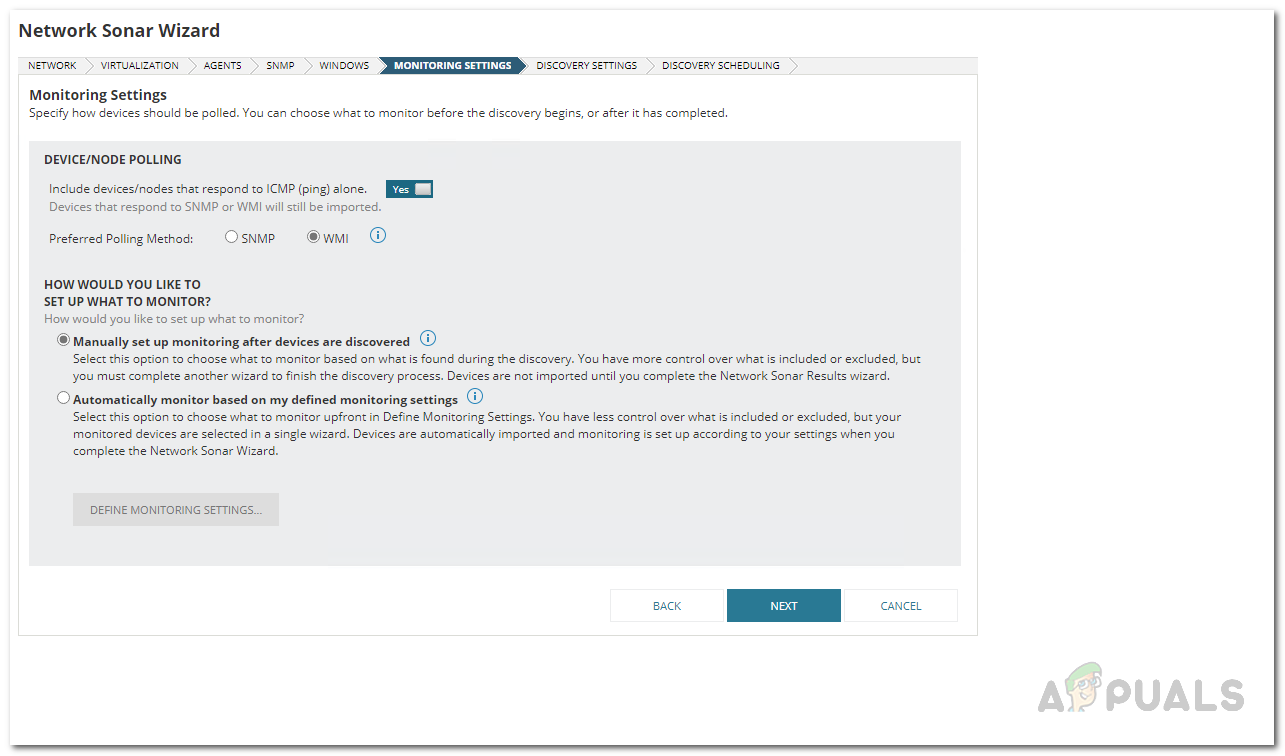
Providing Windows Credentials - On the Monitoring Settings tab, if you are discovering Windows devices, choose WMI as the polling method. This does not mean that SNMP will not be used but rather it will prefer WMI over SNMP first. Also, leave the Manually set up monitoring after devices are discovered option selected and click the Next button.
Choosing Monitoring Settings - Leave the Discovery Settings as it is and click Next.
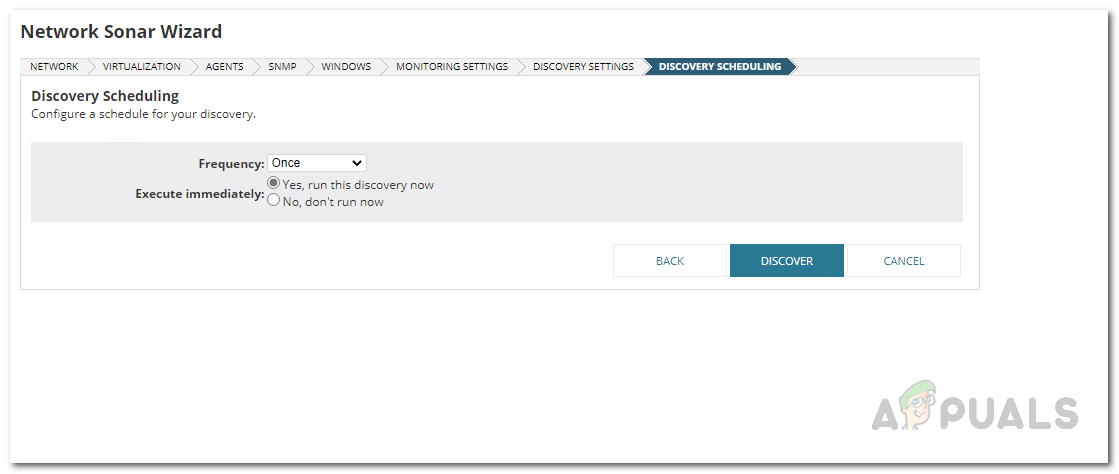
- Now, you can choose the frequency of the network scan on the Discovery Scheduling tab. Once done, click the Discover button.
Scheduling Network Scan - After that, wait for the discovery to complete.
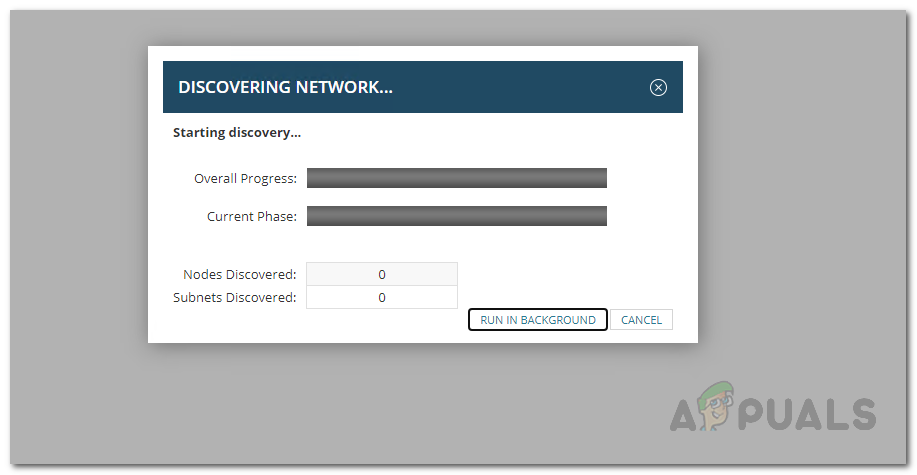
Scanning the Network
Adding Devices to IPAM
At this point, you have successfully scanned your network, however, the most important step remains and that is to add the devices to IPAM before you are able to see them. Follow the instructions down below to do this:
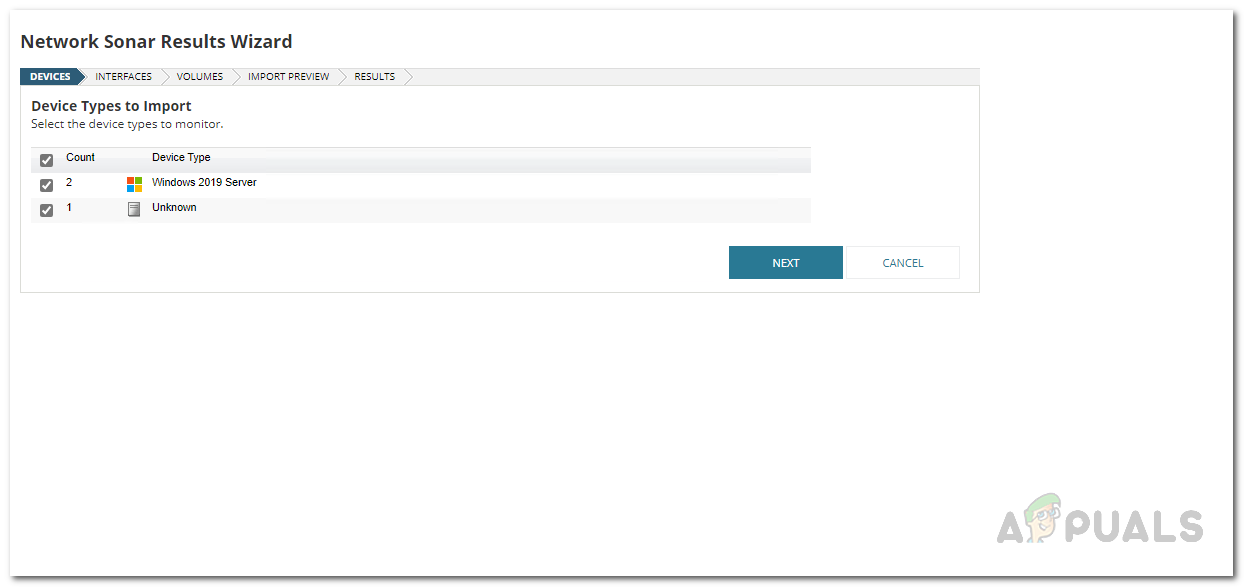
- Once the network discovery has finished, you will be taken to the Network Sonar Result Wizard.
- On the Devices tab, select the devices that you wish to import and then click the Next button.
Adding Discovered Devices - You can view the interfaces that have been found on the devices in the network. Click the Next button then.
- After that, on the Volumes tab, choose the volume types to be monitored. Then, click Next.
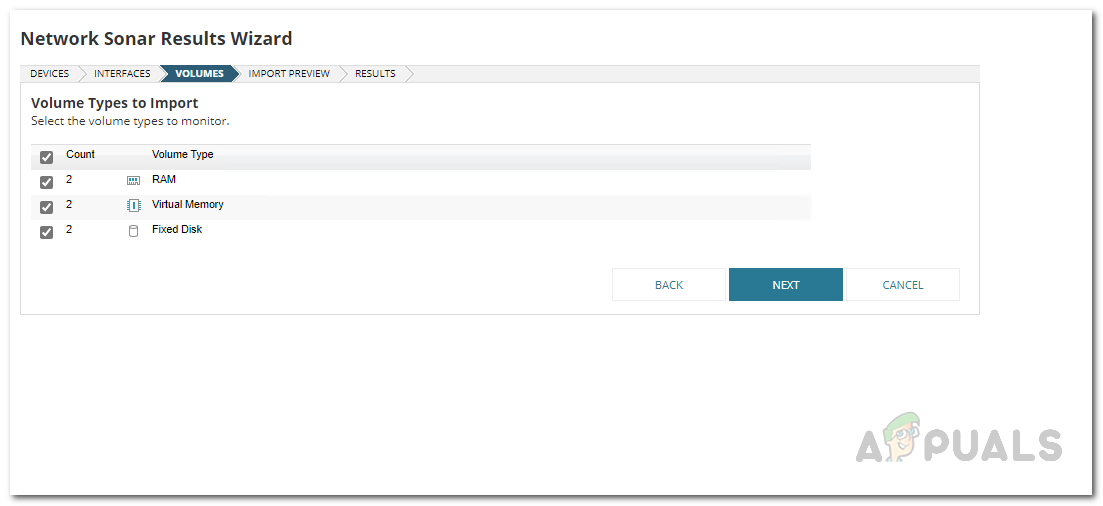
Choosing What Volumes to Monitor - Once done, on the Import Preview, you will be shown the devices that are to be imported to IP Address Manager. Go through it and then click the Import button.
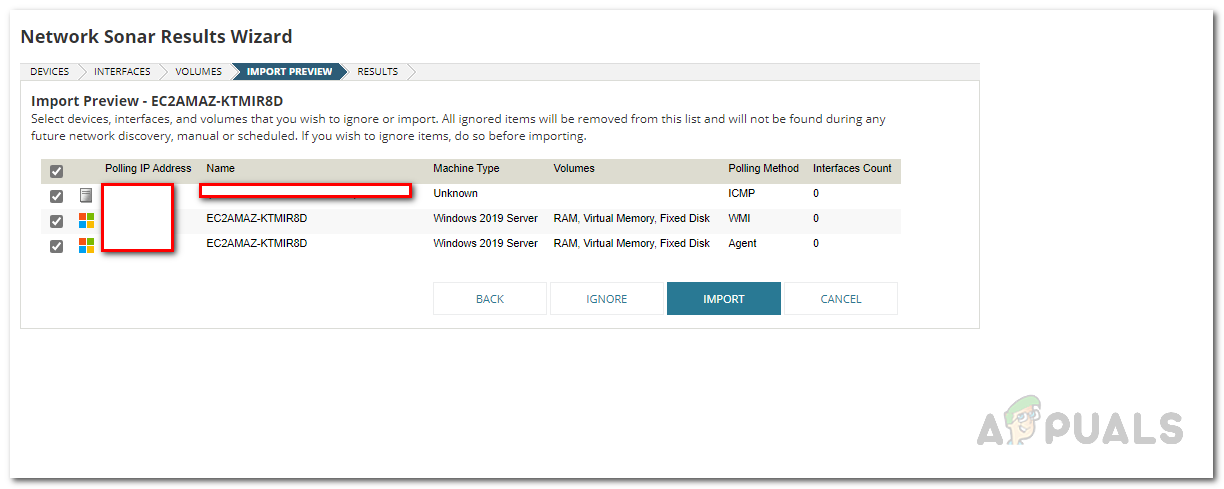
Importing the Scanned Devices - Wait for it to finish importing the devices. Once done, click the Finish button.
View your Network
Once you have added the devices to IP Address Manager, you can view the devices that have been found in your network as well as monitor them. To do this, follow the instructions given down below:
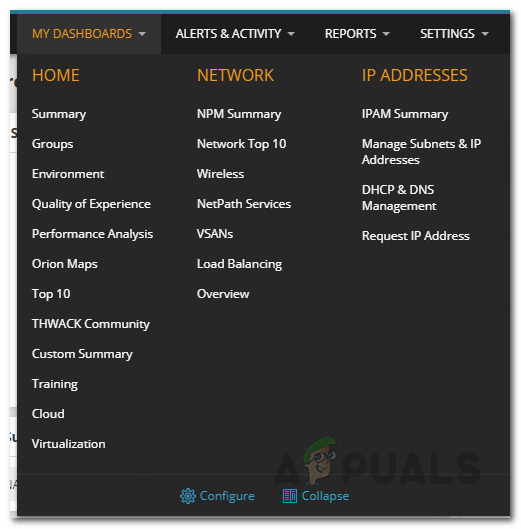
- First of all, on the Orion Web Console, to view your devices, click on the My Dashboards drop-down menu and and choose IPAM Summary.
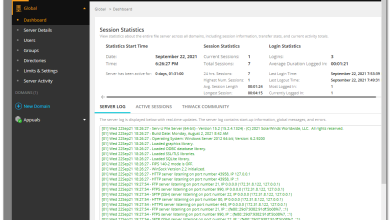
- There, you will be able to see the summary of your network devices.
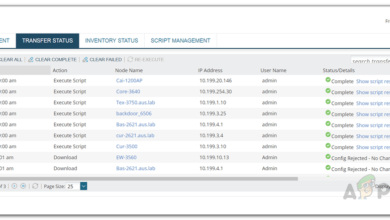
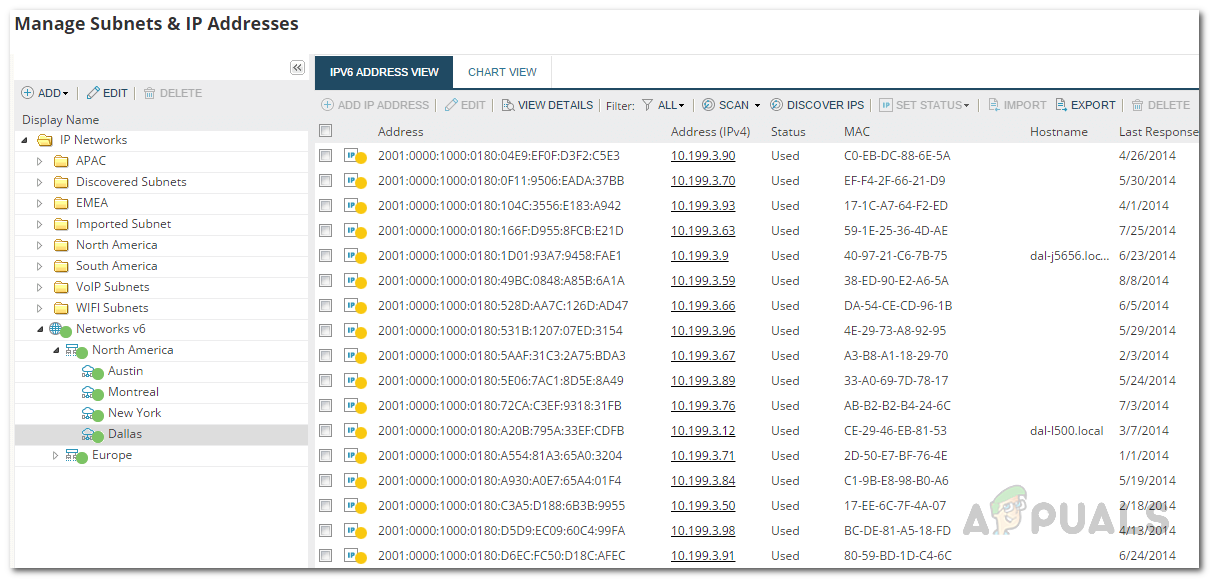
- In addition to that, you can check the full list of the devices by going to My Dashboards > IP Addresses > Manage Subnets and IP Addresses.
Navigating to Manage Subnets and IP Addresses Page - From there, you will be able to see all of the devices that were found during the network scan.
- Plus, you can schedule scans to run periodically on the Discovery Scheduling tab of the Network Sonar Discovery Wizard. That way, the scans will be run automatically in the background and you will be able to see the devices found allowing you to keep track of them.