How to Copy, Move or Share Amazon EC2 Instance to another Amazon Account?
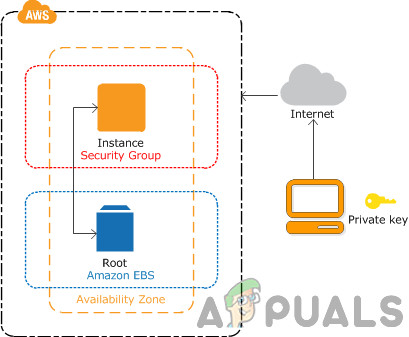
If you are Cloud Professional who is managing multiple AWS accounts, you may need to move your existing Amazon EC2 instance from one to another AWS Account. Thanks to the way how AWS IaaS operates, you do not need to create a new EC2 instance from scratch, but you can create an AMI image based on an existing EC2 instance and move it to a proper AWS account. One of the similar requests that you may also experience is moving your Amazon EC2 instances to different security groups, availability zone, or regions.
Today we gonna walk you the procedure of transferring the Amazon EC2 instance from one to another AWS account. The instance is t2.micro and it is hosted in AWS Frankfurt. We will keep the same instance settings, but in case you need to do additional configuration, you can do it based on your needs.
Step 1: Export an Amazon EC2 instance from Source Amazon Account
In the first step, we will create an AMI image by using the existing Amazon EC2 instance, and then we will grant access to another AWS account and export key pair to be able to log into the moved Amazon EC2 instance.
- Login into AWS Management Console. Click on Services and then click on EC2
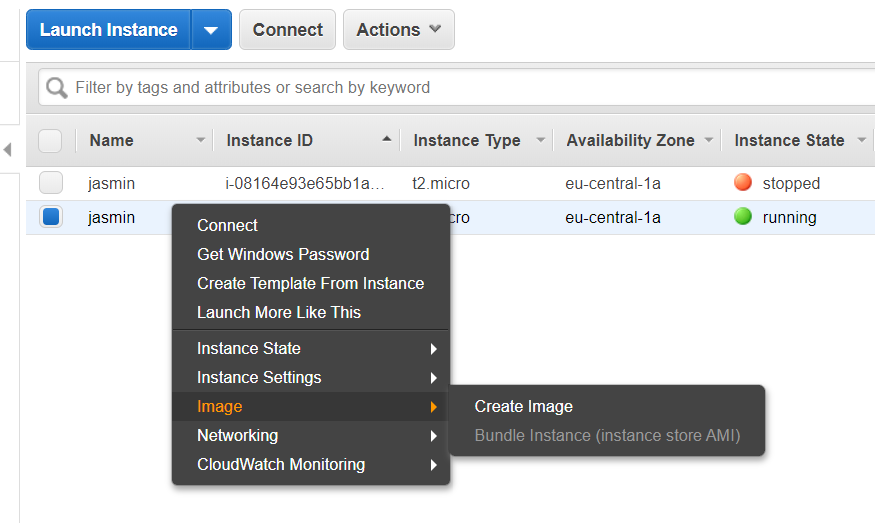
- Click on Running instances and then Right-click on Amazon EC2 instance and then click Image > Create image
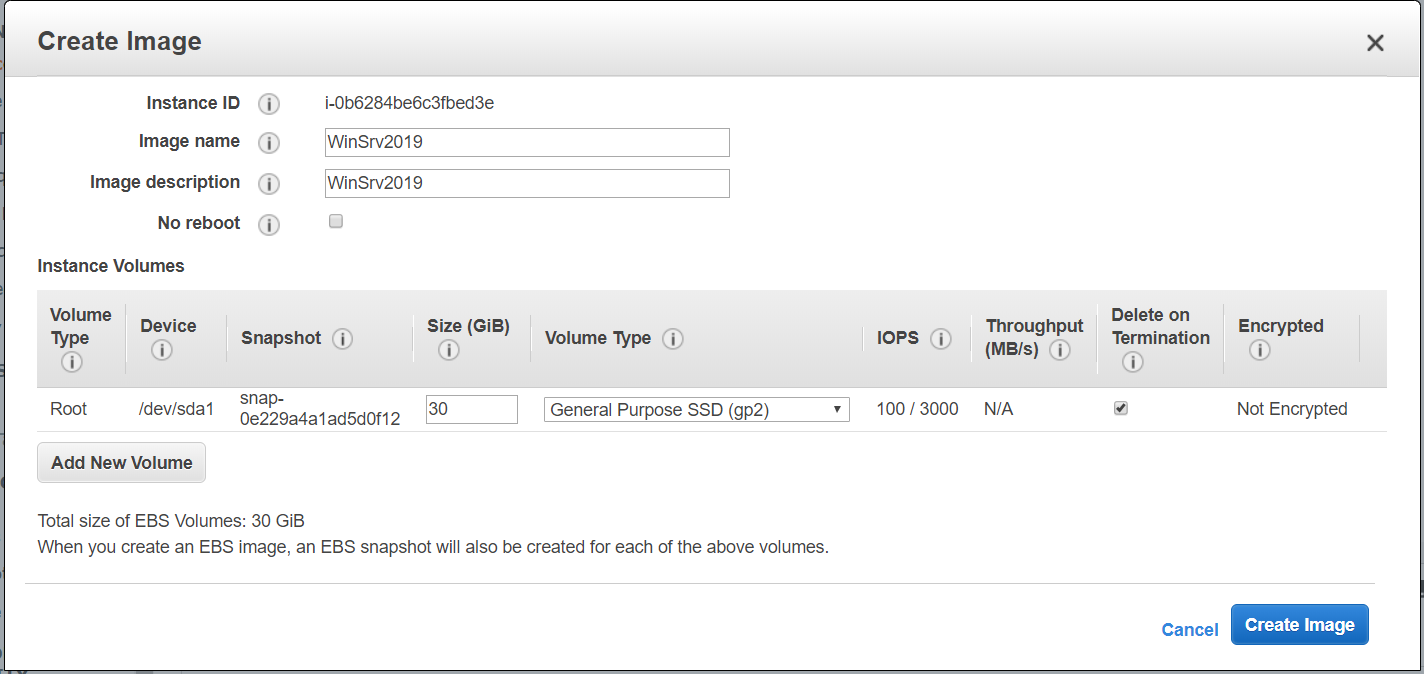
- Define the image name and image description and then click on Create Image to generate the AMI. Additional you can select No reboot. When enabled, Amazon EC2 does not shut down the instance before creating the image. When this option is used, file system integrity on the created image cannot be guaranteed.
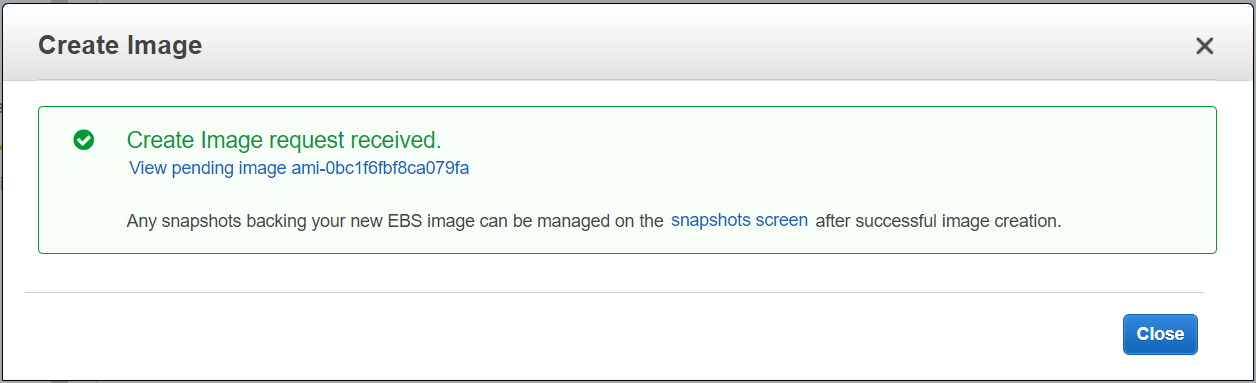
- Create an Image request received. It will take a few minutes until it is created and available. Click on View pending image ami-xxxxxxxxx.
You can access an AMI also by clicking on Images > AMIs on the left side of the window.
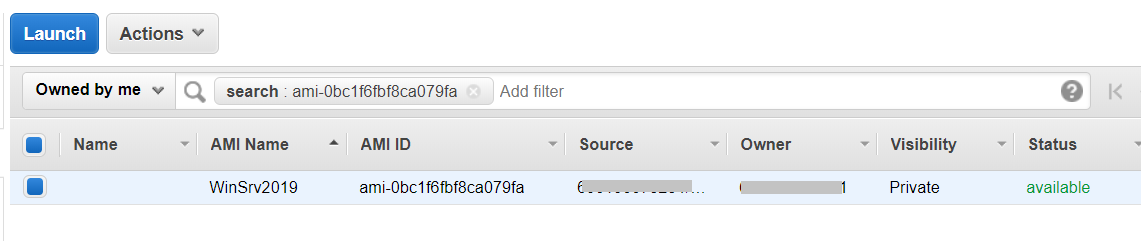
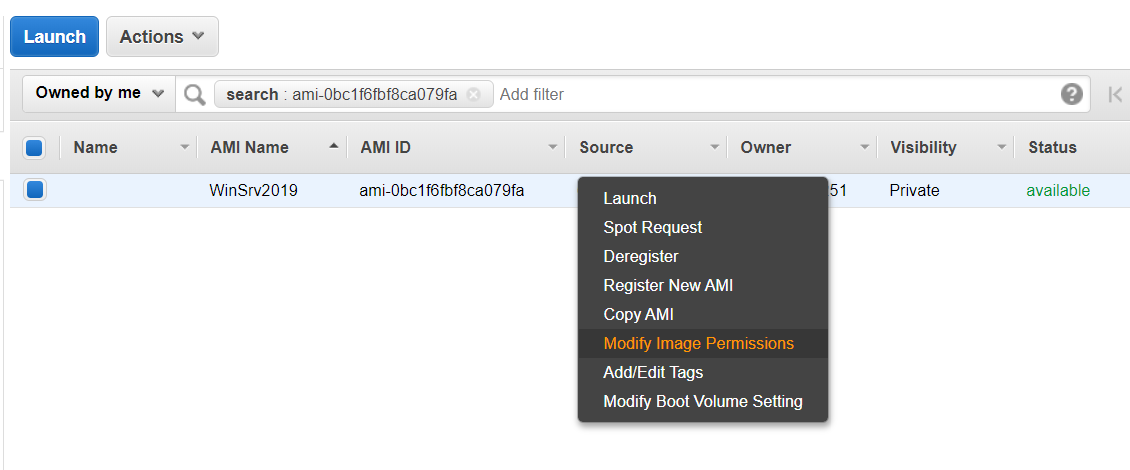
- Once it is available, right-click on the AMI image and then click Modify Image Permissions.
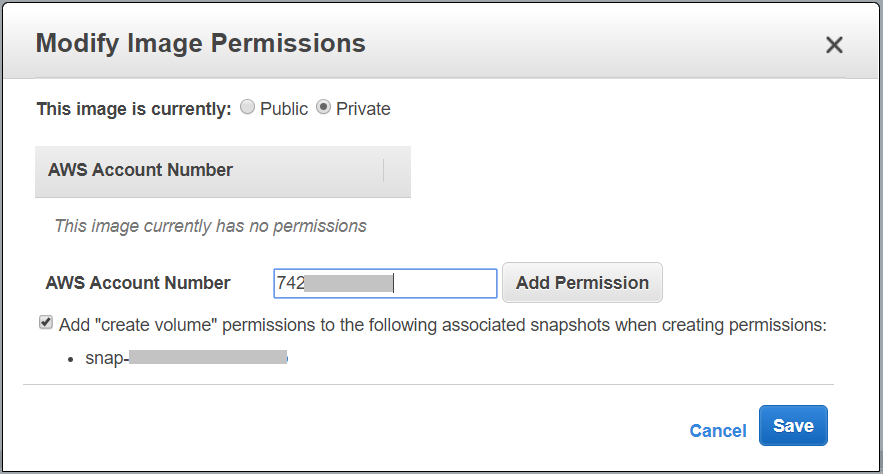
- Under Modify Image Permissions choose he image type (public or private), type the AWS Account Number, and then select Add “create volume” permissions to the following associated snapshots when creating permissions. In our case, we will choose a private image.
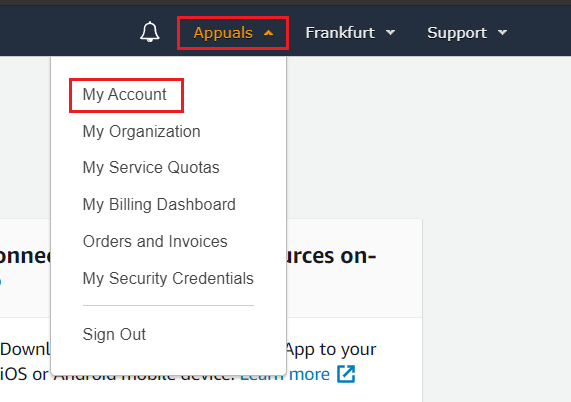
The AWS Account Number (known as Account ID) can be found if you click on your profile at the top right side and then click on My Account.
- Click on Add Permission and then click on Save. Your AMI image is successfully shared with another AWS account.
You will get an email with confirmation from AWS that your validation was successful.
Export Public Key from Existing Key Pair
Now we will export the public key from your existing key pair, so you can connect to your moved Amazon EC2 instance. In order to do it, you will need access to your private key pair. This procedure can be done on the local Windows machine by using PuTTY. PuTTY is an SSH and telnet client, developed originally by Simon Tatham for the Windows platform.
- Open an Internet browser and download PUTTY from this link.
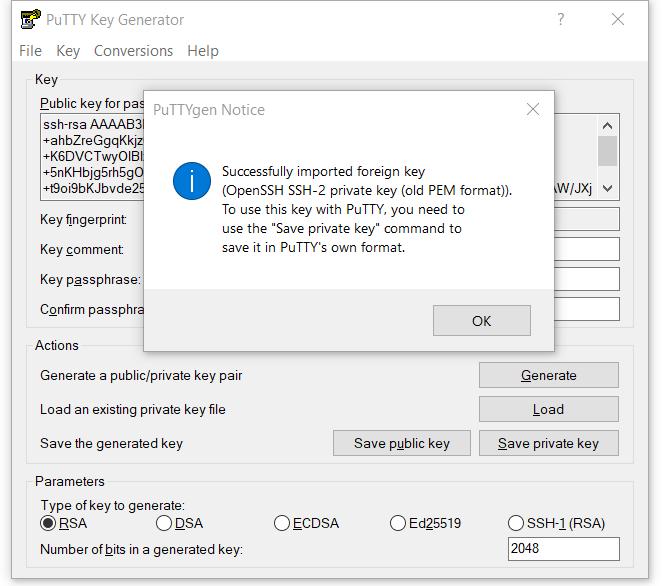
- Click on Start and search for PuTTYGen and run it.
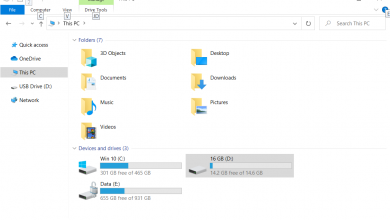
- Click on Load. Add your private key pair (*.pem). As you can see, the key is successfully imported. Please click on OK and copy the key from the field Public key for pasting into OpenSSH authorized_keys file. We will need this key in step 2.
Step 2: Import an Amazon EC2 Instance to target Amazon Account
In the second step, we will launch Amazon EC2 instance from a shared AMI image and then we will import the public key to be able to log into the Windows machine.
- Login into AWS Management Console
- Click on Services and then open EC2. Then click on Key pairs
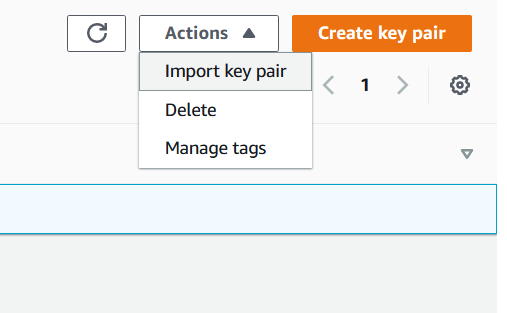
- Click on Actions and then Import key pair
- Enter the key pair name and add the public key you copied in the previous step.

- Click on Import key pair and then click on IMAGES > AMI on the left side of the window
- Choose the Private images to access the shared AMI image
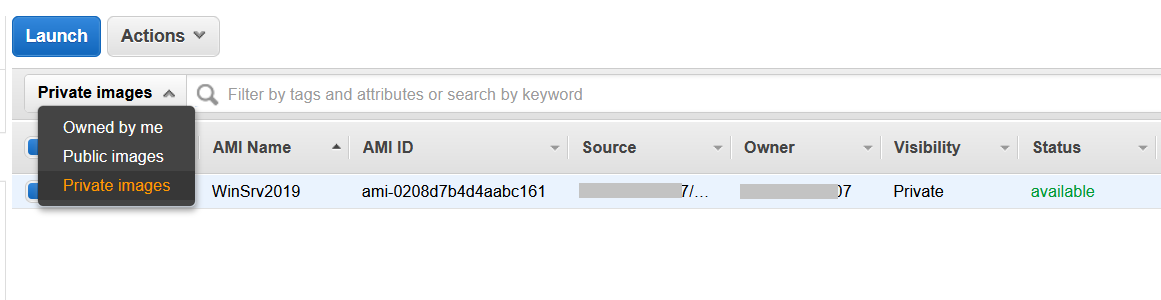
- Right-click on the AMI Image and click on Launch
- Choose an Instance Type and click Next: Configure Instance Details. We should choose the same instance type as in the source AWS account. In our case, we will choose t2.micro (Variable ECUs, 1 vCPUs, 2.5 GHz, Intel Xeon Family, 1 GiB memory, EBS only)
- Configure Instance Details to suit your requirements and then click Review and Launch. We do recommend enabling termination protection. You can protect instances from being accidentally terminated. Once enabled, you won’t be able to terminate this instance via the API or the AWS Management Console until termination protection has been disabled.
- Please review your instance launch details and click Launch. You can go back to edit changes for each section.
- Select the imported key pair by clicking on Choose an existing key pair and selecting the key pair.
- Select I acknowledge that I have access to the selected private key file (KeyPair.pem) and that without this file, I won’t be able to log into my instance and click Launch Instances.
- Your instances are now launching. Click on View launches.
- Please wait a few minutes until your instance is successfully initialized.
- Right-click on the image and then choose Connect