How to Create and Configure Amazon S3 Bucket?
Amazon Simple Storage Service (Amazon S3) is cloud storage used to store and retrieve data at any Amazon region. Amazon S3 is designed for 99.999999999% (11 9’s) of durability, and stores data for millions of applications for companies all around the world.
All files are stored as an object in Amazon S3 bucket. We can create multiple buckets; every bucket works as storage containers. When we upload files in the Amazon S3 bucket, we can set permission on the object and their data and define who can access them. Additionally, we can create AWS accounts in IAM and define who has a right to create a bucket, upload, or modify the data.
If you already have an AWS account, you will be able to use Amazon S3 as it is a service that comes by default with an Amazon account. In this article, we show you how to create and configure Amazon S3 bucket, upload files and folders, and configure properties and permissions.
- Login into AWS Management Console
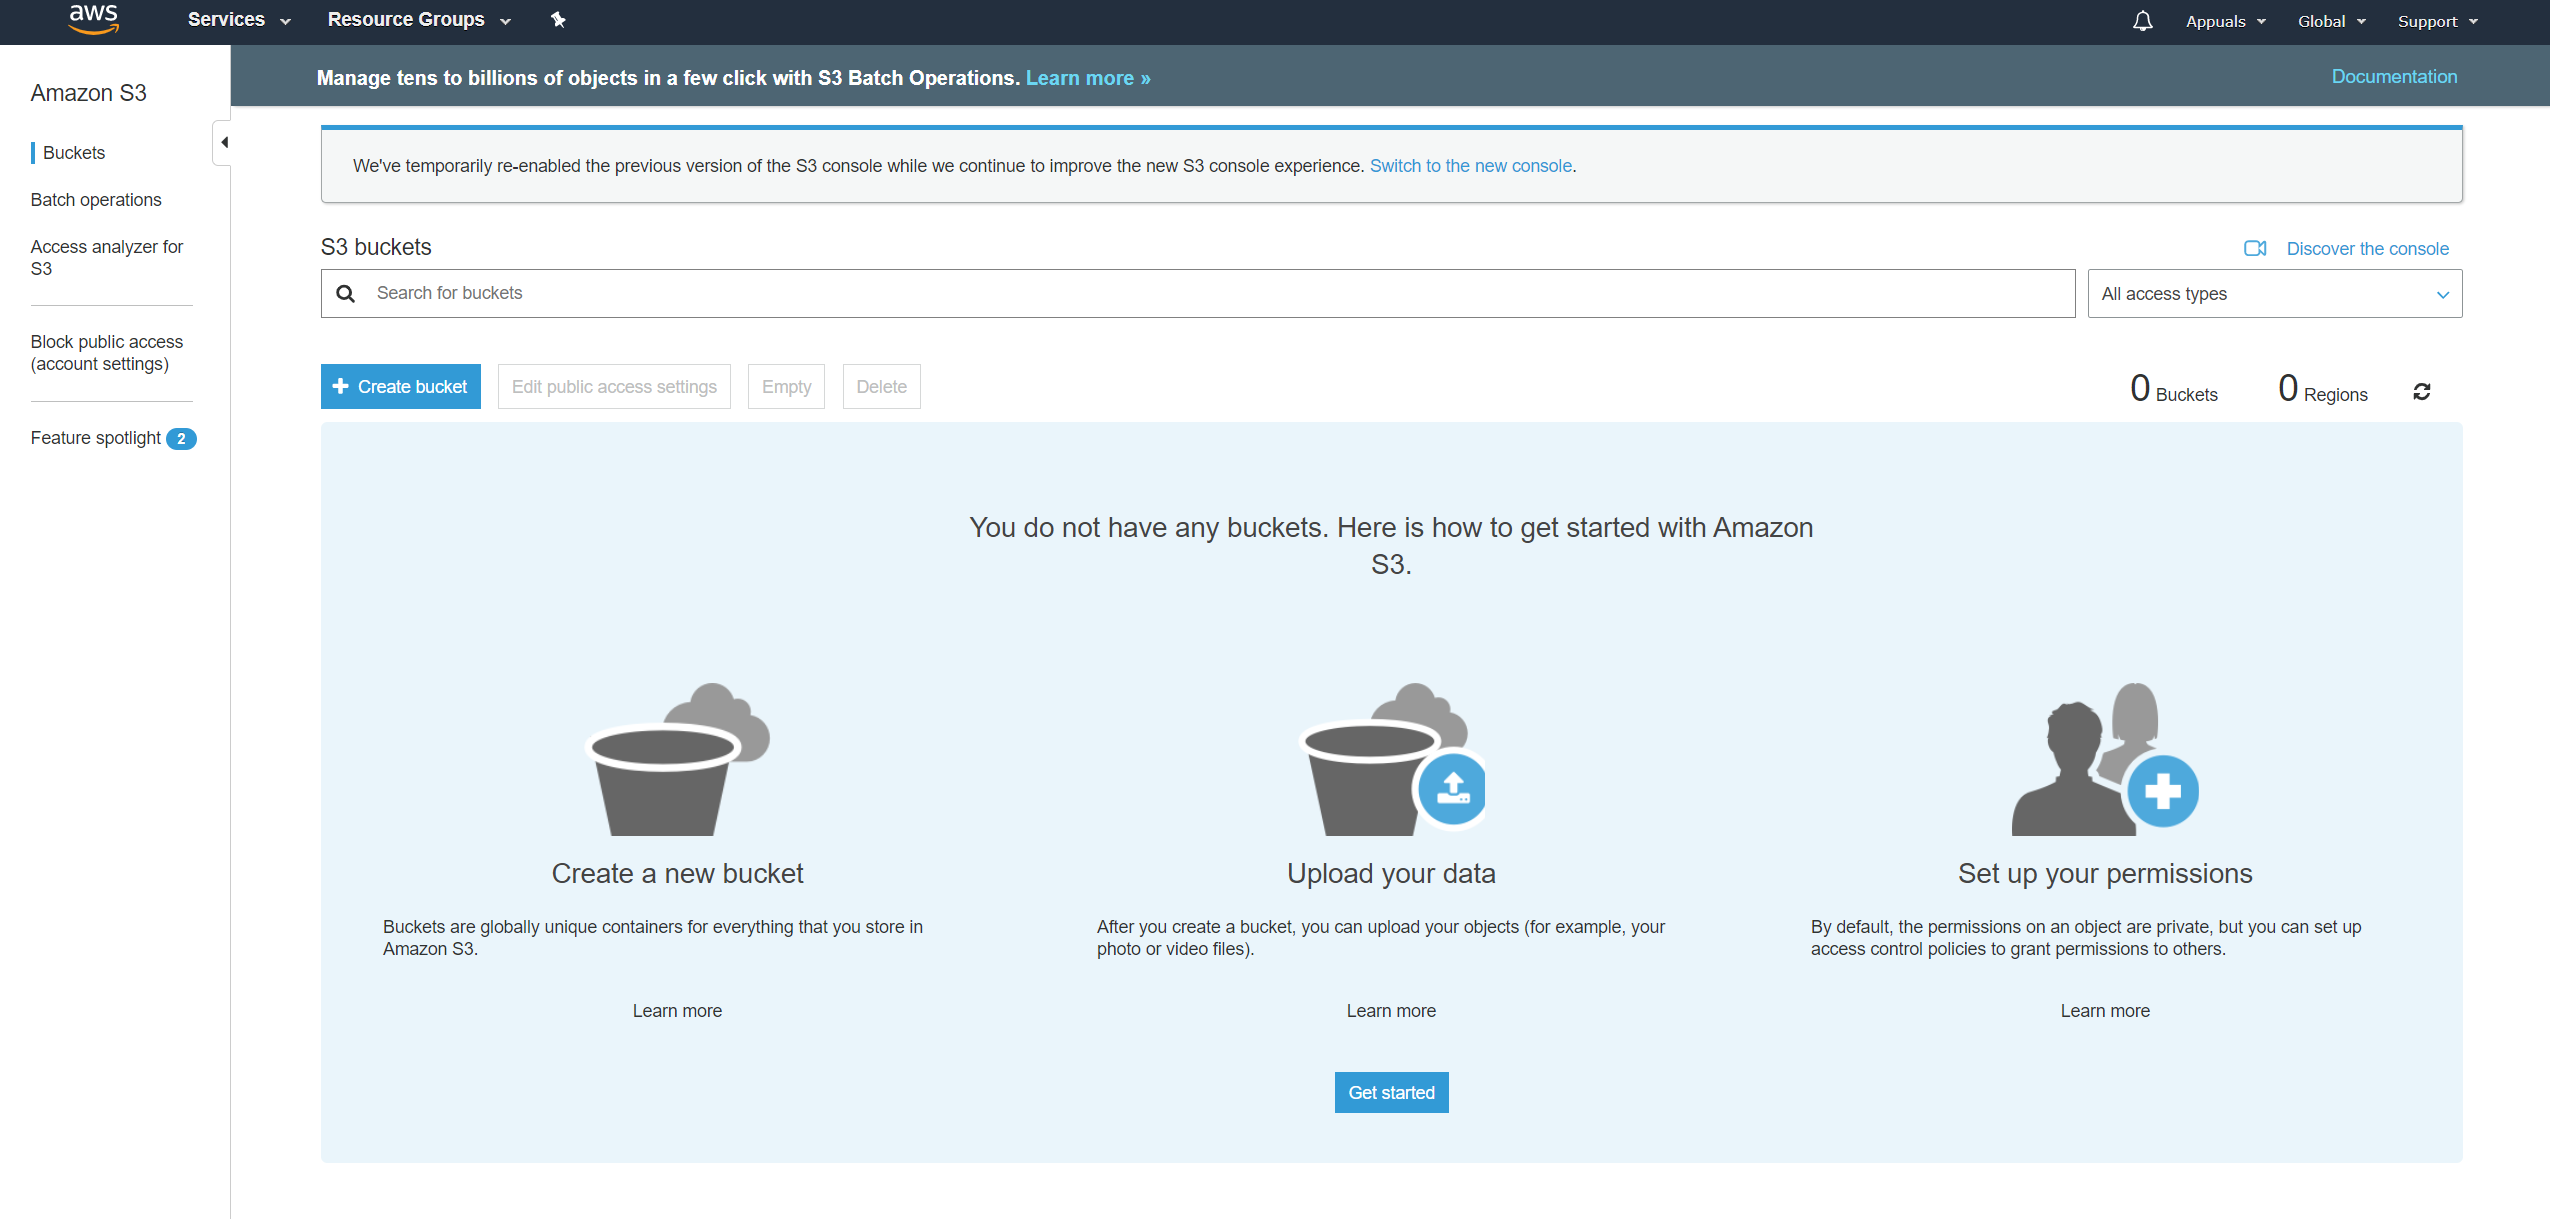
- Click on Services type S3 in the search field. Click on S3 to access Amazon S3
- Click on Create bucket which will be used to upload objects (for example, your photo or video files).
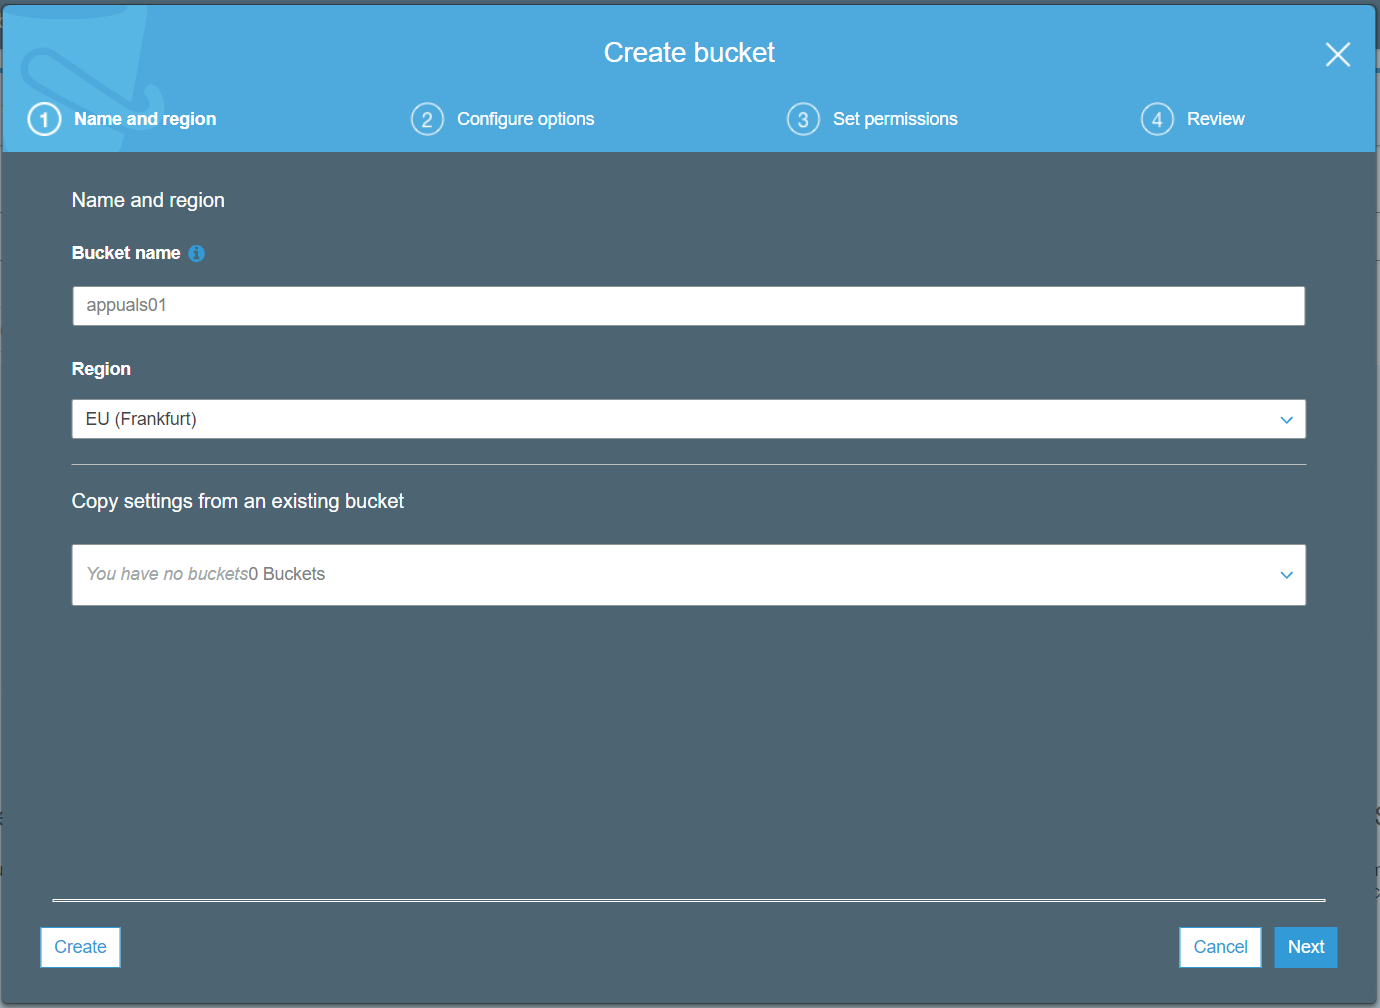
- Under Name and region type the bucket name and choose Amazon region and click Next. The bucket name must be unique across all existing bucket names in Amazon S3. Choose the region based on the region where you host your Amazon EC2 instance. In our case, it is the EU (Frankfurt).
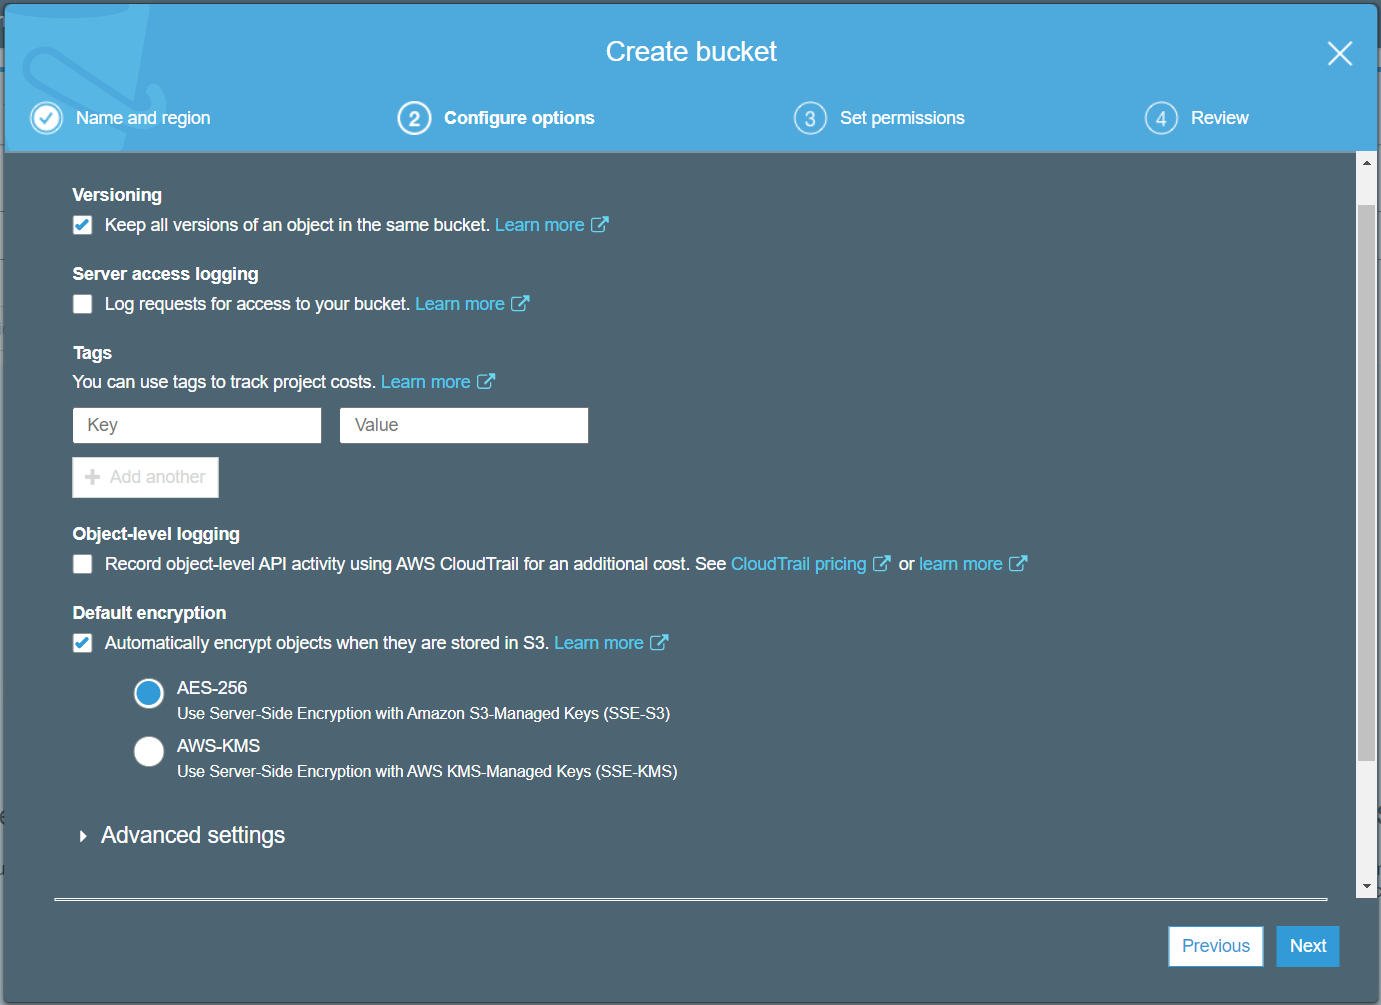
- Under Configure options configure your bucket and click Next. In our case, we will enable versioning, but there are few other options available including:
- Versioning – Versioning enables you to keep multiple versions of an object in one bucket. It can be also enabled later. We´ll enable it.
- Server access logging – it provides detailed records for the requests that are made to a bucket, and it can be useful in security and access audits. The logs will increase storage billing.
- Tags – use tags to track bucket costs.
- Object-level logging – Record object-level API activity using AWS CloudTrail for an additional cost.
- Default encryption – Automatically encrypt objects when they are stored in the Amazon S3 The data will be protected while in transit (as it travels to and from Amazon S3 bucket) and at rest (while it is stored on disks in Amazon S3). We´ll enable it.
- Advanced settings – Permanently allow objects in this bucket to be locked.
- Management – Monitor requests in your bucket for an additional cost
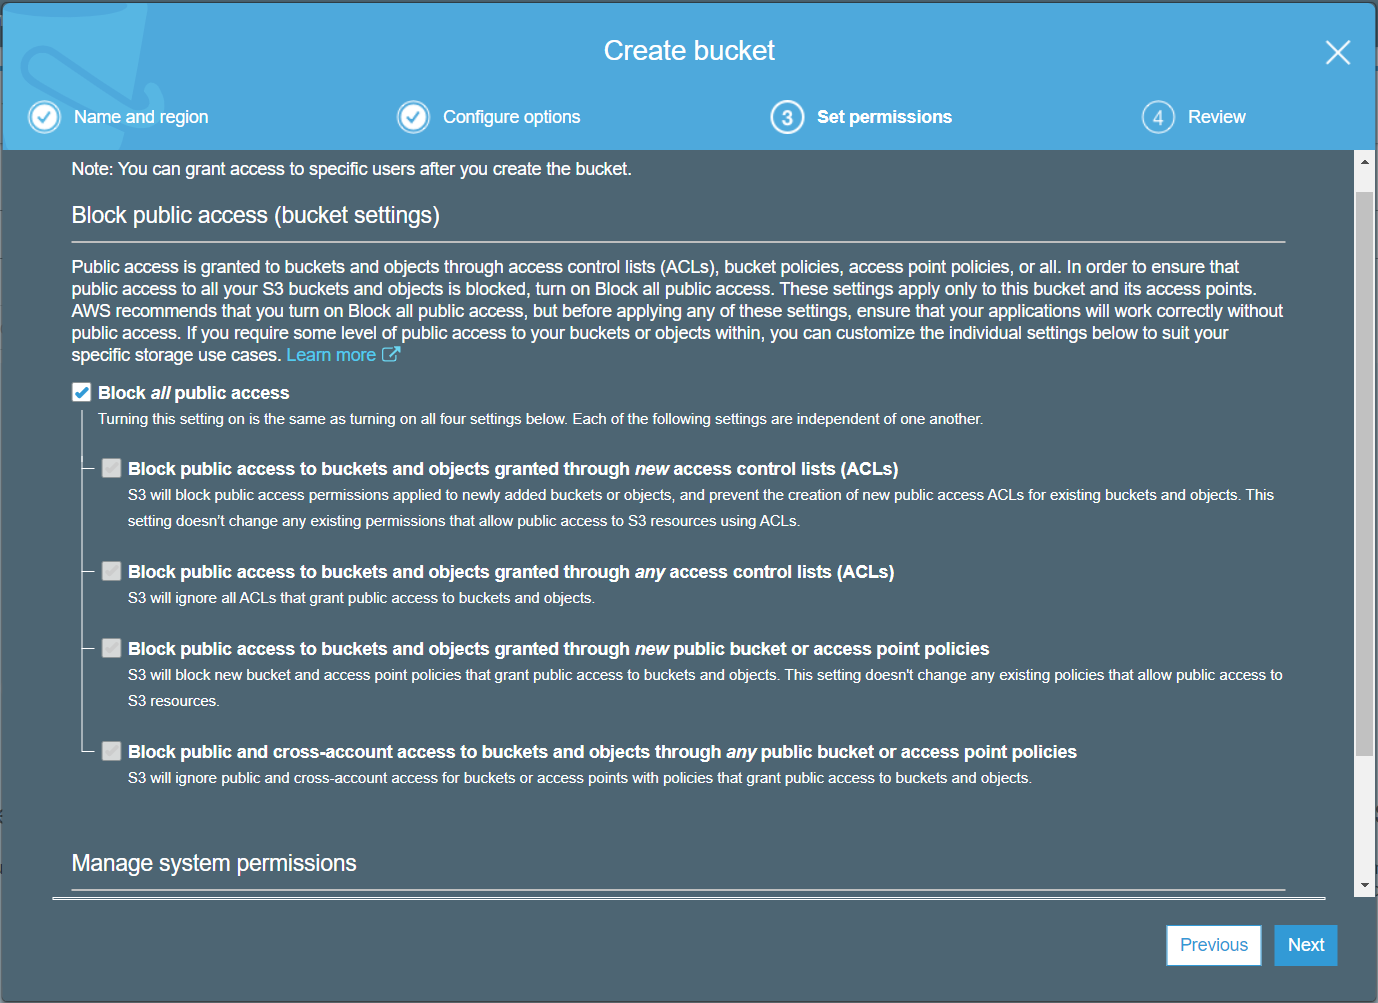
- Under Set permissions configure permission for AWS users that should(not) have access to Amazon S3 bucket and click Next. There are different options available to configure public access to S3 bucket including:
- Block all public access – It is enabled by default.
- Block public access to buckets and objects granted through new access control lists (ACLs)
- Block public access to buckets and objects granted through any access control lists (ACLs)
- Block public access to buckets and objects granted through new public bucket or access point policies
- Block public and cross-account access to buckets and objects through any public bucket or access point policies
We will block all public access.
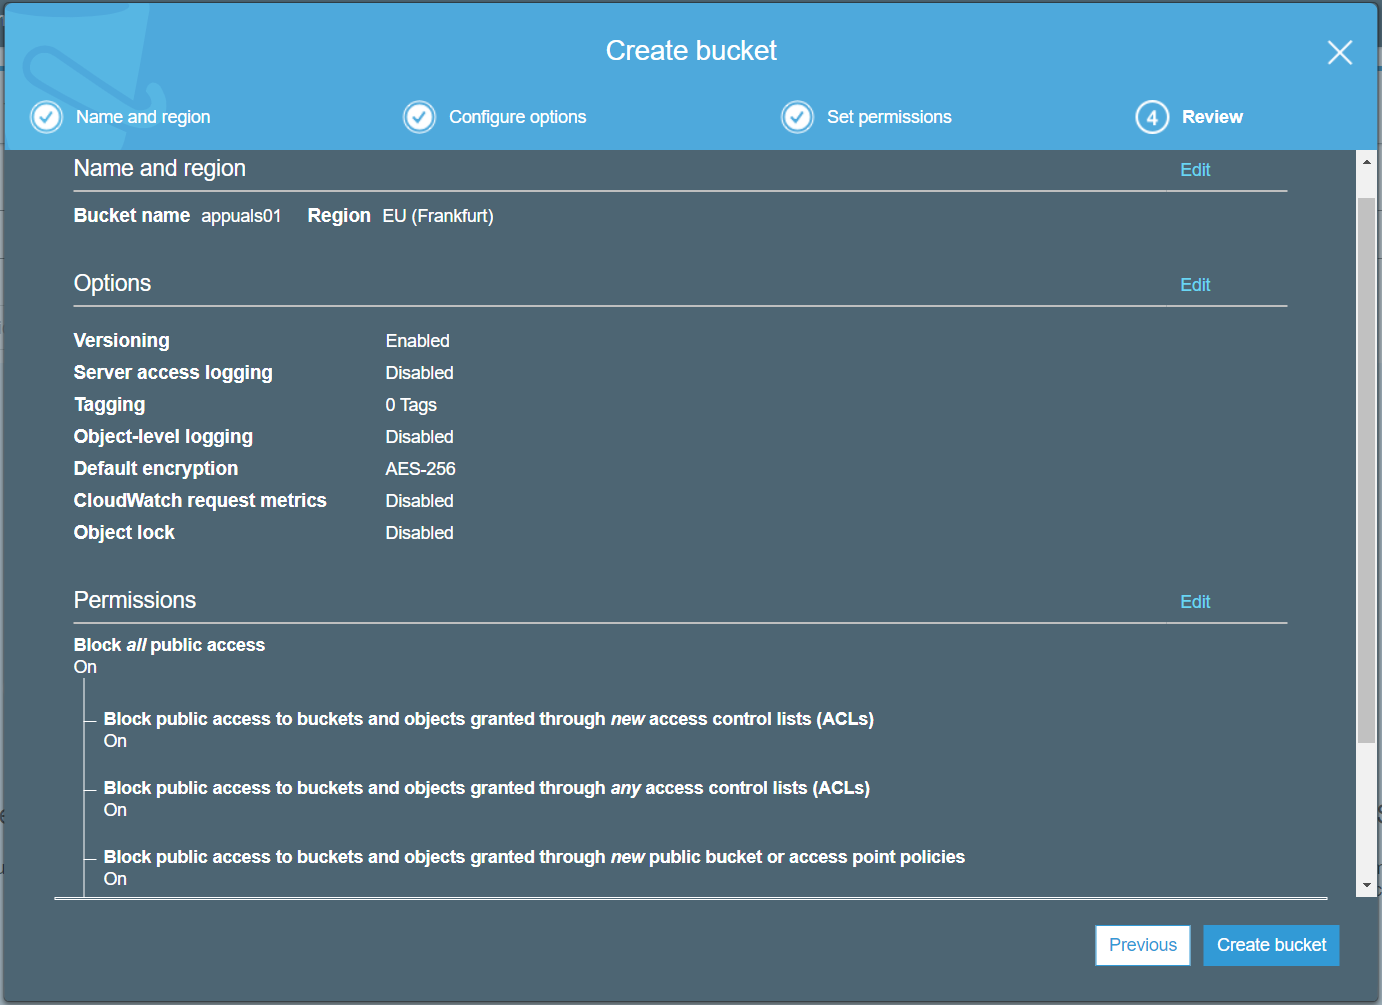
- Under Review verify your configuration is correct and then click on Create bucket.
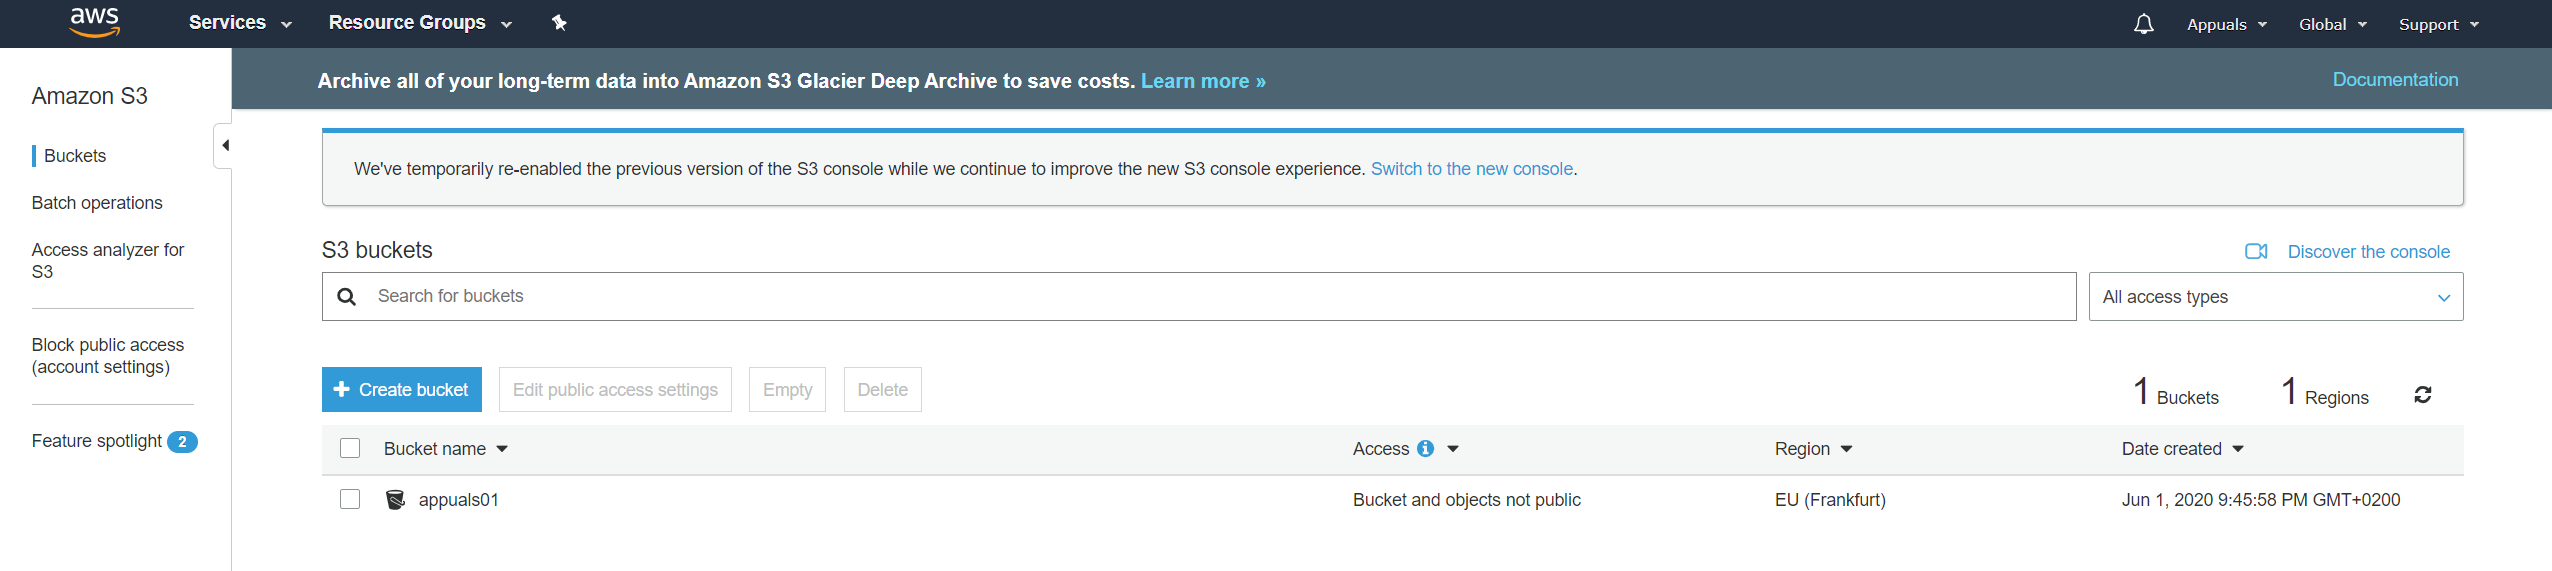
- Your Amazon S3 bucket is available. As you can see there is a bucket called
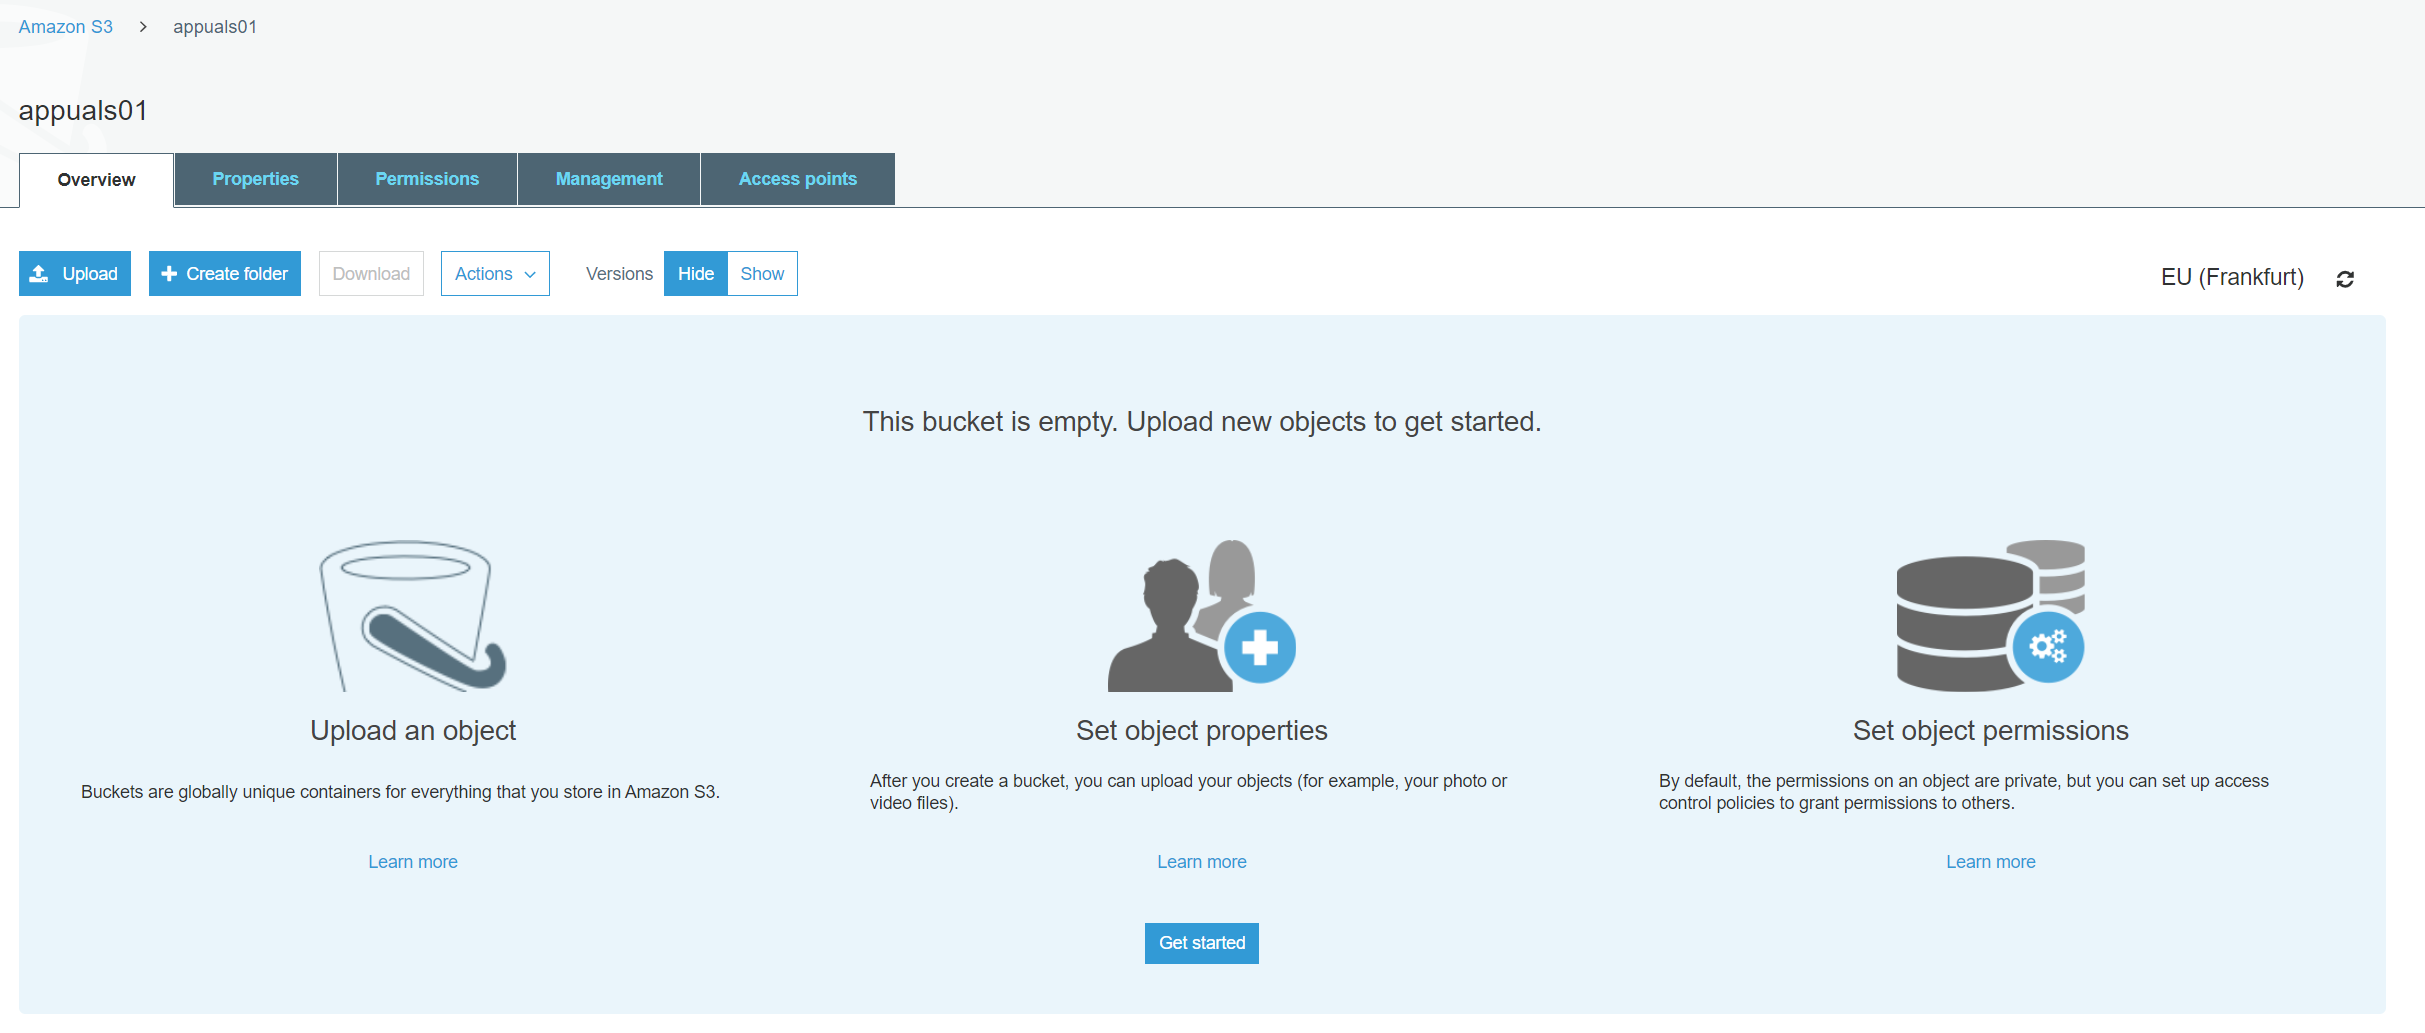
- Click on S3 bucket to upload the files
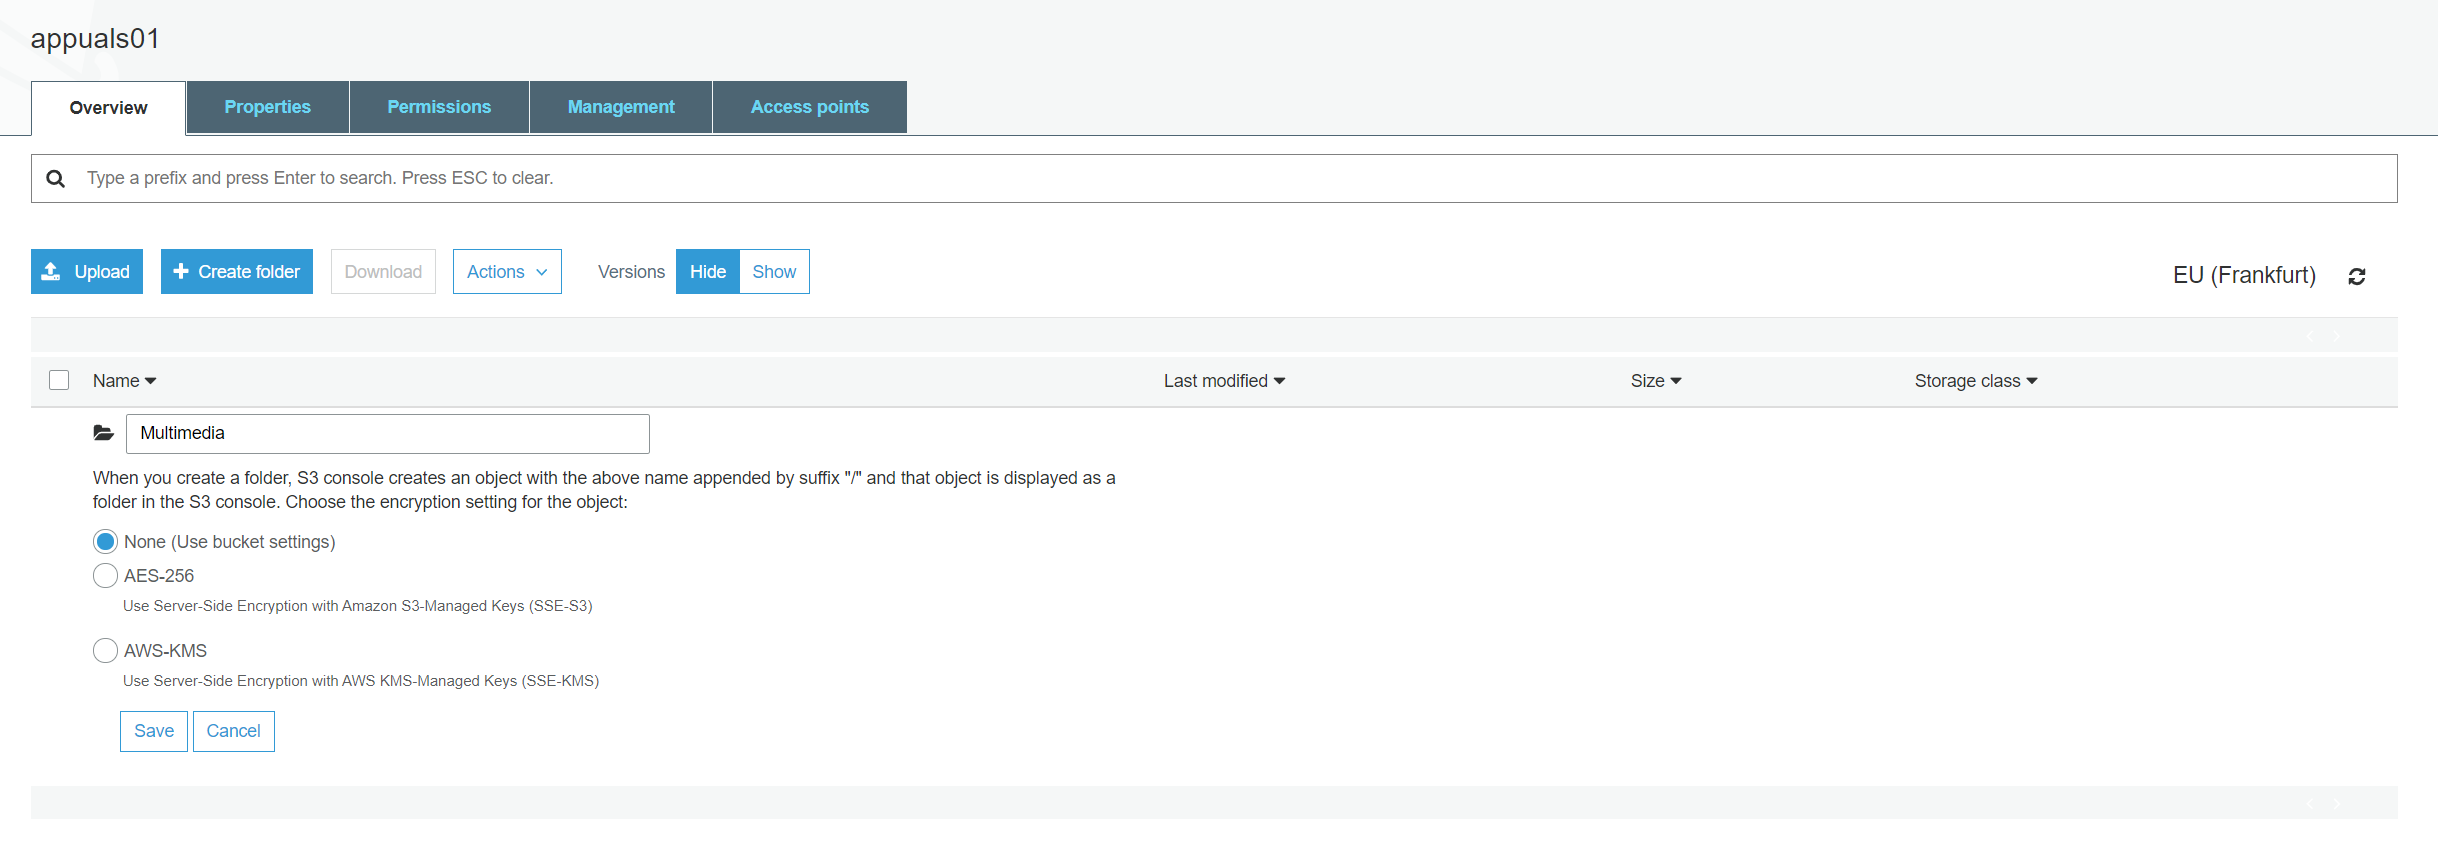
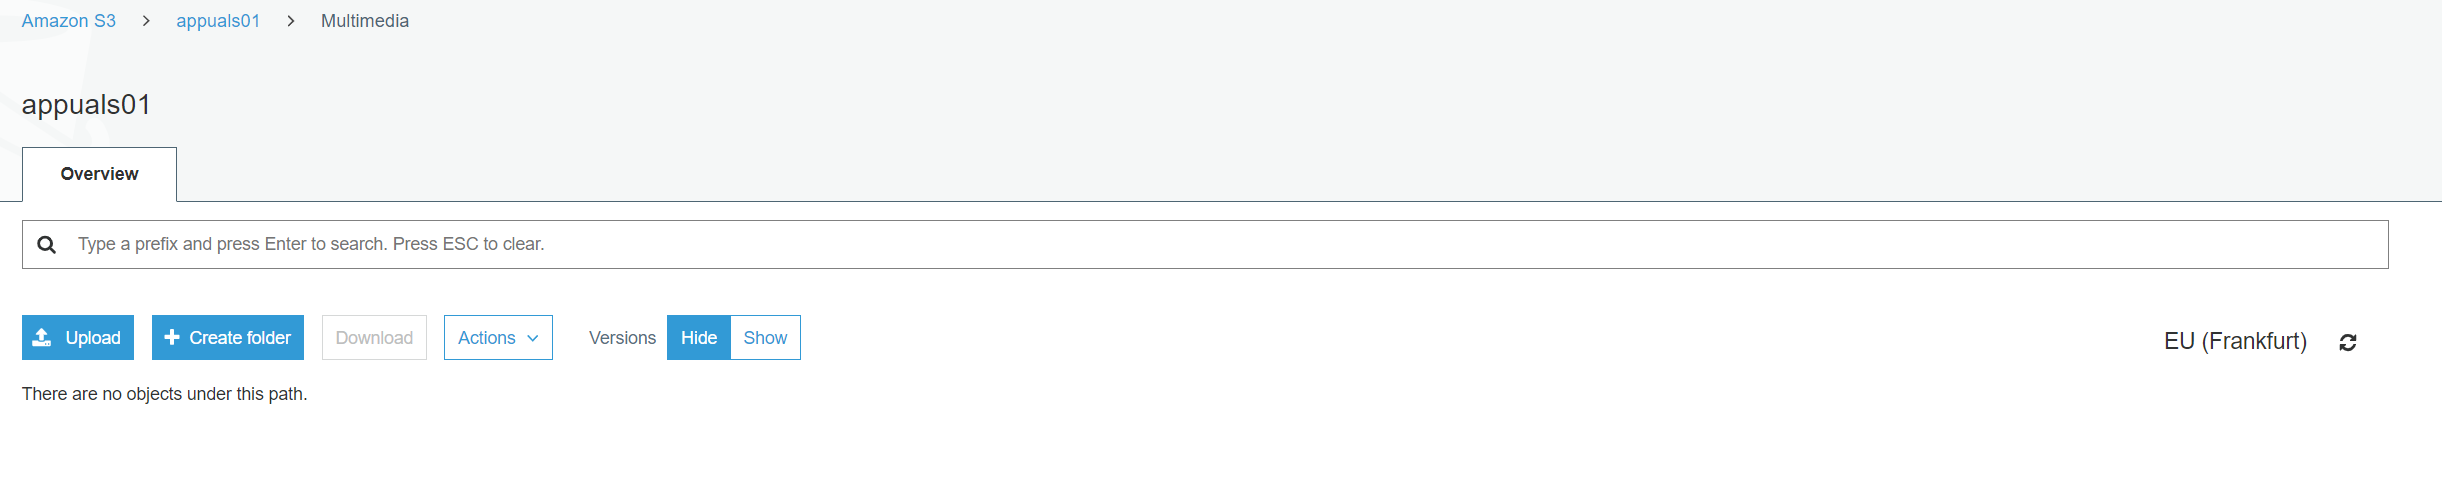
- Click on Create folder to create a folder and define folder name and then click Save. You can also enable encryption. We will create a folder called Multimedia without encryption.
- Click on the new folder and then click Upload.
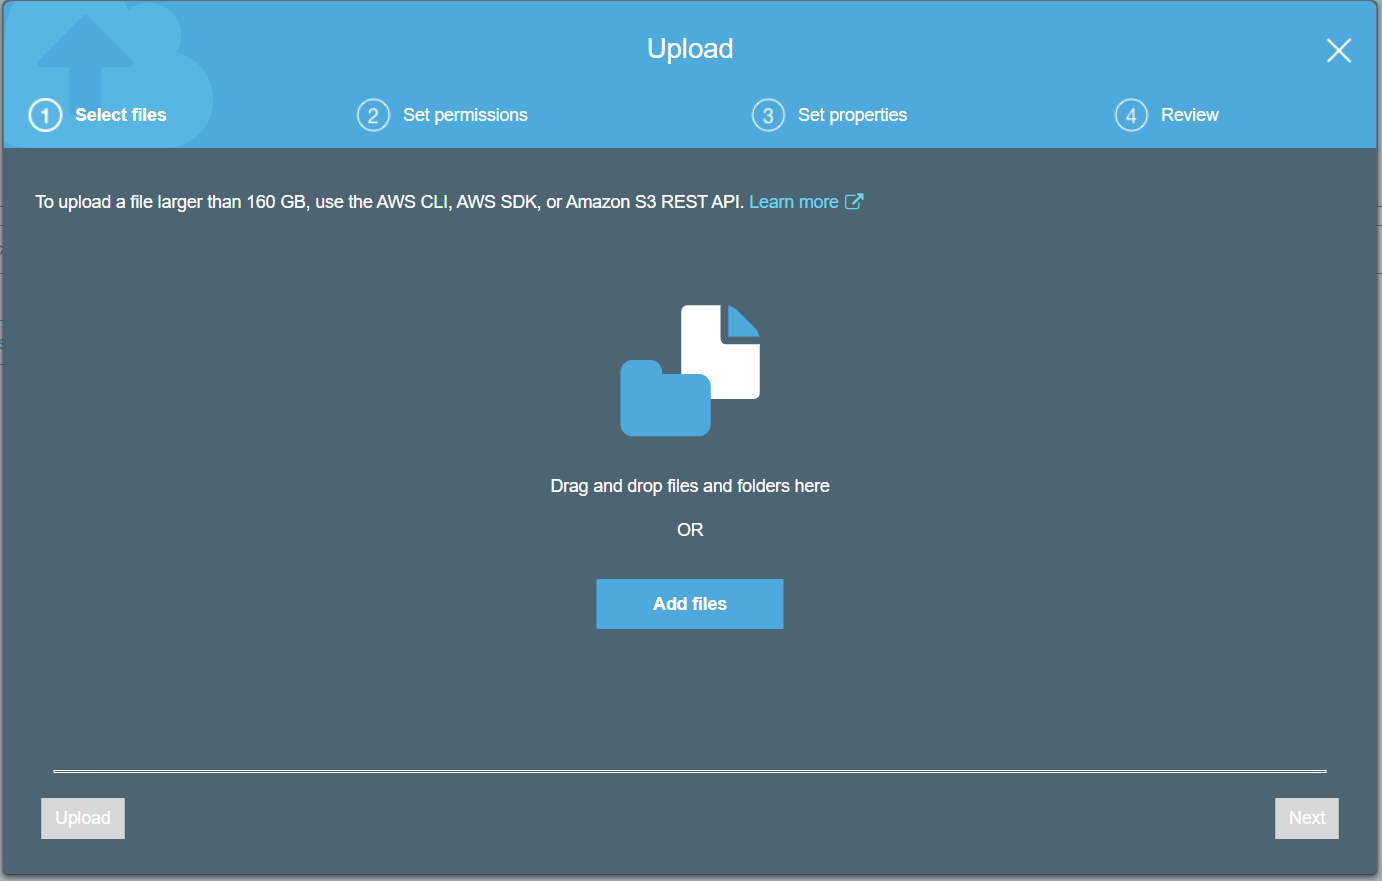
- Under Select files click drag and drop files and folder or click Add files to upload files and then Next. To upload a file larger than 160 GB, use the AWS CLI, AWS SDK, or Amazon S3 REST API
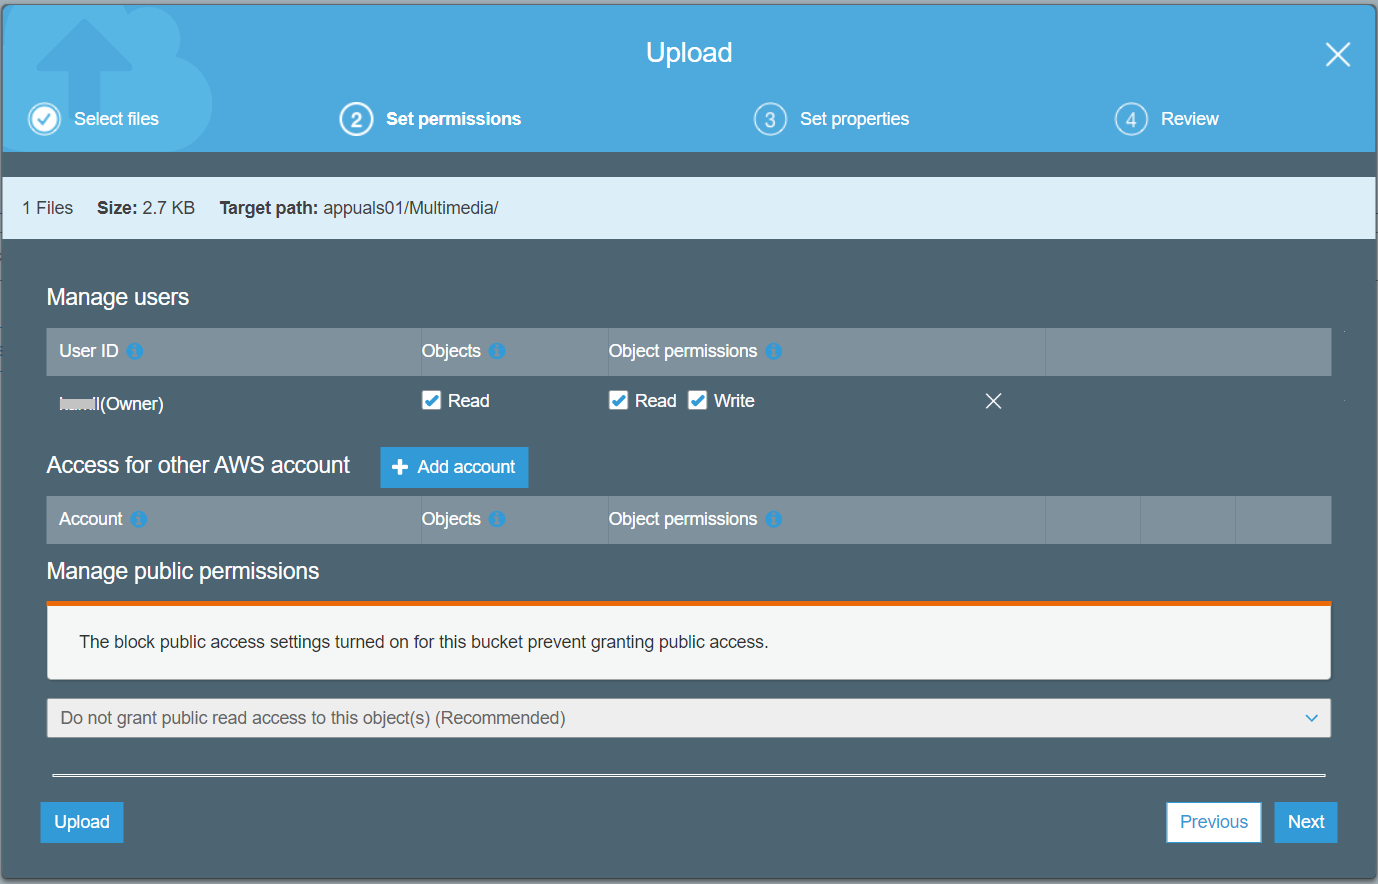
- Under Set permissions add user accounts that should have access to file and define permissions and then click Next.
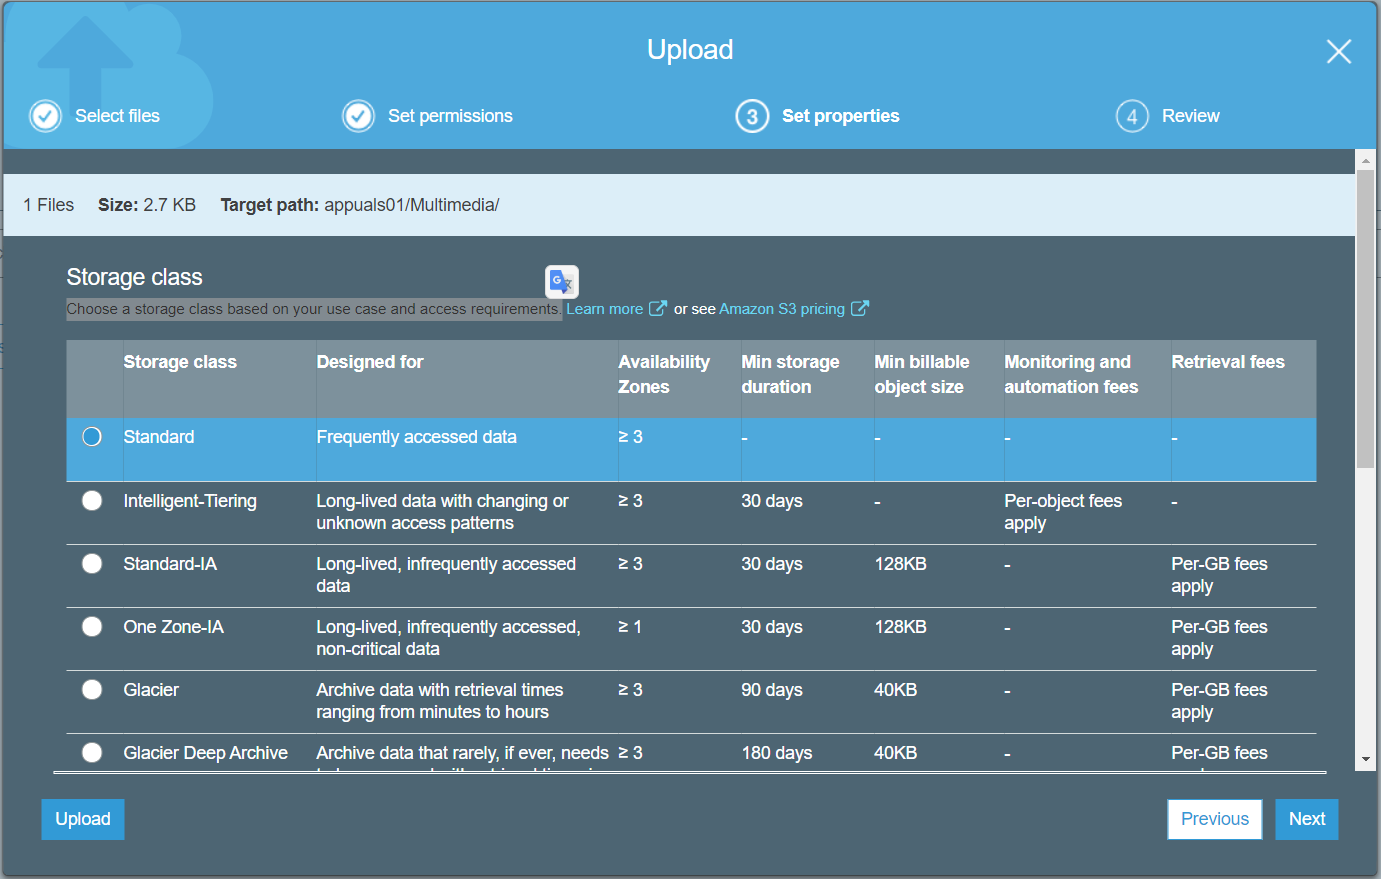
- Under Set properties choose a storage class based on your use case and access requirements and then click Next. We will choose Standard storage class which means data will be accessed frequently.
- Under Review verify if the configuration is correct and then click Upload.
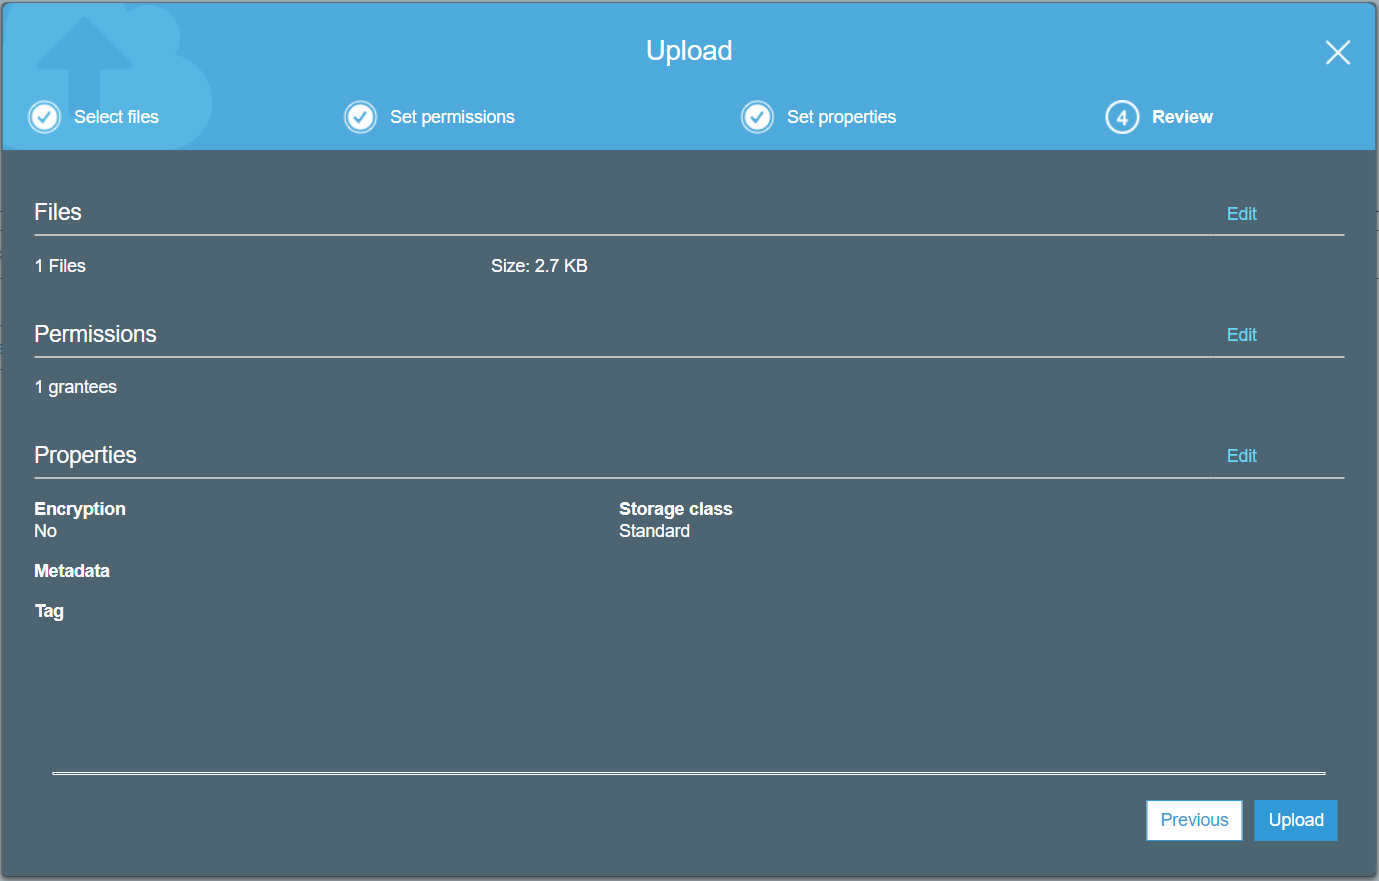
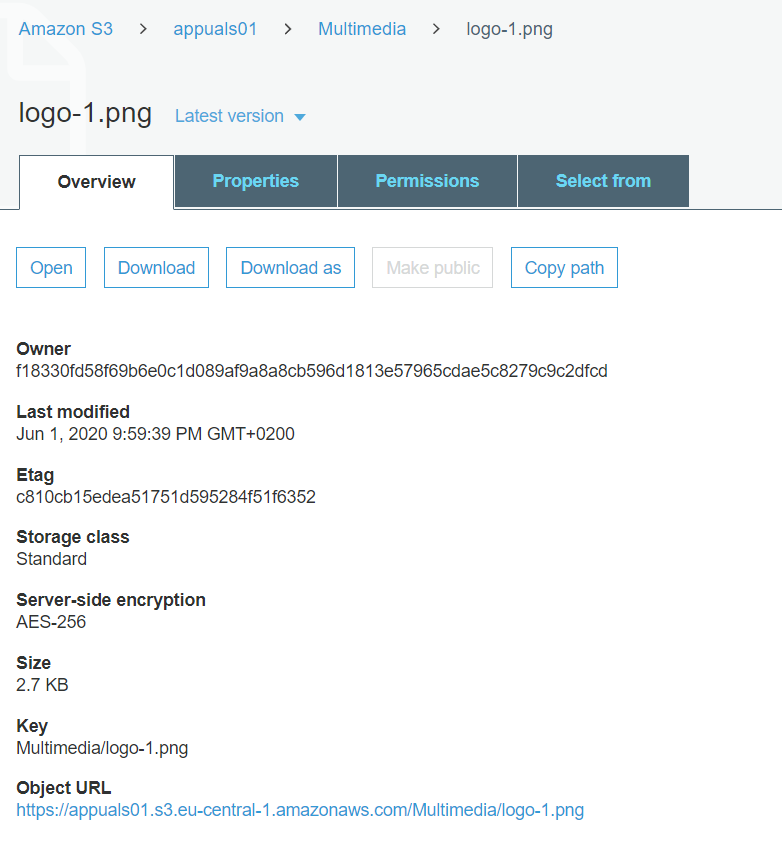
- The file was successfully uploaded to the S3 bucket.

- Click on the file to open it. As you can see different options are available. You can open it, download it, or change existing properties and permissions.