How to Encrypt files and folders in Windows 10 using Encrypting File System (EFS)
When it comes to the files and disk encryption in Windows 10, two encryption technology can be used, Encrypting File System (EFS) with BitLocker. Encrypting File System (EFS) is used for encrypting files and folders and BitLocker is used to encrypt the entire disk (HDD or SSD).
In this article, we will show you how to use Encrypting File System (EFS) to encrypt files and folders in Windows 10, but the same procedure applies to the previous operating systems. The Encrypting File System (EFS) is available on Windows 10 Pro, Enterprise, and Education edition.
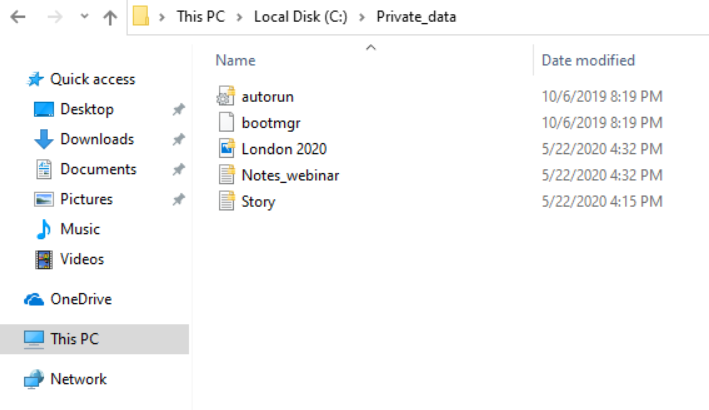
In order to make it clear and understandable, we will create a scenario. The single Windows 10 Pro machine is used by two users. Both users have own user accounts (Local Administrators) to perform daily activities. User “A” has created and stored some private data in the root of C: partition and User “A” wants to encrypt the data so, that User “B” does not have access.
This article consists of two parts. In the first part, we will show you how to encrypt data as User “A” and prevents User “B” from running. In the second part, we will show you how to enable User “B” to access encrypted files created and stored by User “A”.
1. Encrypt files and folders
- Log in to Windows 10 machine
- Hold Windows logo and press E to open File Explorer
- Navigate to partition or disk where you have stored your data and want to encrypt with Encrypting File System (EFS)
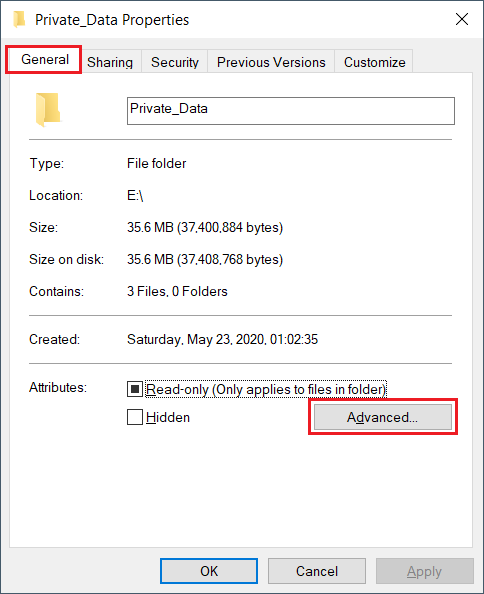
- Right click on the folder and choose Properties
- Under General tab click on Advanced button under Attributes section
- Under Advanced Attributes click on Encrypt contents to secure data
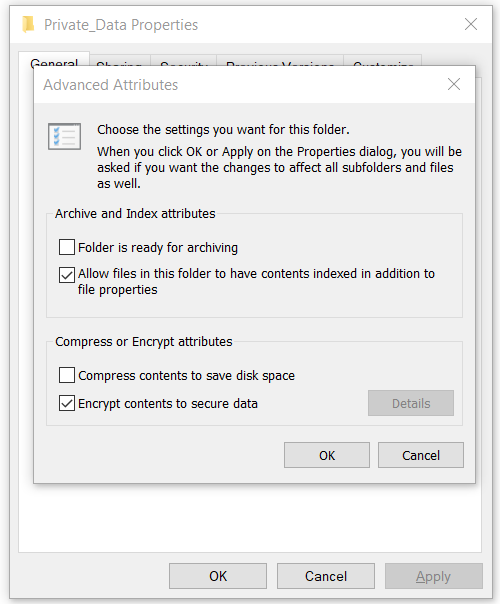
- Click OK
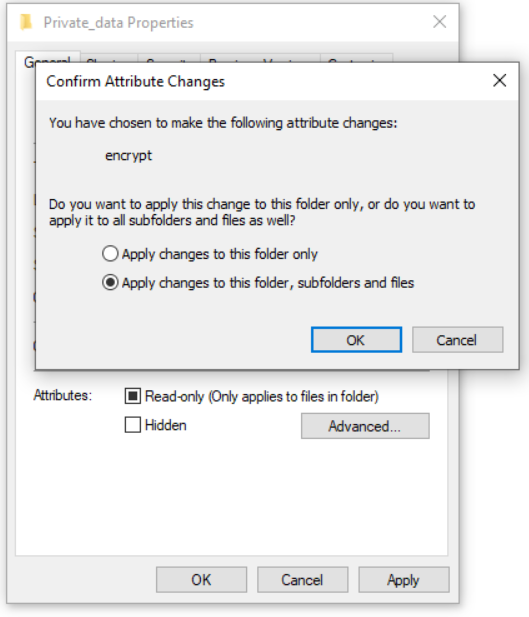
- Click Apply and then select Apply changes to this folder, subfolders and files and then confirm by clicking OK.
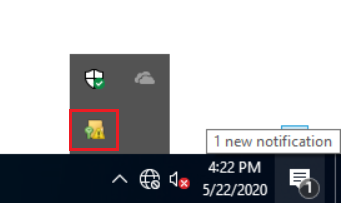
- Click on pop-up window Back up your file encryption key which will appear as a notification in the taskbar. This helps you avoid permanently losing access to your encrypted files.
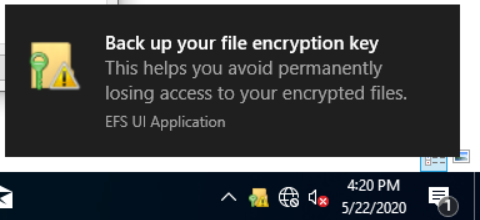
In case it disappears from the screen, you can access it in the taskbar, as shown in the screenshot below.
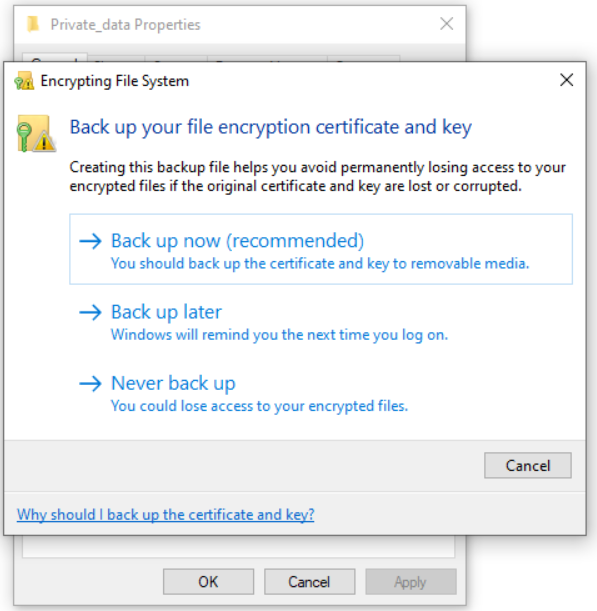
- Under Back up your encryption certificate and key choose one of the available options. We do recommend choosing Back up now (recommended) and storing certificates and keys on removable media. You can also back up it later by clicking Back up later. In this case, Windows will remind you the next time you log on.
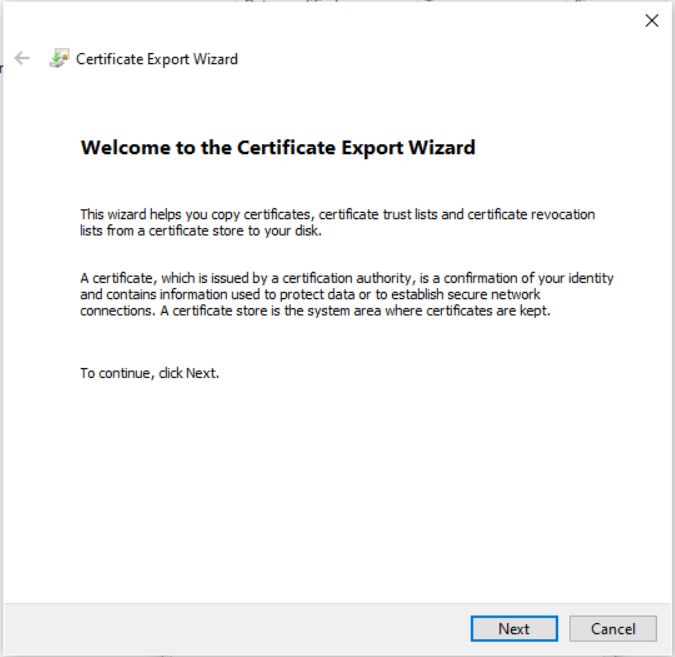
- Under Welcome to the Certificate Export Wizard click on Next
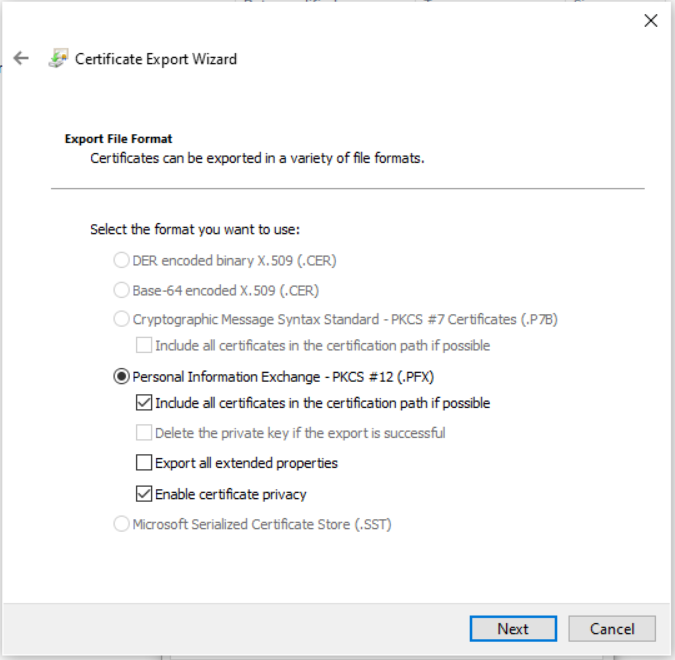
- Under Export File Format select Personal information Exchange and then click Next.
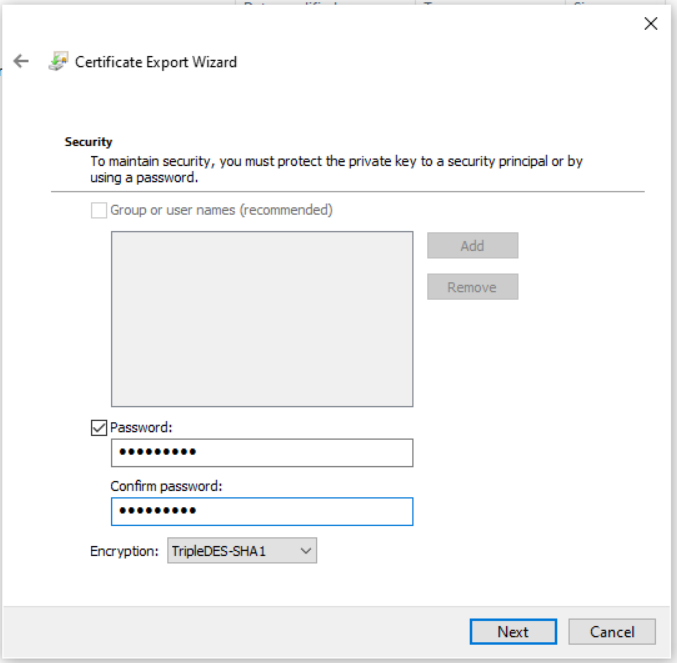
- Under Security create a password, choose the encryption type, and click Next.
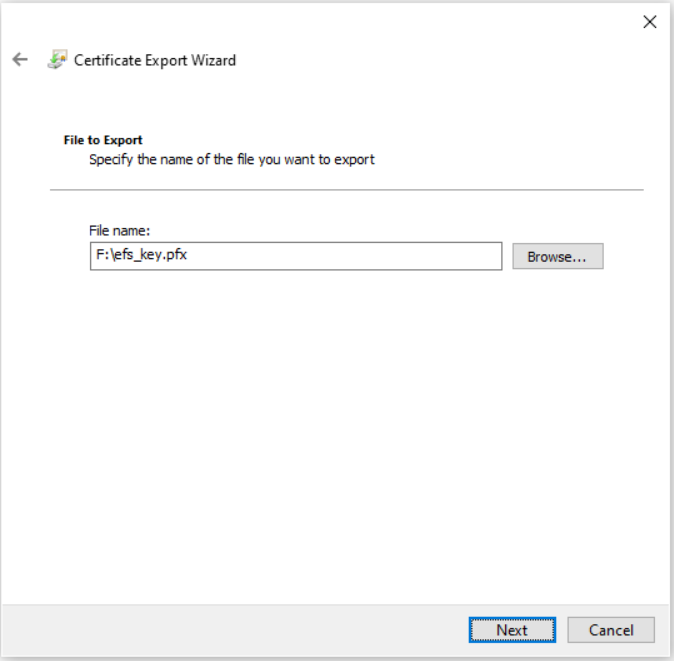
- Under File to Export click on Browse, select removable disk, define file name, and click on Save. After that click Next. In our case, we are saving a certificate to a removable file, but you can also save it on the local machine, but that is not recommended.
- Under Completing the Certificate Export Wizard click Finish.
- If everything was fine, you will see the confirmation window The export was successful. Click on OK.
- Open File Explorer and navigate to your data that you have just encrypted. You will see that every encrypted file has a yellow lock icon at the top right side.
2. Enable other users to access the encrypted files in Windows 10
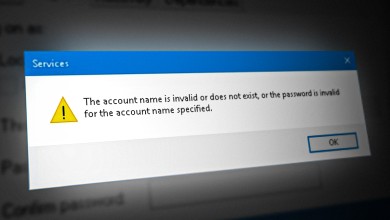
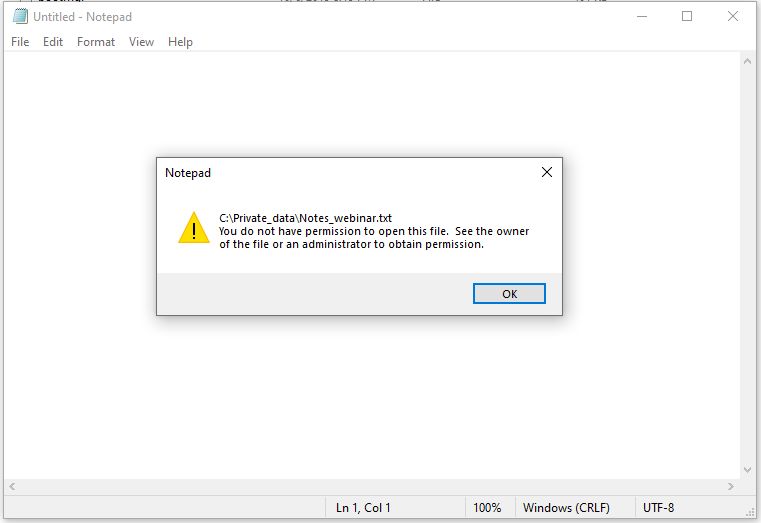
In case any other users try to access encrypted files, it will not be able due to missing permissions, as shown in the screenshot below. In order to enable other users to access the encrypted files, we will apply the certificate that will give necessary permissions to access the encrypted files. This is the certificate we exported in the first part of this article.
- Share the certificate with the user who does not have access to the encrypted data
- Login into Windows 10 by using the user account that does not have access to the encrypted data
- Double click on the certificate to start the procedure of certificate installation
- Under Welcome to the Certificate Import Wizard click on Current User and then click Next
- Specify the file you want to import and then click Next
- Type the password and then click Next
- Select Automatically select the certificate store based on the type of certificate and then click Next
- Under Completing the Certificate import Wizard click Finish
- If everything was fine, you will see the confirmation window The import was successful. Click on
- Open File Explorer and navigate to the location where encrypted files are
- Open encrypted files. As you can see, User “B” has successfully opened the encrypted text file.