7 Ways to fix the Windows Modules Installer 100% Disk Issue
 Reviewed by Huzaifa Haroon
Windows Module Installer (also known as TrustedInstaller.exe) is a Windows service that is responsible for installing, modifying, and removing system components, updates, and optional Windows features. It is an integral part of the Windows operating system, starting from Windows Vista and onwards.
The main purpose of the Windows Module Installer is to ensure the integrity and security of the Windows operating system by managing the installation and servicing of Windows updates, service packs, and other system components. It is designed to protect critical system files and prevent unauthorized modifications, thereby maintaining system stability and reliability.
The Windows Module Installer runs with elevated privileges and has the ability to access and modify system files and registry settings. It is usually active in the background, working silently to manage the installation and maintenance of system components. However, it may become more noticeable during specific system updates or when installing optional Windows features.
Why is Windows Module Installer Utilizing 100% of My Disk?
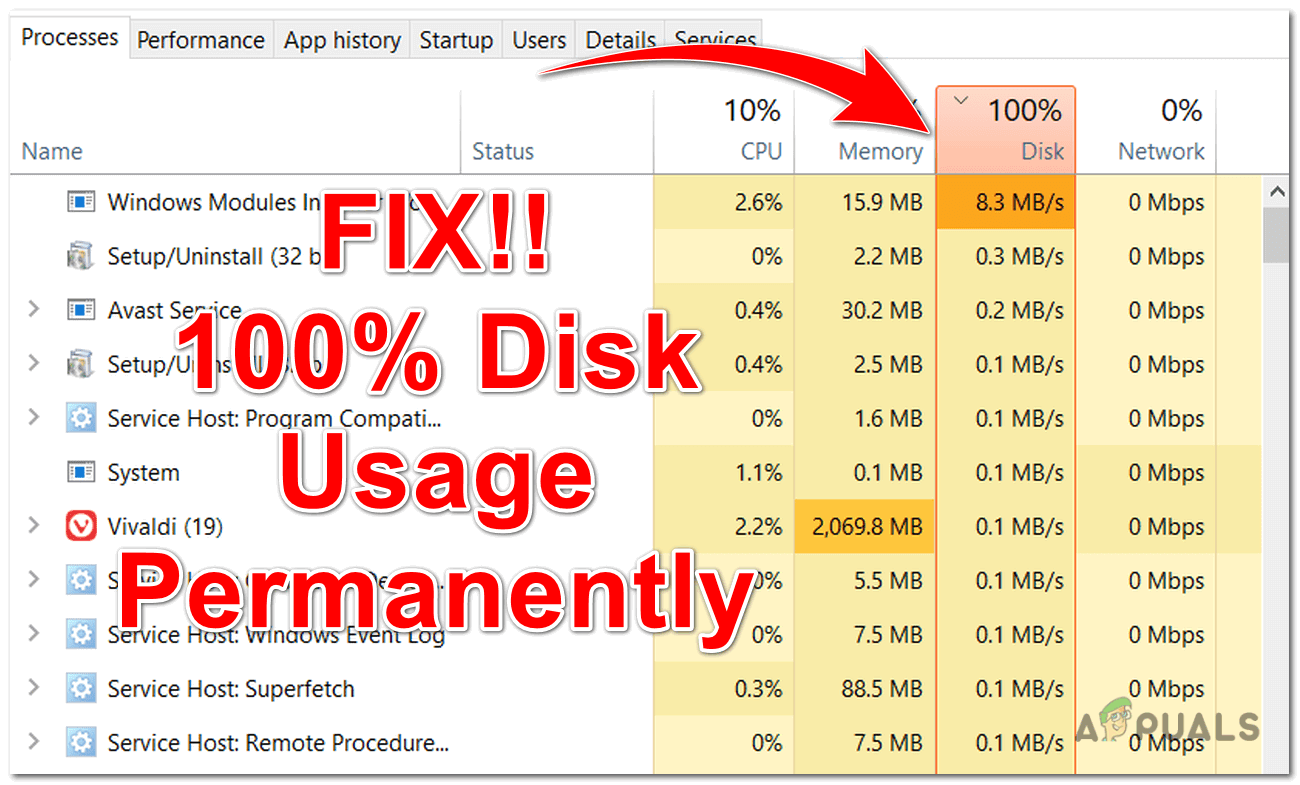
It makes sense that the Windows Module Installer would be responsible for excessive disk or CPU usage in Windows, given how time-consuming updates to Windows and its related programs can be. You will often observe increases in CPU and disk usage during updates in Task Manager.
However, if you continue to experience 100% disk utilization and high CPU usage for an hour or more after the updates have been completed, you might have a problem. When stress testing your CPU, sustained high CPU usage is normal; however, it is not normal after an update, as it can result in high CPU temperatures. Increased CPU temperatures can lead to slowdowns, freezes, and even shutdowns.
If you are noticing continuous high disk and CPU usage from Windows Modules Installer, it is time to examine it more closely. Here is how to prevent Windows Modules Installer updates from consuming your CPU and disk resources:
1. Running Windows Memory Diagnostic Tool
You can use this tool to ensure that the issue is not hardware-related. Your computer’s RAM module may have problems, causing instability which this tool allows you to identify.
- Click on the Start button located at the bottom left corner of your screen.
- Type “Windows Memory Diagnostic” in the search bar. You should see the tool appear in the search results.
- Click on the “Windows Memory Diagnostic” tool from the search results to launch it.
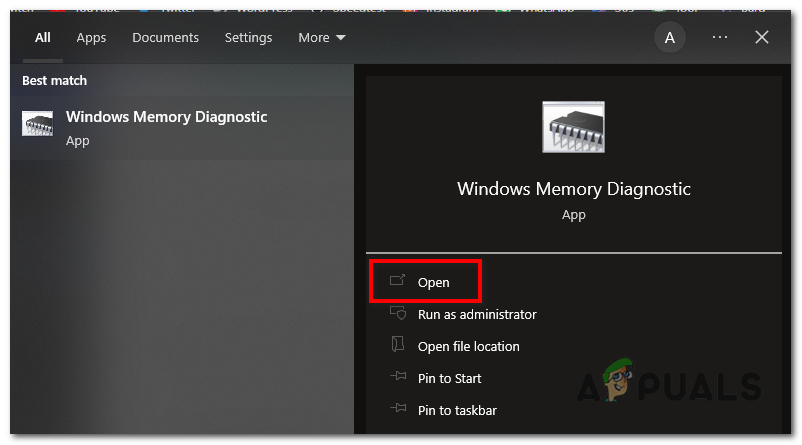
Open Windows Memory Diagnostic. - The tool will present you with two options:
1. Restart now and check for problems (recommended): This option will immediately restart your computer and initiate the memory diagnostic test during the startup process.
2. Check for problems the next time I start my computer: This option allows you to schedule the memory diagnostic test for the next time you restart your computer.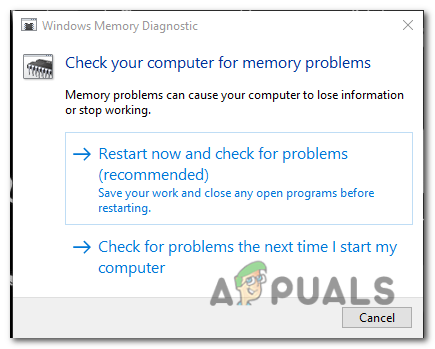
Choose between “Restart now and check for problems” or “Check for problems the next time I start my computer”. - Choose the option that suits your preference. Keep in mind that if you choose the first option, any unsaved work will be lost when your computer restarts.
- Once the memory diagnostic test starts, it will run a series of tests to check for memory errors. The process may take several minutes to complete.
- After the memory diagnostic test finishes, your computer will restart. Upon startup, you’ll be able to view the test results, which will indicate if any memory issues were detected.
2. Running Windows Update Troubleshooter
The Windows Update Troubleshooter is a built in tool in Windows that helps diagnose and resolve issues related to Windows updates. While it mainly focuses on resolving problems with the Windows Update service, it can also be helpful in identifying issues with the Windows Module Installer (TrustedInstaller.exe) if it is causing high CPU and disk usage.
- Click on the Start button and then the gear icon for the Windows Settings app and Navigate to “Update & Security” > “Troubleshoot” > “Additional Troubleshooters”.
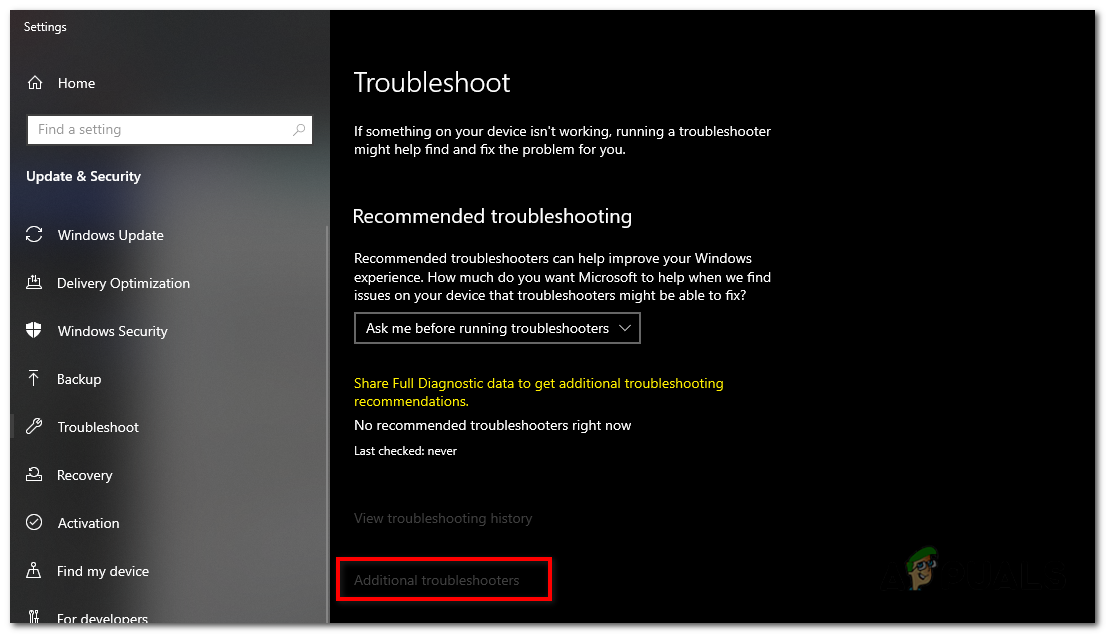
- In the “Additional Troubleshooters” section, select “Windows Update” and click on “Run the troubleshooter”.
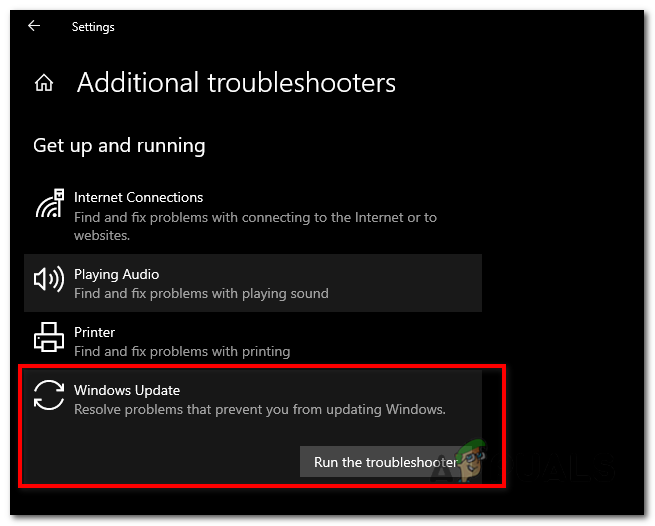
In the “Additional Troubleshooters” section, select “Windows Update” and click on “Run the troubleshooter”. - The Windows Update Troubleshooter will run a series of automated checks and diagnostics to identify and resolve common Windows Update issues. It may take some time to complete.
- Once the troubleshooter has finished, it will provide a summary of the issues it found and any problems it was able to fix. Pay attention to any specific mention of problems with the Windows Module Installer.
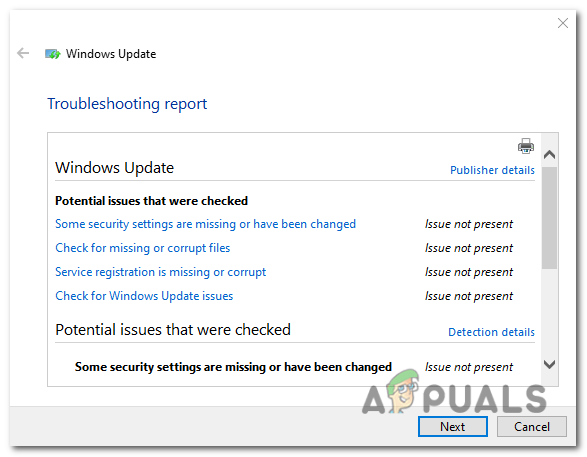
Results of the Windows Troubleshooter scan. - If the Windows Update Troubleshooter identifies issues with the Windows Module Installer, it will attempt to apply appropriate fixes. Follow the troubleshooter’s instructions to implement these fixes.
- After applying the recommended fixes, monitor the CPU and disk usage to see if the problem with high usage by the Windows Module Installer is resolved.
While the Windows Update Troubleshooter can be helpful in resolving issues related to the Windows Module Installer, it is important to note that it might not address all possible causes. If the problem persists, refer to the fixes below.
3. Running the “CHKDSK” command
Running the CHKDSK (Check Disk) command can help you find and fix issues with the file system and disk errors on your PC. While it may not directly address problems specifically related to the Windows Module Installer, it can indirectly assist in resolving high CPU and disk usage caused by disk related issues.
- Press the Windows key, search for “Command Prompt,” right-click on it, and select “Run as administrator.” This will run Command Prompt will administrator privileges.
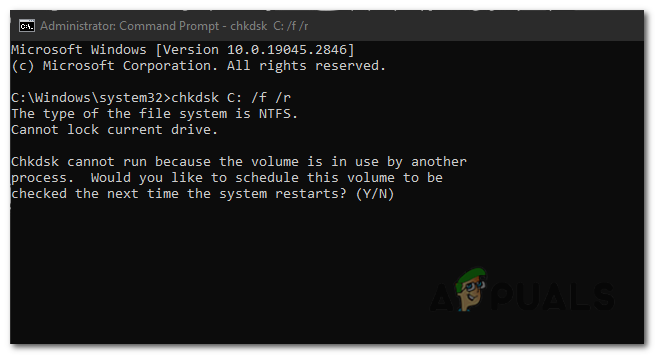
- In the Command Prompt window, type “chkdsk C: /f /r” and press Enter. Replace “C:” with the appropriate drive letter if your Windows installation is on a different drive.
chkdsk C: /f /r

In the Command Prompt window, type “chkdsk C: /f /r” and press Enter. - CHKDSK will begin scanning the selected drive for errors and attempt to fix any it finds. The process may take a while, depending on the size and health of your disk.
- If prompted to schedule a disk check on the next system restart, type “Y” and press Enter. Restart your computer to initiate the CHKDSK scan before the operating system loads.
If prompted to schedule a disk check on the next system restart, type “Y” and press Enter. - Once the CHKDSK scan completes and your system restarts, monitor the CPU and disk usage to determine if the high usage issue persists. If the problem was caused by disk errors or file system corruption, CHKDSK will have resolved it.
4. Running the “SFC” and “DISM” scans
Running the SFC (System File Checker) and DISM (Deployment Image Servicing and Management) scans will find and repair the existing Windows system files and other similar files on your PC.
- Press the Windows key, search for “Command Prompt,” right-click on it, and select “Run as administrator.” This will run Command Prompt will administrator privileges.
- In the Command Prompt window, type “sfc /scannow” and press Enter. The System File Checker will start scanning your system files for any errors or corruptions.
sfc /scannow
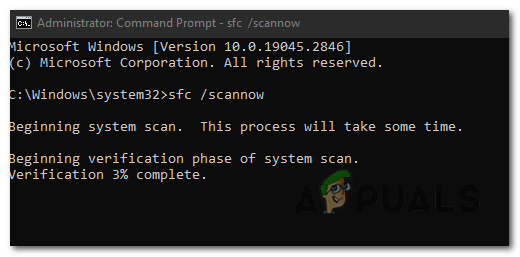
In the Command Prompt window, type “sfc /scannow” and press Enter. - The SFC scan will automatically detect and attempt to repair any corrupted system files it finds. The process may take some time to complete depending on the speed of your drive.

The SFC scan will automatically detect and attempt to repair any corrupted system files it finds. - In the same Command Prompt window, type “DISM /Online /Cleanup-Image /RestoreHealth” and press Enter. The DISM scan will check the Windows image for any issues and attempt to repair them using Windows Update.
DISM /Online /Cleanup-Image /RestoreHealth
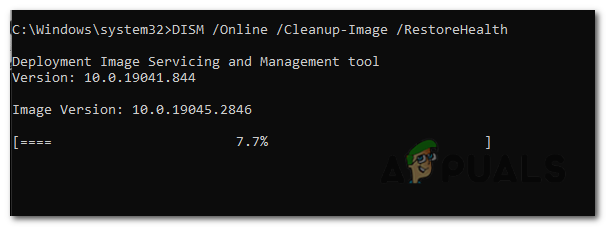
In the same Command Prompt window, type “DISM /Online /Cleanup-Image /RestoreHealth” and press Enter. - The DISM scan will connect to Windows Update to download any necessary files and fix problems with the Windows image. This process may also take some time to finish.
- After the scans are complete, restart your computer to apply any repairs made by SFC and DISM.
- Once your system restarts, monitor the CPU and disk usage to determine if the high usage issue persists.
If corrupted system files or issues with the Windows image were the underlying cause, the scans will solve the problem.
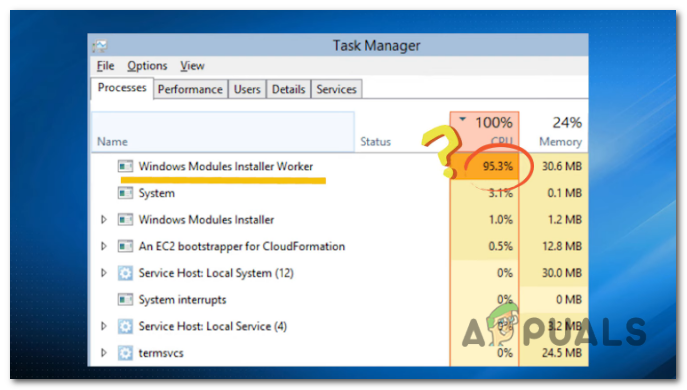
5. Killing the “TiWorker.exe” process
TiWorker.exe is the executable file for the Windows Module Installer Worker service, which is responsible for installing updates and system components. Killing this would kill the Windows Module installer, resulting in the termination of Windows Update processes.
- Press “Ctrl + Shift + Esc” on your keyboard to open the Task Manager. Alternatively, you can right-click on the taskbar and select “Task Manager” from the context menu.
- Depending on your version of Windows, either switch to the “Processes” or “Details” tab in Task Manager. Look for the “TiWorker.exe” process in the list of running processes.
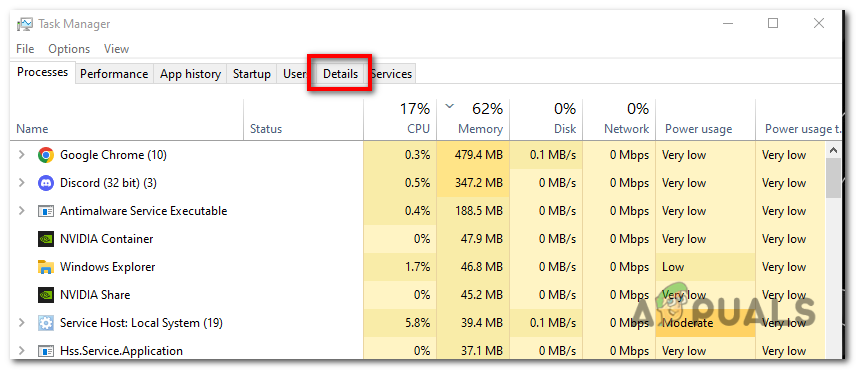
Depending on your version of Windows, either switch to the “Processes” or “Details” tab in Task Manager. - Locate the “TiWorker.exe” process in the list and click on it to select it.
- Once the “TiWorker.exe” process is selected, click on the “End Task” button at the bottom-right corner of the Task Manager window. Confirm any prompts that appear.
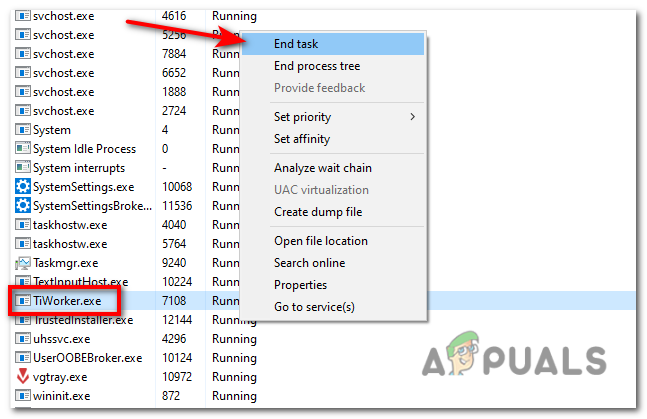
Alternatively, you can right-click on the “TiWorker.exe” and select End Task. - After terminating the TiWorker.exe process, monitor the CPU and disk usage to see if the high usage issue disappears. If TiWorker.exe was the cause of the problem, the CPU and disk usage should decrease.
6. Deleting the “SoftwareDistribution” Folder
Windows usually downloads and saves updates to the “SoftwareDistribution” Folder. Since the downloaded updates files are unable to install correctly, those corrupted Windows Update files result in high DIsk usage. Deleting the folder folder allows you to get rid of the corrupted files.
- Press the Windows key, search for “Command Prompt,” right-click on it, and select “Run as administrator.” This will ensure you have the necessary permissions to delete the folder.
- In the Command Prompt window, type the following commands one by one and press Enter after each:
net stop wuauserv
net stop bits
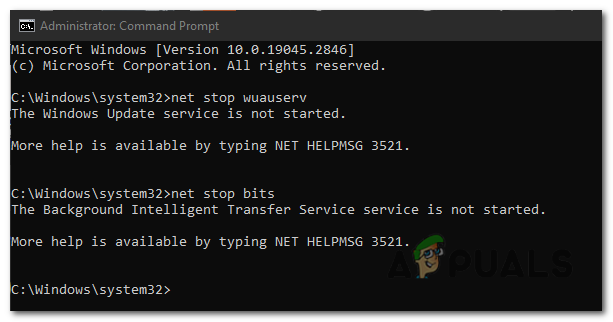
In the Command Prompt window, type the following commands one by one and press Enter after each: “net stop wuauserv” and “net stop bits”. These commands will stop the Windows Update services temporarily.
- In the Command Prompt window, type the following command and press Enter:
explorer %windir%\SoftwareDistribution
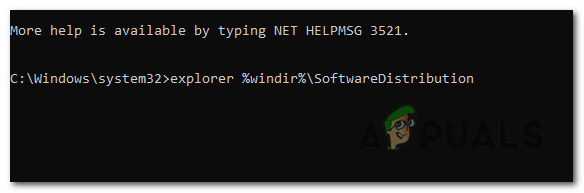
n the Command Prompt window, type the following command and press Enter: “explorer %windir%\SoftwareDistribution”. This command will open the “SoftwareDistribution” folder in File Explorer.
- In the “SoftwareDistribution” folder, select all the files and folders inside, and press the Delete key on your keyboard. Alternatively, you can right-click and select “Delete” from the context menu.
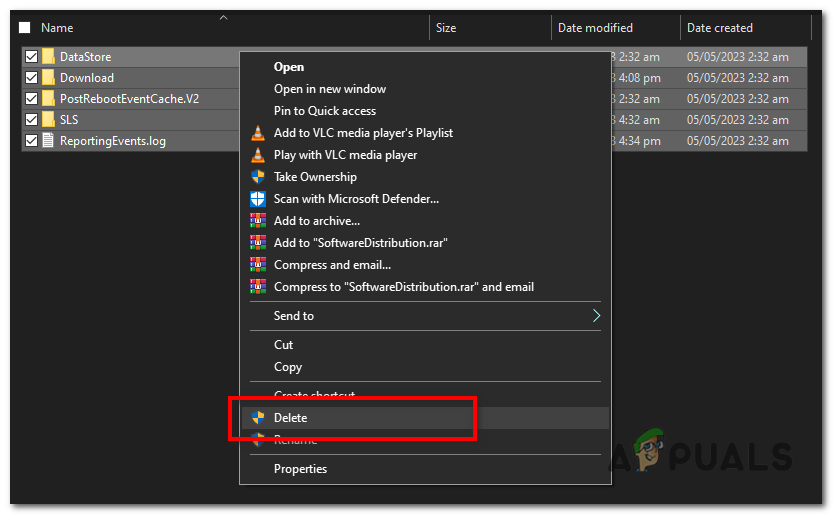
In the “SoftwareDistribution” folder, select all the files and folders inside it, right-click and select “Delete” from the context menu. - Note: If you receive a prompt stating that some files are in use and cannot be deleted, it means the Windows Update services are still running. In that case, repeat step 2 to stop the services again and then try deleting the files.
- Go back to the Command Prompt window and type the following commands one by one, pressing Enter after each:
net start wuauserv
net start bits
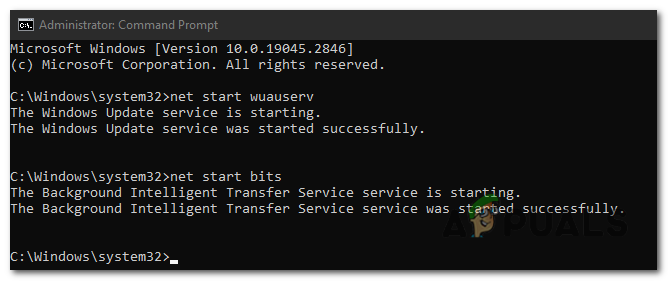
Go back to the Command Prompt window and type the following commands one by one, pressing Enter after each: “net start wuauserv” and “net start bits”. These commands will start the Windows Update services again.
- Once the services are started, you can close the Command Prompt window.
Deleting the SoftwareDistribution folder helps reset the Windows Update components, and Windows will recreate the necessary files and folders as needed.
7. Turning off Automatic Window Updates
Disabling Automatic Updates will stop this problem from returning in the future as you will only be able to update Windows manually when your device is not in use, allowing optimal resources to carry out the update with no errors.
- Press the Windows key on your keyboard or click on the Start button, and then click on the gear icon to open the Windows Settings.
- In the Windows Settings window, click on “Update & Security”.
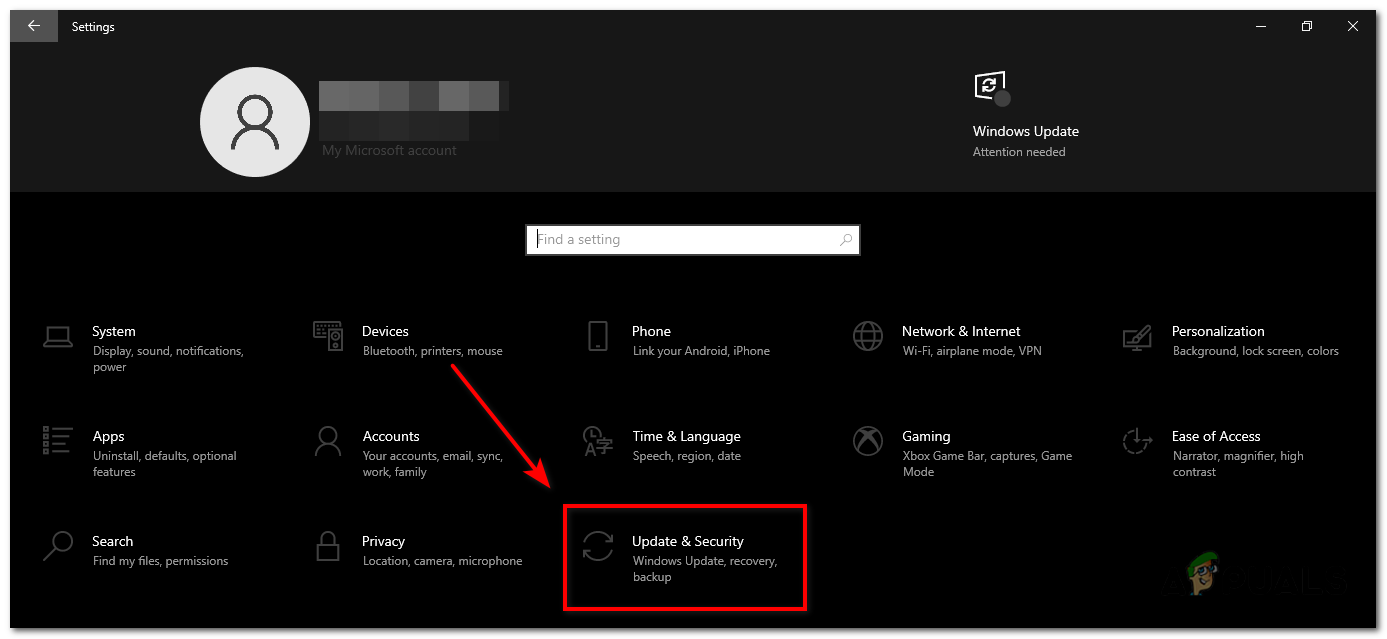
In the Windows Settings window, click on “Update & Security”. - In the left-hand sidebar of the “Update & Security” section, click on “Windows Update”.
- Under the “Windows Update” section, click on the “Advanced options” link.
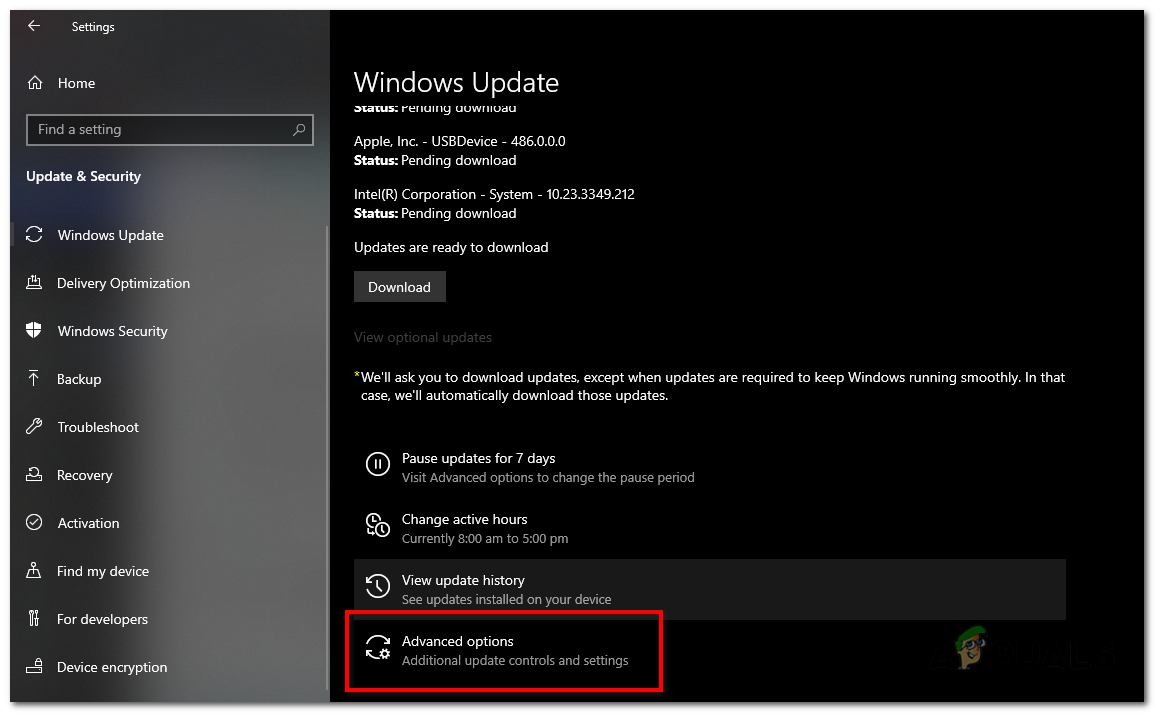
Under the “Windows Update” section, click on the “Advanced options” link. - In the “Advanced options” window, toggle off all the options related to Automatic Windows Updates to disable automatic updates.
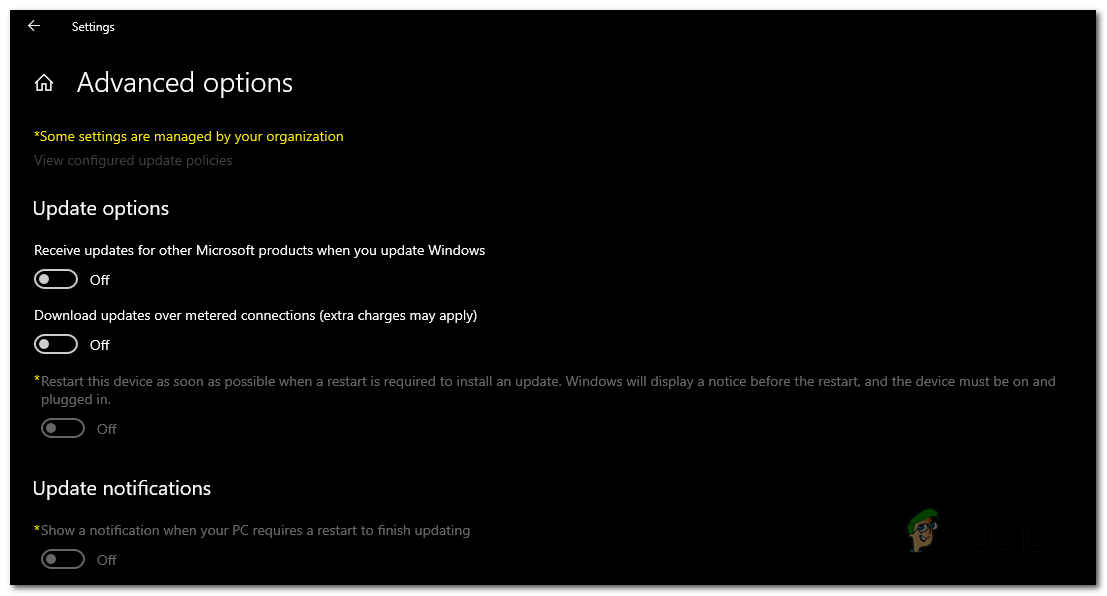
In the “Advanced options” window, toggle off all the options related to Automatic Windows Updates to disable automatic updates. - Close the “Advanced options” and “Windows Update” windows to save the changes. Your system will no longer automatically download and install Windows updates.
By turning off automatic Windows updates, you can have more control over when and how updates are installed on your system.
However, it’s important that you regularly update your operating system as it is crucial for security and stability. When you disable automatic updates, it becomes your responsibility to manually check for and install important updates to ensure your system remains protected.
Reviewed by Huzaifa Haroon


