Why does Windows Keep Minimizing the Programs? (Solved)
Drivers are one of the most active parts of your computer and require to be kept updated at all times. The main cause of the programs getting minimized is that the drivers are outdated. This is the reason why the system is randomly minimizing the programs you are trying to run. In this guide, we will show you the methods to prevent the programs you’re running from minimizing on their own.

1. Run the System Maintenance Troubleshooter
The System Maintenance Troubleshooter is a built-in feature in Windows that performs a routine checkup on the system and repairs the error found on the device. Therefore, you must perform this Troubleshooter as it will help you detect and repair the error that causes programs to minimize on their own. Below are the steps to running the System Maintenance Troubleshooter:
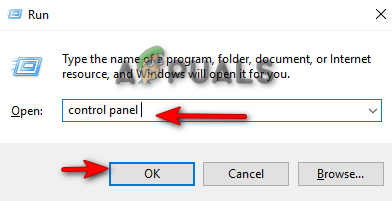
- Open the Run command by pressing the Win + R keys together.
- Open the Control Panel by typing “control panel” on the search box and clicking OK.
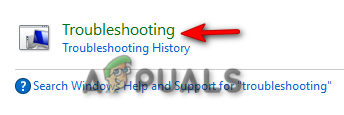
Opening the Control Panel - Type “Troubleshooting” in the search box in the top right corner and press the Enter Key.
- Open the Troubleshooting page by clicking on “Troubleshooting.”
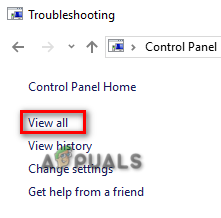
Opening the Troubleshooter - View all the troubleshooters for Windows by clicking on the “View all” option on the right.
Viewing All Troubleshooter - In the Name section, find and click on “System Maintenance.”
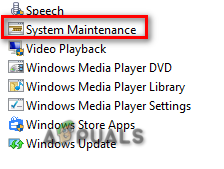
Opening System Maintenance - Run the System Maintenance Troubleshooter by clicking Next.

Initiating the System Maintenance Troubleshooting - After the troubleshooter detects the problem, it will make the necessary changes to repair the error. (This may need administrative permissions)
2. Change your User Profile
A reason why you are facing this error is because of a corrupted User Profile. Therefore, you must create a new User profile and be certain that your current User Profile is causing the error. Below we have given the steps for creating a new User Profile:
- Open the Windows Start Menu by pressing the Win key.
- Type “cmd” in the Windows Search box below.
- Run the command prompt as an administrator by right-clicking on it and selecting the”Run as an administrator” option.
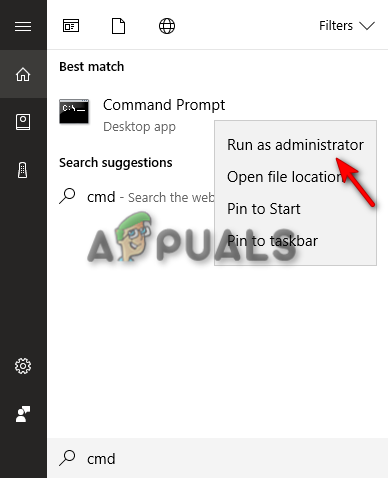
Running the Command Prompt as an administrator - Copy and paste the following commands into the Command Prompt and press the Enter key.
net user "account name" /add
(Type in a new account name as per your choice in "account name")
net localgroup administrators "account name" /add
(type the same name in "account name" as you did above)
- After switching the Account, close the Command Prompt Window and switch to the new user.
Check to see if the issue is resolved or not.
3. Turn off Game Mode
Game Mode is a built-in feature in Windows that allows a low-end system to perform well with large programs. However, it can cause issues with how the programs work, especially with the resolution of the program and thus causing it to minimize itself. Following the steps below, you will see how to turn off Game Mode on Windows:
- Open the Windows Settings by pressing the Win + I keys together.
- Open the Game Mode page by navigating to Gaming > Game Mode.
- Turn off Game mode by clicking on the Toggle Switch. under “Use Game Mode.”

Turning off Game Mode
4. Disable Windows Error Reporting Service
Windows Error Reporting is a Service that allows errors to be reported when a program stops working. However, this can interfere with how the programs work and cause such errors to occur. Therefore, you must disable this service before launching the program. You can do that by following the steps below:
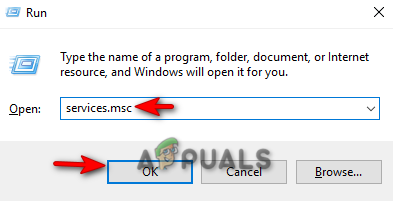
- Open the Windows Run Command by pressing the Win + R keys together.
- Open the Windows Services by typing “services.msc” in the search box and clicking OK.
Opening the Windows Services - Open the Windows Error Reporting Service Properties by right-clicking on it and selecting the “Properties” option.
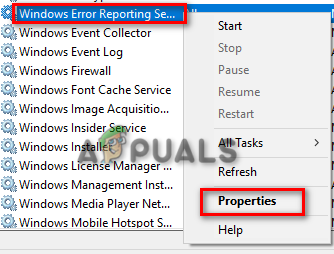
Opening Windows Error Reporting Service Properties - Disable the service by changing the startup type from “Manual ” to “Disable.
- Confirm the changes by clicking Apply and OK.
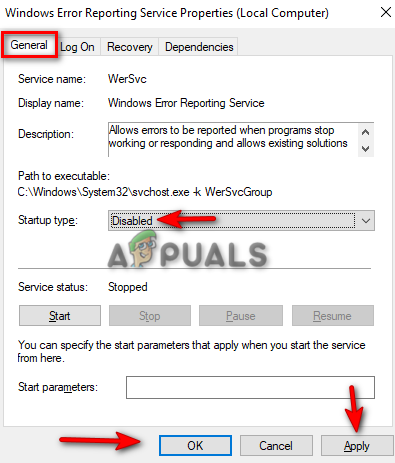
Disabling the Windows Error Reporting Service
5. Edit ForegroundLockTimeout Registry Key
Another method that will help you fix the error is editing the value of the ForegroundLockTimeout Registry Key. This Registry Key is in control of the length of time during which the applications are moved into the foreground by the system. Below are the steps to editing the value of the ForegroundLockTimeout Registry Key:
- Open the Windows Run Command by pressing the Win + R keys together.
- Open the Registry Editor by typing “regedit” in the search box and clicking OK.
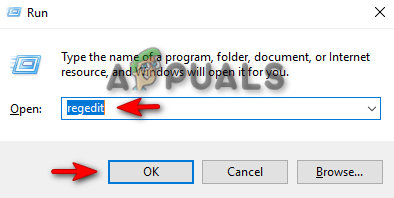
Opening the Registry Editor - Now, navigate to HKEY_CURRENT_USER > Control Panel > Desktop.
- Open the Value Editor by clicking on the ForegroundLockTimeout key on the right panel.
- Change the value under “Value data” from “0″ to “30d40” and click OK.

Changing Value Data of ForegroundLockTimeout
6. Update the Display Drivers
An outdated display driver is a major reason for the occurrence of this Error. Therefore, to ensure you don’t face this error, you must check for an available driver and install it on the system. These are steps that show you how to update your display driver:
- Open the Windows Run Command by pressing the Win + R keys together.
- Open the device manager by typing “devmgmt.msc” in the search box and clicking OK.
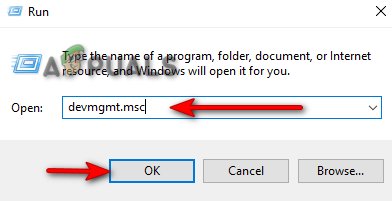
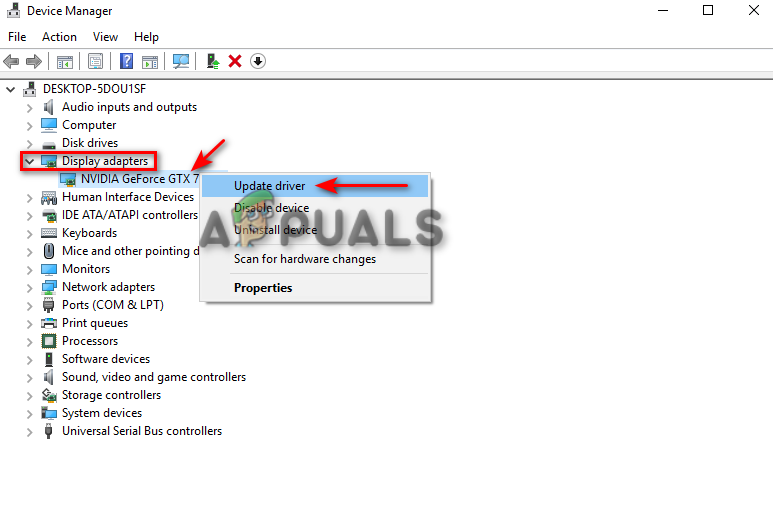
Opening the Device Manager - View the Installed Driver on your system by clicking on the Display adapters option.
- Check for an available update by right-clicking on the installed Display Driver.
- To update the Display Driver, click on the Update driver option.
Updating the Display Driver - Select the method of an update as per your preference.
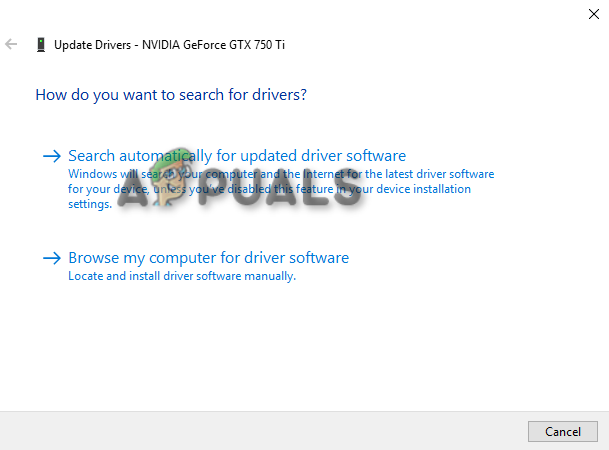
Selecting the Driver Updating method - Once the Driver has been updated, restart your computer to make the necessary changes.
7. Update to the Latest Version of Windows
Another reason why your programs are minimized randomly is because of outdated Windows. An outdated Windows tends to perform such activities therefore, you must update your Windows to the latest version by following the steps we have listed below:
- Open the Windows Settings by pressing the Win + I keys together.
- Check for an available update by navigating to Windows Update and Security > Windows Security and clicking on the “Check for Updates” option.
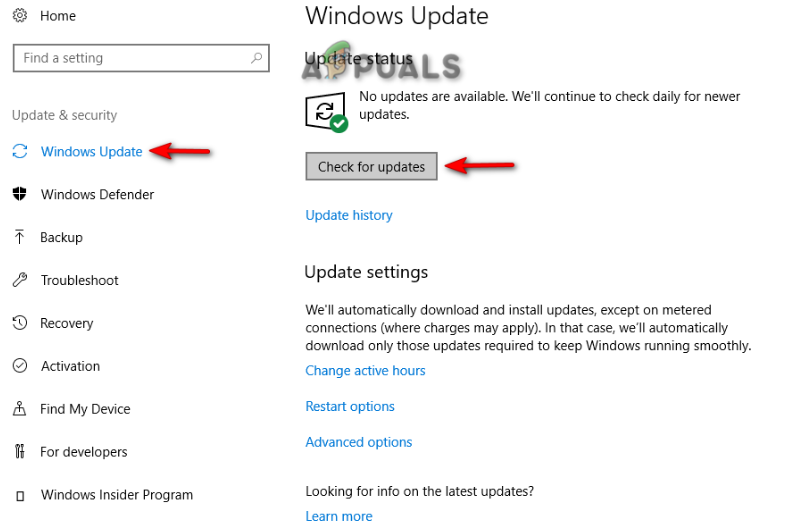
Checking an available Windows Update - Click the Download option to download the latest Windows update.
- Restart your computer after updating to the latest version of Windows.
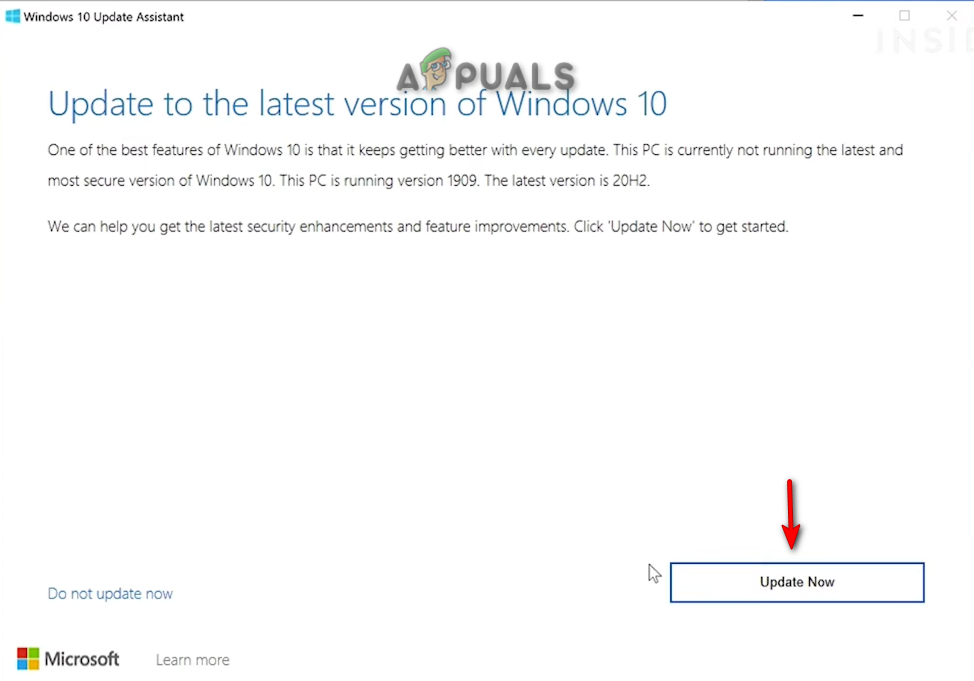
Note: If Windows doesn’t notify you about an available update, you must proceed to manually download and install the latest Windows Update. You can do that by following the steps below:
- Go to the Official Microsoft Web Page.
- To download the latest Windows Update, click on the “Update Now” option.

Downloading the Latest Windows Update - To Install the update, click on the “Update Now” option.
Installing Windows Update - Click on the Restart option after the installation is completed.

Restarting the Computer
8. Run the System Scans
Corrupted system files are also one of the reasons why you are facing this error. This corruption prevents the programs from working properly. Therefore, to make sure that your files are not corrupted, you must perform System Scans that will detect and repair the error found in the system files. Following the steps below, you will see how to repair damaged files through system scans:
- Open the Windows Start Menu by pressing the Win key.
- Type “cmd” in the Windows Search bar.
- Run the command prompt as an administrator by right-clicking on it and selecting the”Run as an administrator” option.
Running the Command Prompt as an administrator. - Type the following command in the Command Prompt while giving a space between “sfc” and “/.”
sfc /scannow
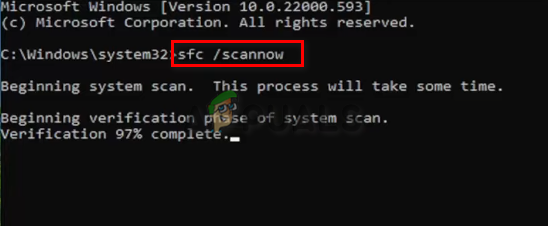
Running system file checker on the command prompt. - After scanning your System, the file checker will automatically repair the damaged files.
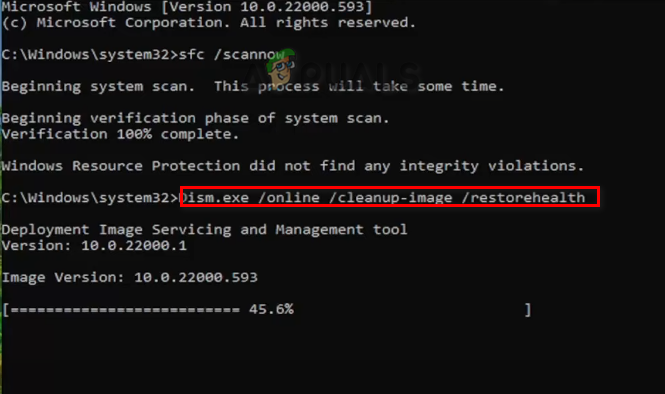
Note: After the System File Checker has scanned the damaged files, you must run the DISM Command. Follow the steps below to run the DISM Command:
- To run the DISM command, Paste the following command into the command prompt.
Dism.exe /online /cleanup-image /restorehealth
Running DISM Command on the Command Prompt - Restart your computer and make the required changes.
9. Run the System on Safe Mode
If the error still occurs in a Normal State, then you must test the system on Safe Mode. When booting on Safe Mode, the system starts with default programs and a minimal set of drivers. This mode will help you find the problem in the system. You can run the system on Safe Mode as shown below:
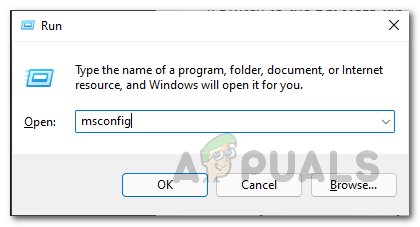
- Open the Run Command by pressing the Win + R keys together.
- Open System Configuration by typing “msconfig” in the search box and clicking OK.
Opening System Configuration - Open the Boot tab and check the “Safe Mode” box.
- Click on “Minimal” under Safe Mode.
- Set the timer as per your choice and Click Apply and OK.
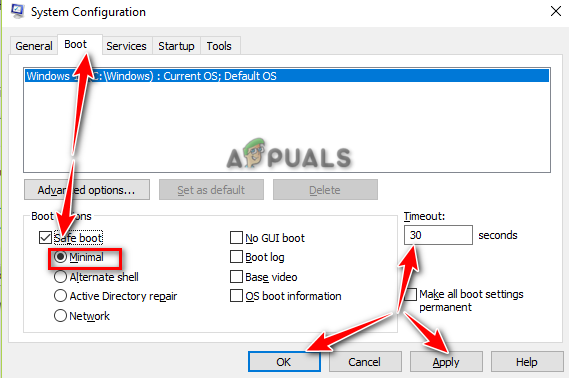
Booting System on Safe Mode - Restart your computer by selecting the “Restart” option on the System Configuration Prompt.

Restarting computer
Note: You must follow the method below if the error doesn’t occur in Safe Mode:
10. Perform a Clean Boot
If the error still persists, then you must Perform a Clean Boot on your system. Doing so will start your system on a minimal set of drivers and startup programs. But do note that during this process you must make a backup copy of your files on the system in case your data gets deleted.


