Using Virtual Media Manager in Oracle VM VirtualBox
In the previous few articles, we talked about how to create virtual machines, import/export VMs, move VMs to new location and much more.
In this article, we walk you through the Virtual Media Manager, the tool that is integrated into the Oracle VM VirtualBox and that can be used to configure virtual hard disks, optical drives and floppy disks.
- Login into Windows 10
- Open Oracle VM VirtualBox
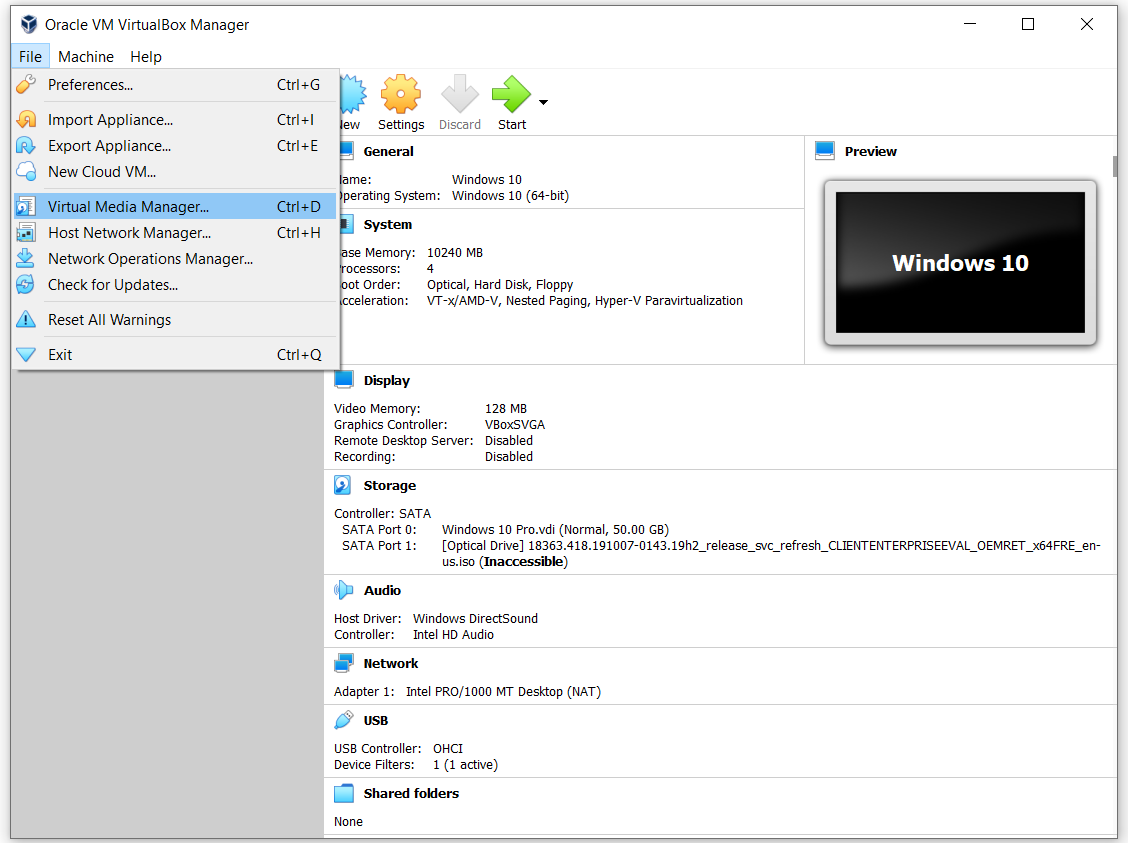
- Right click on the File in the Main Menu and then open Virtual Media Manager. You can also do it by pressing CTRL + D keys on the keyboard.
You have opened the Virtual Media Manager. If you hover over the Medium in the Main Menu you will see different options that are related to one of three options including Hard disks, Optical disks and Floppy disks. The options that are available in the Medium are also available in the toolbar.
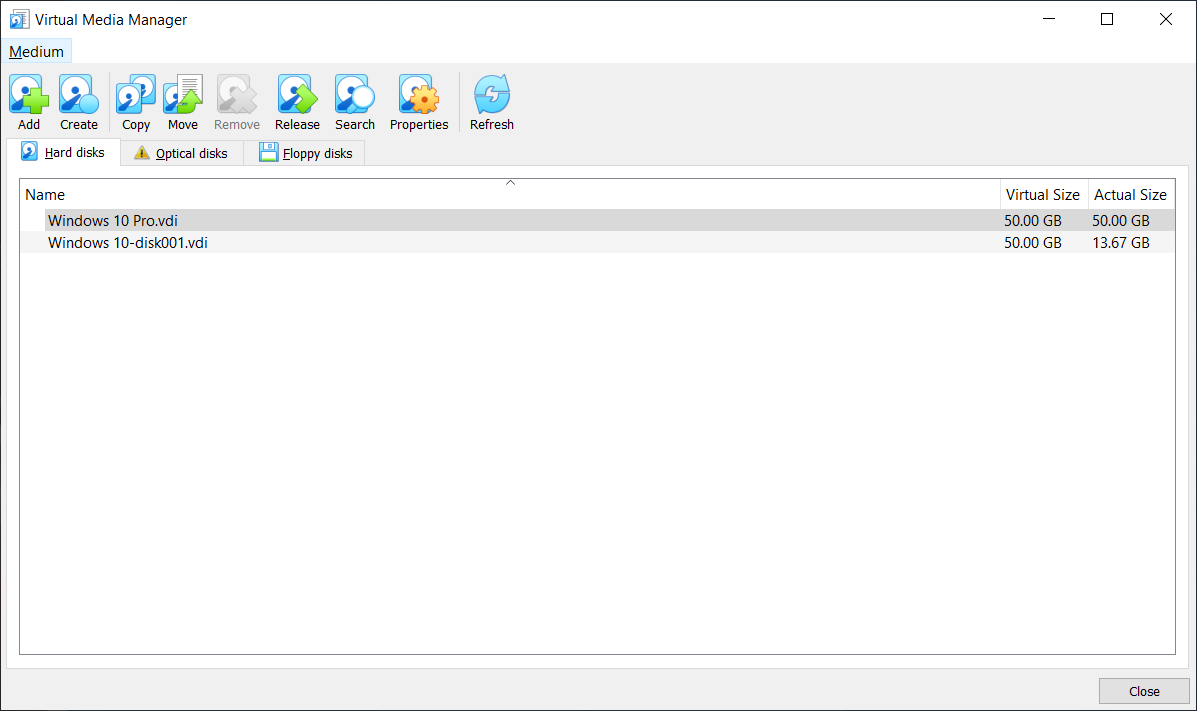
The Hard disks will show all virtual hard disks and associated options in the toolbar. It includes the following options:
- Add – add the virtual hard disk into Virtual Media Manager. This includes the disks that are previously created, but not associated with any of the virtual machines.
- Create – create new virtual hard disks. You will need to do the same procedure once you start the creation of the new virtual machine. There are three file types including VDI, VHD and VMDK. We already explained how to create a new virtual machine and assign the virtual hard disk.
- Copy – copy the virtual hard disk and create the new virtual hard disk based on the cloned hard disk
- Move – move the virtual hard disk to a new location. You can read more on this link Move virtual machine in the Oracle VM VirtualBox
- Remove – remove the virtual hard disk from the Virtual Media Manager. You can do it only if the virtual hard disk is detached from the virtual machine. You can read more on this page Remove the virtual machine from the Oracle VM VirtualBox
- Release – release or detach the virtual hard disk from the virtual machine. Once you do that, the virtual machine will not be able to start again.
- Search – search the virtual hard disk in the Virtual Media Manager
- Properties – check the properties of the virtual hard disk and change the disk size based on your needs
- Refresh – refresh the Virtual Media Manager
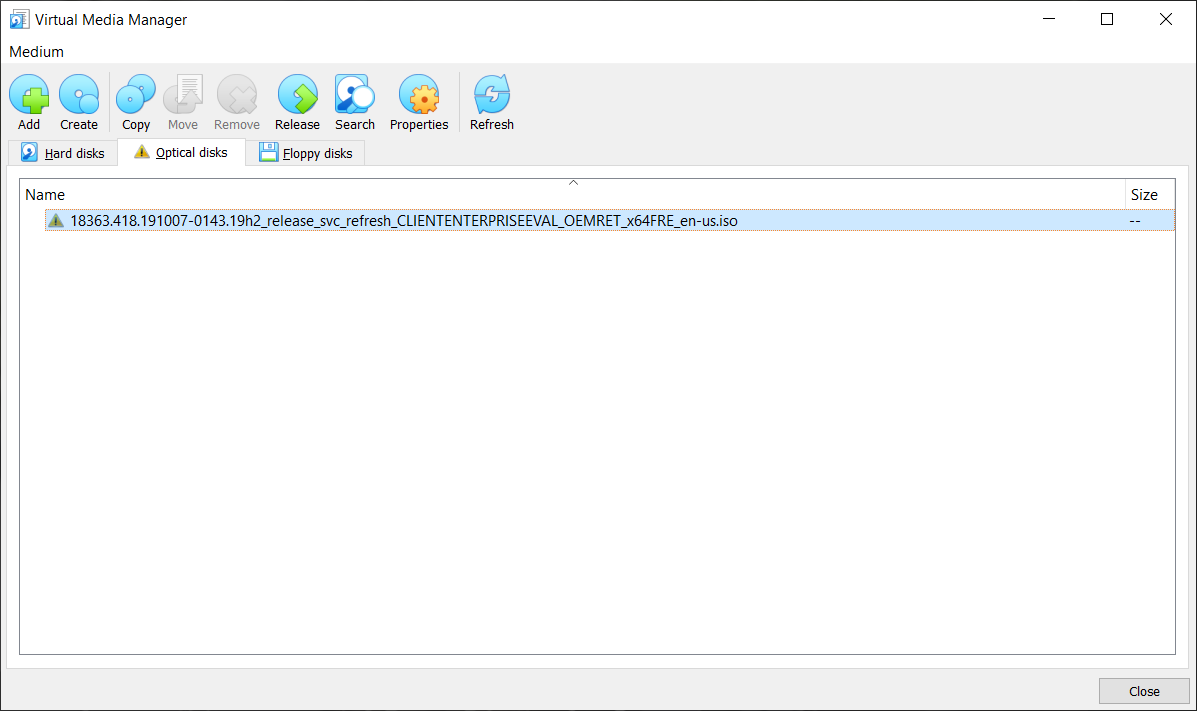
If you click on the Optical disks you will see all attached optical drives or .ISO files associated with virtual machines. In the toolbar, you have the same options as the options available for hard disks. The only difference is that they are used for the optical disks (create a new optical drive, copy the virtual drive and others).
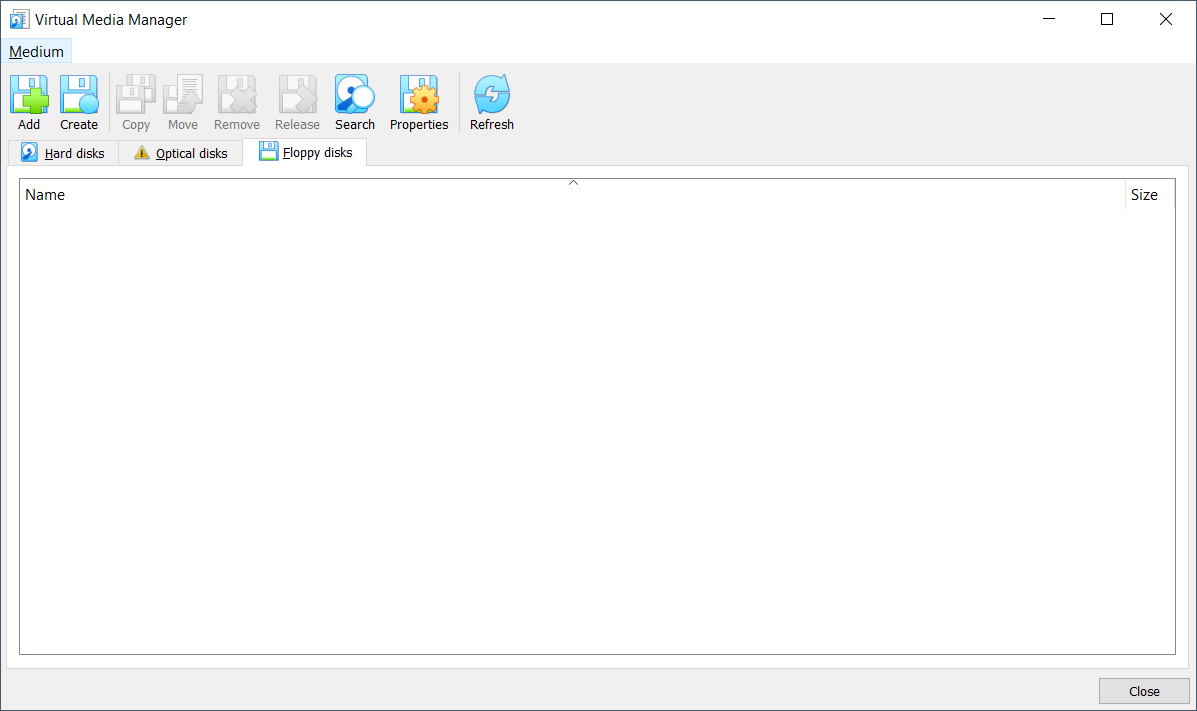
If you click on the Floppy disks, you will see all the floppy disks associated with the virtual machine. As floppy disks are not really used anymore, you will not see them so often. In the toolbar, you have the same options as the options available for hard disks. The only difference is that they are used for the floppy disks (create a new floppy disk, copy the floppy disks).


I had to roll back to a previous version of VirtualBox. From 6.1.38 to 6.1.34. On the most recent version, none of my VM’s would start after I resized a drive with virtual media manager. I was getting the following error:
Result Code: NS_ERROR_FAILURE (0x80004005)
Component: MachineWrap
Interface: IMachine {85632c68-b5bb-4316-a900-5eb28d3413df}
However, the previous version worked fine. I got into the Windows 10 VM (Ubuntu Linux 21.10 host) and partitioned the drives to match the virtual size.