How to Use Multiple Gmail Accounts at the Same Time?
Whether it be for school, work, or due to some unfortunate circumstances (plenty of people out there with embarrassingly silly or unprofessional primary email addresses), almost every person finds themselves in possession of an additional email account at some point in their lives. This additional email account needs to be monitored, managed, and used at the same time as your primary email address. As long as the two email accounts are with different email services, you’re good. However, a clear problem takes form when both email accounts are registered with the same provider – say, Gmail. What do you do then?

Had it been any other email service, you would have been doomed to using only one of your email accounts at a time. However, thankfully, there are a number of different ways you can use two (or more) Gmail accounts at the same time. It is possible to have all of your Gmail accounts logged in and operational on a single instance of an internet browser. Or, you could also use multiple Gmail accounts at the same time without ever opening an internet browser, if that’s more your style.
Option 1: Use Google’s Stock Account Switcher
Google recognizes that most of its user-base has to use more than one email account on a daily basis. Seeing as how ease of use is one of Gmail’s top priorities, Google promptly made it possible for multiple Google accounts to be used with Gmail (and other Google apps) simultaneously. This is accomplished using an account switcher integrated into Gmail and all other Google web apps.
- On an internet browser of your choice, make your way to Gmail.
- If you are not signed in to any of your Gmail accounts, you will be redirected to the Google Accounts page. Sign in to one of your Gmail accounts. Be warned – the Gmail account you sign in with here will become your default Google account for the browser you’re using. Your default Google account can always be changed later on, but if you have, for example, a personal Gmail account and a Gmail account for school, it would be best to proceed with your personal account as your default account from the get-go. If you are already signed in to one of your Gmail accounts, you will be taken directly to Gmail and may, therefore, skip this step.
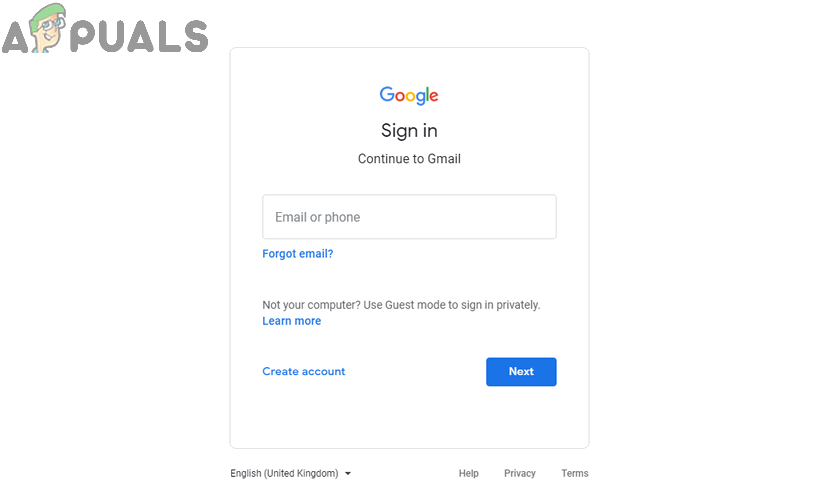
Sign in to your primary Gmail account on the Google Accounts page - In the top-right corner of your screen, click on the Profile icon (represented by your Gmail account’s profile picture).
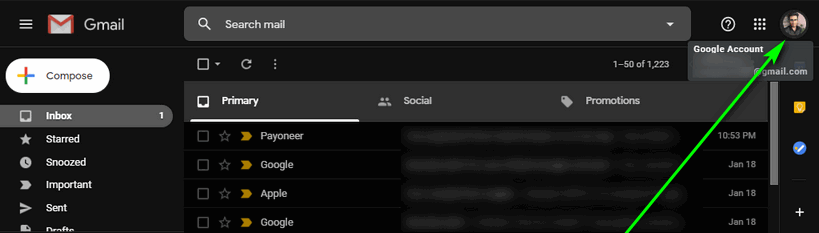
Click on the Profile icon - Click on Add another account.
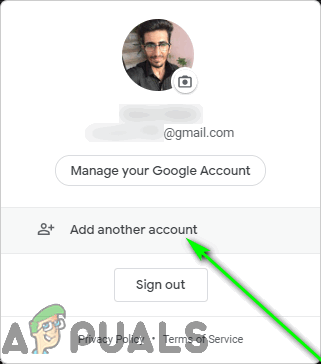
Click on Add another account - Sign in to the Gmail account you want to use in congruence with the account(s) you’re already signed in to.
Sign in to the other Gmail account you want to use simultaneously - Repeat steps 3–5 for any other Gmail accounts you want to add to this array.
- Once you’re signed in to all of the Gmail accounts you want to use concurrently, each of them will be active and operational within the same browser window. Regardless of which Gmail account you’re currently using, click on the Profile icon in the top-right corner of your screen, and click on one of your Gmail accounts to have its inbox opened in a new browser tab.
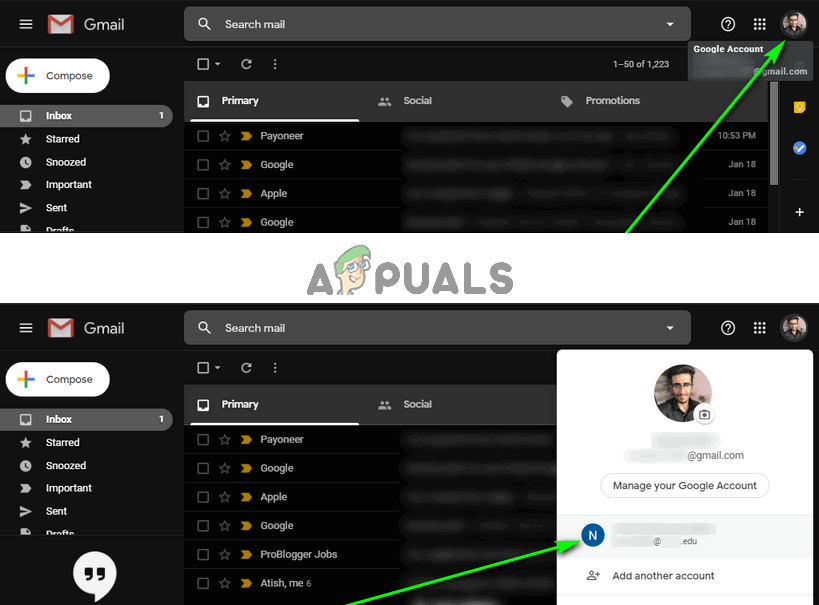
Click on the Profile icon and then on the desired Gmail account
This option allows you to sign in to as many Gmail accounts as you like at the same time, and you can have however many accounts you want open, side by side, in different browser tabs. Users can also access their various Gmail accounts directly via their URLs. Gmail assigns numbers to the inboxes for each of your Gmail accounts in the order you sign in to them, and the URL for each inbox differs by one number. The URL allocated to the inbox of the first Gmail account you sign in to (your default account) is https://mail.google.com/mail/u/0, the URL allocated to the inbox of the second Gmail account you sign in to is https://mail.google.com/mail/u/1, and so on.
Option 2: Use the Checker Plus for Gmail Chrome extension
Checker Plus for Gmail is a third-party extension available for Google Chrome that’s designed to keep all of your Gmail accounts organized, operational, and one click away. Checker Plus for Gmail is free and currently used by over one million people, although it is available exclusively to Google Chrome users. There is no limit to the number of Gmail accounts you can use simultaneously through Checker Plus for Gmail. To use multiple Gmail accounts at the same time with Checker Plus for Gmail, you need to:
- Launch Google Chrome.
- Make your way to the official Chrome Web Store page for Checker Plus for Gmail.
- Click on Add to Chrome.
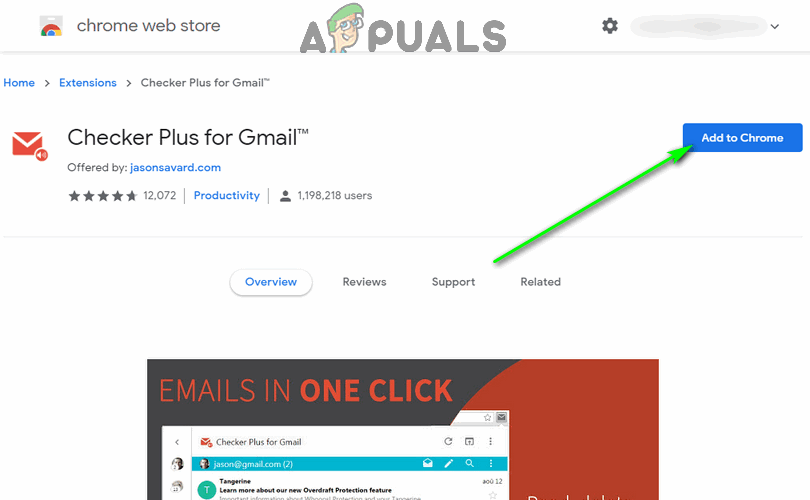
Click on Add to Chrome - In the resulting dialog, click on Add extension to confirm the action.
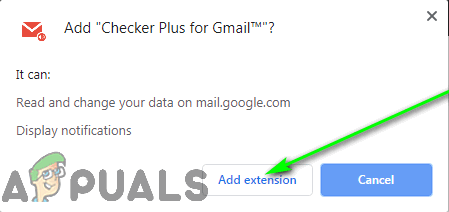
Click on Add extension in the resulting dialog - Wait for Checker Plus for Gmail to be downloaded and installed.
- When the extension is installed, it will automatically sign in to any and all Gmail accounts you are currently signed in to on Google Chrome. If you would like to add another Gmail account to the extension, simply add that account to your Gmail accounts on Google Chrome, and the new account will be synced to the extension in under a minute. Those who would prefer to add Gmail accounts to the extension manually can right-click on the extension in the Google Chrome toolbar or the Chrome menu, click on Options, navigate to the Accounts/Labels tab, and switch to the Add accounts and stay signed in option.
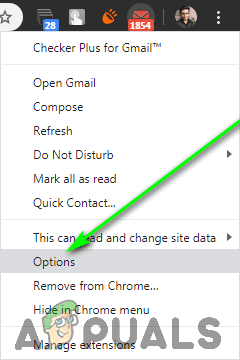
Click on Options in the context menu 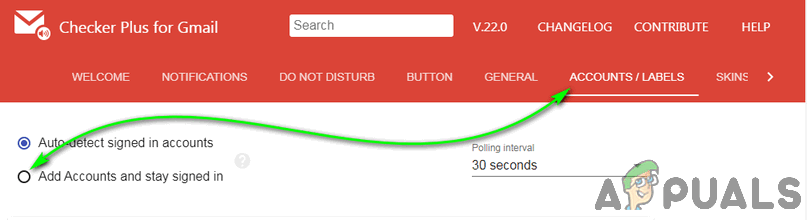
Navigate to the Accounts’Labels tab and check the box next to the “Add accounts and stay signed in” option - Once you have all of your desired accounts configured into Checker Plus for Gmail, you’re good to go! Not only will the extension display notifications for new emails received on all of your accounts, you can also click on the extension in the Google Chrome toolbar or the Chrome menu to view all of the inboxes for every one of your Gmail accounts. You can switch between different accounts by clicking on their respective icons in the left pane of the Checker Plus for Gmail extension window.
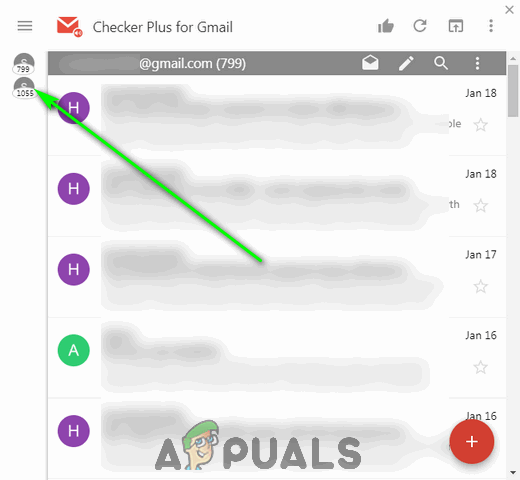
Switch to a different account by clicking on its respective icon in the left pane
You can view entire email chains, reply to emails you receive, and compose new emails, all from within Checker Plus for Gmail’s extension window. Checker Plus for Gmail displays a stripped-down version of Gmail’s Mobile interface, so users also enjoy faster load times when using the extension as opposed to using Gmail on a browser.
Option 3: Use Shift – an account management program
Shift is a desktop application designed specifically to house all of your accounts and productivity apps under one roof. The process is pretty simple – you can add everything from your Gmail account and other email accounts to your Evernote, Twitter, and Slack to Shift. Shift keeps all of the accounts and apps you add organized for you. You can access Shift directly from your desktop, and you can access all of the accounts and apps you’ve connected to Shift from within the desktop application – no internet browsers involved! Shift provides the full web experience for Gmail and all other web apps, so there are no compromises to be made.
- On an internet browser of your choice, make your way to the official Shift website.
- Click on the Download Now button.
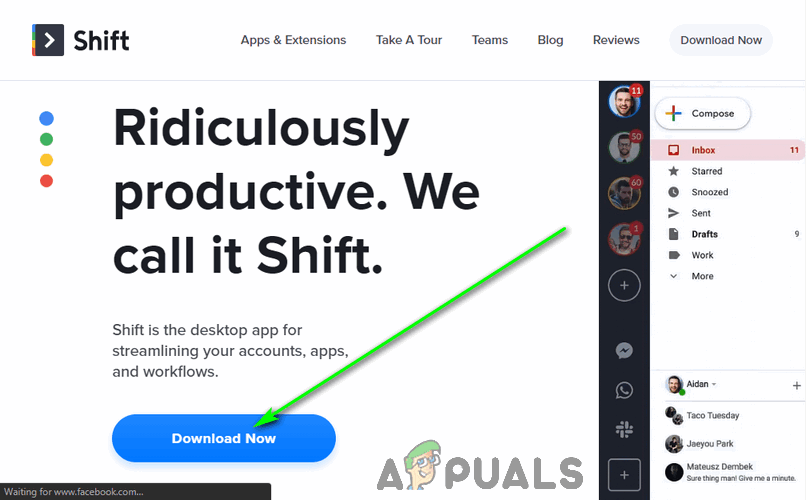
Click on the Download Now button - Wait for the download to start.
- Once the installer for Shift has been downloaded, navigate to where it was downloaded to, locate the executable (.exe) file, and double-click on it to run it.
- Follow the onscreen prompts and instructions to install the program on youir computer.
- Once Shift has been successfully installed on your computer, exit the installer and launch the app.
- Add the Gmail accounts you want to use simultaneously to Shift.
- Once you have signed in to the Gmail accounts you want to use, you will have both at your disposal at the same time via Shift. To switch to a specific Gmail account, simply click on its profile picture in the left pane of the Shift window.
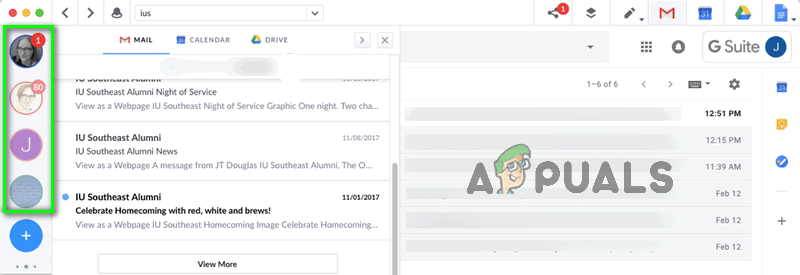
Click on its profile picture in the left pane to switch to a specific Gmail account
Shift lets you simultaneously sign in to up to two Gmail accounts without having to pay for the Pro plan (starting at $29.99 a year), with one caveat – any emails you send using Shift while on the Basic plan will have Shift branding. Shift is currently available for Windows, MacOS, and Linux.