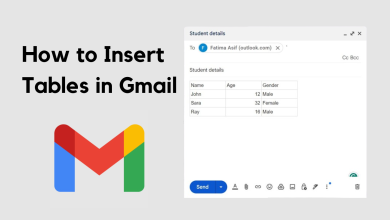
How to Block or Unsubscribe Email Addresses on Gmail?
Gmail has, by default, several filters that try to send any spam emails into the Spam folder. This helps in keeping your Inbox folder clean and relevant. However, despite these filters, many unimportant emails can still slip by. In this article, we will show you how to block emails on Gmail and eliminate unwanted culprits.

You have several options in these scenarios. You can block spam emails, unsubscribe from automated messages, and create filters that will do the job for you. Blocking senders on Gmail is the perfect way of keeping unwanted emails out of your Inbox. With that in mind, let us start immediately and take you through the procedures step-by-step.
1. Block Emails on a PC
If you wish to stop getting emails from a specific email address, the obvious option would be to block the sender. Once you block an email address, you will not be receiving any emails from the sender in your Inbox. This process is relatively easy as it takes only a few clicks. Follow the instructions down below to do this:
- First of all, you will have to log in to your Gmail account. Therefore, open up Gmail and sign into your account.
- After logging in, locate the email from the sender that you wish to block.
- Upon locating the email, open it up.
- At the top-right corner of the email, click on the Menu button (three dots).
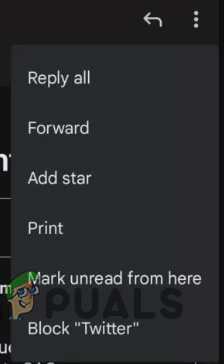
- From the drop-down menu, click on the Block “X” option. Once you do that, you will no longer receive emails from the respective sender.

Blocking Email Account on PC
2. Block Emails on your Phone
In case you are not near a computer or one is unavailable, you can use the Gmail app on your phone to block someone on Gmail. The process remains the same for both iOS and Android. Let us start with the step-by-step instructions right away:
- To start, open up the Gmail app on your phone. If you are on an iPhone, you might have to download the app from the Apple Store in case you do not have it.
- Log in to your Gmail account once the app is up.
- Now, locate an email from the sender you want to block and tap on it to open it up.
- After that, right next to the sender’s info, tap on the Menu button (three dots).
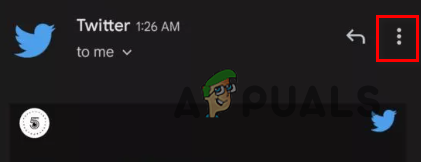
Gmail Menu Button - From the drop-down menu, tap on the Block “X” option. With that, you have blocked the sender successfully.
Blocking Email Account on Phone
3. Unsubscribe from Automated Emails
We have all been on the list of mass emails at one point or the other. This is something that we all do, intentionally or unintentionally. However, everyone should know how to get out of this list and stop getting mass emails from a publisher or a company.
You can save yourself from constantly deleting these emails by unsubscribing from the email list. Once you do that, you will no longer receive mass emails from that specific sender. As it turns out, unsubscribing is something that can be done to mass emails and not a one-time email. With that in mind, we will divide this process into two parts so you can follow it on a PC or your phone.
3.1 Unsubscribe on a PC
To unsubscribe from mass emails on your computer, follow the instructions down below:
- First, open up the Gmail website and log in to your account.
- Then, open up the email that you wish to unsubscribe from.
- Next to the sender’s info, you will see the Unsubscribe option, which is underlined.
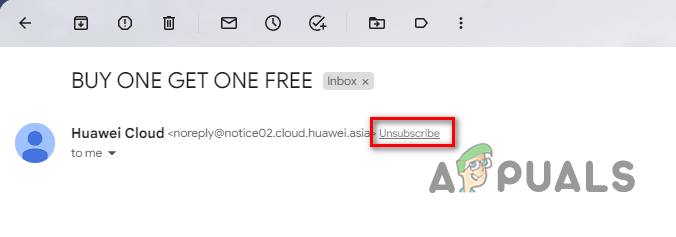
Unsubscribing from Email List - Click on the Unsubscribe option to stop receiving such emails.
- In some cases, you will find the Unsubscribe option at the end of the email. Should you not see it next to the sender’s info, the bottom of the email is where you should look next.
3.2 Unsubscribe on your Phone
Follow the below instructions to unsubscribe from mass emails on your smartphone:
- Open up the Gmail app on your phone and ensure you are signed in.
- After that, open up a mass email from your Inbox.
- At the bottom of the email, you will see an Unsubscribe option.
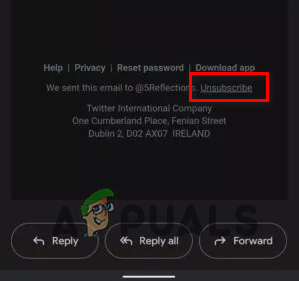
Unsubscribing from Email List on Phone - Tap on it and follow any on-screen instructions to unsubscribe from the email list.
4. Create Filters to Remove Emails
If you wish to automatically delete emails that meet specific criteria, then filters are your go-to option. As it turns out, the above methods do not delete any emails for you. Instead, you stop receiving emails from certain accounts in your Gmail inbox. In case you are looking for more control over your inbox folder, filters are what you should be using.
Filters can be very powerful, depending on how you set them up. These are rules that you create to automate tasks. Among the various options, you have the ability to delete emails that meet your criteria, mark them essential, or do a bunch of other stuff. Let us explore these options by following the instructions down below:
- First, visit the Gmail website on your computer and log in to your account.
- Click on the Settings option (gear icon) at the top-right corner.

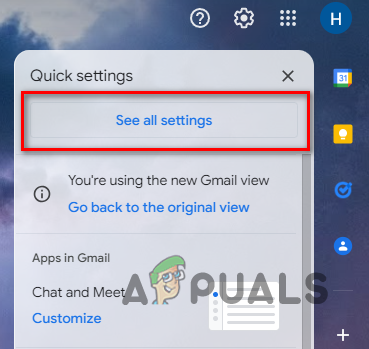
Gmail Settings Icon - From the menu that appears, click on the See all settings button.
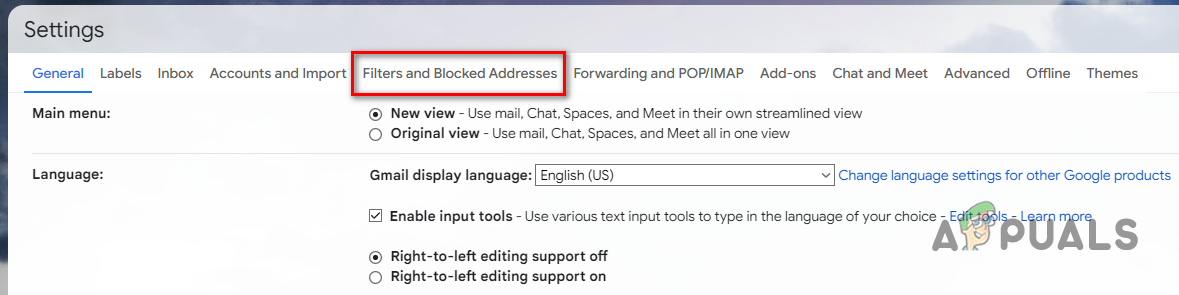
Navigating to Gmail Settings - Now, switch to the Filters and Blocked Addresses tab on the Settings page.
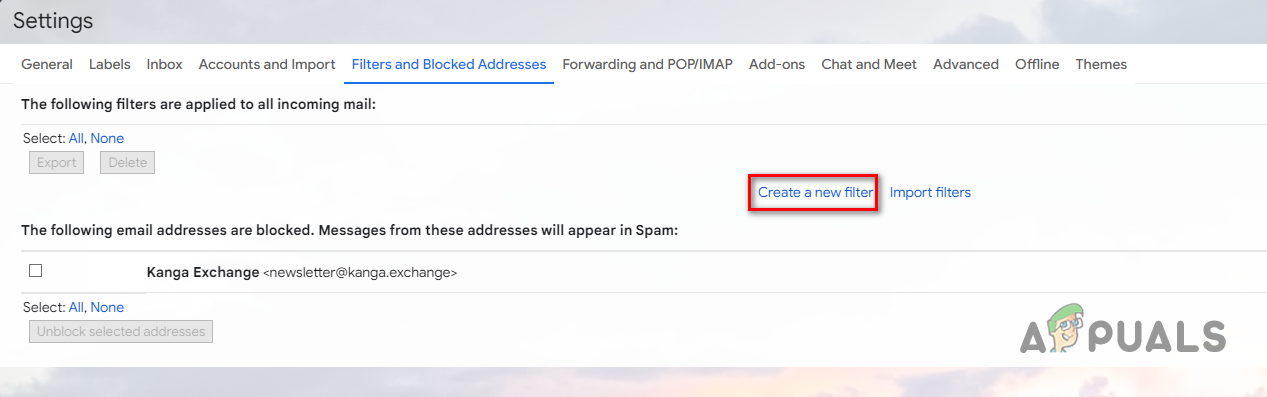
Switching to Filter and Blocked Addresses Tab - To create a new filter, click the Create a new filter option.
Creating a New Filter - On the dialog box that appears, you will see several options that include features like Has the words, From, Subject, and much more.
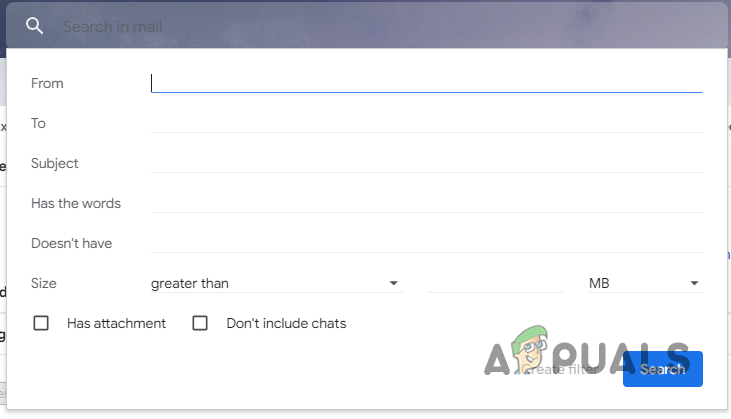
Configuring a New Filter - Fill out the form to your requirements and then click the Create filter button.
- Once you do that, you will have to choose what happens when an email meets your filter.
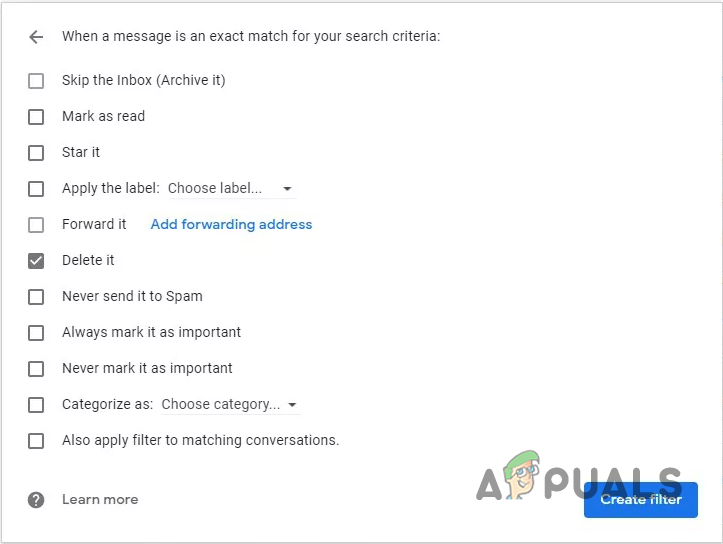
Filter Actions - Finally, click the Create filter button again to finish up. You now have a working filter that will automate tasks for you.