How to Create Rules in Gmail
Rules are basically the filters that you can apply on your Gmail. These filters help you keep the emails and everything in your account in place. It helps you keep all the unnecessary emails out of your way. For example, adding these rules/filters will help you categorize the important email senders, the scammers and other non-professional emails. Instead of you manually filtering your email, you can now add rules/filters which will do this for you. Filters also automatically mark your emails with a star if it is important for you and delete the ones which is not, according to the filter that you have created.
Here is how you can make a filter for your Gmail account.
- Sign in to your Gmail account. This is your home page. Locate the search bar right the top of this page which says ‘Search Mail’.
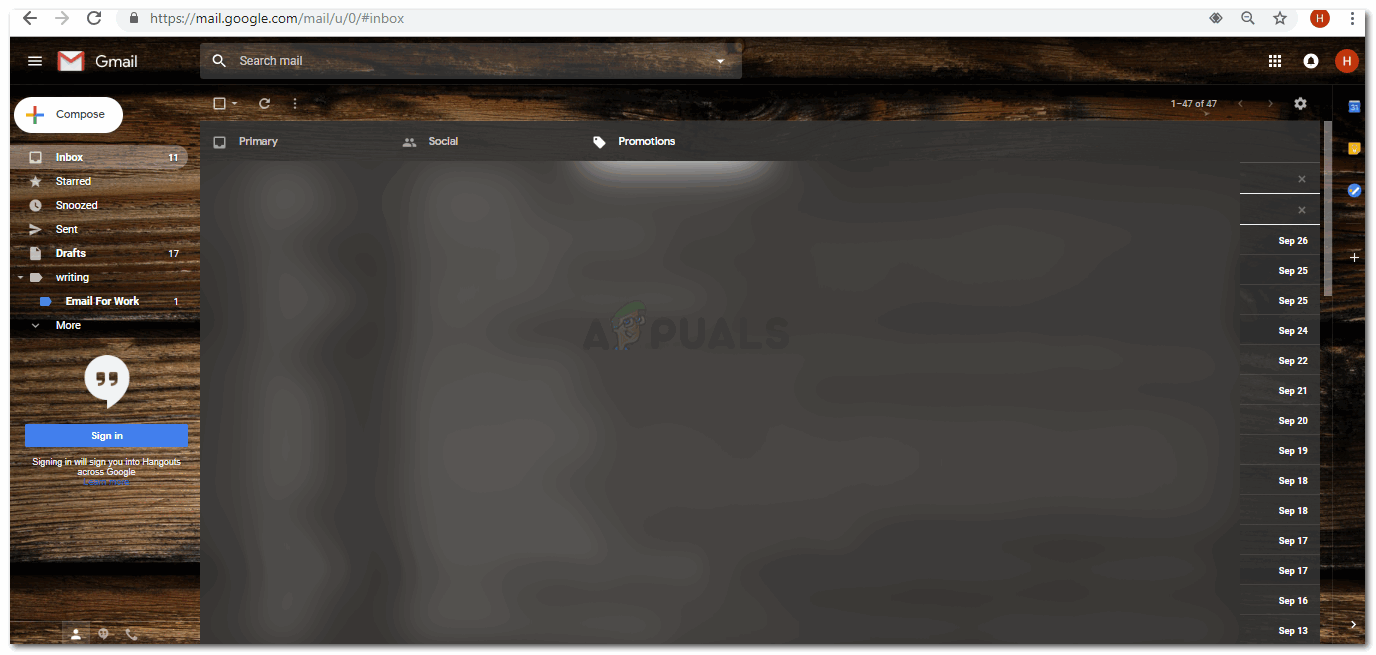
Start from your Gmail homepage. - Click on the arrow which is at the end of this search bar.

The search mail bar is right at the top, where you have to click on the arrow to be directed to more details about a filter - These are all the details that you need to fill to create a filter or to search for an email. These details help you so that you can accurately find what you are looking for.
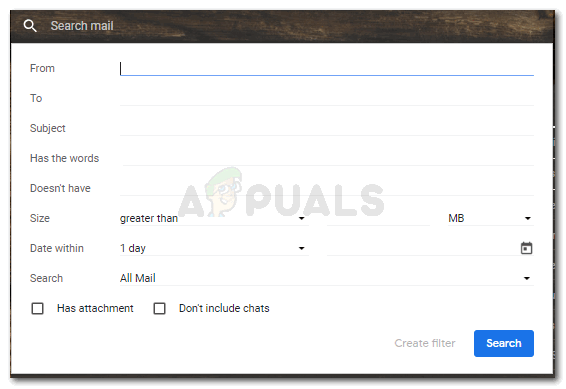
fill in the gaps that needs to be filled to create a filter. - Now after I have added all the details, and if I am only doing this to find an email, I will click on search.
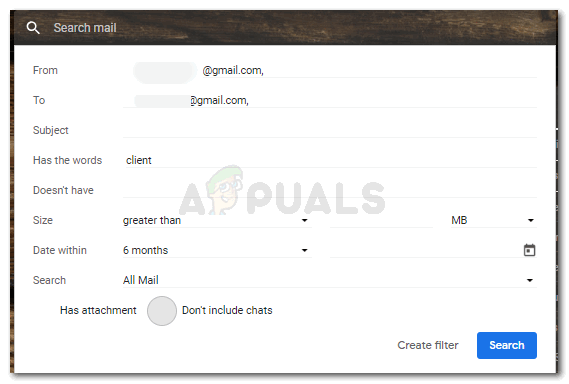
adding the details on this window will make your search much easier and direct. But if I want to create a filter out of these details, I will click on the tab for ‘Create Filter’.
- Clicking on ‘Create Filter’ will bring me all the options of actions that I want my filter to take. From skipping the inbox, star the email as important, sending it to a certain label, deleting it and even sending it to the spam folder.I can choose what I want this certain filter to do and it will follow the instructions every time it finds an email from this certain email ID.
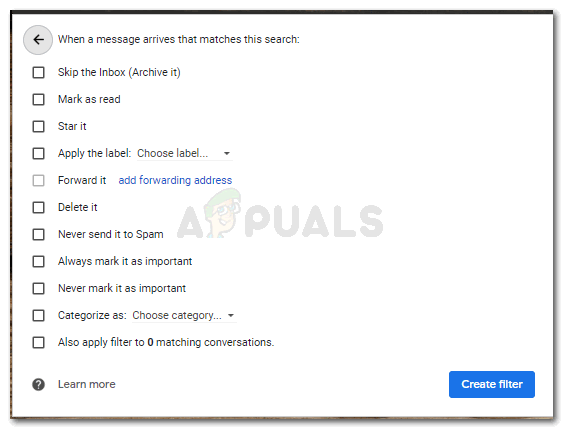
the actions/features that I want my filter to have. You can select more than one action for your filter. - You can choose more than one function for this filter. This will help you sort your emails easily.
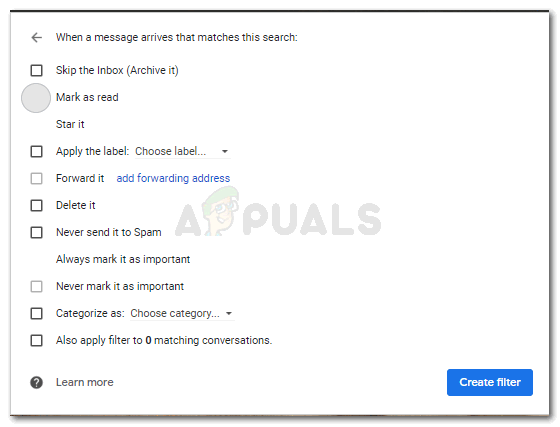
I selected more than one. And this is how the icon for the options I selected changed - Click on Create Filter now to finally create the filter. Your filter has been created. Now every time that you get an email from that specific email, the email will automatically get filtered and go to the assigned label/folder automatically.
Now the steps above show how you can make a filter for a specific email ID. You can also make filters in a slightly different way. Where the steps are the same, but you only skip the the step where you add an email ID.
Let’s say I want to create a filter for all the emails I send to myself. So I will:
- Go to the Search Email bar on my Gmail account and click the arrow button.
Instead of adding the email addresses of the recipients, you can add the other details like Subject or has the words to finally create a filter for all the emails and not just for a specific email address.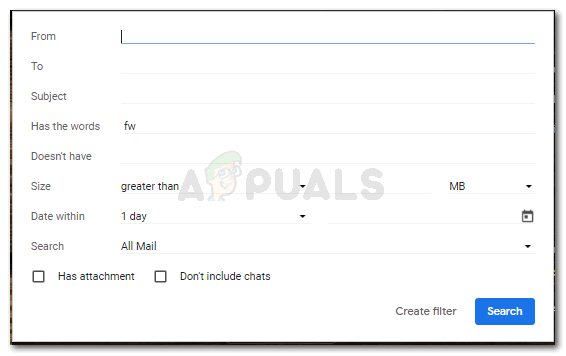
Create the filter - Click Create Filter, check the actions you want this filter to take automatically once they find email based on the criteria that you just entered, click on Create Filter again, and your filter has been created.
There is not limit for filters. You can make as many as you like. It helps you keep your Gmail less messy.
If you are not happy with a filter, or have given the wrong criteria for a certain filter, you can delete it.
- Go to the setting icon, and click on settings from the options that appear.
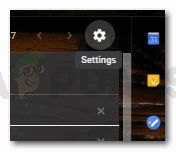
The Settings Icon 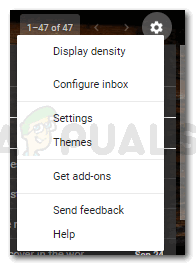
Click on settings again. - Click on the ‘Filters and Blocked Addresses’ as shown in the picture below. The filters that you created will appear here. You can edit it from the same place, you can delete it, you can also create new filters from the ‘create filter’ tab that has been highlighted in the following picture. By editing, you can change the functions of the filters that you have already created. This is a better idea than deleting the filter and creating it from the scratch all over again.
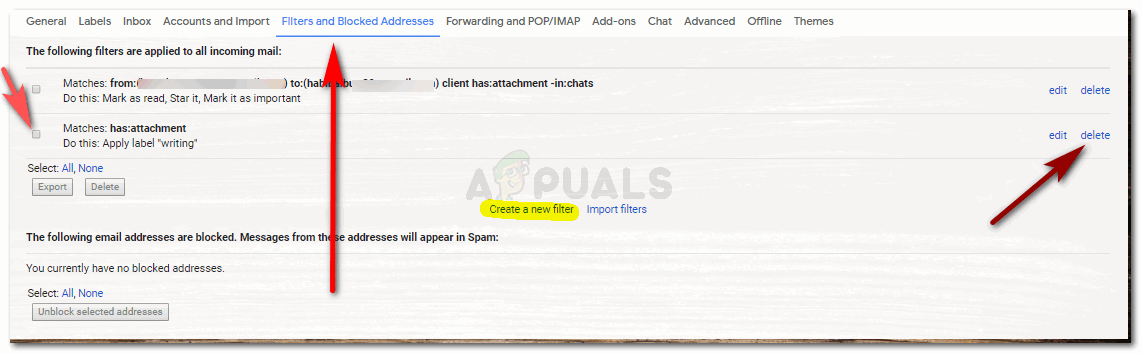
Filters and Block Addresses : where you can edit, delete and create new filters. 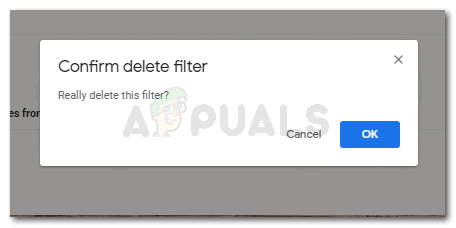
Deleting a filter for Gmail
So use as many filters as you like, and make these filter manage your Gmail account automatically saving you a lot of time.