Fix: Unable to Change Drive where New Apps will Save to in Store
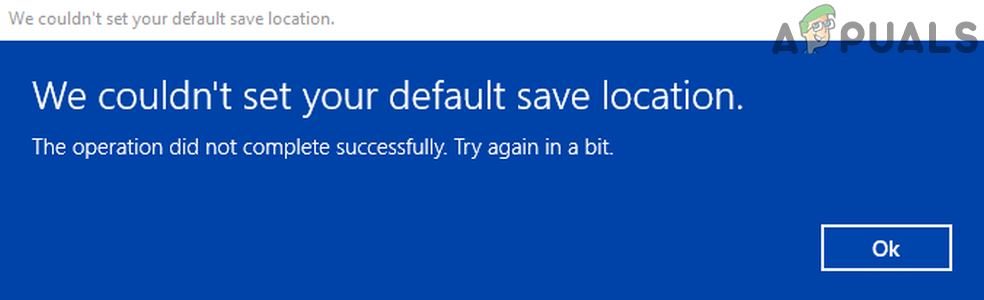
You may fail to change where the new Microsoft Store apps will save if the target drive is encrypted or compressed. Moreover, the issue also occurs if the group policy/registry of your system bars you from changing the path.
The user encounters the issue when he fails to change the default save location for the new Microsoft Store apps. For some of the users, the New Apps will save to dropbox does not have the target drive, or the said option is greyed out. In some cases, where users were able to set the path to the target drive, the Store kept on using the path to the C drive (not on the target drive).
Before moving on with the solutions to change default storage, check if restarting the system solves the issue. Moreover, check if your disk is fast enough to hold the Store Apps. Last but not least, make sure to update the Windows of your system to the latest build.
Solution 1: Use the PowerShell to Remove the Target Drive
You may encounter the error under discussion if the target drive was previously used for Microsoft Store apps installation. In this scenario, removing the target drive from the Microsoft Store “memory” may solve the problem.
- Right-click on the Windows button and choose Windows PowerShell (Admin).
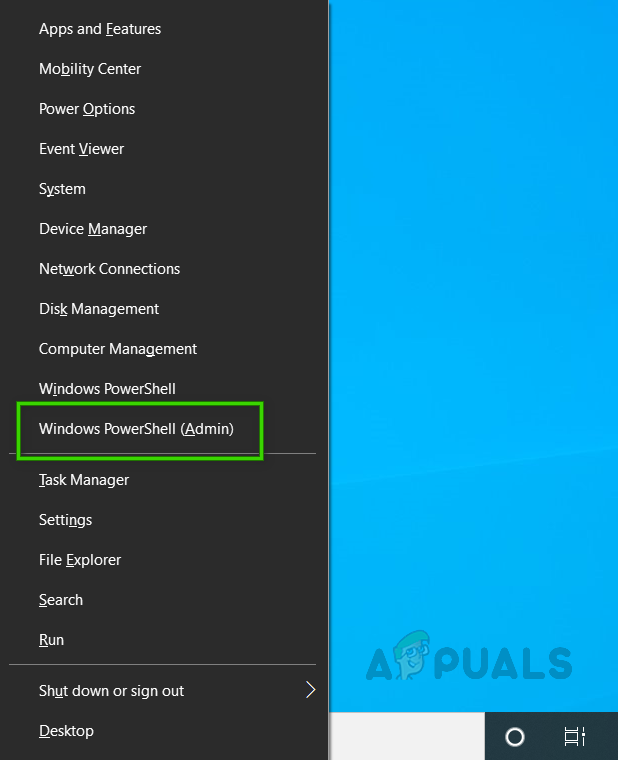
Opening Windows PowerShell (Admin) - Now execute the following:
remove-appxvolume d:
(d: drive letter of your target drive)
- Then reboot your PC & upon reboot, check if the Microsoft Store apps issue is resolved.
Solution 2: Change the Group Policy
You may encounter the error at hand if the group policy of your system bars it from installing Windows apps to a non-system volume. In this case, disabling the said policy may solve the problem.
- Right-click on the Windows button & choose Run. Then execute the following:
gpedit.msc

Open gpedit.msc - Now expand Computer Configuration & then Administrative Templates.
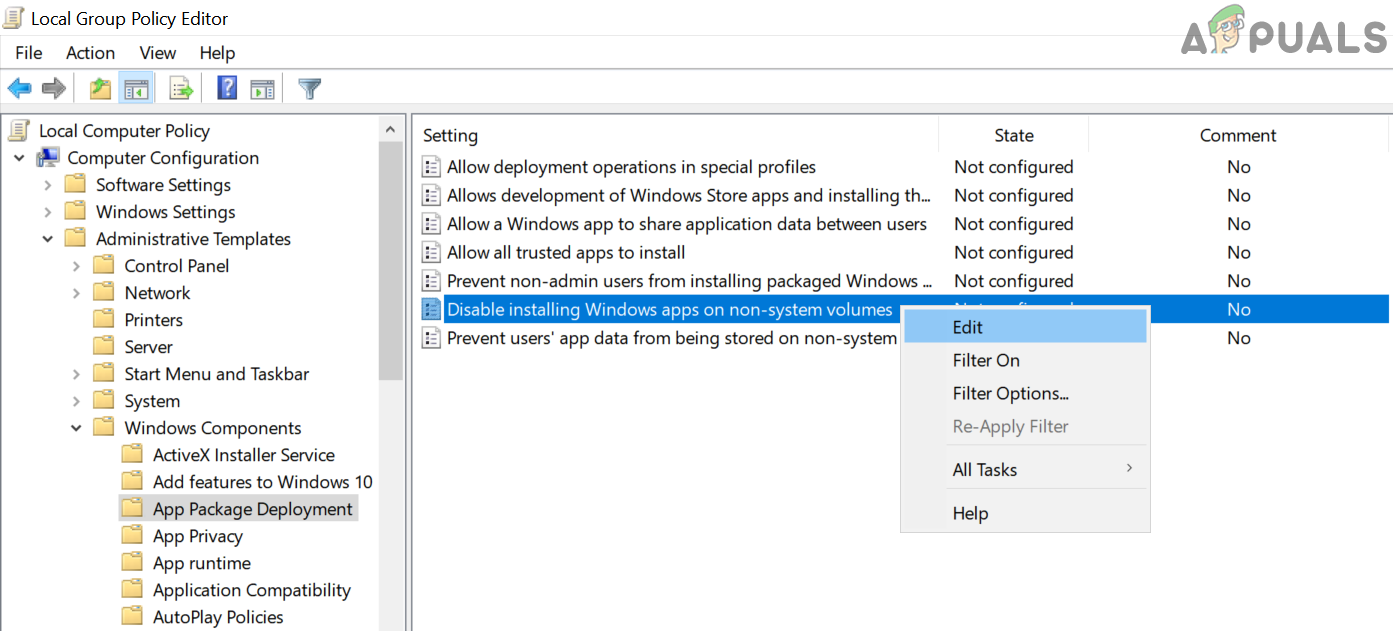
- Then expand Windows Components & select App Package Deployment.
- Now, in the right half of the window, right-click on Disable Installing Windows Apps on Non-System Volumes & select Edit.
Edit the Disable Installing Windows Apps on Non-System Volumes Setting - Then choose Disabled & click on Apply/OK buttons.
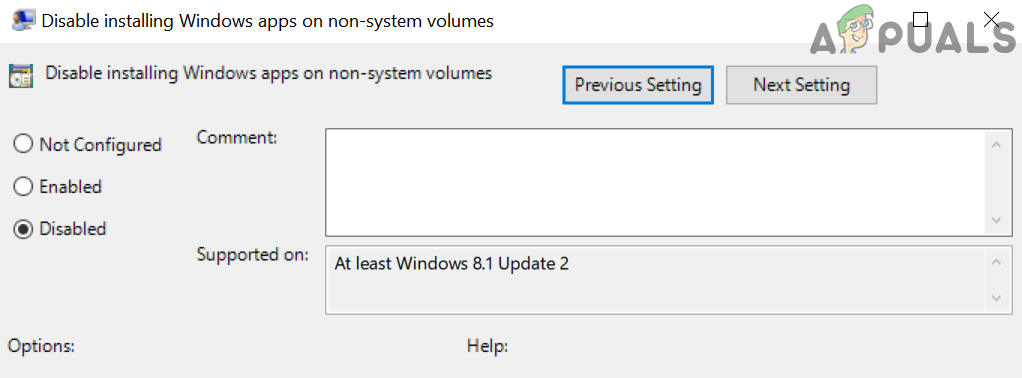
Allowing Installation of Windows Apps on Non-System Volumes - Now reboot your PC & upon reboot, check if the Windows app path issue is resolved.
Solution 3: Use the Registry Editor to Remove the Old Windows Apps Reference to the Target Device
You may fail to change the path of Microsoft Store apps if the registry of your system has an old reference to the target drive. In this case, removing the registry entry referring to the target device may solve the problem.
Warning: Proceed with caution as editing the system registry requires a certain level of expertise & if not done properly, you may cause everlasting damage to your system/data.
- Backup your system’s registry.
- Hit the Windows logo key & search for Registry Editor. Then, in the list of search results, right-click on Registry Editor & choose Run as Administrator.
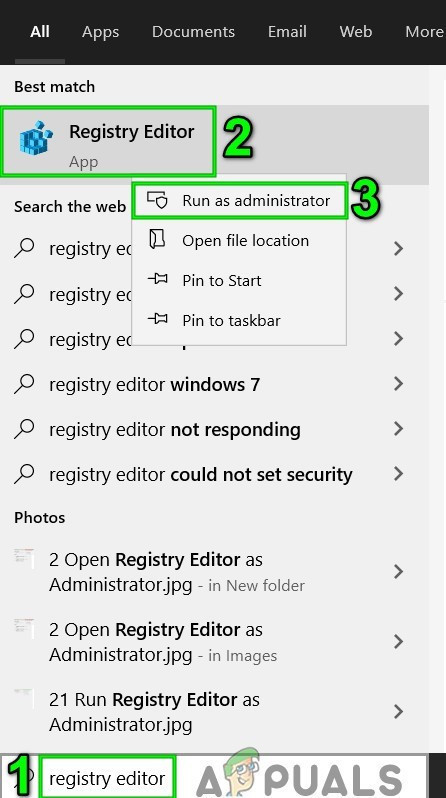
Open Registry Editor as Administrator - Then navigate to the following:
Computer\HKEY_LOCAL_MACHINE\SOFTWARE\Microsoft\Windows\CurrentVersion\Appx\
- Now, in the left half of the Registry Editor, expand PackageVolumes and check if there is more than one entry (i.e. 1 & 2). If so, then open both entries one by one and check the SISPath. Then delete the one which is referring to your target device (not to C drive) & exit the Registry Editor.
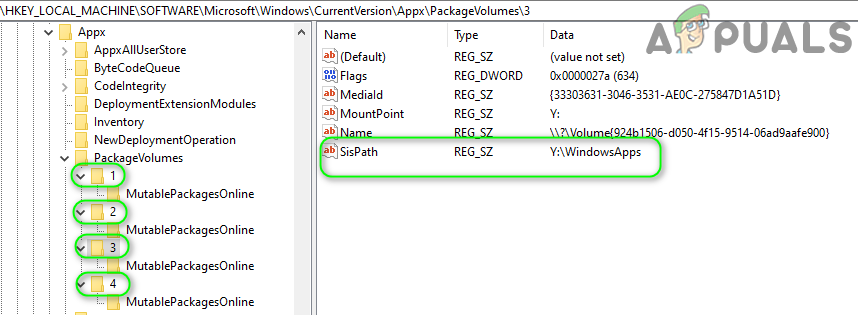
Remove the Registry Key Pointing to Your Target Drive - Now reboot your PC & upon reboot, check if the Microsoft Store is clear of the error.
Solution 4: Disable Compression or Encryption of the Target Drive
You may fail to change the default location of the new Microsoft Store apps if the target drive is encrypted or compressed. In this context, disabling compression or encryption on the target drive may solve the problem.
- Right-click on the Windows button & in the menu shown, choose File Explorer.
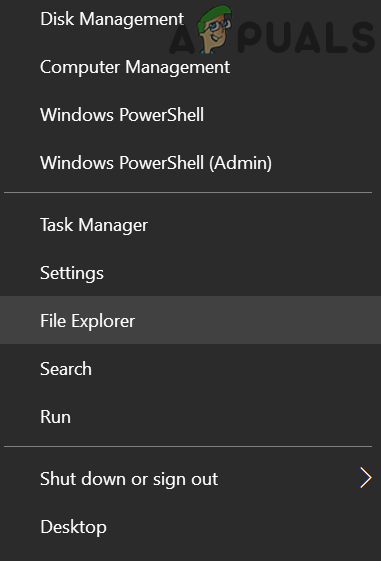
Open the File Explorer - Now, in the left pane of the window, select This PC, & then in the right pane of the window, right-click on the target drive e.g. D drive.
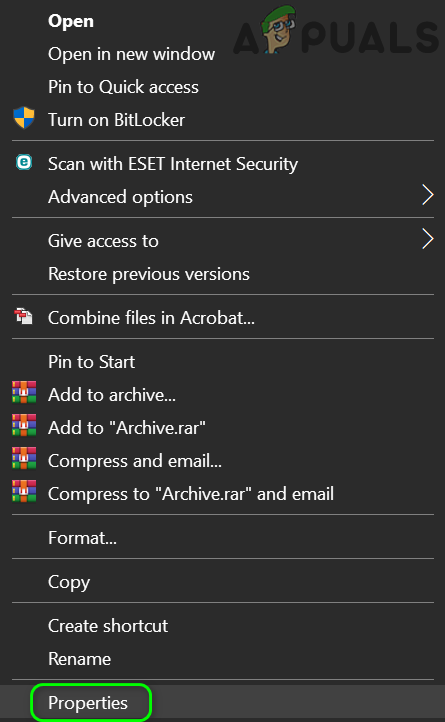
Open Properties of the Target Device - Then, in the context menu, choose Properties and then uncheck the option of Compress This Drive to Save Disk Space.
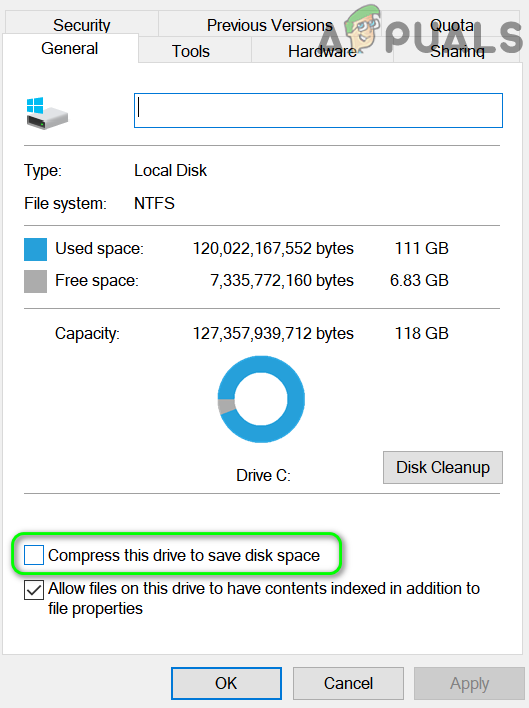
Disable Compress This Drive to Save Disk Space - Now, click on Apply/OK buttons. Then open the target drive and right-click on the WindowsApps folder, if the folder exists (you may have to enable viewing of hidden file/folders and protected operating system files).
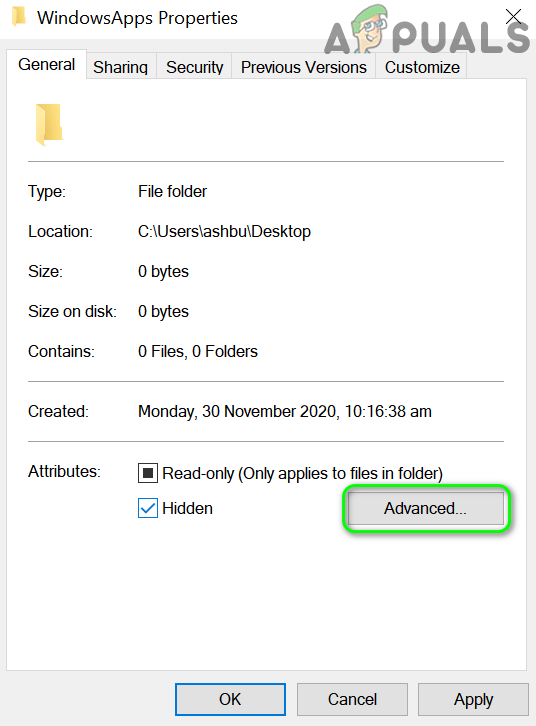
- Now, in the menu shown, choose Properties and then click on the Advanced button (on the General tab).
Open Advanced Properties of WindowsApps Folder - Then uncheck the option of Compress Contents to Save Disk Space and Encrypt Contents to Secure Data.
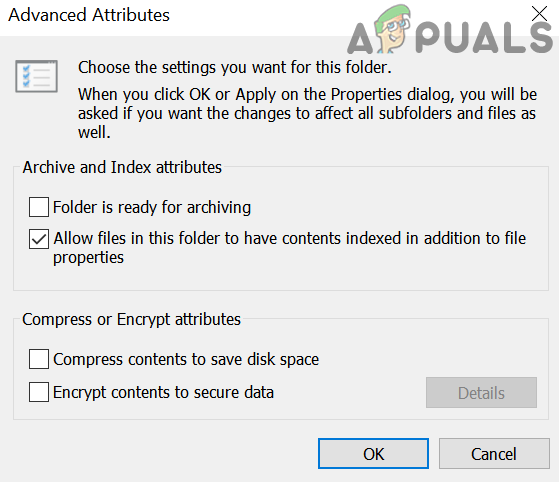
Disable Compression and Encryption of the WindowsApps Folder - Now click on the Apply/OK buttons and then open the Windows menu by clicking on the Windows button.
- Now, in the Windows Search bar, search for Control Panel and then, in the results shown, choose Control Panel.
- Then open System and Security and click on Manage BitLocker (under BitLocker Drive Encryption).
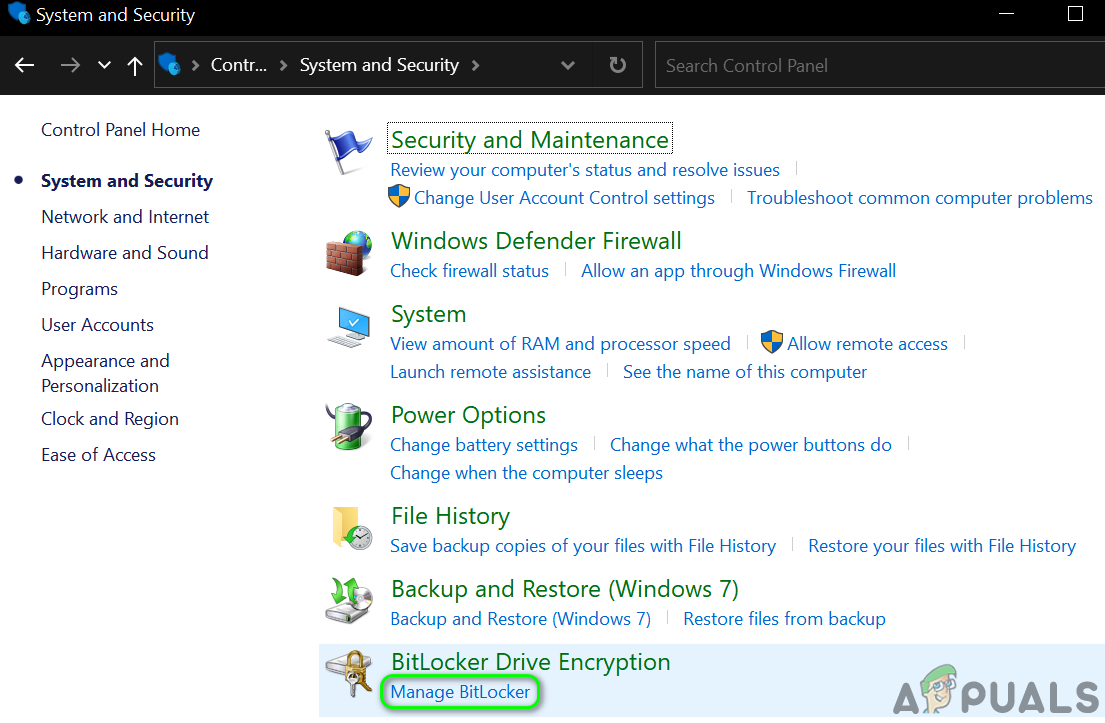
Click on Manage BitLocker - Now, in front of the target drive, click on Turn off BitLocker (if enabled) and then follow the prompts on your screen to disable BitLocker (the decryption may take some time depending on the size of the drive).
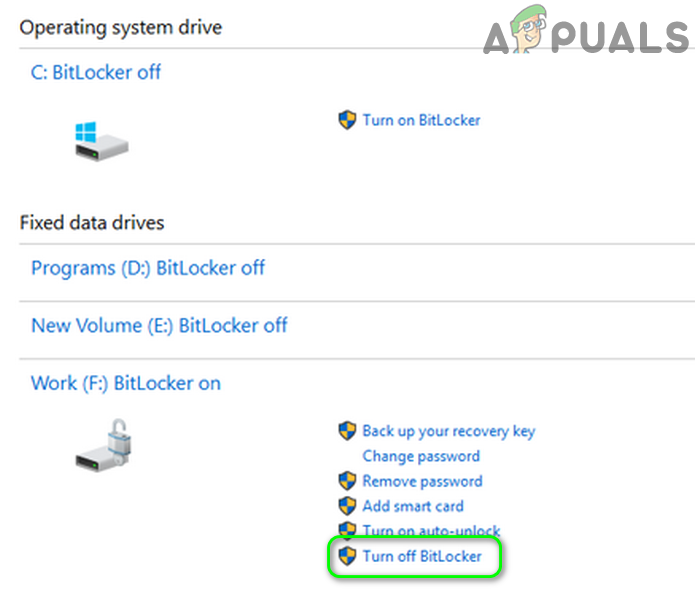
Disable BitLocker on the Target Device - Then reboot your PC and upon reboot, check if you can change the default path for the new Store apps.
Solution 5: Change the Target Drive Permissions
You may fail to set the default path for Windows Store apps if the permissions of the target drive do not allow you to make the relevant changes. In this scenario, editing the drive permissions may solve the problem.
Warning: Proceed with caution because if the security permissions are not configured properly, you may expose your system and data to threats. Moreover, to correct the security permissions (if done wrong) you may have to format the drive.
- Right-click on the Windows button and in the menu shown, choose File Explorer.
- Now, in the left pane of the window, select This PC, and then in the right pane of the window, right-click on the target drive e.g. D drive.
- Then, in the context menu, choose Properties and navigate to the Security tab.
- Now, click on the Edit button and then select System.
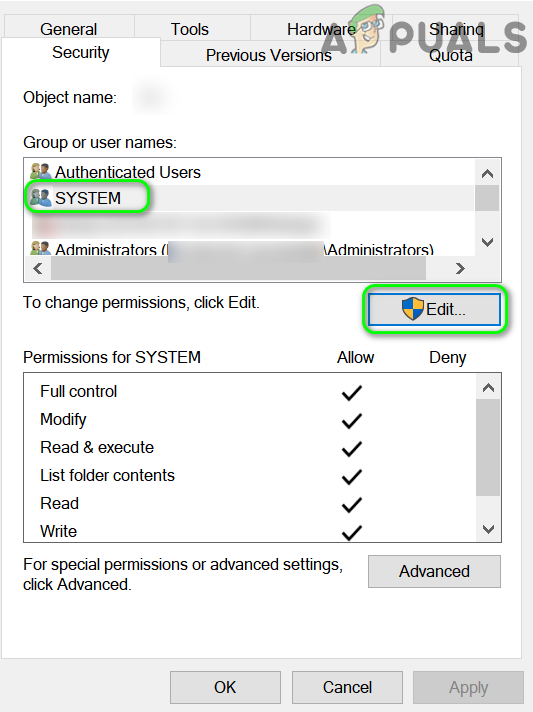
Edit Security Permissions for System Account for the Target Device - Then click on the Check box of Allow in front of Full Control and click on the Apply button.
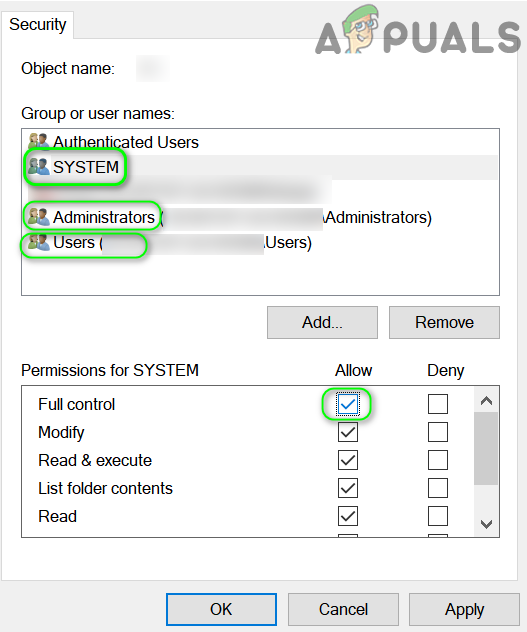
Allow Full Control of the Target Drive to the System Account - Now repeat the same for your user profile and Administrators.
- Then open the drive and repeat the same process on the WindowsApps and WpSystem folders (if you cannot edit the permissions, boot your system in safe mode and then try to edit the permissions).
- Now, reboot your system and check if your system is clear of the current error.
- If not, check if deleting the WindowsApps and WpSystem folders (you may have to safe boot your system) in the target drive solves the issue.
Solution 6: Reset the Microsoft Store
You may encounter the error under discussion if the installation of Microsoft Store is corrupt or the Store is misconfigured. In this context, resetting the Microsoft Store may solve the problem.
- Click on the Windows button to launch the Windows menu and in the search bar, type WSReset. Now right-click on the WSReset (in the results pulled by search) and select Run as Administrator.
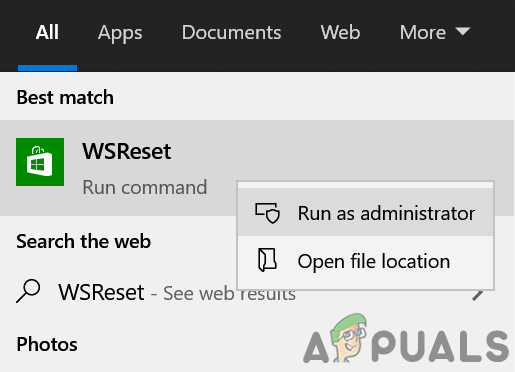
Launch WSReset as Administrator - Then wait for the completion of resetting of Microsoft Store and then reboot your PC.
- Upon reboot, check if the current Windows apps issue is resolved.
- If not, then right-click on the Windows button and choose Windows PowerShell (Admin).
- Then execute the following one by one and reboot your PC after each one to check if the issue is resolved:
Get-AppXPackage -AllUsers -Name Microsoft.WindowsStore | Foreach {Add-AppxPackage -DisableDevelopmentMode -Register "$($_.InstallLocation)\AppXManifest.xml" -Verbose} Get-AppXPackage | Foreach {Add-AppxPackage -DisableDevelopmentMode -Register "$($_.InstallLocation)\AppXManifest.xml"} - If not, hit the Windows logo key and choose Settings. Now select Apps and then expand Microsoft Store.
- Then click on Advanced Options and then click on the Reset button (you may scroll a bit to find the option).
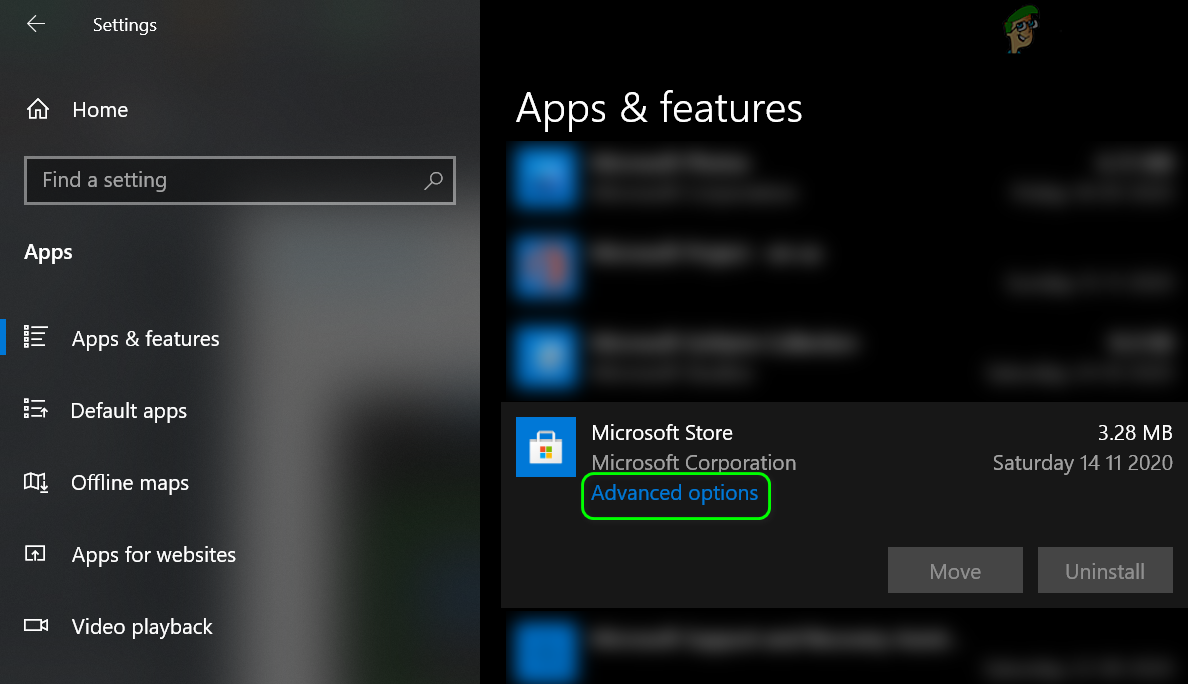
Open Advanced Options of Microsoft Store in Apps & Features - Now confirm to Reset the Store and then check if you change the default path of the Store apps.

Reset Microsoft Store - If not, check if reinstalling the Xbox beta solves the issue.
Solution 7: Remove the Windows Folders from the Target Drive
You may fail to set the default Store apps path to another drive if that drive has a similar directory structure as required by the Windows (e.g. WindowsApps and WPSystem folders as a result of a previous installation). In this case, deleting the traces of previous Windows apps installation may solve the problem.
- Enable viewing of hidden files and folders and protected operating system files in your system.
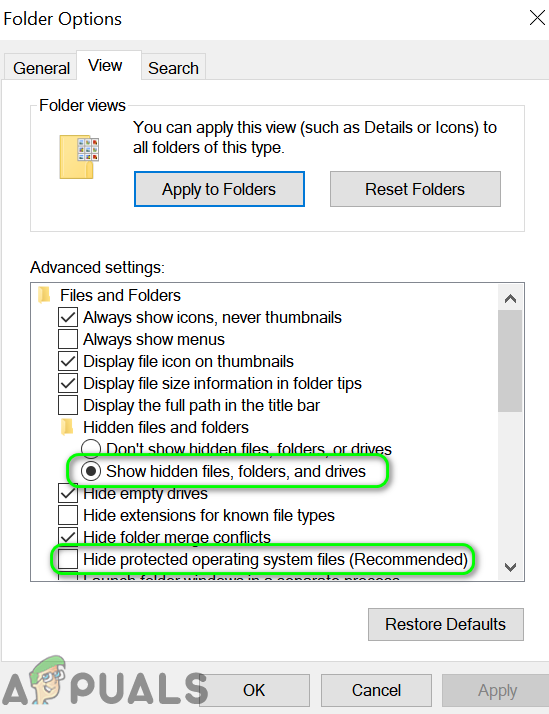
Show Hidden Files and Protected System Files - Now open the target drive and then delete the following five folders (if present):
WindowsApps

WPSystem

DeliveryOptimization

Program Files

(a folder having your user profile name)
- If you cannot delete the folders, boot your system into safe mode and then try to delete the folders.
- If not, check if you can take ownership of the folders and then try to delete the folders.
- If you cannot delete the folders, check if you can rename the folders (e.g. WindowsApps.old and WPSystem.old).
- If not, then create a new folder in the target drive and check if you can move all the five folders mentioned above to the newly created folder. Then check if the current Windows Store apps issue is resolved.
Solution 8: Set the Default Windows Applications Path and Perform SFC/DISM Scans
You may encounter the error at hand if the files essential for the operation of Microsoft Store is corrupt. In this case, performing SFC and DISM scans may solve the problem.
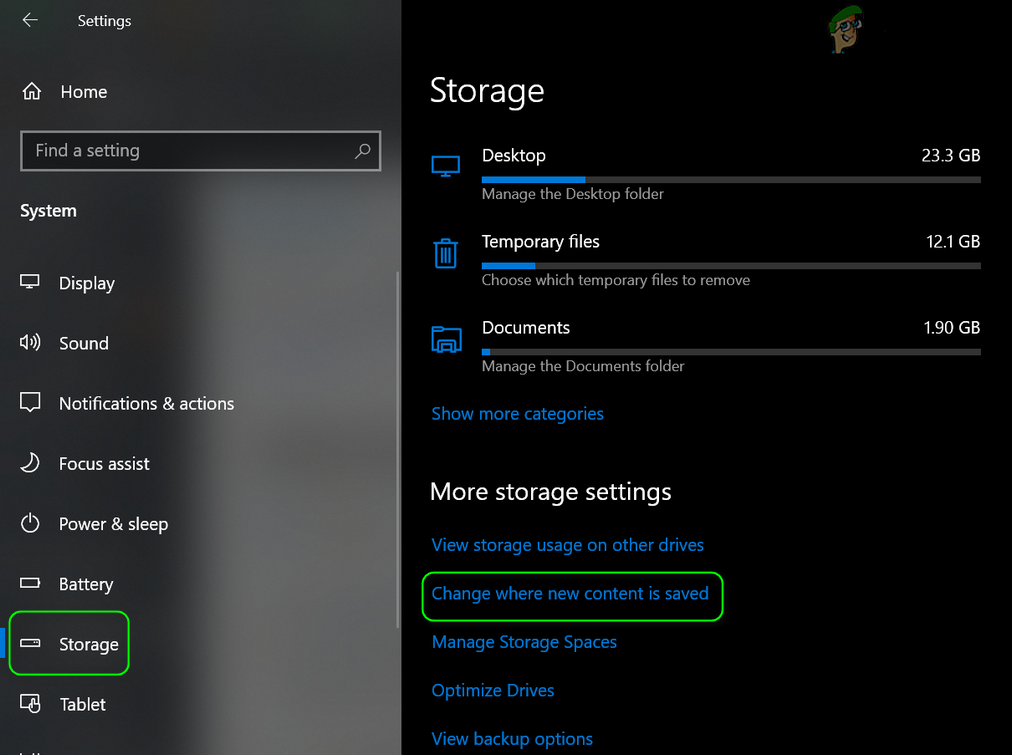
- Hit the Windows logo key and click on Gear/Settings. Now select System and then, in the left pane of the window, select Storage.
- Now scroll down to the bottom of the screen and then click on Change Where New Content is Saved (under More Storage Settings).
Open Change Where New Content is Saved - Then open the dropdown of New Apps will Save to and select your desired drive.
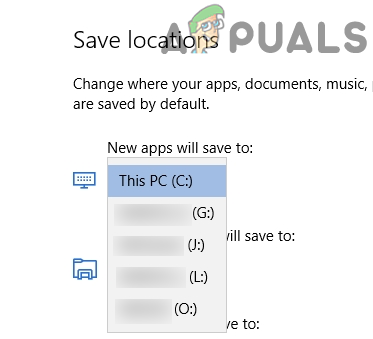
Change Your Storage Drive for New Microsoft Store Apps - If you get a prompt to delete other apps, then click on Yes.
- Now check if the issue is resolved.
- If not, take ownership of the target drive and then check if the issue is resolved.
- If not, perform SFC and DISM scans (use the following DISM commands):
DISM /Online /Cleanup-Image /CheckHealth

DISM /Online /Cleanup-Image /ScanHealth

DISM /Online /Cleanup-Image /RestoreHealth

Dism /Cleanup-Mountpoints
- Then check if the issue is resolved.
- If not, try to repair Windows update components with ResetWUEng.zip and then reboot your system.
- Upon reboot, check if the Microsoft Store apps issue is resolved. If not repeat solution 7 to rename & delete the old Windows folder from the target drive and then repeat steps 1 to 4 to check if the issue is resolved.
If the issue is still there, then you should format the target drive (after backing up the essential data) and check if the issue is resolved. If not, then either perform a repair install of Windows or a clean install of Windows.


