How to Add Take Ownership To the Context Menu on Windows 10
Adding “Take Ownership” to the Windows 10 context menu is a handy way to quickly get control over files or folders, especially when you can’t access them because of permission problems. This feature is helpful for people like administrators who need to edit system files or see files from another user account. When you add this option, you can easily change the owner of a file or folder and give yourself full access, without going through many complicated security steps.

However, you should be careful before using this. If you change ownership or permissions on important system folders, it can make your computer unstable or cause other problems. Microsoft recommends not taking ownership of system files unless you really need to, because it can affect how Windows works.
Before you start, please note that this guide is written for Windows 10 systems where the language is set to English.
1. Use Registry Files
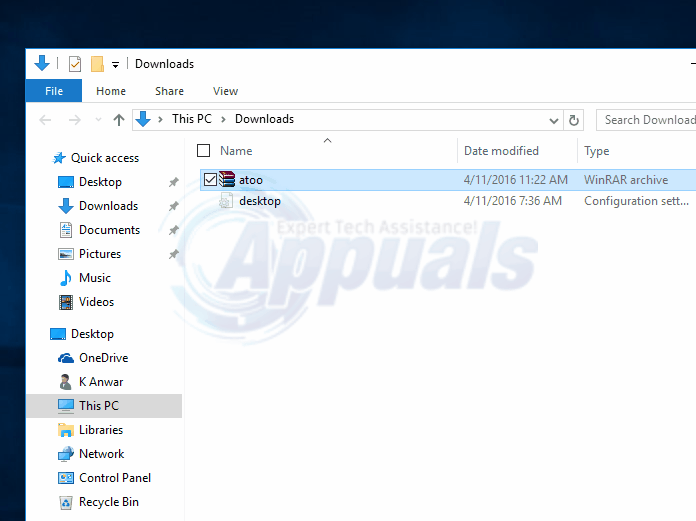
Download this file. You’ll get a compressed file, which you need to extract or decompress using WinRAR or WinZIP. After extraction, you’ll find two registry files inside the folder. Run the file that says “Install” to add the option. If you ever want to remove it later, just run the file with “Uninstall” in its name.
When you run the file, click “Yes” when prompted by UAC, and then again when Registry Editor asks you to confirm. Once finished, reboot your PC.
After restarting, the “Take Ownership” option will appear in both file and folder context menus. Once you right-click any folder or file, you’ll immediately become the owner and can make any changes you want to that particular item.
If you’re more experienced with computers, you can also take ownership manually using the Command Prompt. Here’s how:
1. Run Command Prompt as administrator: Hold the Windows Key and press X, then choose Command Prompt (Admin).
2. Enter the following commands:
takeown /f filename
icacls filename /grant administrators:F
This will take ownership of a file and give full permissions to it.
For a folder, use:
takeown /f foldername /r /d y
icacls foldername /grant administrators:F /t
2. Manually Through the Registry:
Now we’ll show you how to manually add the “Take Ownership” command by editing the Windows Registry. Please keep in mind: the Registry Editor is powerful. Be careful when making changes, as incorrect edits can cause problems. Always create a system restore point or back up your registry before you start.
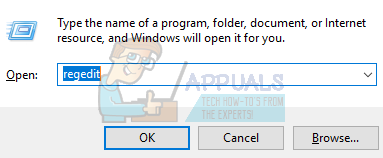
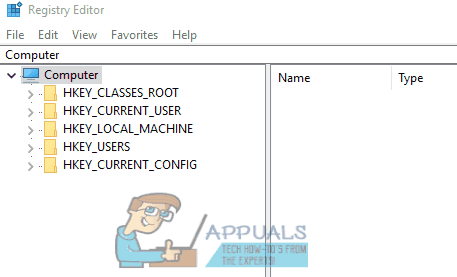
- Press Windows + R to open the Run dialog. Type “regedit” and hit Enter to open the Registry Editor.
We’ll be editing two locations in the registry: one for all file types, and one for folders.
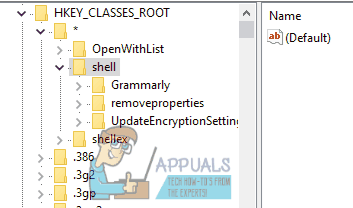
- Navigate to the following path in the Registry Editor using the left side panel:
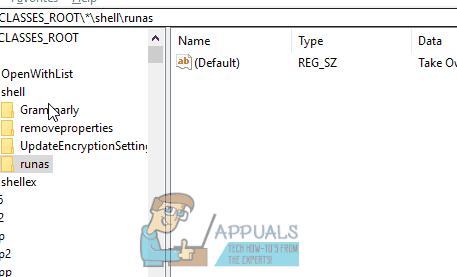
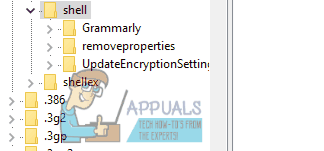
HKEY_CLASSES_ROOT > * > shell
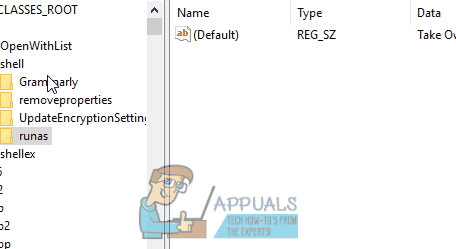
- Right-click the shell key and choose “New > Key”. Name this new key runas. If you already have a key called “runas”, skip this step.
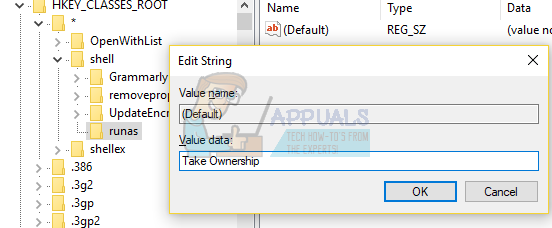
- Select the runas key. Double-click on the Default value to open its properties.
- Type “Take Ownership” in the Value Data box, then click OK. This name will appear in your context menu. You may choose a different name if you wish.
- Right-click on the runas key and select “New > String Value”. Name it NoWorkingDirectory.
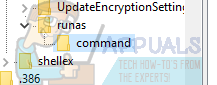
- Right-click on the runas key again and select “New > Key”. Name this new key command.
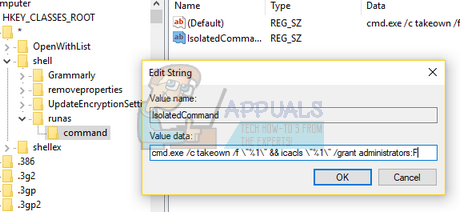
- With the command key selected, double-click on the Default value in the right pane to open its properties.
- Type the following code into the Value Data box exactly as shown (be sure to include all spaces and punctuation), then press OK.


- Right-click the command key, choose “New > String Value” and name it IsolatedCommand.
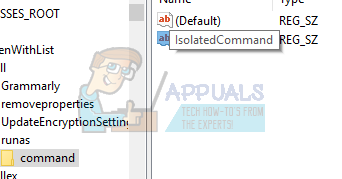
- Double-click the new IsolatedCommand entry to edit it.
- Type the same code you entered earlier into the Value Data box, then click OK.
This will add the “Take Ownership” option to the context menu for files.

Now, let’s add the same option for folders. We’ll follow almost the same process, but in a slightly different location:
- Navigate to the following location in your Registry Editor:
HKEY_CLASSES_ROOT > Directory > shell
- Right-click the shell key, choose “New > Key”, and name it runas. If you already see a key named “runas”, skip this step.
- Select the runas key, then double-click the Default value to open its properties.
- Enter “Take Ownership” in the Value Data box and click OK. This text will show in your context menu. You may use a different name if you prefer.
- Right-click on the runas key, choose “New > String Value”, and name it NoWorkingDirectory.
- Right-click on the runas key, choose “New > Key”, and name it command.
- With the command key selected, double-click the Default value to open properties.
- Type the following code in the Value Data box (check all spaces and numbers), then click OK.
- Right-click the command key, select “New > String Value”, and name it IsolatedCommand.
- Double-click it to open its properties.
- Type the same code you used above into the Value Data box, then click OK.
This will add the “Take Ownership” option to the context menu for folders as well.

You didn’t link the file that was meant to be downloaded.